How to Create a Weave Effect Carving

What you'll need
A repetitive project to grow your carving skills and confidence, this weave effect carving is a great beginner's project.
Create a lattice pattern coaster using a few simple carving techniques and tools, incorporating some easy pierced scroll sawing too.
This pattern effect can be used to embellish anything, such as pot holders, trivets, placemats, box lids or potpourri pots.
Watch our Woodworking Wisdom demo with Ben or follow our step by step guide below.
Draw your template
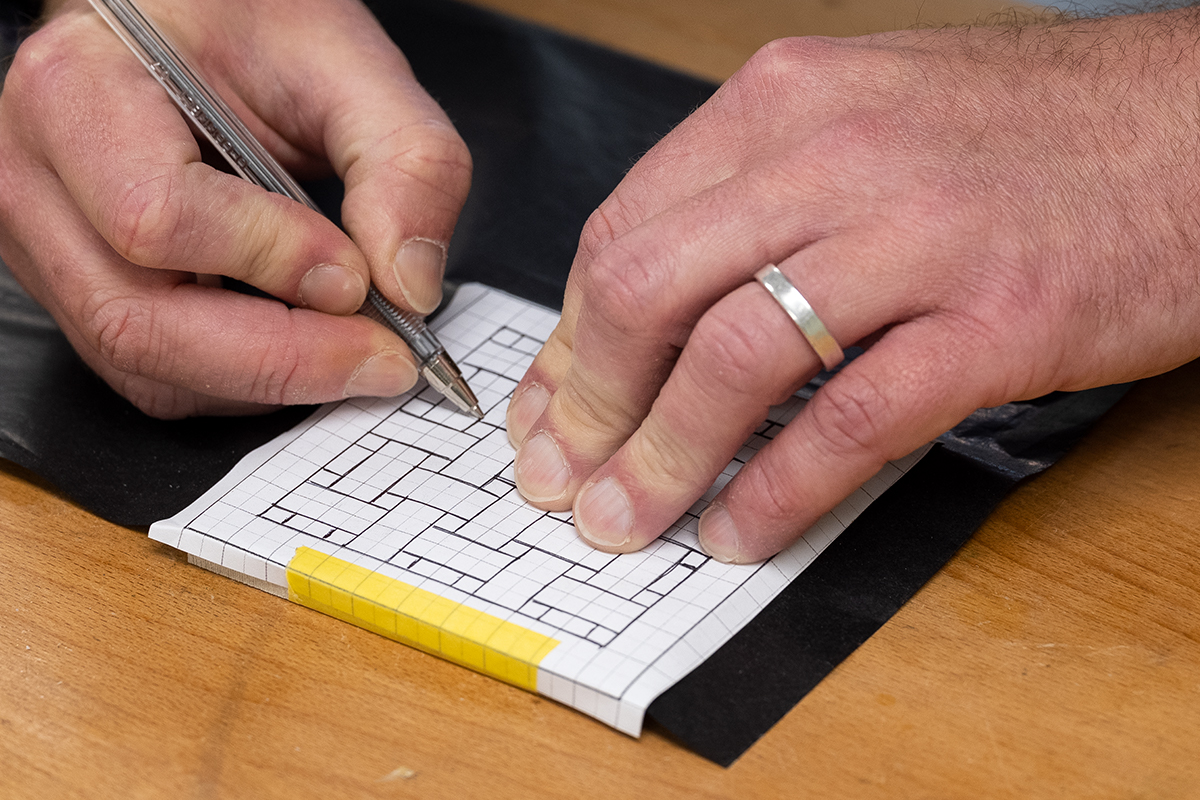
Draw a template on square paper to get the lines all straight and even.
Position your template on the blank lining up the corners and sides before sticking it down. Use carbon paper to transfer this to your blank by drawing over the design. Place the carbon paper shiny side down.
Check the design has been transferred before removing from the blank.
Drill the holes
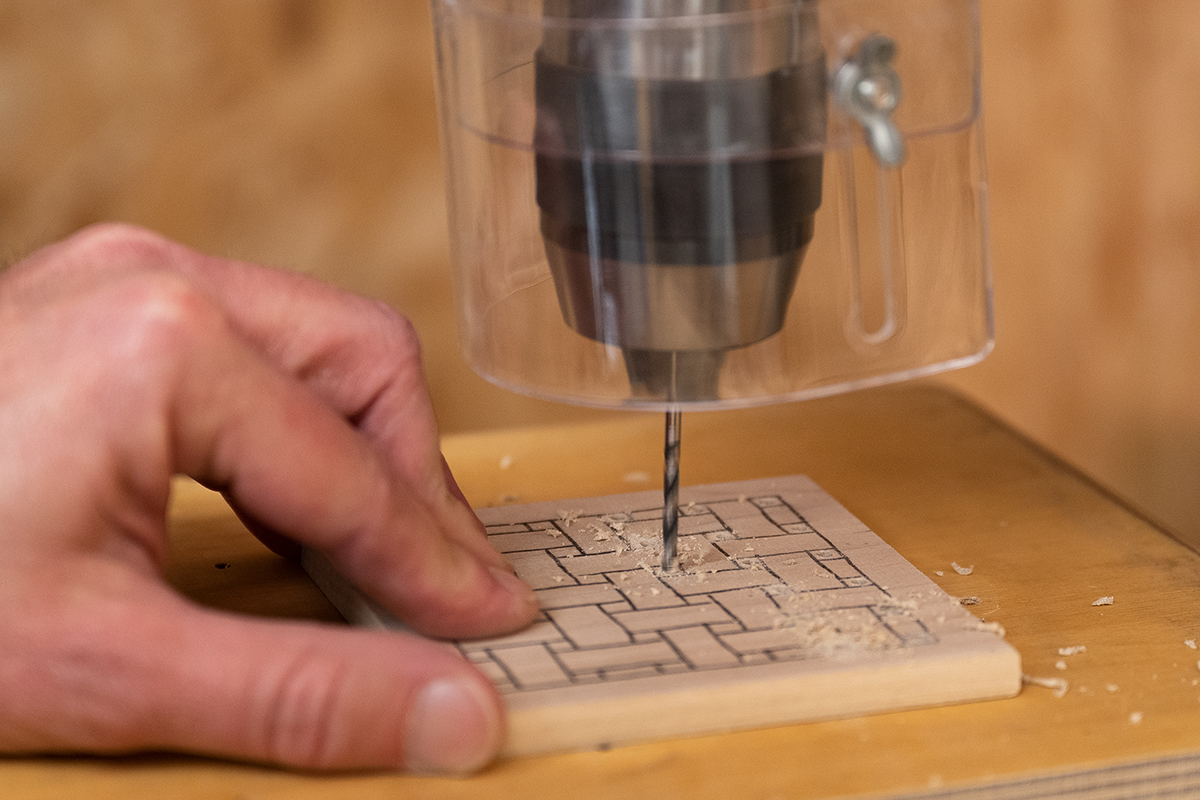
Next, drill holes in the negative space that you aim to remove. Top tip: You could shade these in using a pencil to help you identify clearly which parts you will drill, and eventually cut away. Use a backing board under your workpiece when drilling to help minimise breakout.
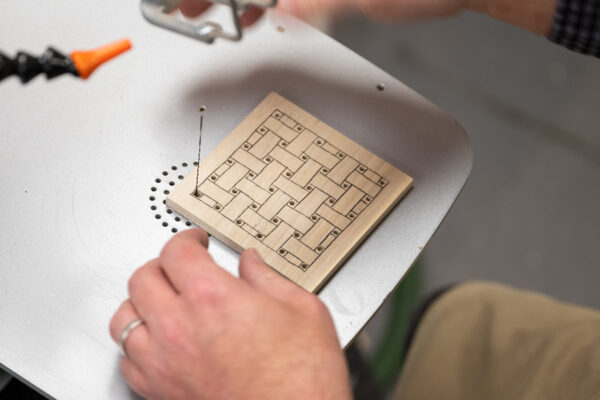
Here, we are using a 3mm drill bit to drill into the 5mm squares, which will be removed on the scroll saw.
Cut on the scroll saw
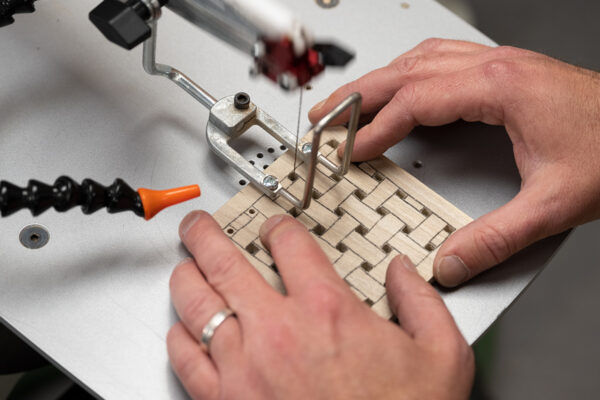
Next, take the workpiece to the scroll saw. We're using a number three spiral blade to prevent turning the piece too much.
Thread the blade through the workpiece and complete the cut. Repeat on all the holes.
Top tip: if you are making a coaster set, you could double stack the blanks to cut two at a time. Ensure your patterns are the same and lined up.
Get carving
Secure your workpiece against a stop on your work bench. This is so your workpiece stays steady when you push into the carving with your chisels and will help keep your work straight.
Using a flat edged, 16mm chisel, add some stop cuts. Go with the grain of the timber and lightly tap the chisel with a mallet to add stop cuts to the edges.
Rotate the workpiece 90 degrees as you complete the cuts working across the piece.
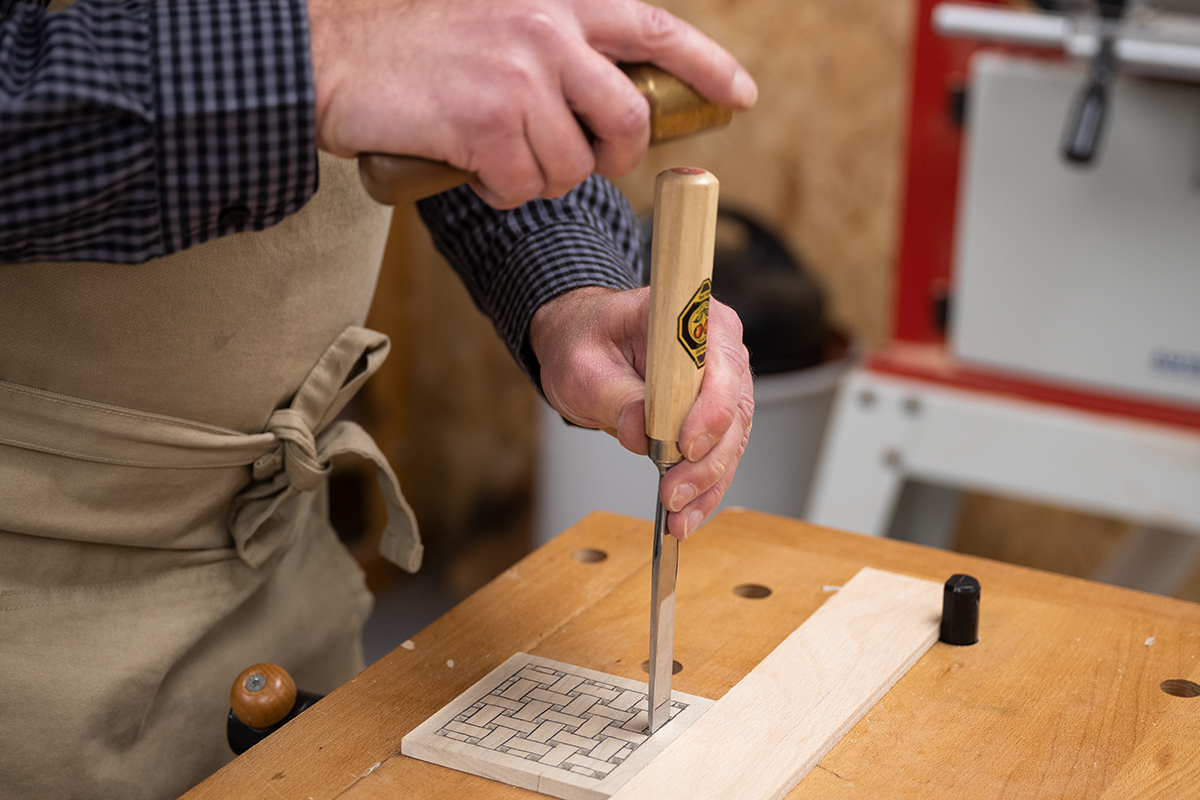
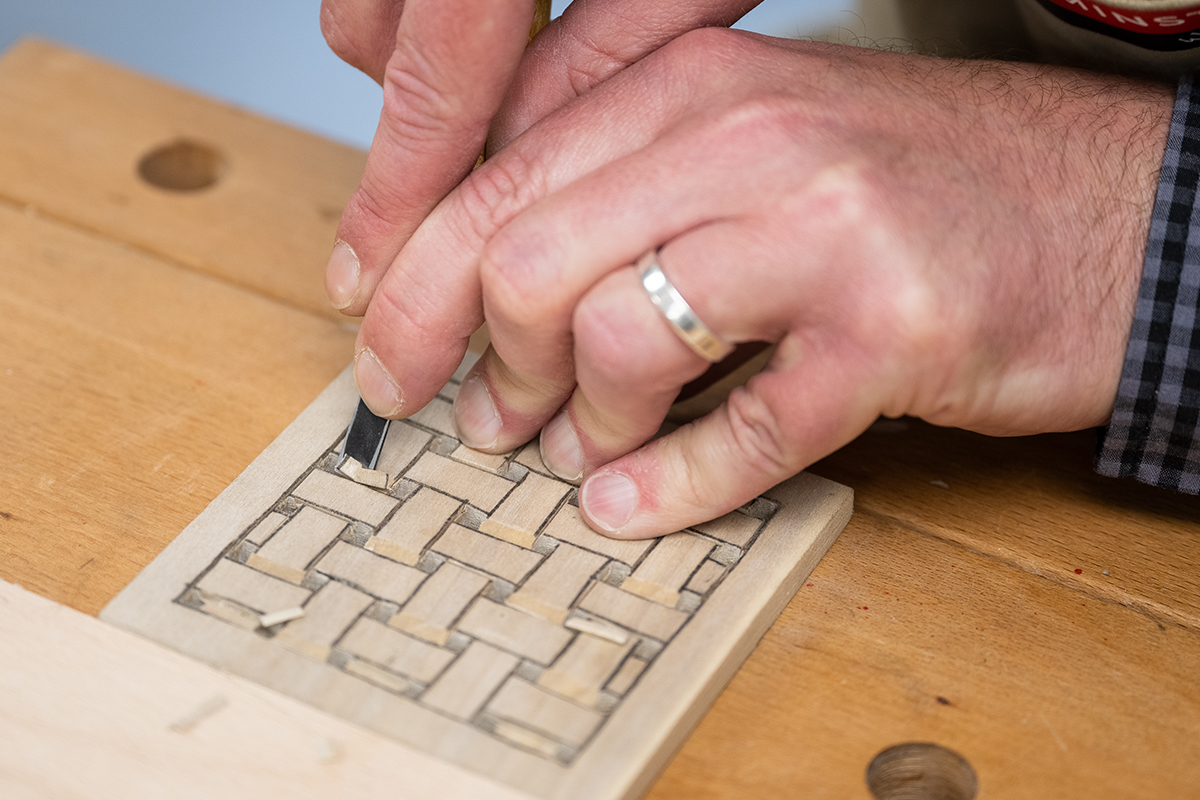
Using a Japanese chisel start carving towards your stops cuts taking the material away. Keep the hard edge high and the edge at 90 degrees will dip down.
Then turn the workpiece through 180 degrees and continue, working away from yourself. Then turn 90 degrees and repeat these steps until all weaves have been cut. You will now have the basic weave pattern.
Refine your cuts
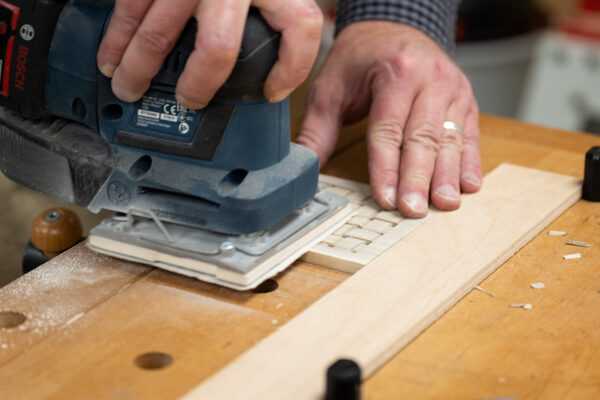
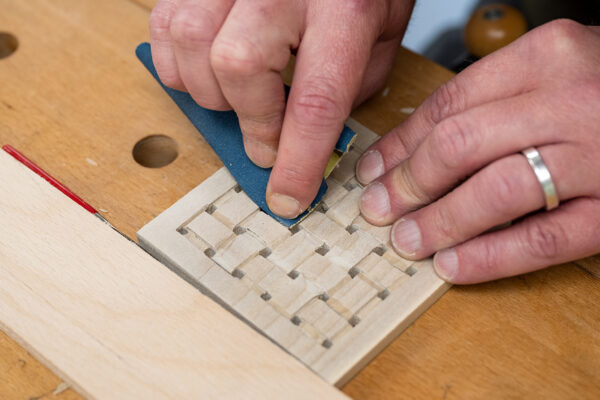
Use a curved chisel to smooth the channels and edges. Then use a triangle file to clean the edges of the holes. Next, using some abrasive, rub the edges to soften them and a pad sander to remove the carving marks and your pencil marks.
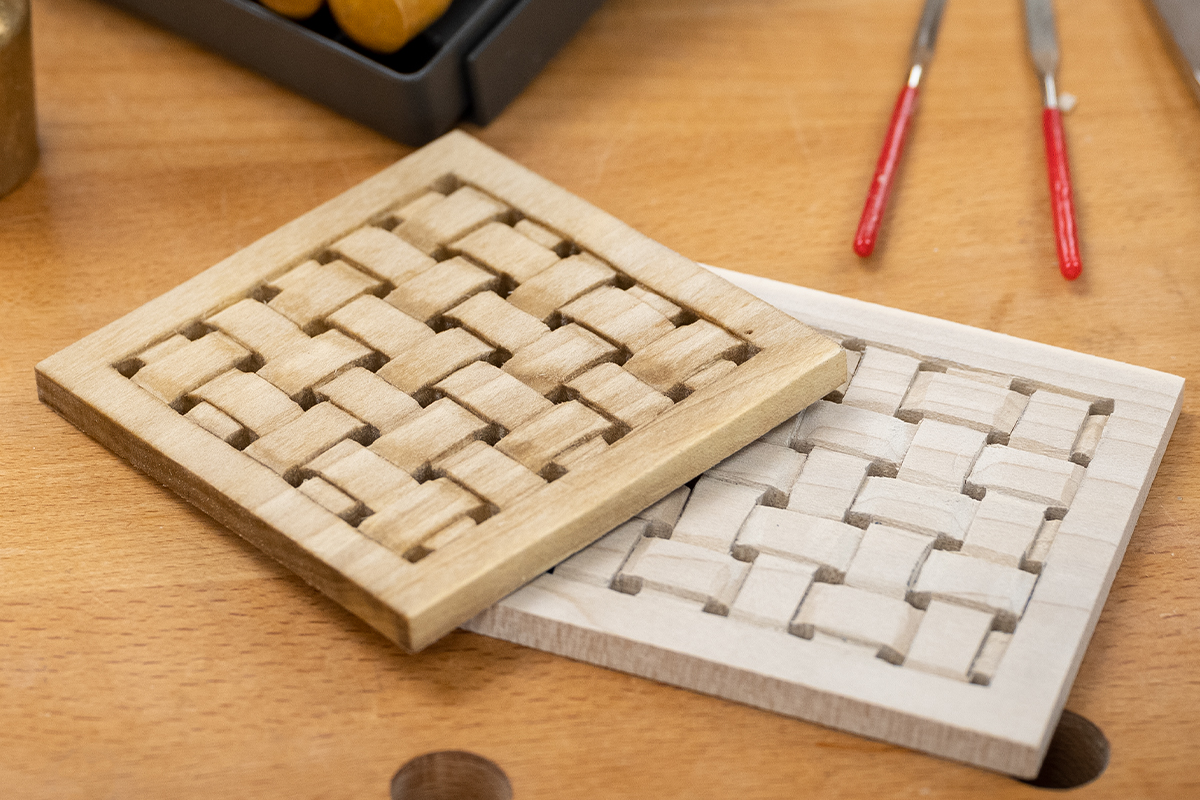
Once you're happy with your edges, use a finishing oil to complete. This will help emphasise the weave effect carving.
Made it? Share it!
If you have made our basket weave coasters, then why not share your images with is via social media? Tag us @axminstertools on Facebook and Instagram.


