Make a Sofa Tidy and Table | How To
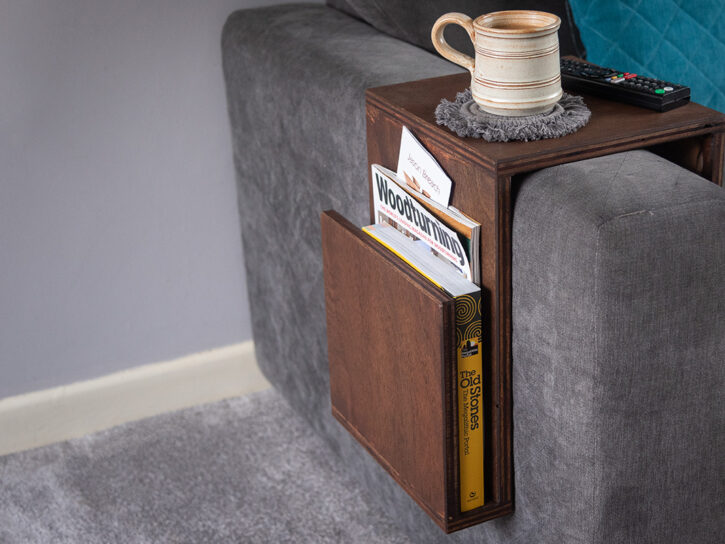
This article will guide you step by step to make a sofa table and tidy to keep your armrests clean of tea rings and keep you magazines within easy reach. A simple and quick home...

When starting out in woodworking, it is often the simplest of projects that can bring the most satisfaction. In this article we show you simple techniques and how to make a picture frame - a quick project that uses basics tools, but can be proudly displayed in your home, made for friends and families, and once perfected, could be sold at craft fairs.
For this project we used scrap pallet wood which would otherwise have ended up as kindling. You can adapt this project to any timber or any size photo. You can even finish it how you like, to make a truly unique photo frame, personal to you. We decided to create a driftwood effect by chiselling the edges to look worn. We then scorched the surface with a blow torch.
Watch Jason in our Woodworking Wisdom demo or follow our step by step guide above.
For this project we used a pine pallet. Cut the lengths of timber to avoid nail holes and then square the sections either by hand or using a machine. If you do not have a hand plane or planer thicknesser, then pre-machined, shop bought pine sections can be used to make this project also.


Make a plywood template the same size to the picture which you plan to put in your frame. Making a template allows you to accurately make of the back of the frame.
Cut the backing frame material to length. The lengths are easily worked out by placing the pine sections around the plywood panel and drawing a pencil line on the outside of the intersect point.


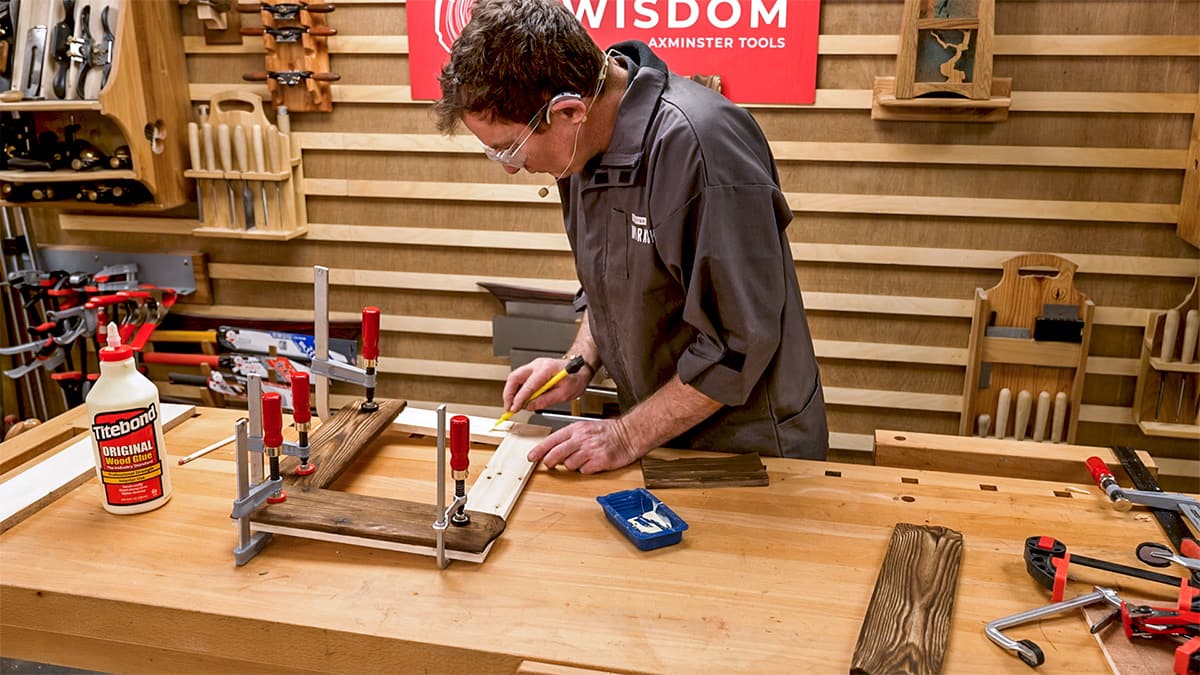
Next, you will need to cut the halving joints used to join your frame sections together. A bandsaw is ideal to do this quickly, but these can also be easily cut by hand.


With the halving joints cut, these can be glued together to make the frame shape. Top tip: use the plywood to ensure this is square.
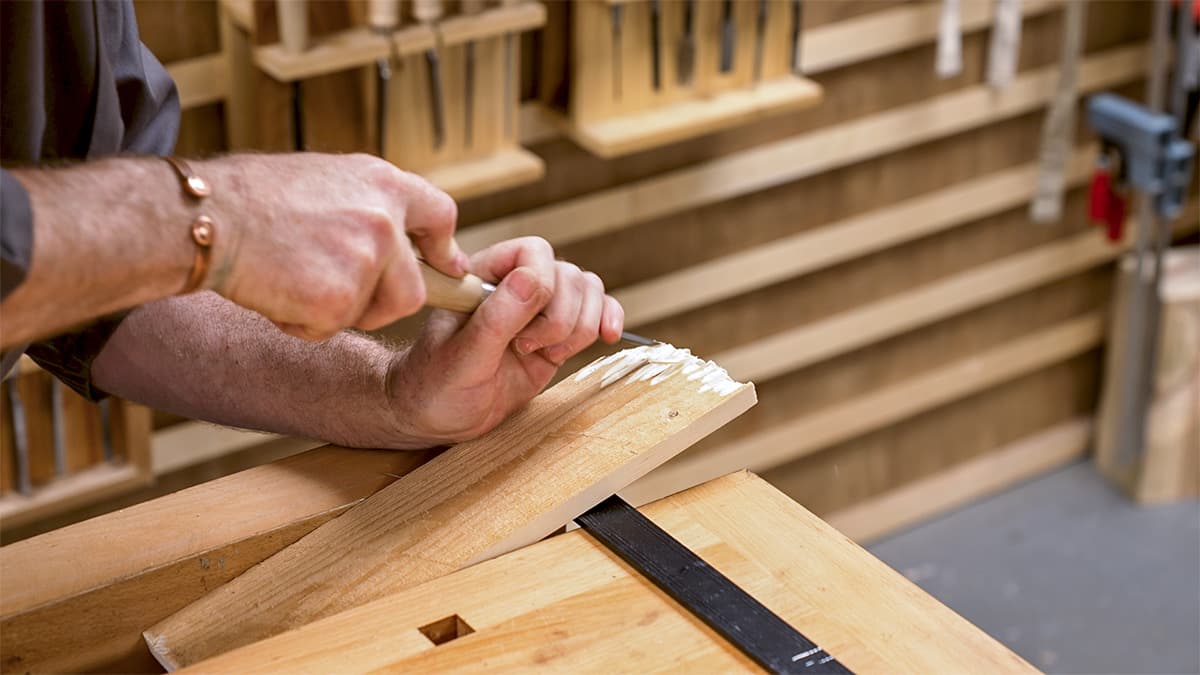
Cut the pine sections that will form the front to length. These need to overhang the internal of the backing frame by about 12mm as this creates the rebate that the picture will fit into. These are cut over length to allow the textured effect to be added. The important section is the central top one in our design as the ends and sizes are important for this one piece.


Carve away the ends to create the eroded, gnarled driftwood effect. You can make this quicker by using a carving gouge to remove the stock. This does not need to look neat as it is simply removing stock and is meant to look rugged.
Use a blow torch to burn away the softer fibres of the pine. This is best done outside and a water spray bottle is good to have on hand to control the burning. It is best to place your pine pieces on a stone surface (such as an old paving slab) when burning.
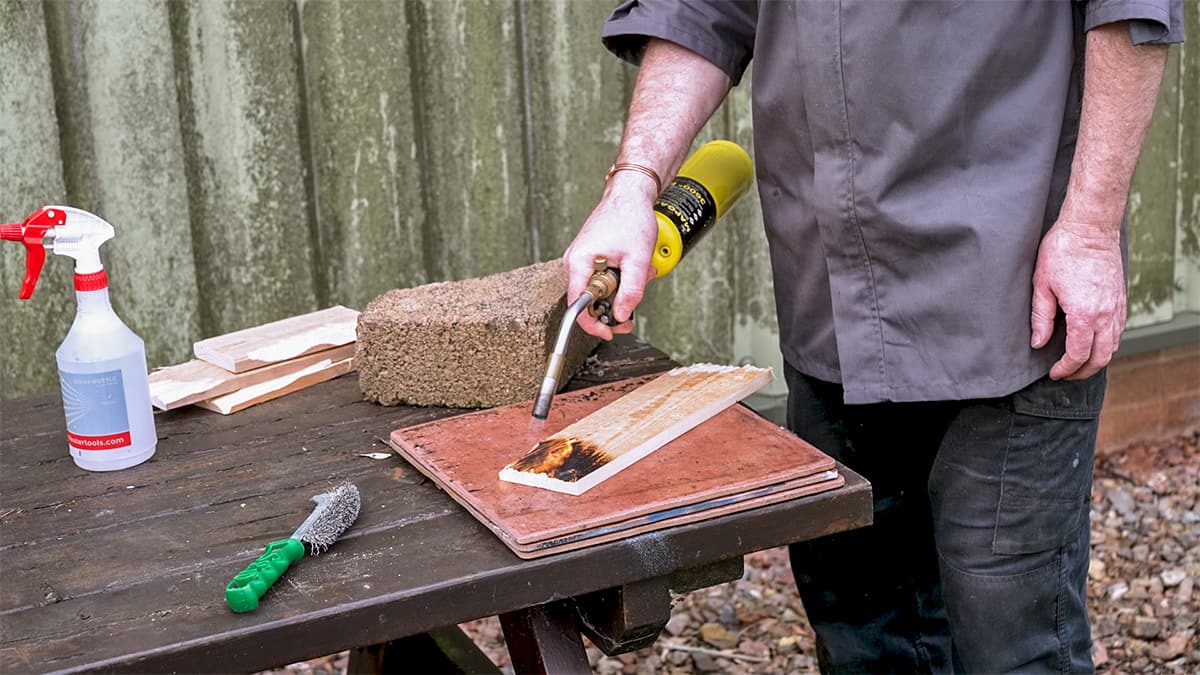
To create the effect you will need to burn the surface and then use a wire brush to brush away the charring and reveal the timber. You will need to brush way more than you think until the grain comes through and removes the softer fibre. Repeat the burning and brush out again. Burning the end grain sections will result in more contour change.
With the burning done, the front frame can be glued onto the backing frame, lining up the overhang. Clamp in place and allow to dry. Once the glue is dry, the backing frame can be stained to match the colour of the textured front frame.


A clear Perspex sheet can be cut to fit into the rebate of the frame. To assemble simply insert the Perspex panel, your picture and then the plywood back. To hold this in place, use four penny washers and screws. A forstner bit, the same diameter as the washer, is used to drill the recess. Place the washer in the recess and then screw through the washer to hold fix in place.
If you have felt inspired by this picture frame project, and have had a go, we would love to see your pics! Take a picture, and share it with us on social media. Search and tag @axminstertools on Facebook and Instagram or upload to our online gallery.
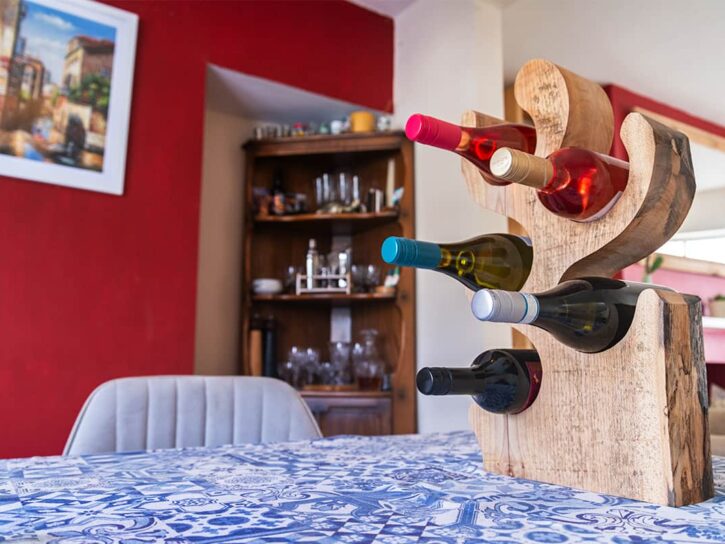
If you have enjoyed making this beginners woodworking project, then why not make our simple sofa table and tidy using a pocket hole jig or make a wine rack using a bandsaw.