How To Make A Mortice And Tenon Joint Using Machinery
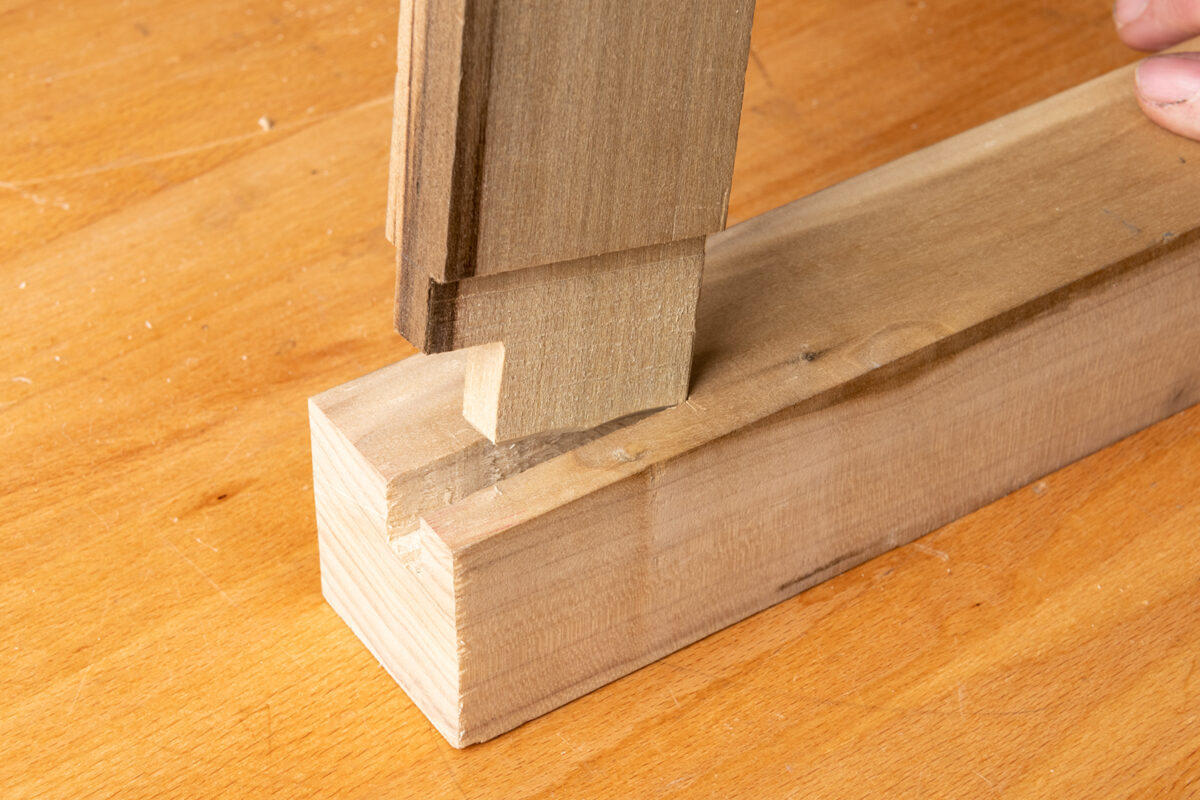
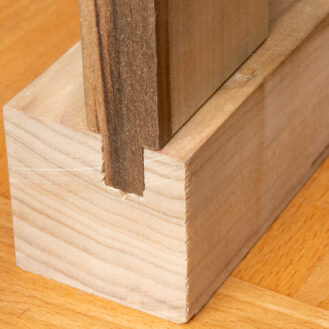
The traditional mortice and tenon joint has been around forever and is used more than any other method of joining sections of timber together. Forming an incredibly strong joint, it’s also very versatile, being used in fine furniture through to oak frame buildings.
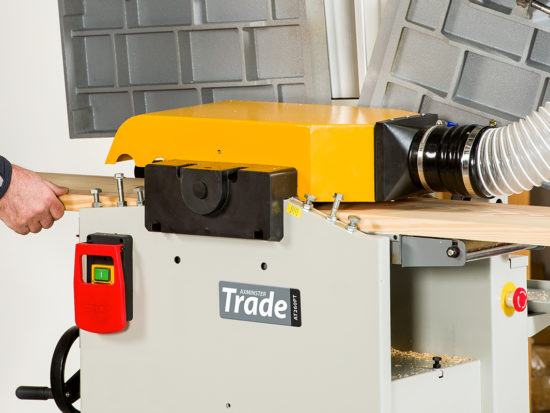
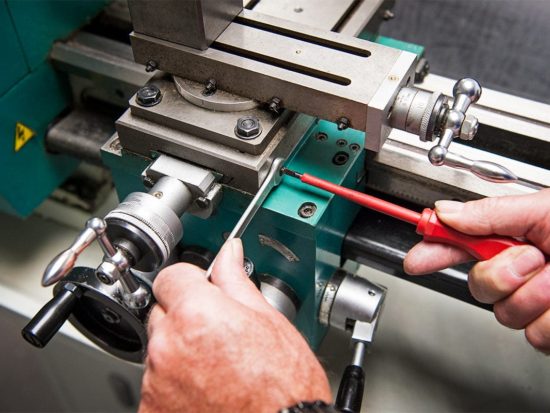
There are numerous variations of the mortice and tenon joint, as well as various methods of cutting this joint. The modern morticer machine and bandsaw are the perfect partners for this.
What you'll need
Here's your handy how-to on how to make a mortice and tenon using machinery:
Marking out the mortice
Step 1
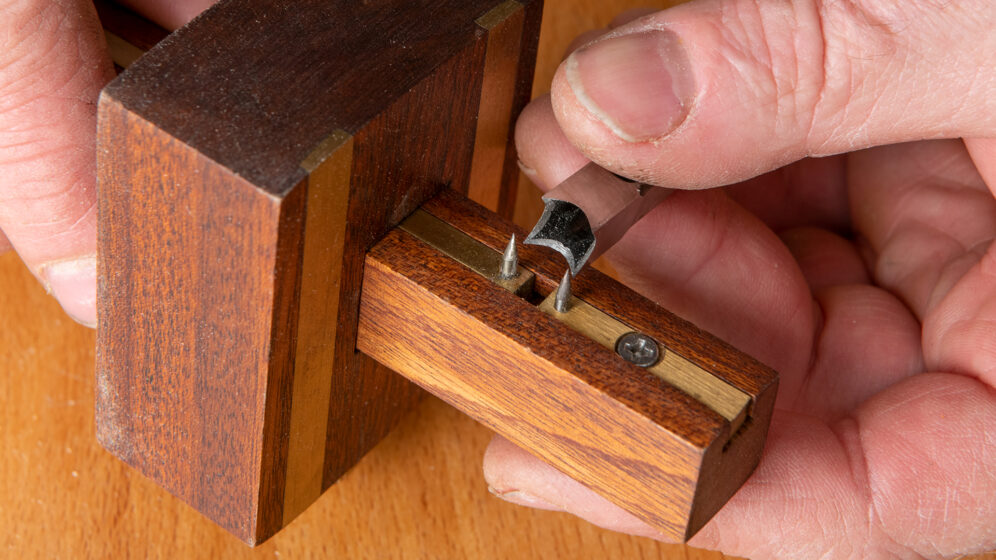
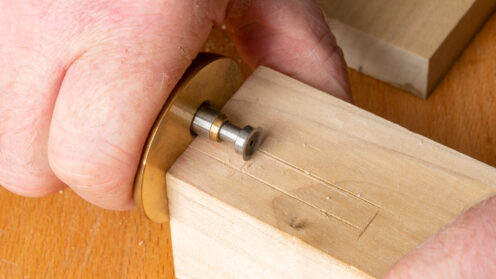
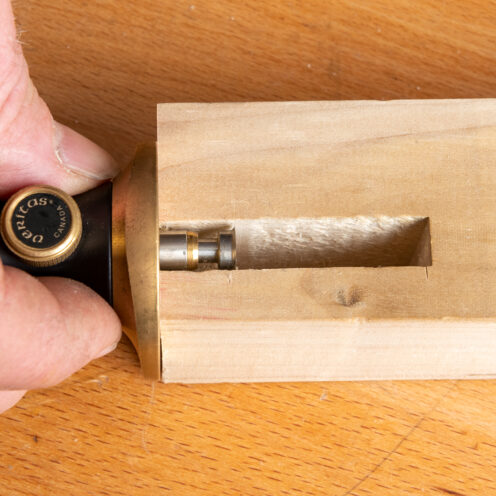
To mark out the mortice, select the size of chisel that you require, set up a mortice gauge to the size of the chisel, then measure and set up the position of the head of the mortice gauge and lock it in place.
Step 2
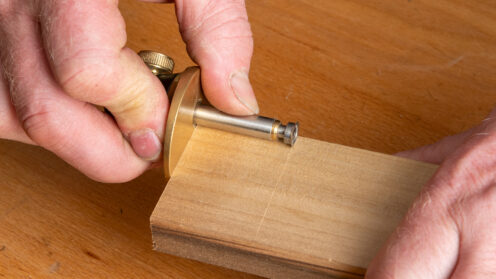
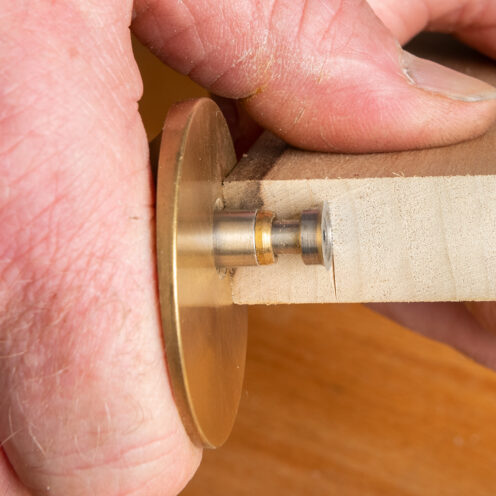
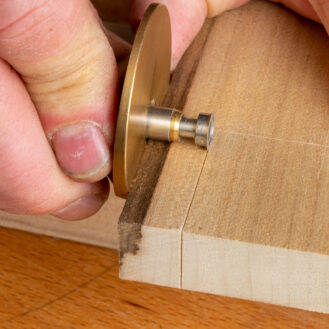
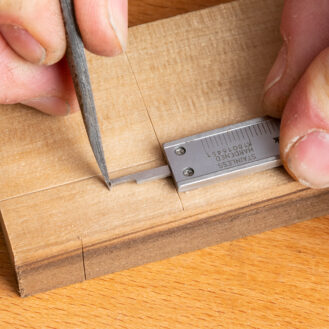
As we are marking out a mortice on the end of a section of timber, a cutting gauge can be used. Set this up to the width of the rail; if the position of the mortice means the cutting gauge cannot be used then a square and marking knife will be used. Scribe a short line across the grain within the area where the mortice will be located. The idea of the short line is this will be covered by the rail, if a line is scribed across the whole width of the section of timber the cut line will show on the completed joint.
Step 3
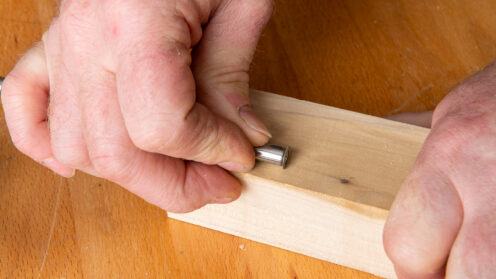
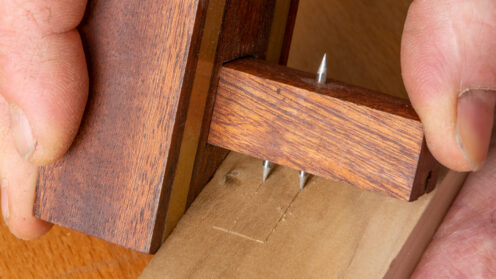
Use the mortice gauge, working from the short-crosscut scribe line, towards the end of the timber, to mark out the width of the mortice. If this is central within a length of timber, use the points of the mortice gauge pushed firmly into the length lines of the mortice, this will act as a start-stop point for the mortice gauge, ensuring that you don’t overrun.
The stop point on the end can then be scribed in place cutting between the mortice gauge lines.
Step 4
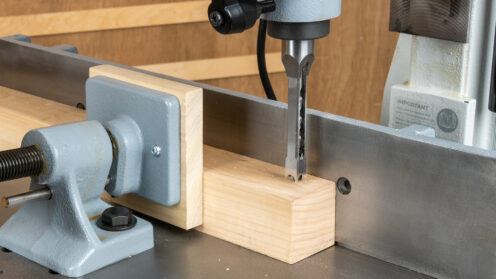
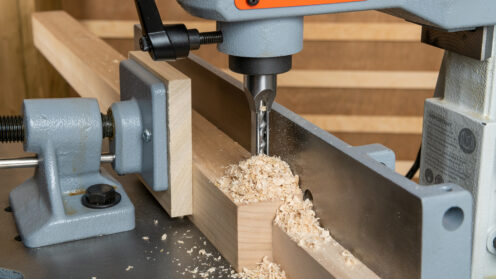
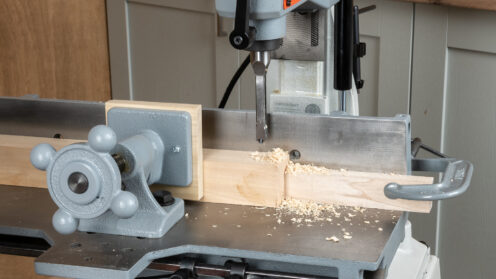
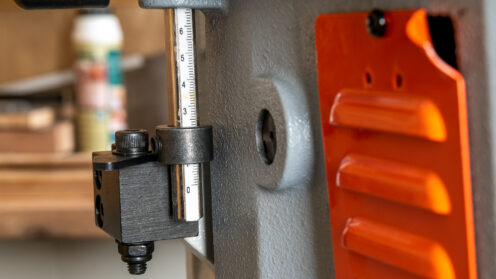
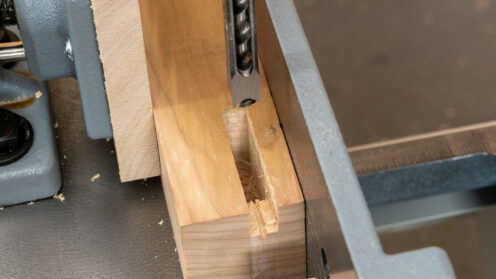
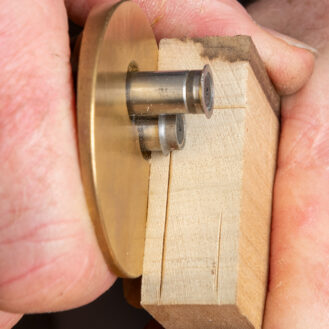
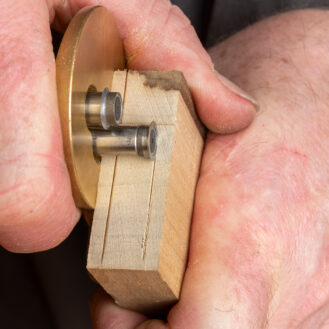
With the mortice chisel set up in place within the machine, use the back fence to ensure that the chisel is parallel to the fence and that the flute is positioned on either the right or left-hand face of the machine and not the front. Otherwise, this will cause the chisel to clog on the waste which will result in splitting the chisel. With the workpiece held in place in the machine, note that the clamp is not holding the work where the mortice will be cut, as this will put pressure on the chisel when cutting. Move the table forward or backward to set up the chisel position in line with the marked-out mortice. The length stops can then be set up to limit the amount of right-to-left table movement, and to make this repeatable, clamping on a length stop ensures that the workpieces are set up in the same location. The last remaining item to set is the depth of the cut. With all of this now setup, now plug into the mains power.
Cutting the mortice
Step 5
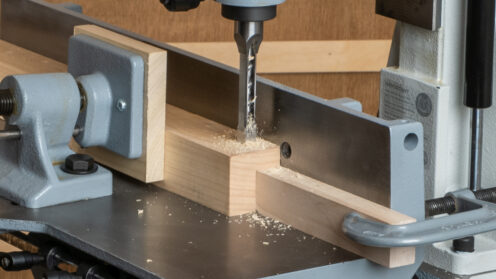
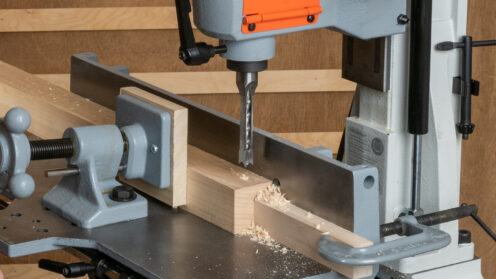
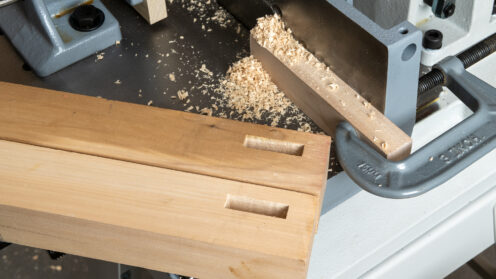
The first cut is important; starting with the flute facing away from the length of the cut, take a light cut down to the set depth. This is done in short bursts to remove the waste, which has to be carried up the depth of the cut within the chisel. If this is too heavy a cut, this can clog up the chisel, which can split the chisel or snap the auger. Material density is important to remember, also. With the first cut done, rotate the handle to move the worktable, so that the workpiece is moved by about half the width of the chisel, then do the next cut. The waste from this will come out of the open slot of the chisel and go into the first cut hole - repeat this along the length, to complete the desired mortice length.
Step 6
Most machine morticers have a depth stop that can be set up to do two different depths of cut, this allows the main mortice and then the haunch to be set and quickly machined.
Marking out the tenon
Step 7
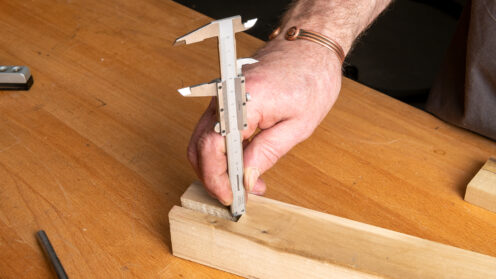
Measure the depth of the mortice then take 2mm off to ensure that the tenon does not bottom out. Set this measurement up on a cutting gauge and scribe around the section of timber working off the prepared end.
Step 8
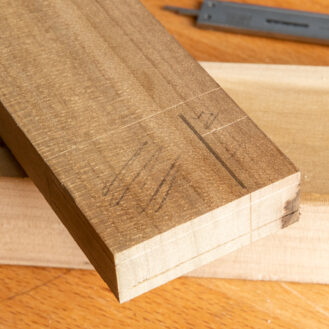
Measure the haunch length and depth, then transfer these measurements to mark out the size and position of the tenon.
Step 9
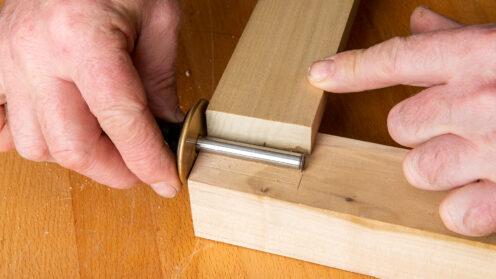
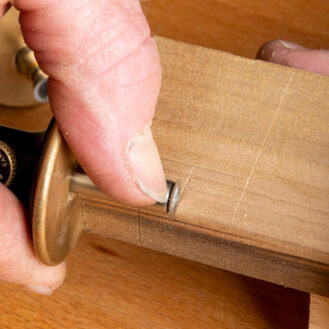
Set up the mortice gauge to the width of the chisel used, then using one of the scribes mark a small line working off either side of the section of timber to centralize this, (if the tenon is offset, set up as required). With the marking gauge set scribe out the position of the tenon, working off the face side, marking along the grain and stopping at the scribe line that indicates the overall length of the tenon. If using a wheel marking gauge, engage each of the wheels separately as this is easier to control. This completes the marking out.
Cutting the tenon
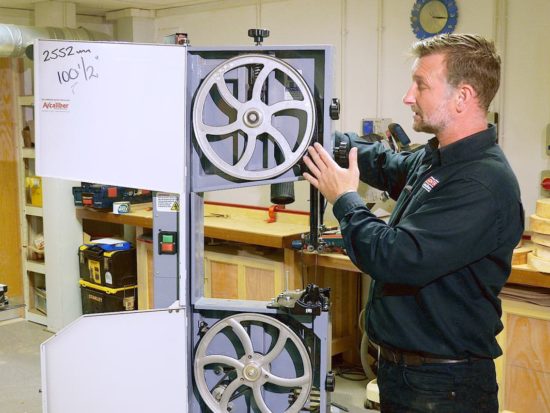
This can be done using several machines, but the bandsaw makes easy work of this.
Step 10
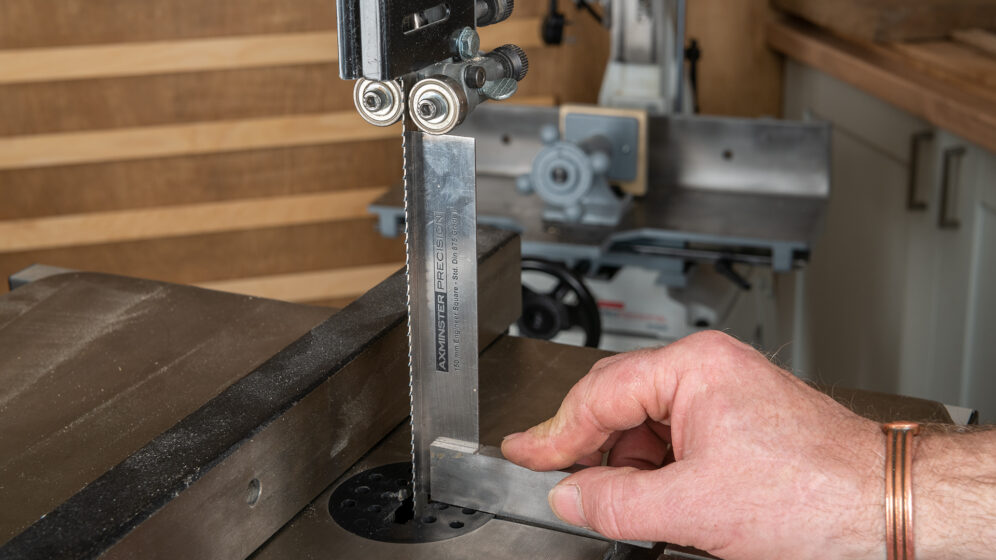
Check that the bandsaw is correctly set up: the blade to table and fence to table need to be square.
Step 11
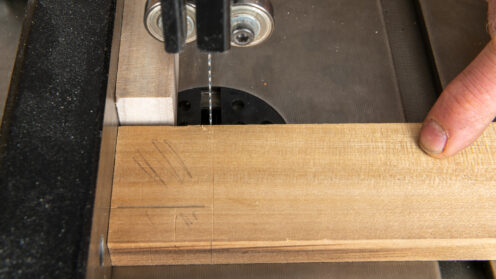
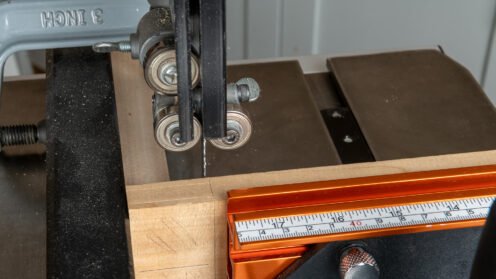
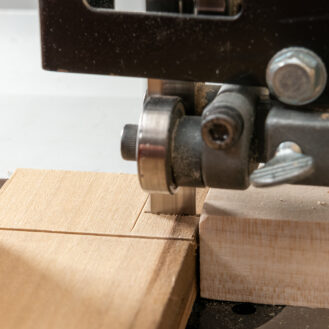
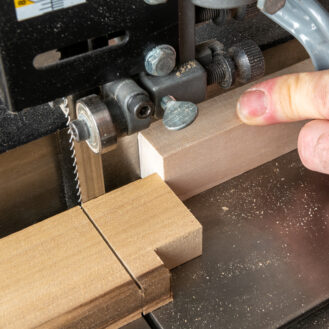
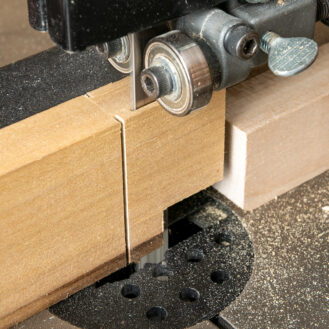
Set up the position of the fence to cut the shoulder lines and clamp a block onto the rear of the fence to create a stop block to limit the depth of cut - use a mitre fence (ensure this is square to the main fence). Cut the shoulder line to the depth. Keep the bandsaw guides as low to the work as possible as this is safer and will also result in a more accurate cut.
Step 12
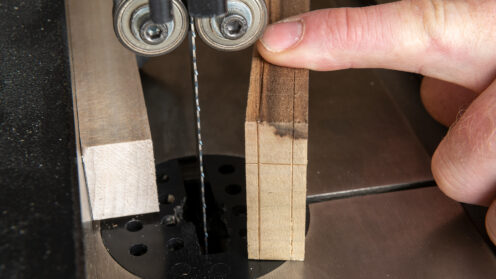
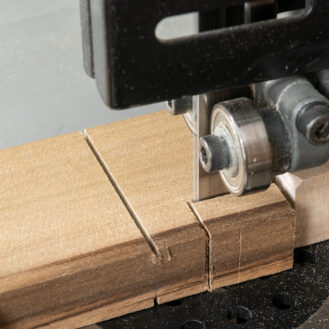
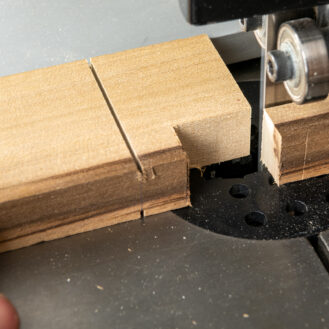
Reset the position of the fence to cut crosscut and rip along the grain to form the haunch section of the tenon. The stop block clamped onto the fence can also be used.
Step 13
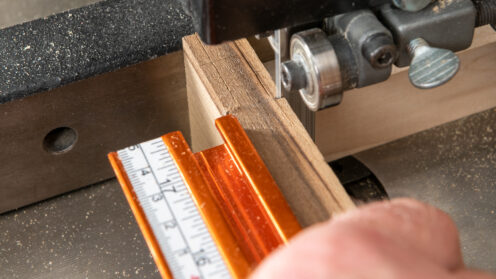
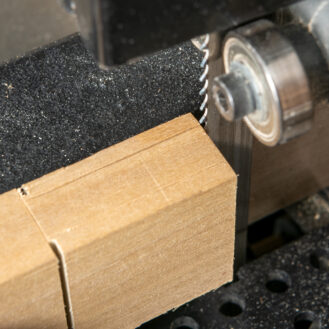
Position the bandsaw fence to rip cut to remove the tenon cheeks. Reset the rear stop block in position to line up with the tenon shoulder line, double check these, ensure that the blade is cutting on the waste side of the line. Also, ensure the blade guides are low to the work and feed slowly to ensure that an accurate cut is achieved.
Step 14
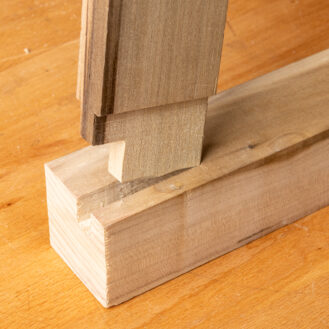
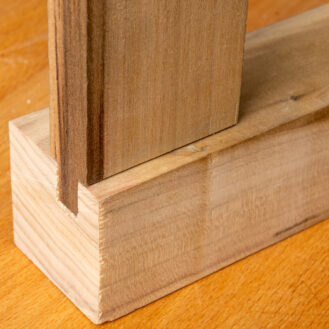
Fit the mortice and tenon together.


