Simple Fixes For When Things Go Wrong In The Workshop
Rob Stoakley offers you some top tips and simple fixes for improving your workshop when things start to feel like they're going wrong.
Problems: what causes them?
It has been known, occasionally in the past for me to make mistakes. The odd gaffe, which is never deliberate, but seems to happen with unnerving regularity. Why this happens is beyond me, but happen it does.
Sometimes these mistakes are so bad that more than once a complete project has been turned into bandsaw fodder. That said, there are mostly good days when things go right. You’re ‘in the zone’. But then sometimes you get the odd ‘bad’ day, when nothing seems to go to plan. The minute I step into the workshop, stuff starts to go wrong and there’s only two ways to counter it. Either lock up and do something else for the day, or, go into the kitchen. I find myself some decent dunking biscuits and drown my sorrows with a very large mug of tea.

Music or the lack of it…
In the workshop, many people like to listen to a little light background music and I used to be no exception. My digital wireless was usually tuned to Radio 2 for most of the day. But I found that far from being relaxed, the never ending background of mostly inane music became a constant irritation. One part of me was tuned to an old 60’s offering from the Stones, and the other, which should have been concentrating on getting a set of dovetails to fit, was bouncing up and down to ‘Satisfaction’. Needless to say, the crystal set disappeared in fairly short order and now the loudest thing in the 'shop is the ticking of the clock.
Problems: how to fix them
Mistakes are inevitable and will require some sort of fix. So here are a few that I’ve accumulated over the years.
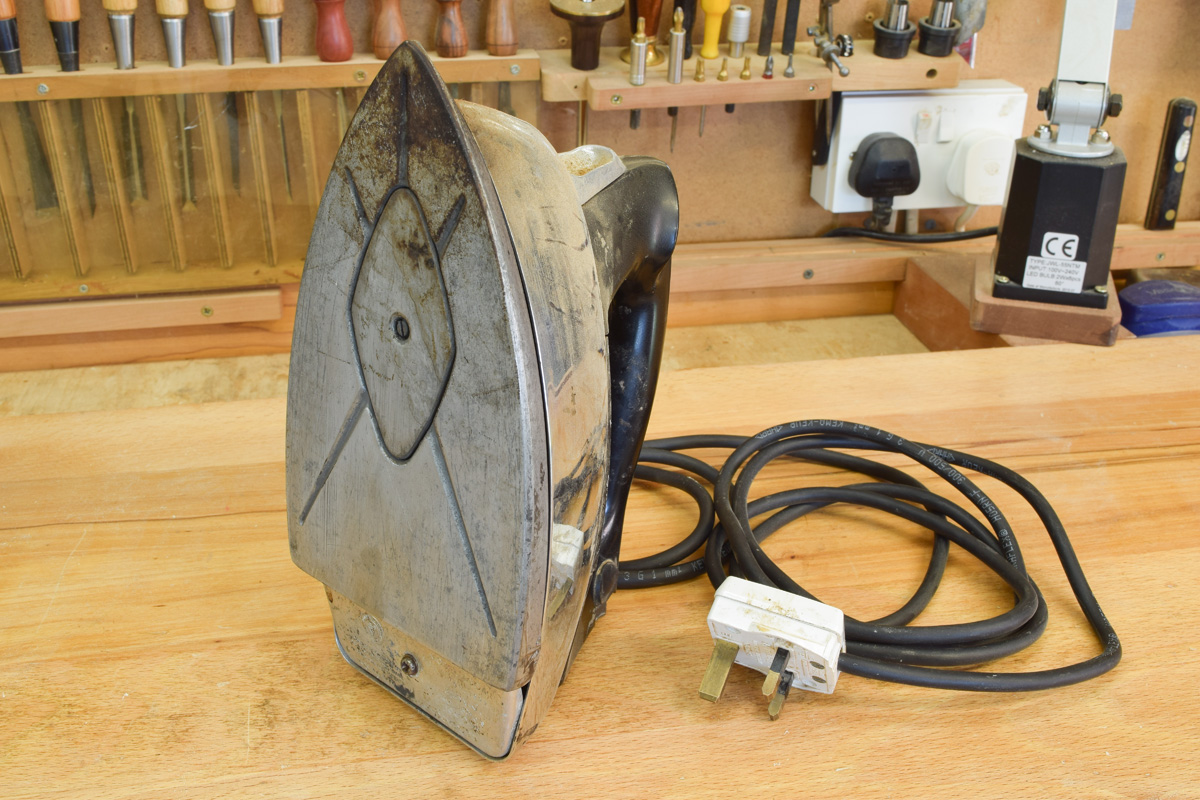
The Cabinetmaker’s Iron
Dings and dents occur with monotonous regularity. However, they are easy to remove by drenching the affected area with scalding hot steam. Dip a rag into clean water, place it over the offending ding and dab the tip of an ordinary domestic iron on it for a few moments. The steam will penetrate the fibres and the dent will sometimes be raised higher than the surrounding wood. However, this very useful fix won’t work if the area has been polished or if the wood fibres have been cut. The iron can also be used to set small areas of PVA glue in record time, but in this instance a piece of thick paper or card should be placed on top of the wood or else the heat is liable to burn the surface.
Super Glue
I discovered the wonders of Cyanoacrylate or ‘superglue’ fairly late, even though it’s been around for decades. I tried some cheap stuff several times without much success. It wasn’t until I used some decent glue that I realised how effective the bond is for a really quick fix. For example, when there’s a small amount of end grain break-out if the shooting board’s been used too enthusiastically. Great though it is, the setting time can be almost instant if an accelerant is used. 'Superglue’ also makes a great filler if mixed with some very fine sawdust from the project you’re working on.
The Dutchman
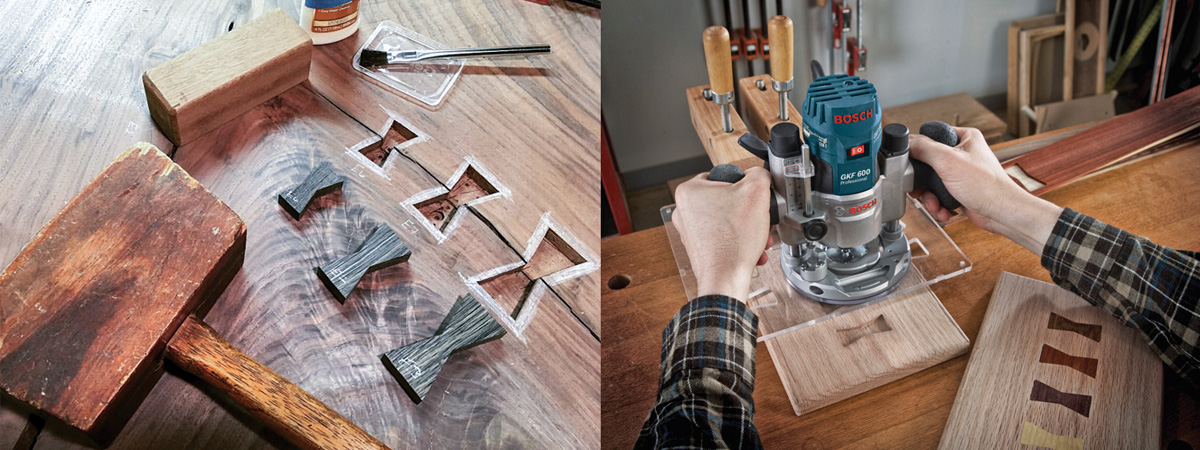
A highly technical name for a patch and, to be effective, it must be made from the same timber as the project. Done skilfully, a Dutchman can be almost invisible, provided that the grain pattern and colour match. But done poorly, the repair can stick out like a sore thumb. Alternatively, the technique can be used as a feature to enhance the project, particularly when ‘butterflies’ are used to repair and strengthen a defect or large split in the timber.
Tape and Rubber
No workshop should ever be without good quality masking tape. When splinters or damage occur on an edge, it’s very difficult to clamp it or the repair back in place. But the stretchy qualities of masking tape mean it’s very easy to apply the pressure.
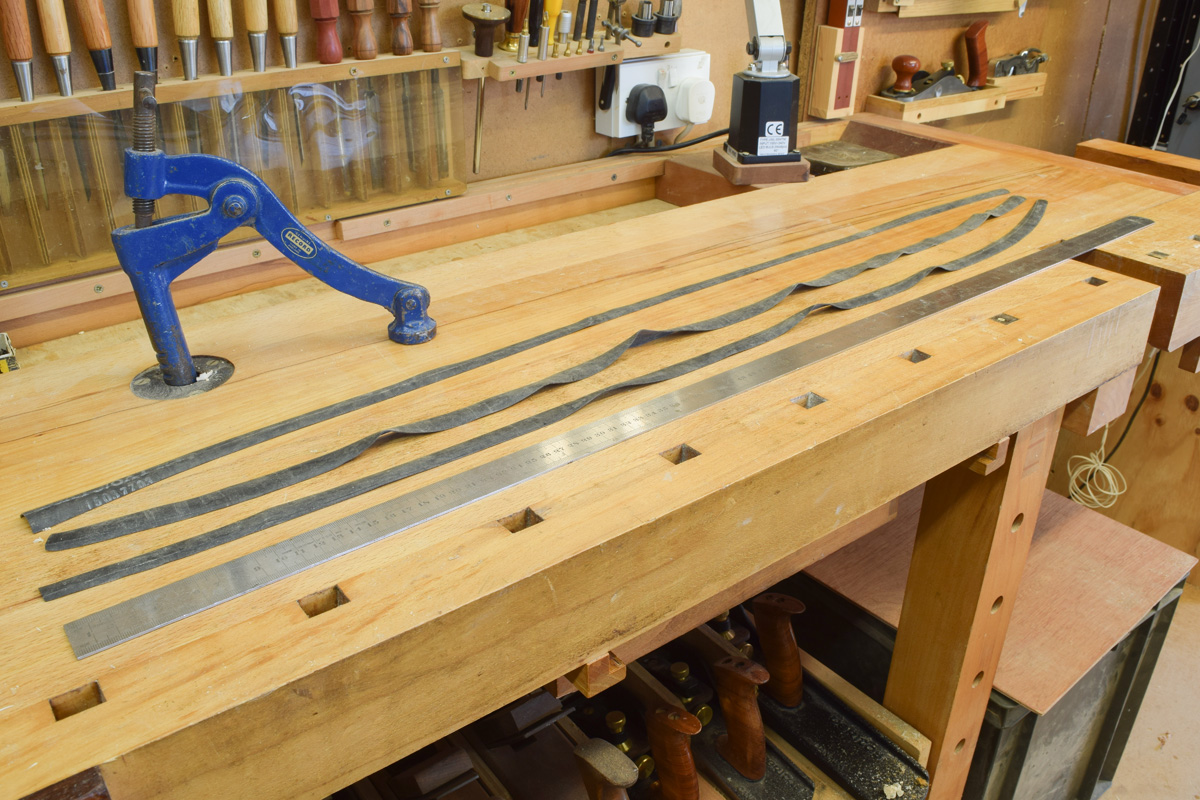
Using an ordinary clamp on curved objects is next to impossible. In this instance something flexible is needed. The best stuff that I’ve found is rubber and the cheapest source is to cut up lengths of old cycle inner tube into strips around 12mm wide. One single inner tube from a full size wheel will provide a few decent lengths of rubber and three or four around a metre long ought to be more than enough.
When one end is secured, and the remainder is progressively tightened, the pressure on the workpiece is staggering. The image shows a tapered, oval pine test piece with another square section of material glued to it. It has been clamped in place with some strip rubber lashings. Using ordinary clamps on this sort of shape would be very awkward, but it’s easy this way.
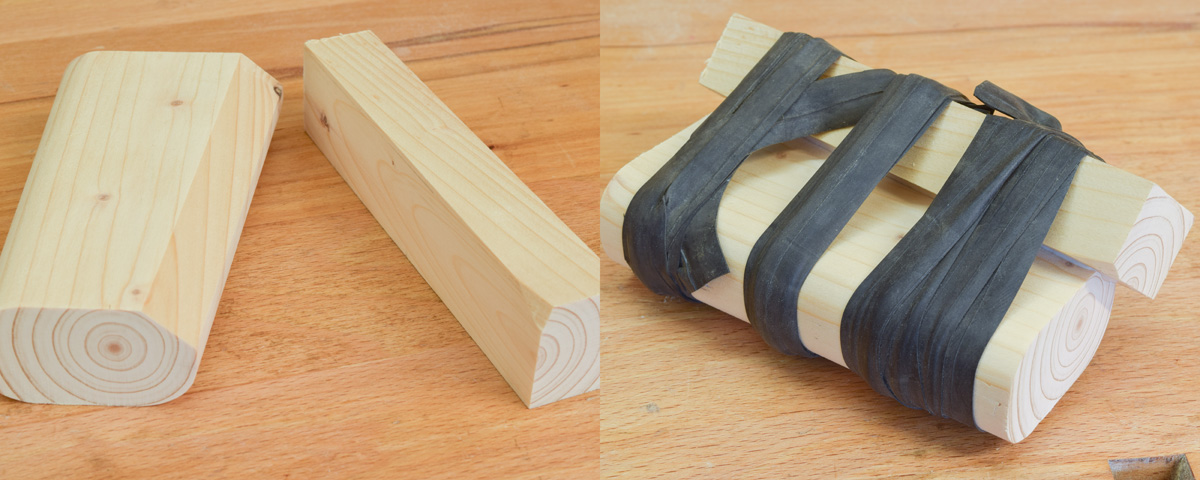
When the square piece has been blended into the original profile, the only difference is the grain pattern, which shows where the square block used to be.
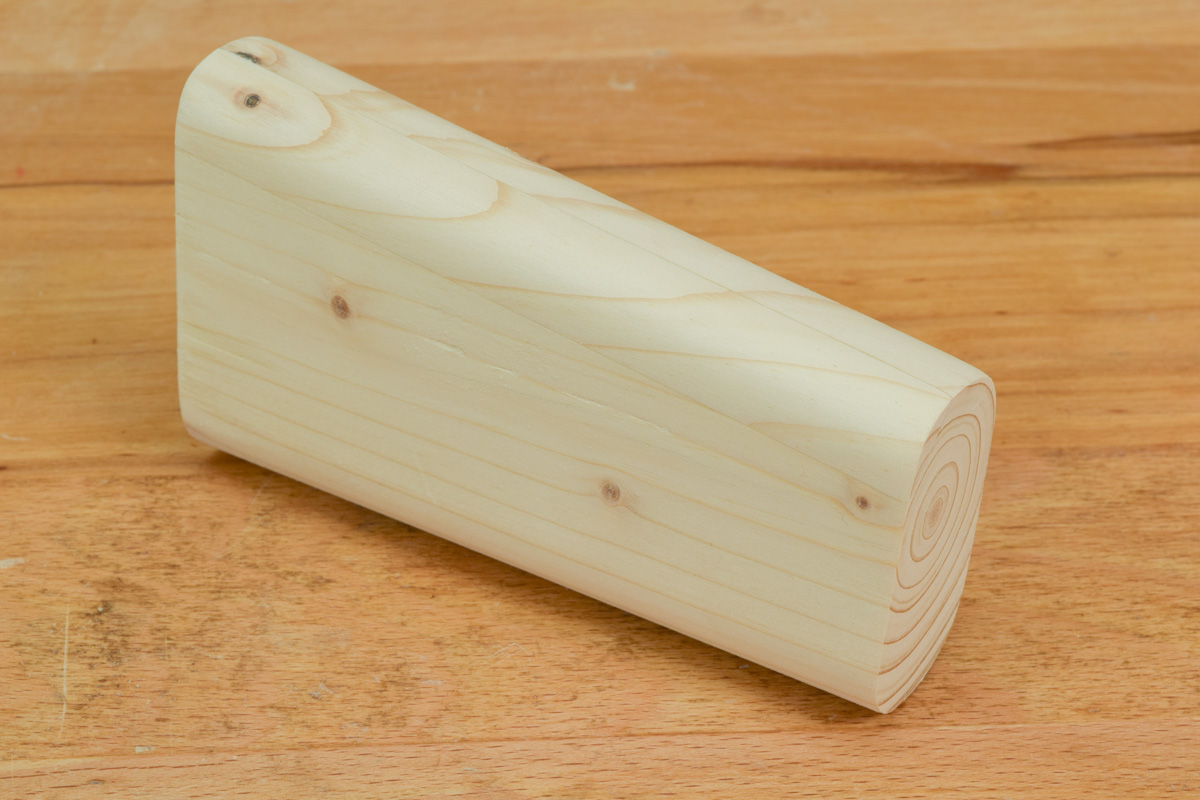
Using cycle inner tubes has extracted me from a very deep hole on more than one occasion.
There are dozens of different ways to fix tricky little problems in the workshop. If you have any more, we’d like to hear about them!


