Your First Woodturning Project - Turning Your First Bowl
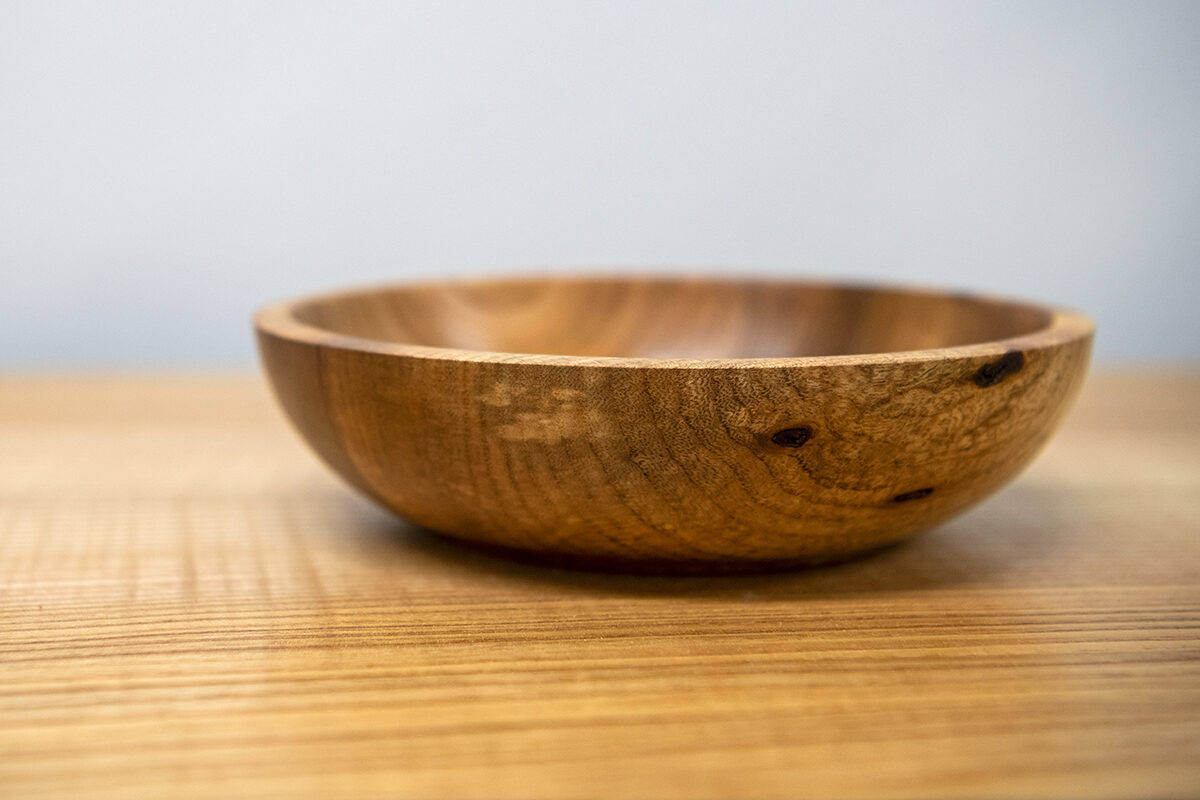
Recently bought your first Axminster Craft lathe and want try your first woodturning project? We’re here to help with a fantastic video on how to turn your first bowl, presented by Professional Turner and Woodturning Tutor, Colwin Way.
Learn how to turn your first bowl
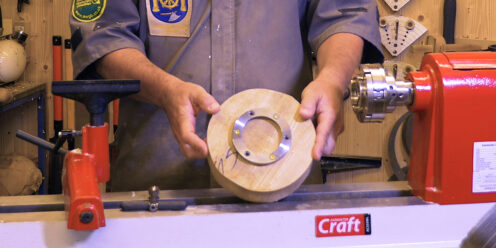
Attach a faceplate ring to your bowl blank
If you are unsure of how to do this, here's how. Firstly, take your blank and find the centre using a set of dividers. Mark the centre with a pencil. Now it's time to prepare and mount the faceplate. Using four screws, screw into position going out 25mm/ 1 inch deep to hold in place.
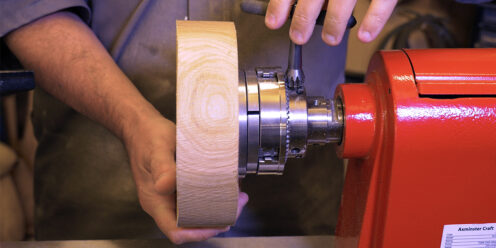
Attach to your chuck
Using the chuck key, close the jaws to the smallest and expand out onto the bowl blank. Please note: There's a little dovetail recess in there that it grips onto.
As you thread the faceplate ring and bowl blank to your chuck, check that the belt is on the correct setting. In brief, each pulley setting equates to a different torque setting and gives more power.
True up the outside of the blank
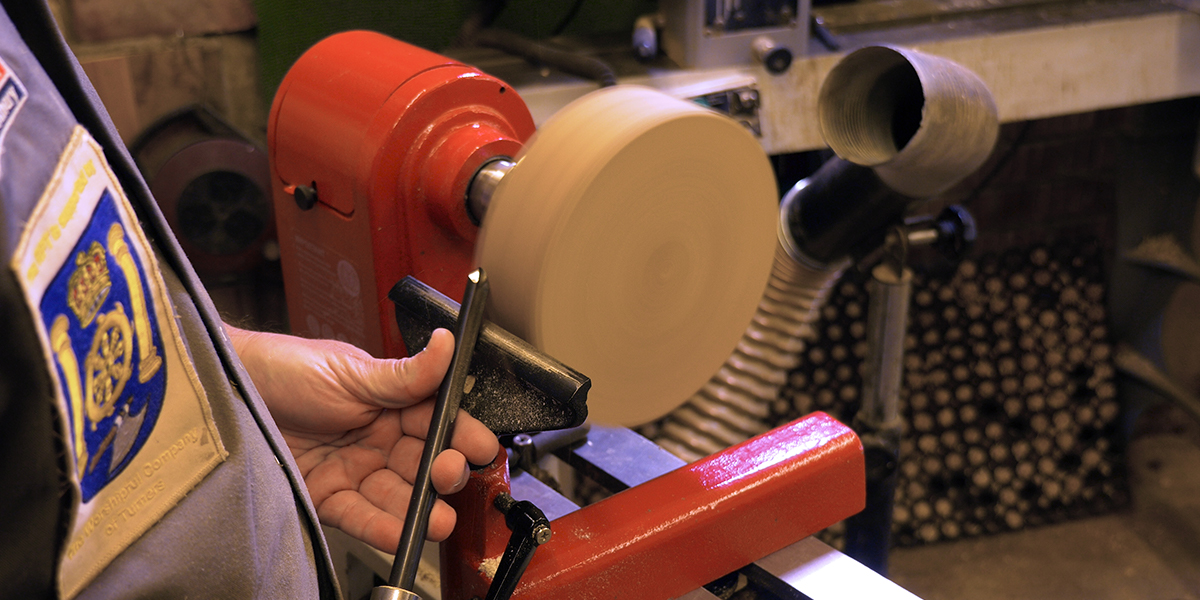
Next, to make sure the blank runs evenly on your lathe, you'll need to true up the outside of the blank. For this stage, make sure your tool rest is along the edge of the blank. Next, turn on the lathe and stand back. Gently turn the lathe up to around 1,000 rpm. Please note: this will vary due to blank size. Dependent on your lathe, it'll start moving around a little if it's struggling.
Don't forget your PPE!
As with all woodturning, it is essential you wear suitable Personal Protective Equipment (PPE). You need to ensure you wear eye protection not just for turning but also for sharpening. What’s more, you will need suitable Respiratory Protection Equipment (RPE) such as a respirator or dust mask.
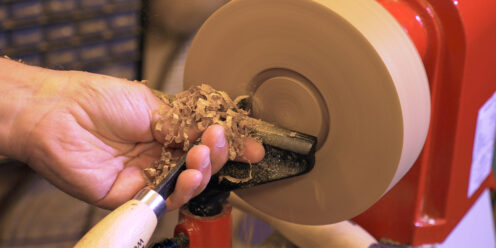
Skim the outside edge
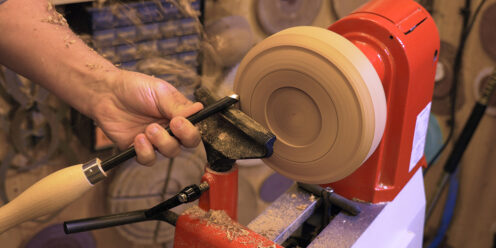
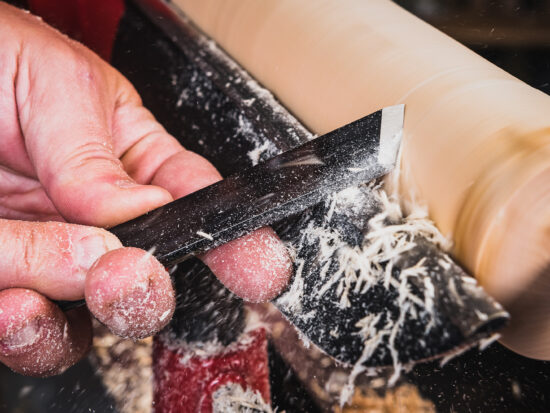
Keeping the handle nice and low, use a bowl gouge to skim the outside edge. Here we recommend a 10mm 3/8" bowl gouge.
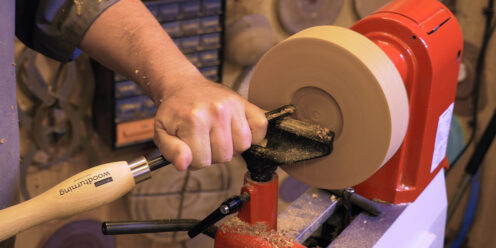
Clean up the face of the blank
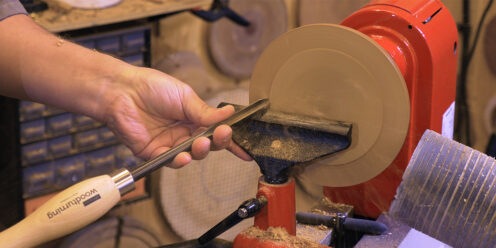
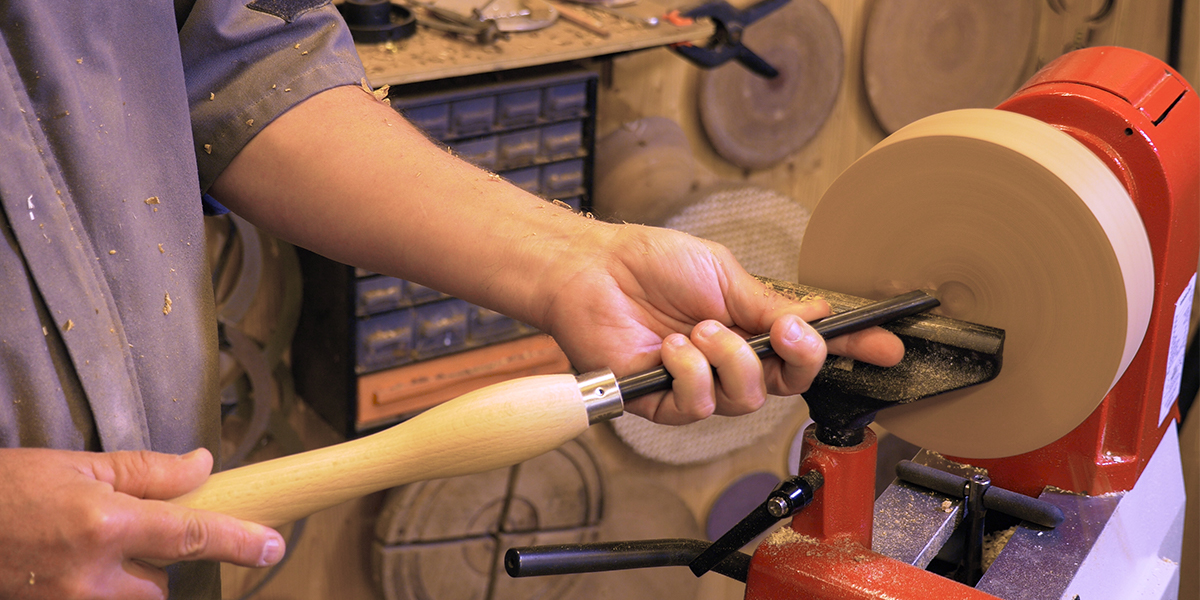
Firstly, make sure nothing is touching the tool rest. Next, bring the tool rest around to the front and, with a pencil, mark out the centre of the blank. Set the rest just below centre. This allows the tool to cut to the centre of the blank. Here, use the bowl gouge to run across the surface. Skim with the bottom edge of the gouge with the flute facing around about 10 o'clock. Each cut will get flatter and flatter and will produce a nice, round and even blank, ready to start shaping.
Create a recess
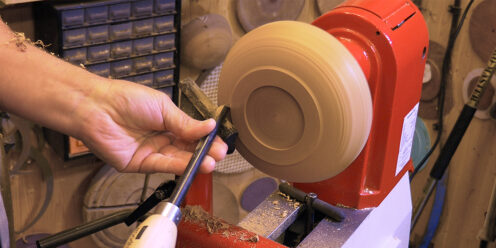
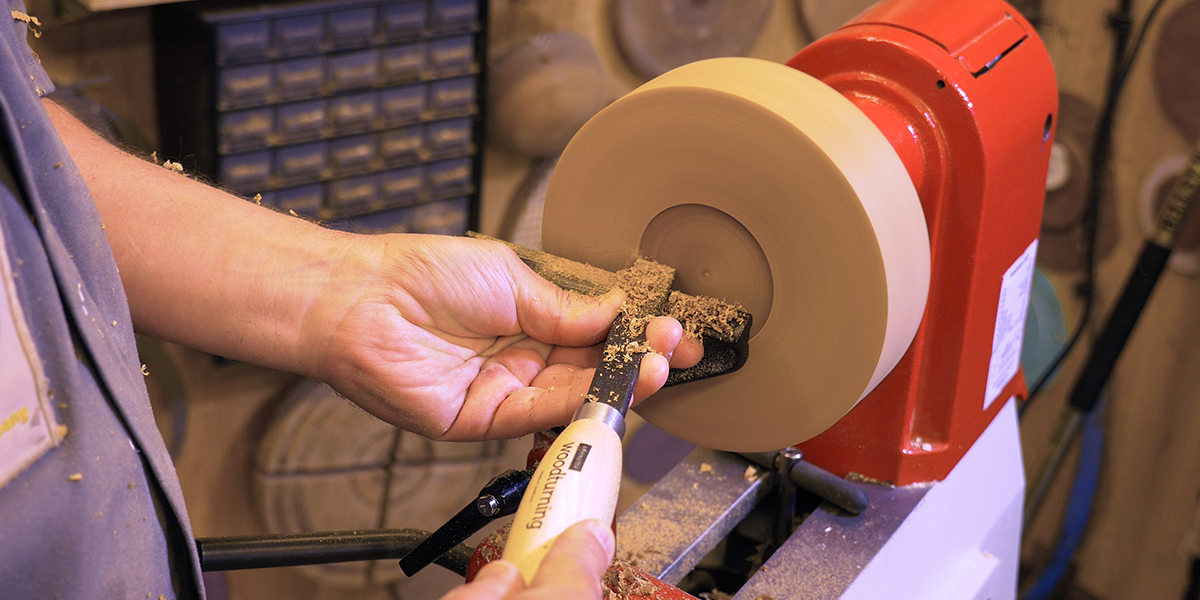
The next stage is to create a recess and expand the chuck into the recess. To do this, start by measuring the recess and then set your dividers to the right size for your jaws. Next, start the recess with your parting tool. Make a couple of incisions at 5-6mm depth.
Clear the waste
Use the bowl gouge to clear away the waste but without the bevel rubbing this time. The flute direction should be about 2 o'clock, travelling towards the centre. It is important to to it this way as drawing the gouge from the centre outwards puts you at risk of hitting the important edges you've already created.
Finish the recess and create a dovetail
Firstly, do a finishing cut with the bevel rubbing. Secondly, use a skew chisel to create a dovetail for the internal part of the chuck jaws to grip on to. This will finish the recess off. Please note: the dovetail will be the same profile as the outside of the jaws you are going to hold this with.
Make a foot
The bowl in our example will sit on its own foot. To create this, use a pencil to mark out the foot the bowl will sit on. Next, use the skew chisel as a scraper to clean up the foot. Using the bowl gouge again, remove the waste material by pulling towards you.
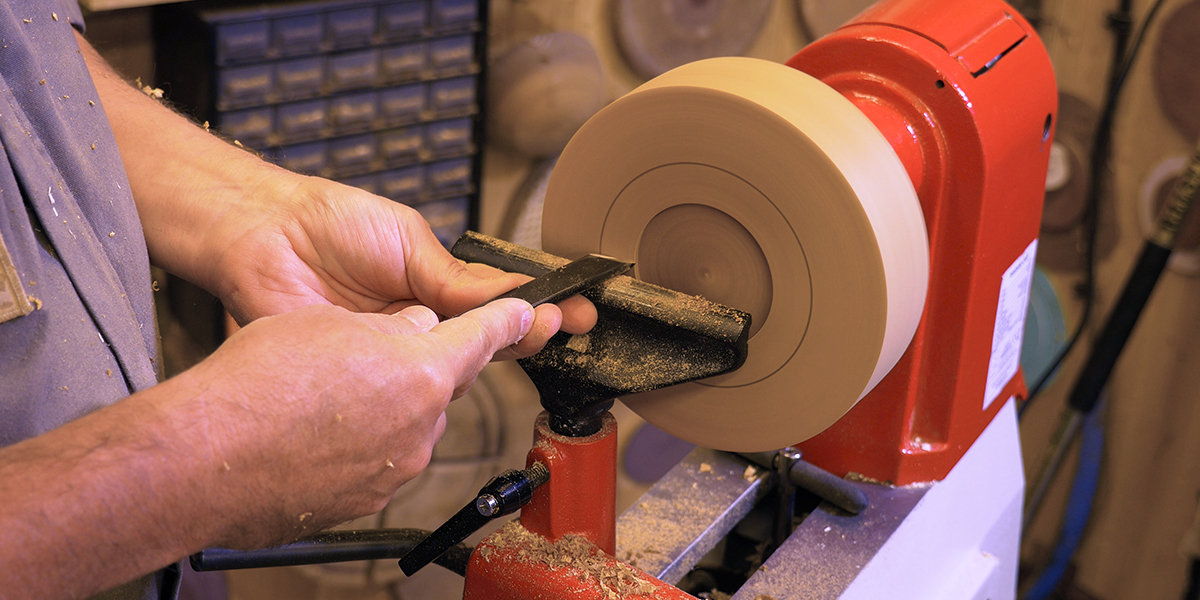
Shape the outside of the bowl
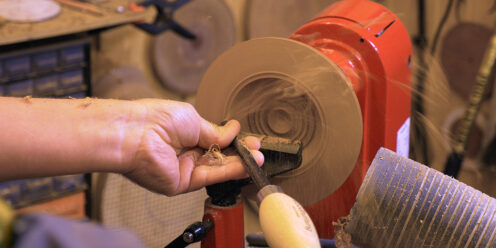
Next, pull the tool rest out a little further. As you start taking away the corner, you can start to pivot the tool rest around to get it as close as possible. As you remove timber, you'll notice you have the basic shape of a bowl however, the surface will be quite rough. Please note: not all timber produces ribbons so please don't worry. In this example, we have used elm.
Refine the shape
It's now time to refine the shape of your first bowl. Firstly, adjust the tool rest again and put the handle towards the edge of the bowl and rub the back of the tool. Next, turn the lathe speed up a little bit and bevel rub. Bring the handle round so you get the contact area. Next, push up the length of the chisel and let it slide. You'll now have a cleaner bowl; just make sure there's no lumps or bumps you don't want.
Sand your bowl
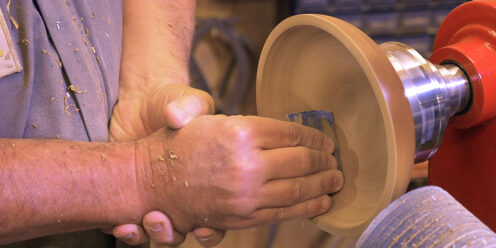
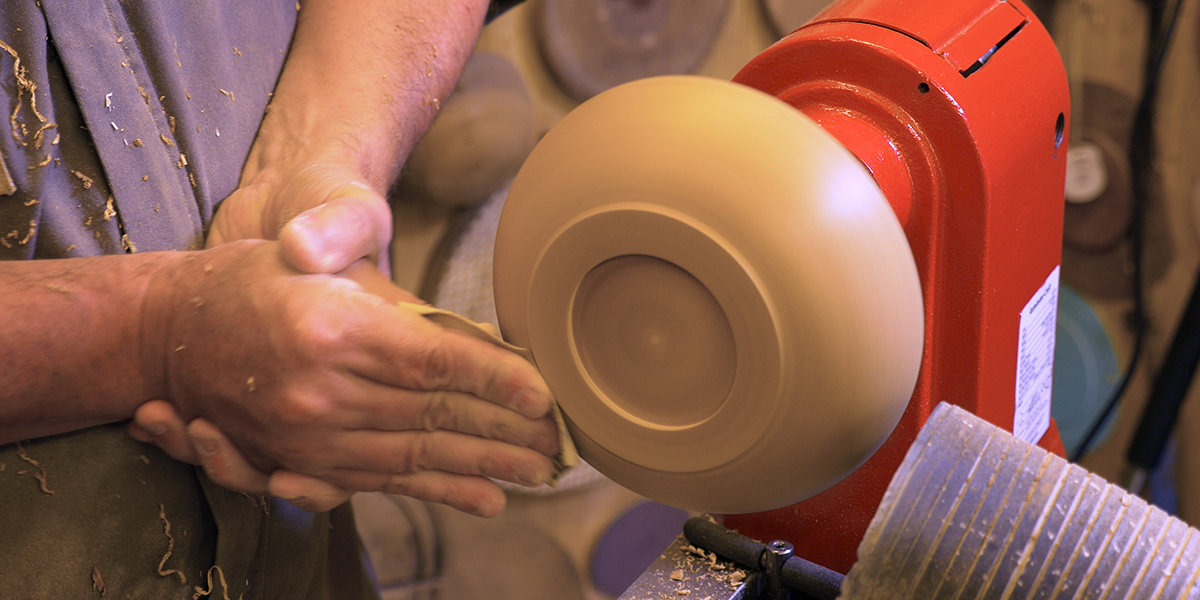
Start with 100 grit and work your way through 150, 240 and 400 grits. As always, ensure you are using appropriate dust extraction while you are sanding.
The first sand using 100 grit is really important as it will remove all tears and blemishes such as turning lines, if you have any.
Finish the outside of your bowl
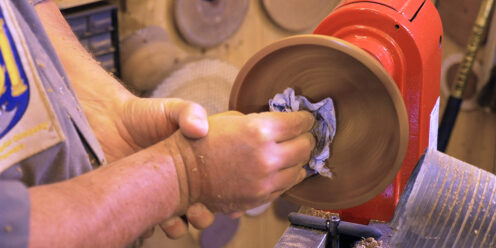
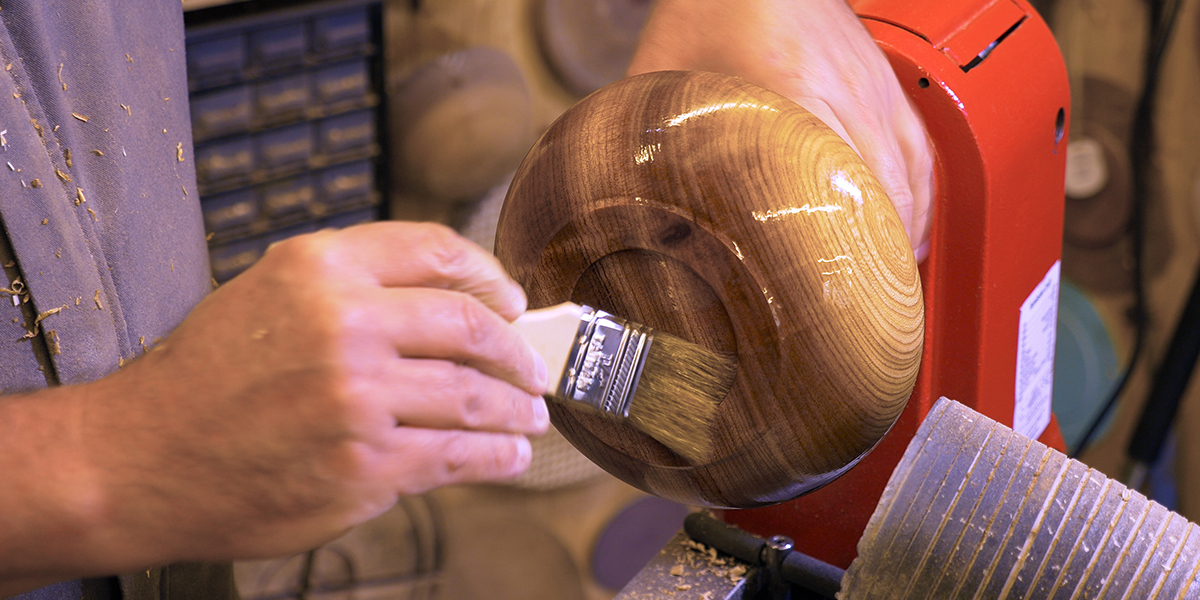
With the lathe stopped, add a finishing oil directly with a brush to a good saturation point. Here, we recommend Liberon Finishing Oil. Let the finish soak in and wipe off the excess. Please note: it will take a few hours to dry. Next, with the lathe running at its slowest speed, use a tissue to burnish the bowl. The outside of your first bowl is now complete.
How to turn the inside of your first bowl
Re-chucking your bowl blank
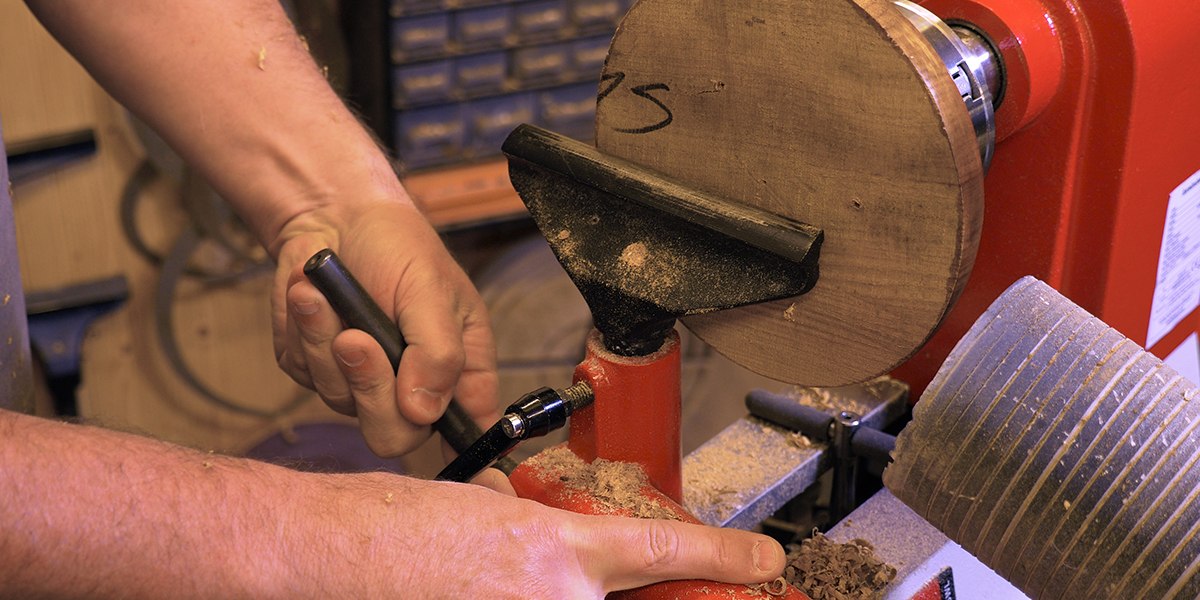
Firstly, remove your bowl from the lathe turnover and expand the chuck jaws into the dovetail. Measure to check you have the correct size; you should find that the size of your bowl is the same as the jaw. Next, remove the faceplate ring by undoing the screws. Now, without it touching the bowl blank, adjust the tool rest so it is up against the face. Finally, turn your lathe down to its lowest speed.
Clean up the edge of the face
With a bowl gouge, clean the edge at about 1,000 rpm. Make sure the flute of the gouge is facing about 2 o'clock and work from the edge inwards towards the centre. This will produce a crisp and clean edge.
Take the centre out of the bowl
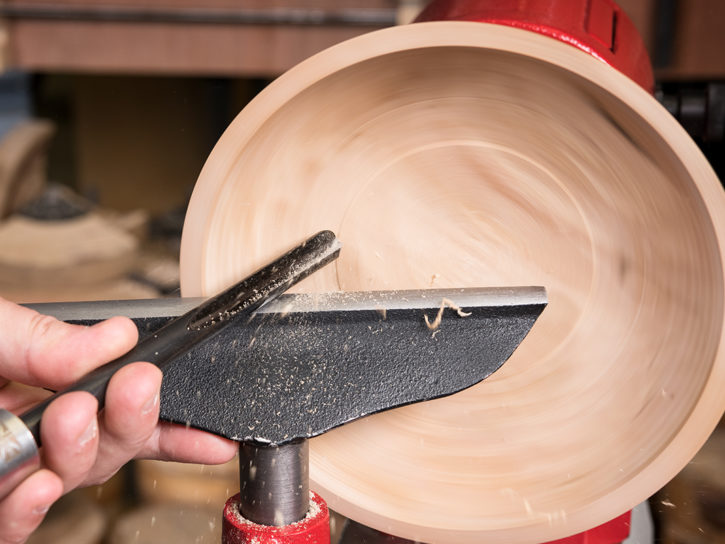
Again, use the bowl gouge to take the centre out. Begin right up close, have a little pause and let a shoulder form to stop the chisel from grabbing. Take your time and don't be inclined to rush. Next, push the bevel of the tool against it. Push from your right hand up and swing the handle around as it moves forward. Repeat this process twice.
Once you've done this, turn the speed of the lathe up a little. At this point, it is important that you do not go to the final depth of your bowl or you could risk going through the bottom of your bowl. With this in mind, make a series of cuts to a false depth to remove excess material. The cuts will stop at this set depth each time. It is now time to switch off the lathe and check for thickness and also make sure your bowl is even. Please note: if you choose to use calipers, be careful not to scratch anything. Make any necessary cuts to get to your desired thickness. You will end up with a nice finishing cut which is ready to sand.
Next, remove excess material from the bottom of your bowl. As before, you'll need to remember to stop the lathe periodically to check for thickness. Lastly, remove the final material from the bottom of your bowl. Once you've done that, stop your lathe and check for any blemishes using your fingers.
Final sand
Start with 100 grit and work your way through to 150, 240 and then 400 grits of abrasive. Pay special attention to any end grain areas. Stop your lathe every now and then to check the progress and see if any areas need particular work.
Apply finish
With your lathe switched off, use a brush to apply finishing oil. Wipe off any excess oil with some tissue before you start the lathe so you don't get covered in excess oil! Next, turn your lathe speed right down to its lowest speed and burnish your bowl with a tissue. In this position, don't forget to burnish the outside of your bowl again. Once this stage is complete, you've successfully turned your first bowl!
Discover more...
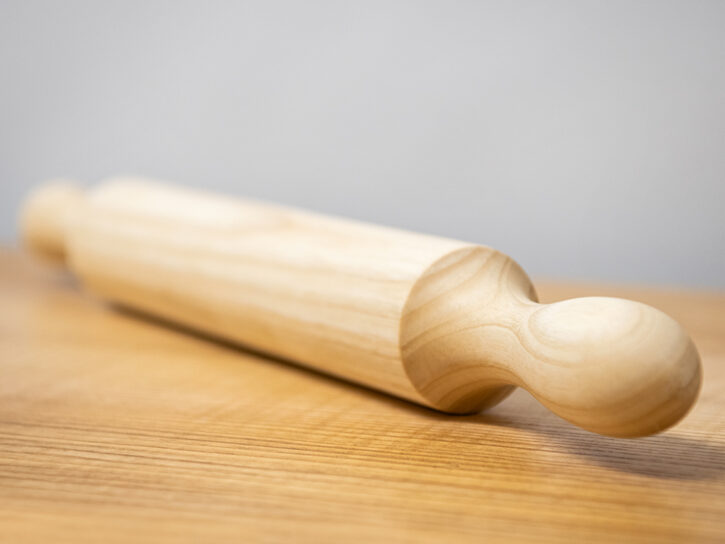
If you’ve enjoyed reading this article, keep an eye out for more helpful How Tos, Projects and Top Tips. We've got a selection of articles for you to choose from including Your First Woodturning Project – Making A Rolling Pin as well as A Beginners Guide to Woodturning Tools. If you've recently bought your first lathe but aren't sure which turning tools you'll need, Professional Turner and Woodturning Tutor, Colwin Way, explains each tool and how to use them.
Get connected!
Follow us on Instagram and Facebook to stay up to date on all the latest from our woodworking How Tos and woodworking projects. Connect with us using #AxminsterTools to @AxminsterTools.


