How to Make a Mini Finger Skateboard | Beat the Boredom
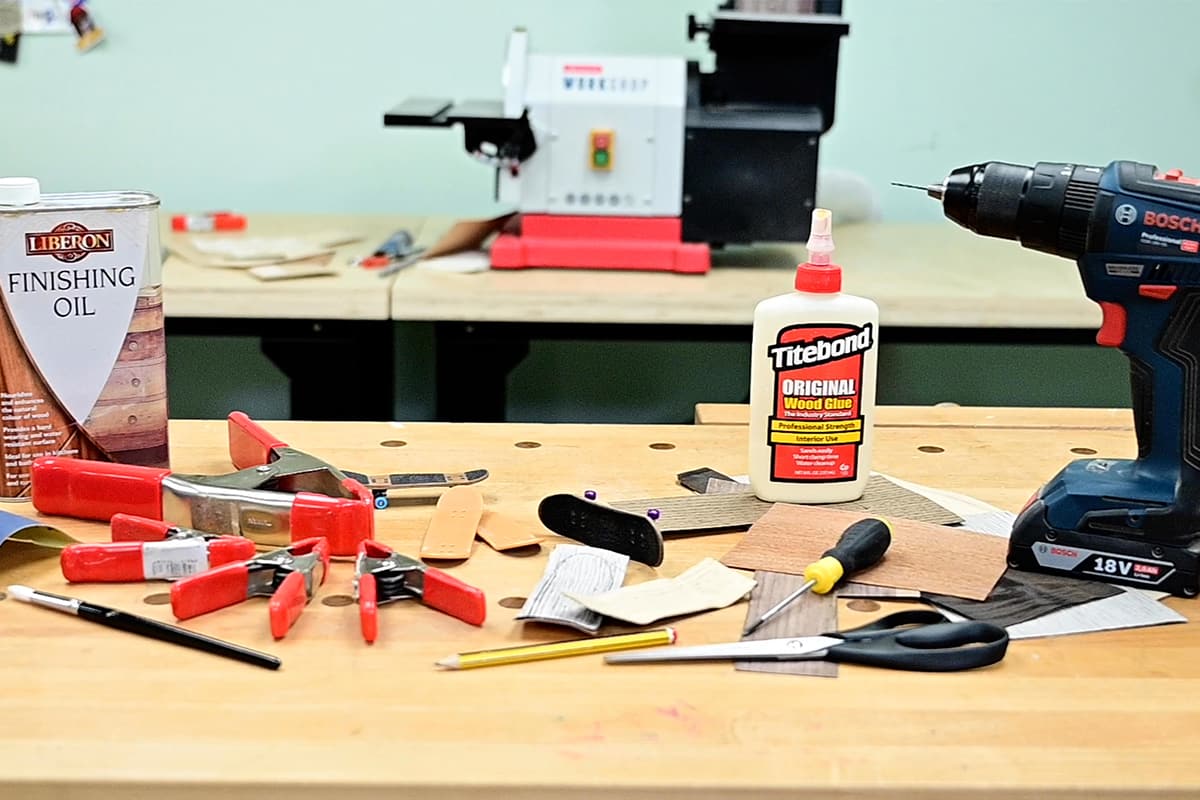
What you'll need
Join Gabriel Clark and hit the deck running with this gnarly mini finger skateboard project! Perfect for small hands and budding young woodworkers, this project is not only simple to complete, but will create hours of fun after.
Watch our video tutorial with Gabriel, featuring our very own Ben Beddows, as together they show you how to make a mini finger skateboard.
This project is easy to make and only requires a few veneers, some glue and some simple hand tools. They are great for children to make and require minimal skills.
For any youngster looking to get started in woodworking or who want to get involved in making crafts, this project is a great place to start.
Making your finger skateboard
This project requires a few simple techniques to achieve great results.
To make, simply measure, cut, glue and layer your veneers together. Then, using mini finger skateboard decks as a mould, sandwich your glued veneers between two decks and clamp together. Leave to dry overnight if possible until fully dry.
Once dry, you will need to sand your deck to your required skateboard shape, shaping the edges using a disk sander or hand abrasive. Then cut and glue your optional finger skateboard deck grip to the top.
Next, using your mini skateboard decks as a guide, drill the holes for the trucks and wheels and attach. These can easily be bought online.
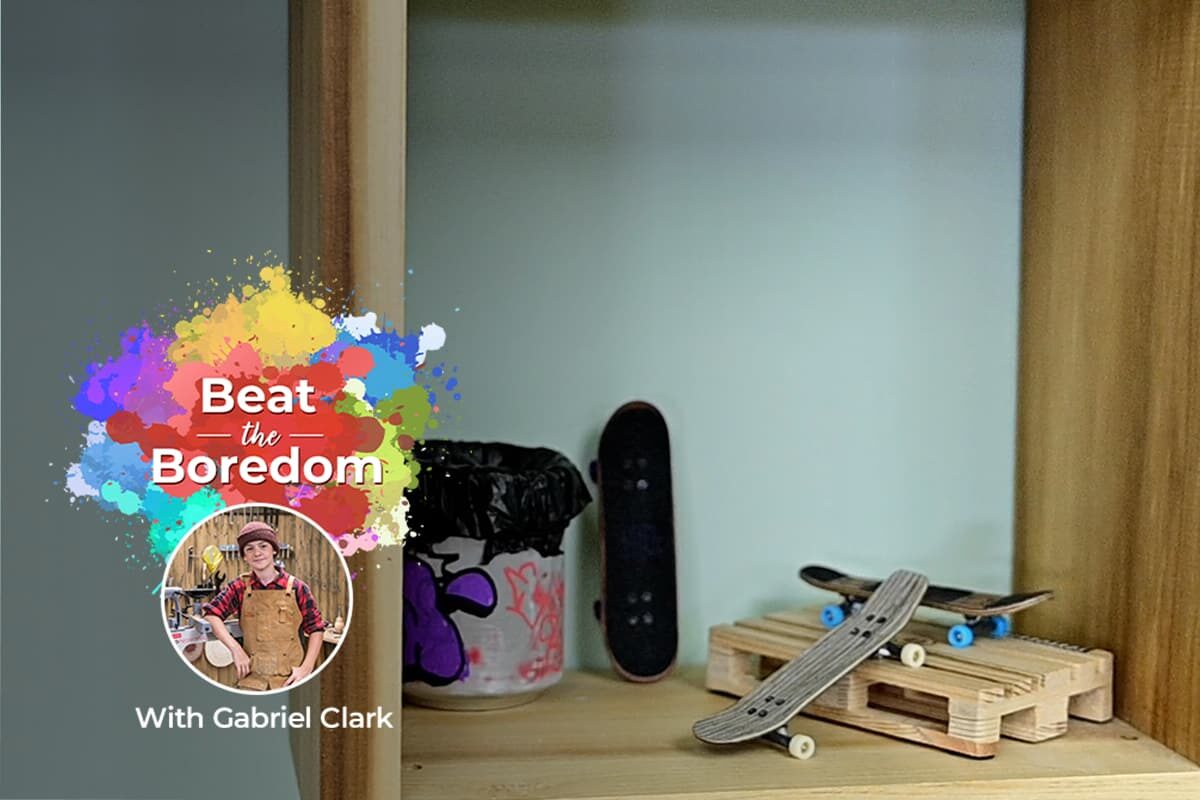
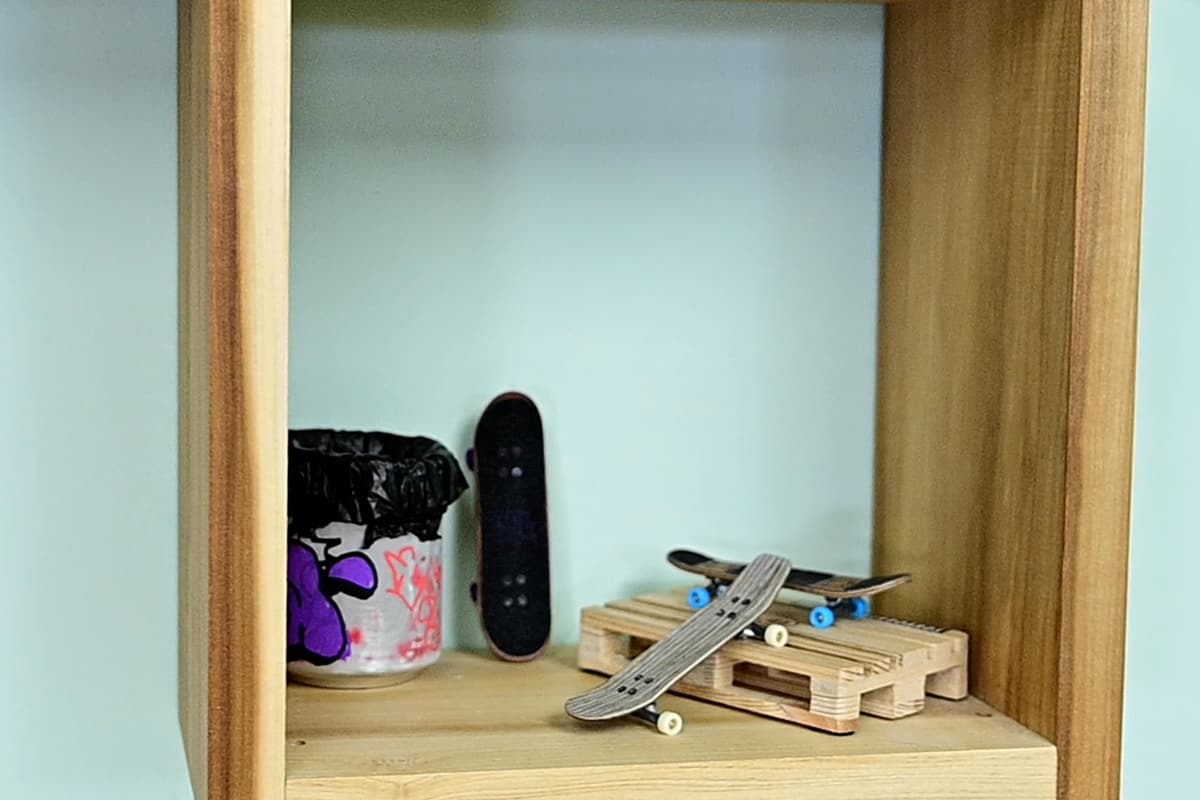
And there you have your finished finger skateboard.
More projects to try
If you enjoyed this project, then why not Join Gabriel, as he makes a wooden smartphone speaker. Or have a look through our other Beat the Boredom projects for more project inspiration.
Made it? Then share it!
If you made this project, or any of our other Beat the Boredom Projects, then we would love to see them. Tag us in your photos on social media with @axminstertools and show us what you’ve made. Find us on Facebook and Instagram.