How To Build A Garden Planter
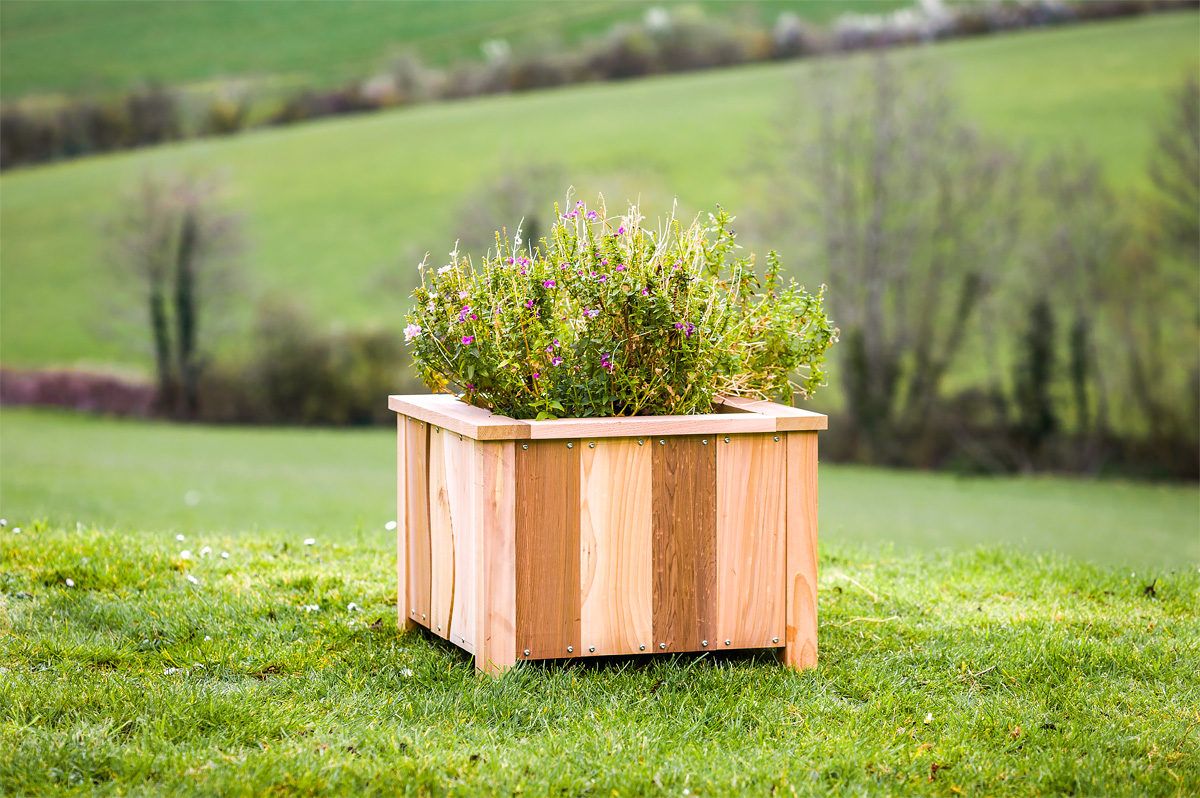
Garden Planter
Making a garden planter for your outside space is a great project that can be done in next to no time. It is also a great way of using up any off-cuts that you have lying about too!
Tool menu
- Dynamic Combi Drill
- 2 X G-Cramps
- Wood Glue
- Chisel
- Safety Spectacles
- Combi Drill
- Dead Blow Hammer
- Dual Height Workmate
- Superior Marking Gauge
- Veritas Marking Gauge
- Axminster Trade Bitz
- 300mm Steel Rule
- 1m Steel Rule
- Precision Square Set
- Rip Cut Saw
- No.4 Smoothing Plane
- Stainless Wood Screws
- UV Protection Oil
Dimensions of each piece of wood
- 8 x Rails - 435 x 20 x 45mm
- 4 x Rail inserts - 345 x 20 x 45mm
- 4 x Legs - 345 x 45 x 45mm
- 16 x Side panels - 300 x 95 x 15mm
- 2 x Decorative top rails (long) - 500 x 75mm
- 2 x Decorative top rails (short) - 347 x 75mm
- 1 x Ply bottom - 338 x 445mm
Step 1
Select pieces of wood and cut to above dimensions. We used Western Red Cedar, but Larch, Pine or treated woods would work well too.
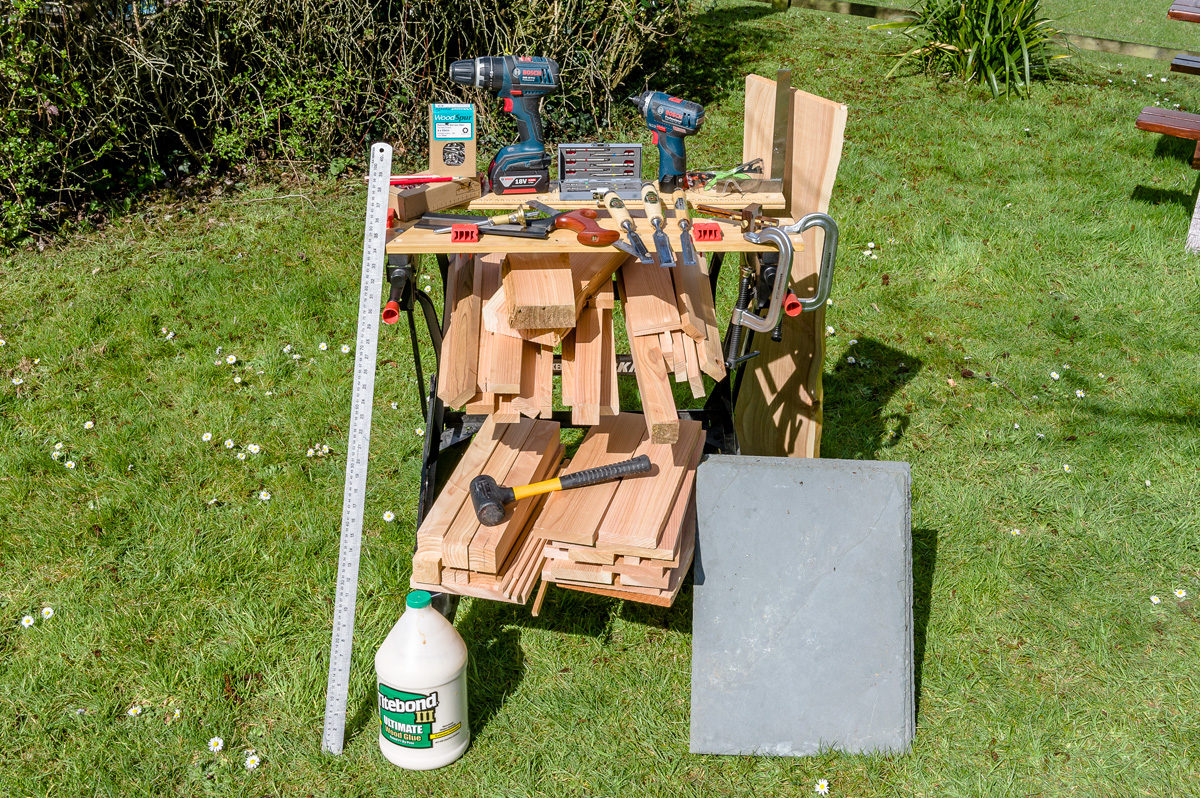
Top Tip - If cutting multiple pieces of wood to the same size, clamp pieces together to make marking out quicker.
Step 2
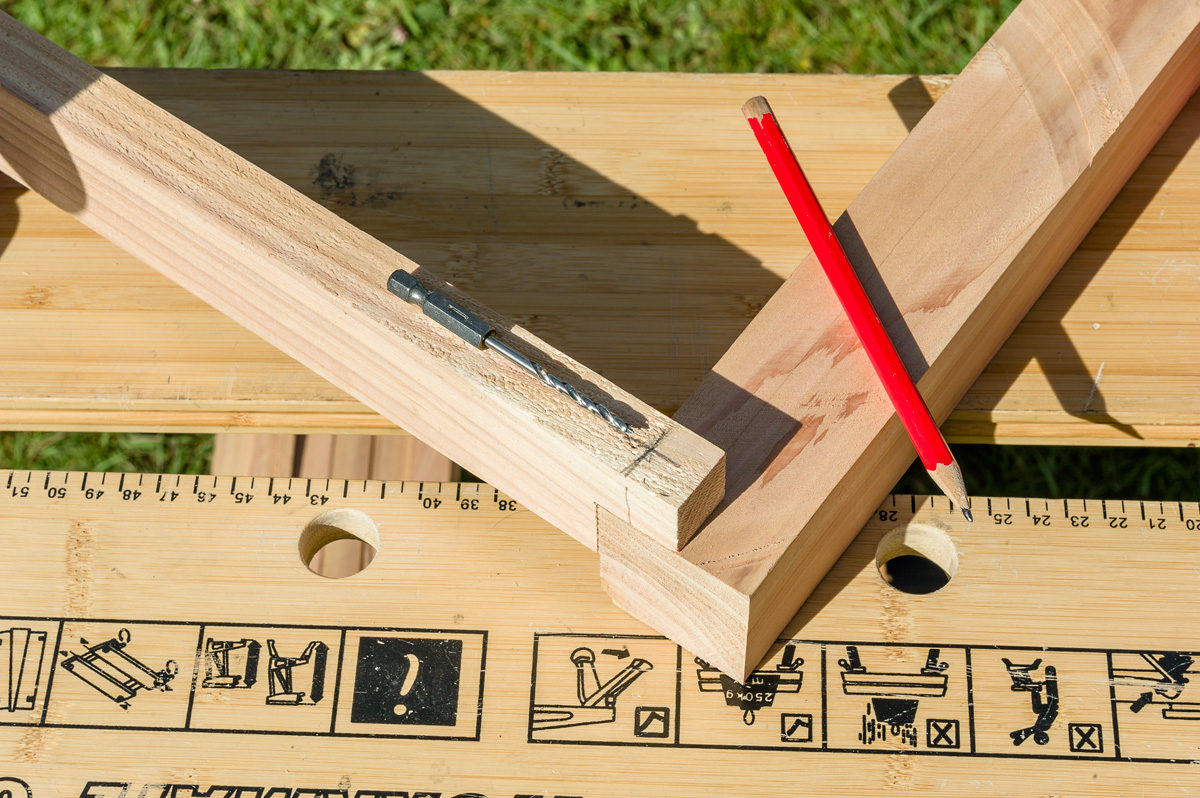
Making the joints in the top and bottom rails. Using one of the pre cut side panels, align 5mm in from the outside edge of the leg and draw a line. (See Pic) Use a marking gauge and set this up from pencil line to mark up all rails. Using a cutting gauge set the same as the marking gauge and mark out. Repeat for each joint.

Top Tip - Use a marking gauge with the grain and a cutting gauge for marking across the grain.

Step 3
Using a hand saw, cut away unwanted material on all rails. (See pic)

Step 4
Mark on each of the rails where the pilot hole for each screw needs to be. (See Pic)
Step 5
Using a 3mm drill bit, drill all marked out holes.
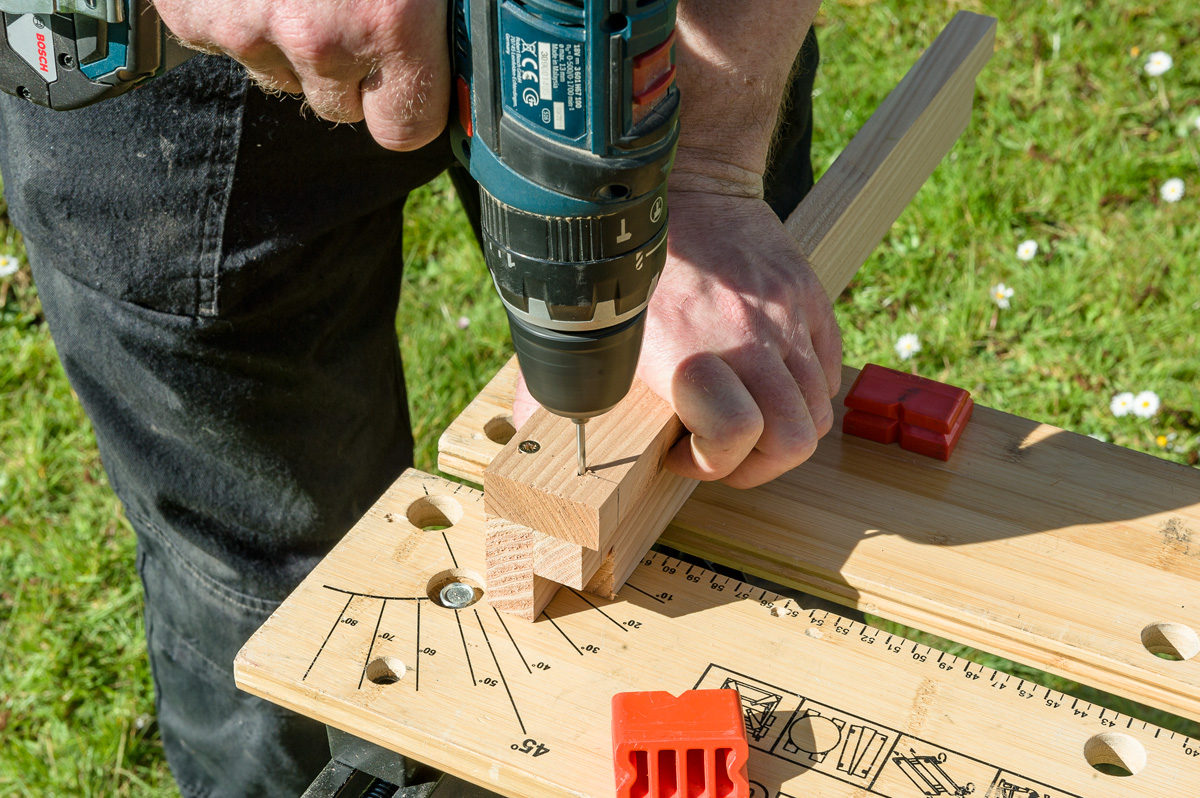
Top Tip - Make a drilling guide out of a couple of bits of wood, screwed together at right angles to speed up drilling. (See pic)
Step 6
Glue first rail joint and screw into place. (See pic) Repeat process until you have made up two frames.

Top Tip - Wipe away excess glue whilst still wet.
Step 7
Using the remaining rails, join the two frames together. Again, glue the joints first then screw through the pilot holes. (See Pic) Repeat until all rails are connected to the frames.
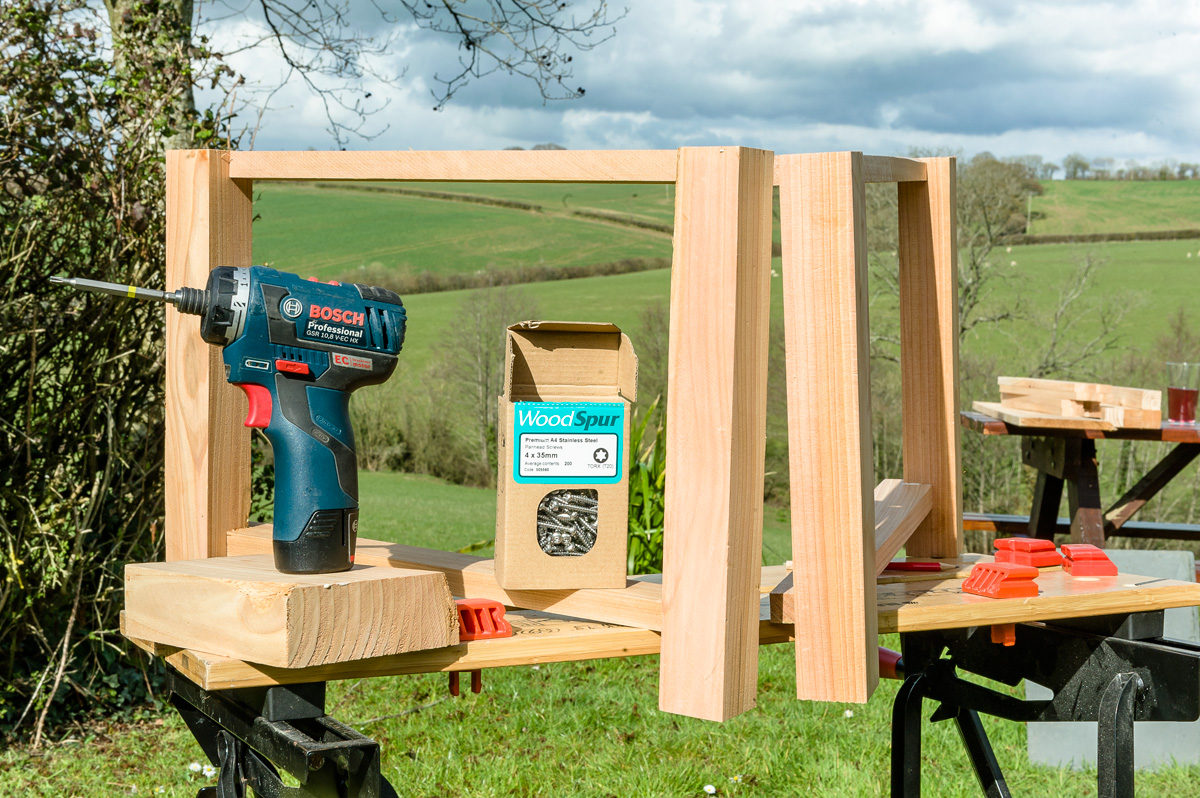
Top Tip - Use a G-clamp and a square to align and hold in place the rail and the frame.

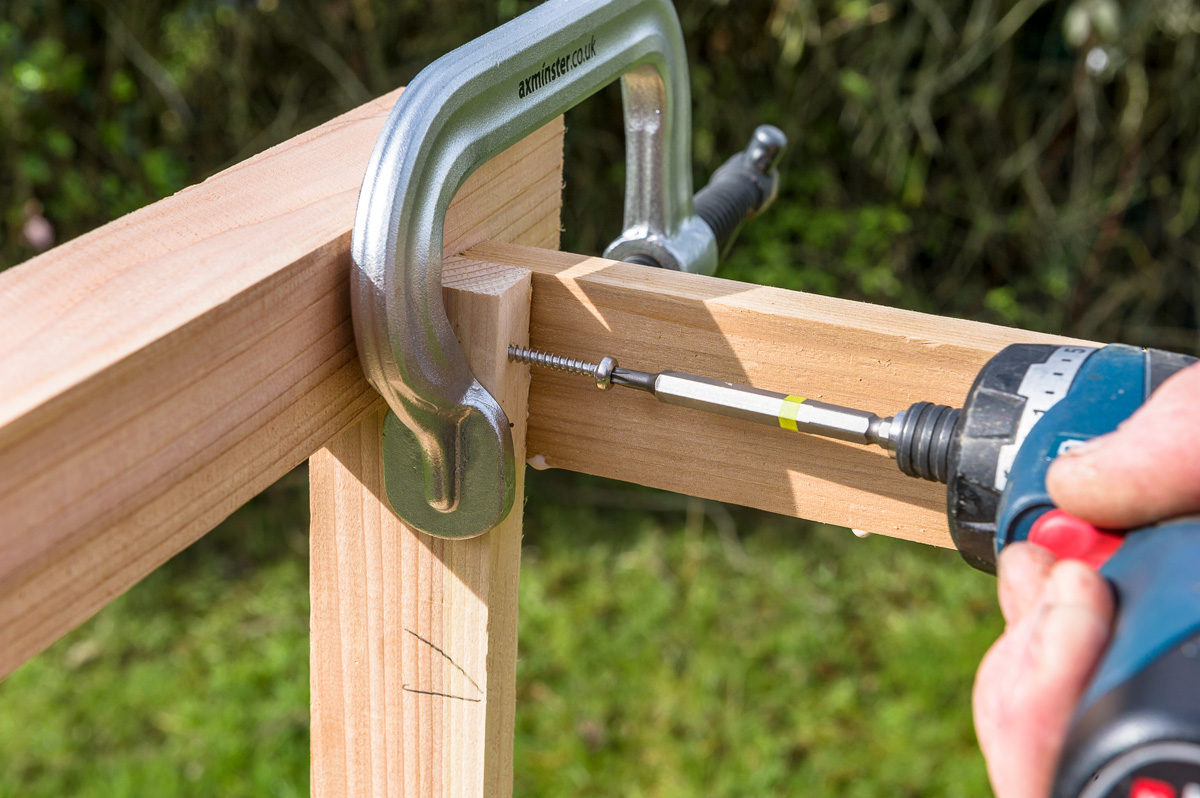
Step 8
Insert two of the rail inserts into the bottom spaces of the garden planter frame. (See pic) Glue, pilot drill and screw both pieces into place - we used three screws. (Do not fix the top rail inserts into place as this will be done at the end)


Top Tip - Offset the three screws, this will allow the wood to pull together evenly.
Step 9
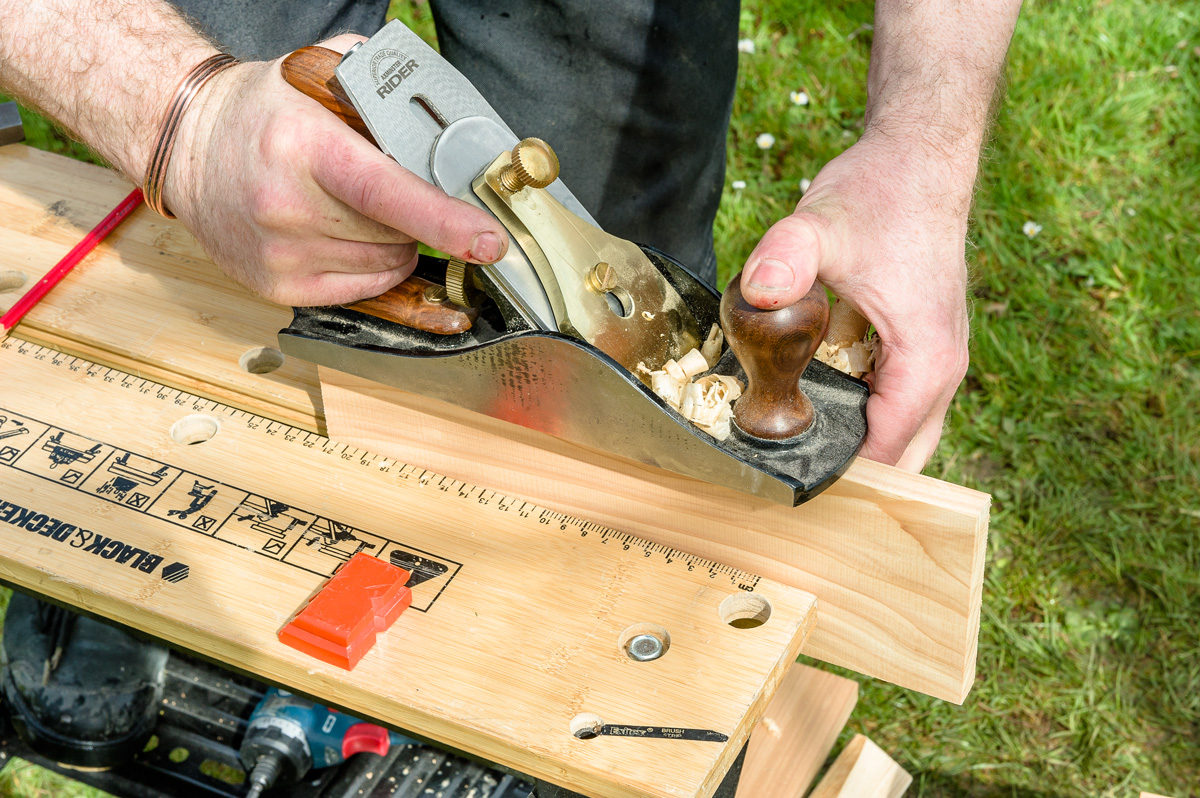
Dry fit one side of side panels. Slide the middle panel out to reveal the frame and draw a pencil line roughly in the middle . Transfer that line to the side panels and, using a ruler, mark out screw holes 15mm in from each side. Use two screws on each bottom panel. Mark out the top ones too. Repeat for all side panels.


Top Tip - Don’t make side panels over tight as they are likely to expand when the planter is in use. You can use a hand plane to trim down if required. (See Pic)
Step 10
Using a 3mm drill bit, pilot drill all the holes and screw all panels in place on the bottom only. (The tops of the panels will be screwed at the end)

Top Tip - To make sure all panels are aligned correctly use a scrap piece of wood and a clamp when screwing in place. (See Pic)

Step 11
We are now left with the decorative top rails and 2 rail inserts. Take the two longer decorative top rails and clamp one of the rail inserts to both of them. Drill three pilot holes through the insert into the rail. Repeat with the remaining insert and long rail (See pic) and dry fit into place.
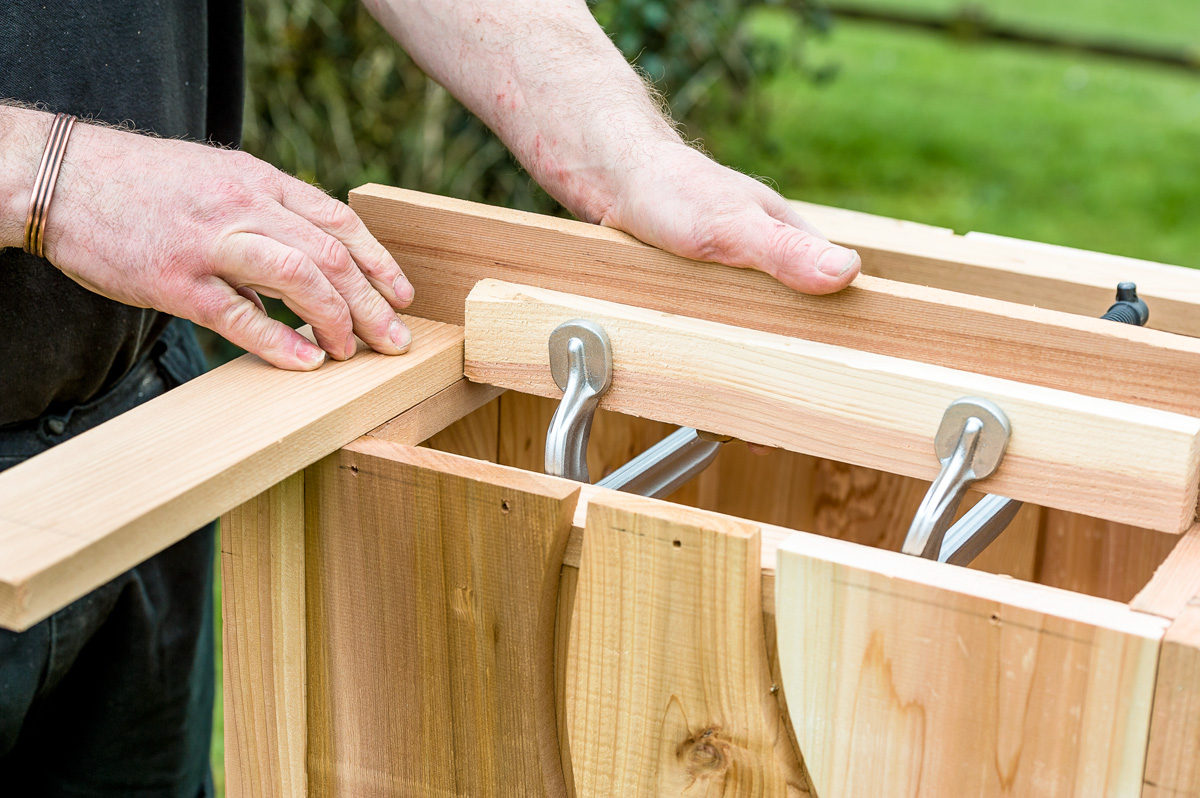
Top Tip - Use one of the smaller decorative top rails to align the insert into the middle of the long top rail. (See Pic)
Step 12
Take the two short decorative top rails and dry fit them onto the frame. If all fit okay, remove and draw a pencil line roughly along the centre of the frame (See pic). Drill three equally spaced holes through the frame. (See pic)

Step 13
Clamp decorative top rail into place and turn upside down. Screw into place. (See pic)

Step 14
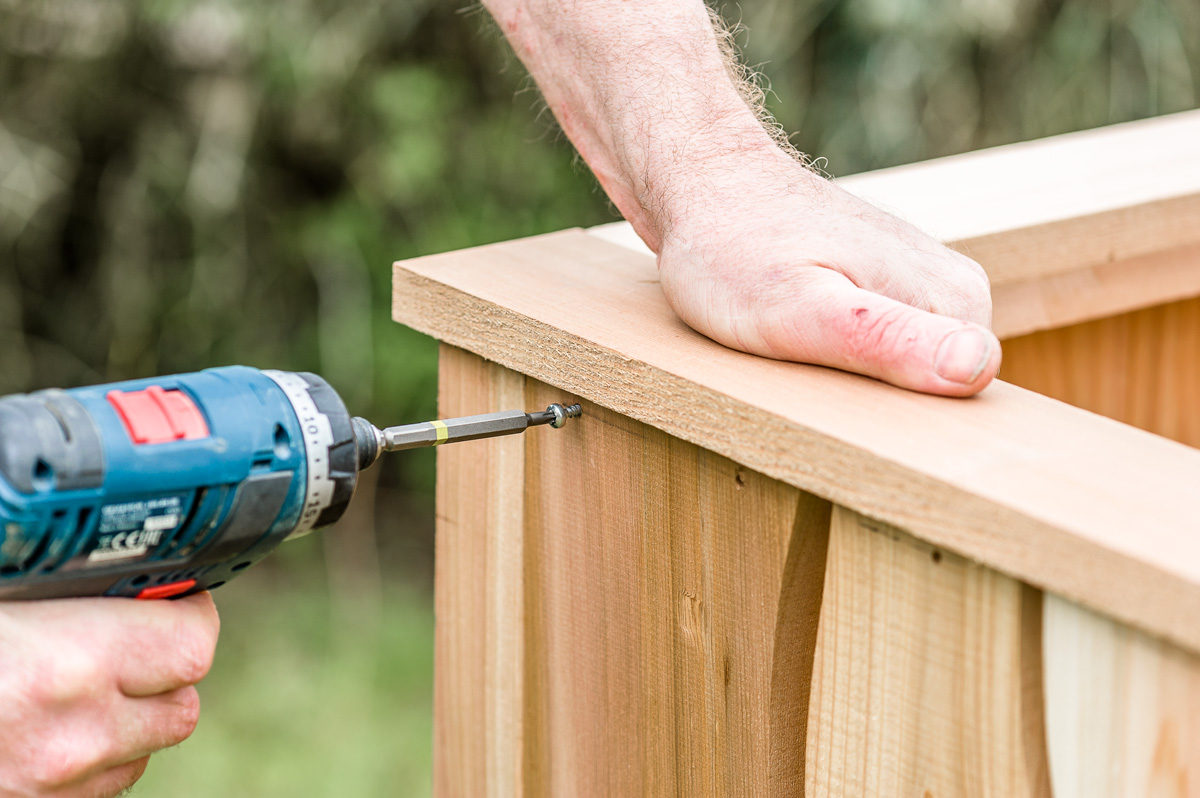
Screw all top screws of side panels into place. This will tie all parts together. (See pic)
Step 15
Take the ply bottom and drill holes for drainage. We used a 7mm drill bit and drilled 6 randomly spaced holes. Simply insert the bottom into the garden planter frame.

Top Tip - Using a lip and spur drill bit reduces break out on the wood. (See pic)
Step 16
To finish, we used an Osmo UV protection oil.
Step 17
Plant up your planter!




Had a go at this, or rather my version. Used:
Thinner strips for the cladding,
Five panel strips on each side
Japanned screws for a black effect,
The hardwood I had about - Iroko and Oak
Bee hive flooring mesh for the base
Inner lining of DPM to increase life...
Great wee project to flex those DIY muscles over a long weekend, especially during this lockdown ...
Thanks for the inspiration
Thanks, Gareth, really glad you enjoyed it! Your version sounds great, do you have any pictures?