Improved Clamping Of The Re-Designed Tormek SE-77 Square Edge Jig
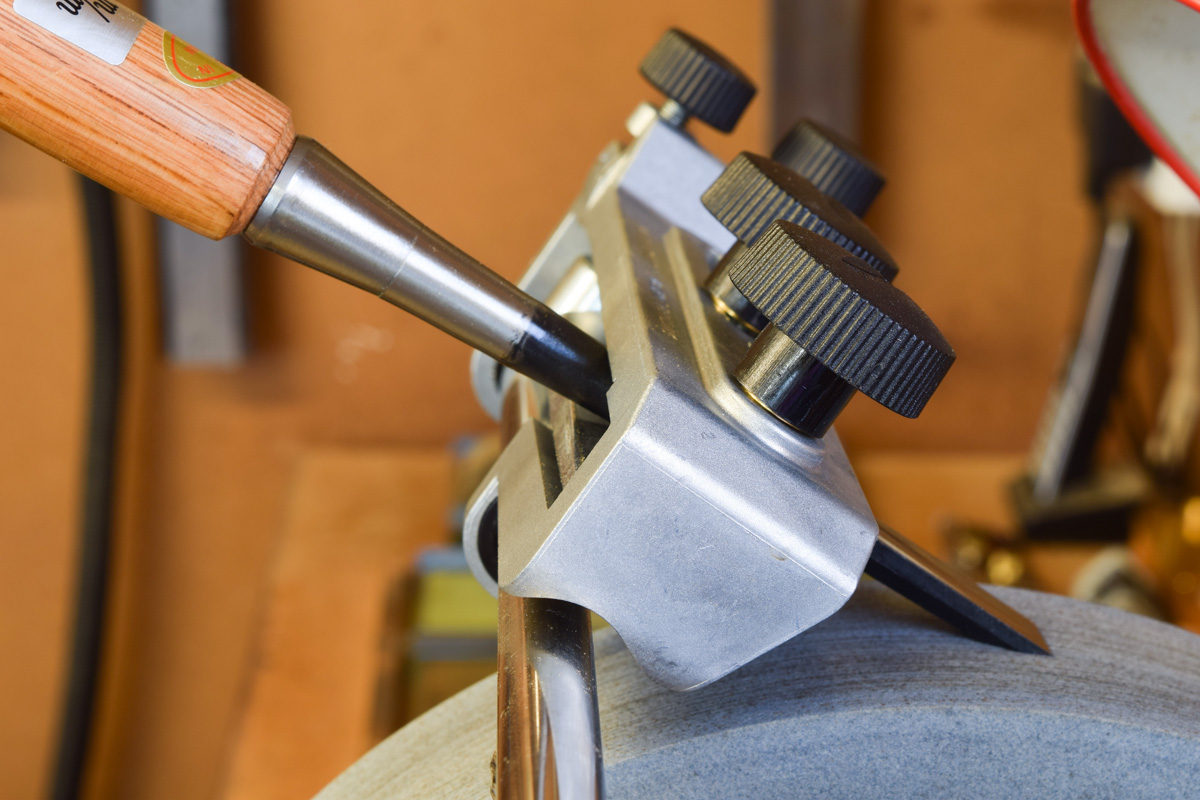
Rob Stoakley looks in detail at the redesigned clamping mechanism on the new Tormek SE-77 Square Edge jig.
The Tormek wet grinding system is the original and best, finding its way into a countless workshops, mine included. I started off with a green goddess, the Supergrind 2000, which served me well for many years. It has now been replaced with a much posher T-7. Although the latest incarnation is the very swanky T-8.
Subtle redesign
Tormek grinding jigs have also kept pace with their machine developments. For many years, the standard chisel and plane grinding jig was the SE-76, which worked very well for gripping western style chisels and plane blades. What it would not do is securely hold short, squat Japanese chisels.
However, those clever people in Sweden have subtly redesigned the clamping mechanism on the new SE-77 jig. A Japanese chisel is now clamped with a limpet like grip...something that definitely didn’t happen on the old one.
The new clamping arrangement grips onto the blade and the circular shaft of the chisel, so that when it’s offered to the grinding wheel at 25°, there’s plenty of clearance underneath.
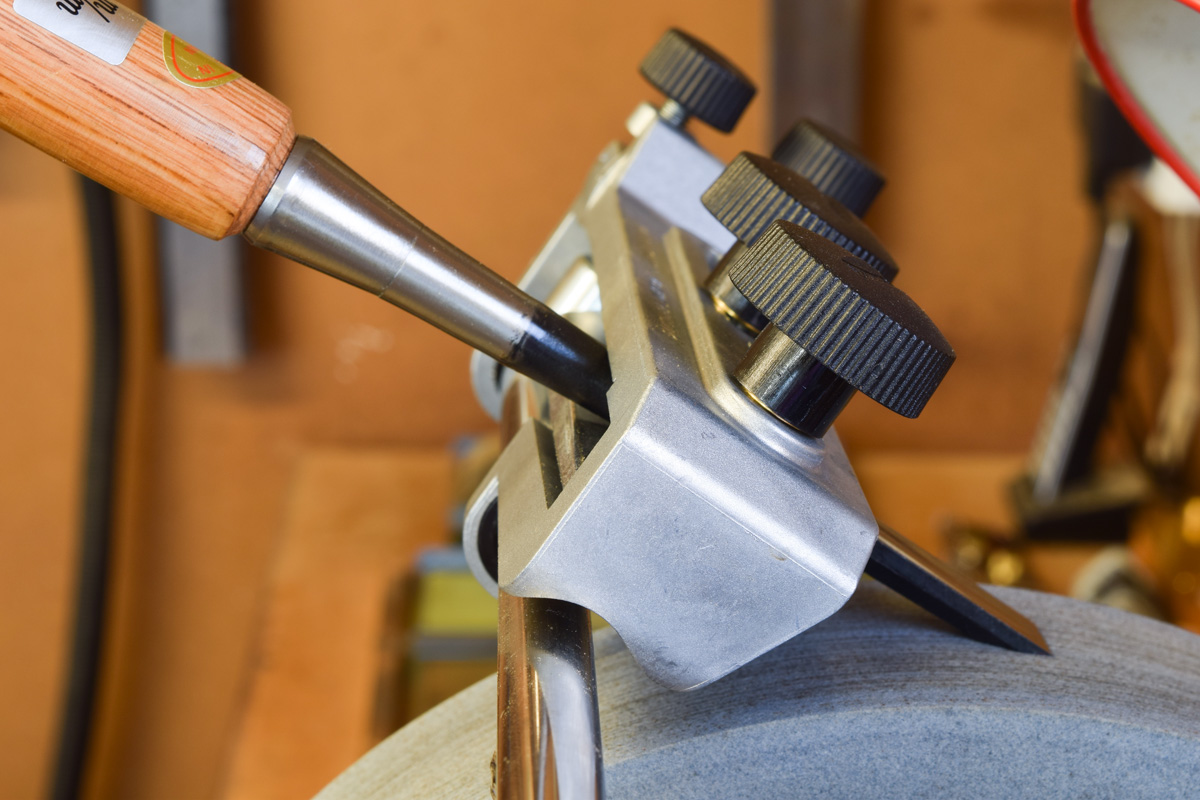
Whether or not it’s a good idea to grind the bevel on a Japanese chisel is a debatable issue. Some would argue that a hollow grind removes a little of the soft iron backing, leaving less support for the very hard steel cutting edge. Reading the Tormek instruction book reveals that using a 250mm dia wheel, and grinding a tool of 2mm thickness with a 20° edge, the hollow produced is around 0.03mm (0.0012”) which, for all practical purposes, is insignificant.
Experimental grind
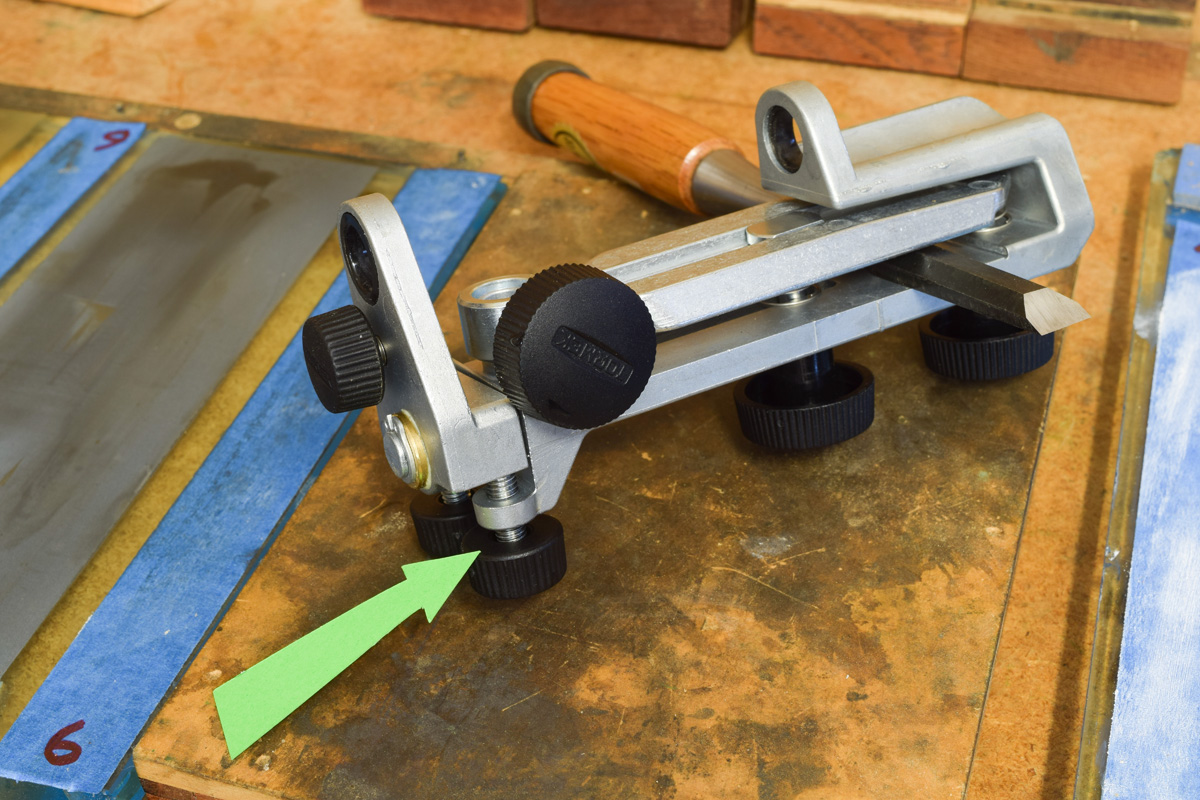
Having obtained a spare 12mm Japanese chisel, I did an experimental grind using the new SE-77 jig. One of the really clever features is that the grind can now be altered in situ without removing or altering the tool in the jig. If it can be seen that the hollow grind isn’t quite square to the chisel edge, all that’s required is to adjust the appropriate little knob (arrowed) until it’s been corrected.
Having completed the grinding, there was a barely discernible hollow. Then, the next stage was to insert it into the Veritas Mk II Honing Guide and put an initial 30° edge on the blade, using a series 3M ‘scary sharp’ films. By rotating the roller, a 2° micro-bevel can be applied, which I did using the 5 micron and 1 micron (about 10,000g) films. The finished edge was around 32°.
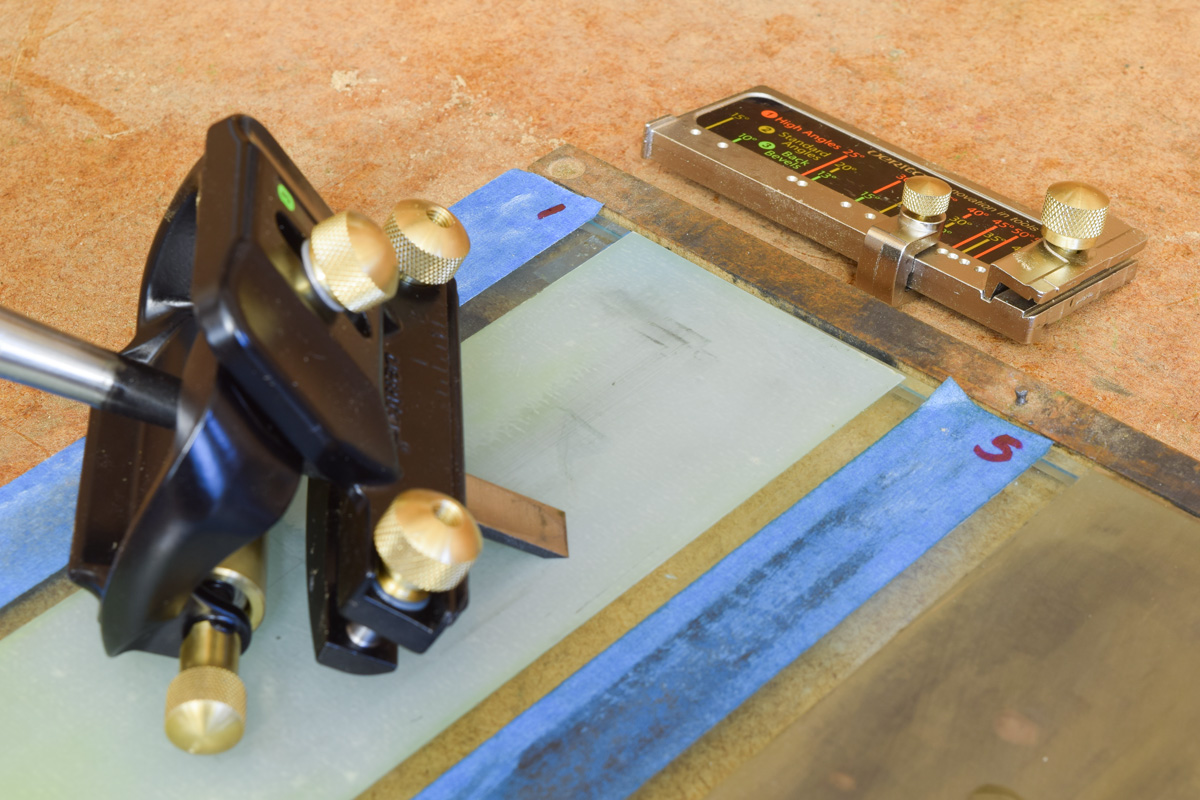
The final thing to do in this long drawn-out saga, was to test the durability of the edge. Infact, it was more lethal that anything that I’ve ever been able to achieve with any other honing guide.
So how tough was it and would it break or chip?
My standard test for this sort of thing is fairly simple and very brutal. All I do is to find a small chunk of something hard and nasty from the oddments box. In this case a piece of sugar or rock maple. I whack the said chisel into it 20 times using a large Japanese hammer.
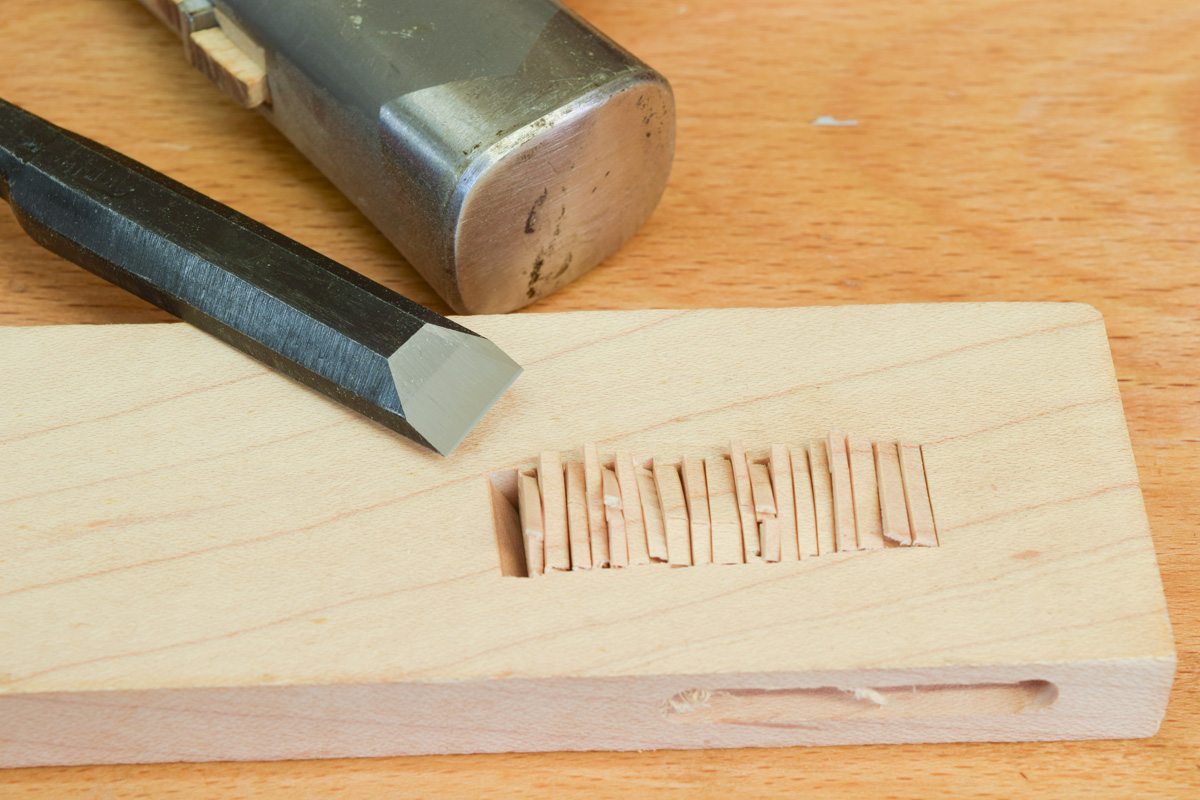
I half expected to see that tiny chips might have broken off. But to my complete surprise, there was very little degradation in the edge.
Impressed, I am.


