Make a Celtic Knot Pen Blank

What you'll need
Challenge your creativity by making this elaborate but simple Celtic Knot pen blank.
The Celtic knot is a traditional pattern featuring a looped design with no start or finish. It dates back centuries, originating from the Celtic nations, and found throughout Irish, Welsh and Scottish history, religion and art.
There are many different types of Celtic knots, all of which hold different meanings, but essentially it is thought the Celtic knot represents love, faith and unity, with the never ending loops symbolising interconnectivity.
Watch Ben in our video tutorial, or follow our step by step guide below, as he shows you how to cut and and layer a pen blank so then when turned it reveals a Celtic knot pattern, through the blank. A simple but effective technique for creating unique pen blanks.
Prepare and mark the blank
Once you have cut your blank, and prepared your veneers to size, number the pen blank on all four sides.
Using a pencil, draw a line approximately 3mm in from the edge of the blank. Repeat until you have eight lines, one on either side of each corner. This will give us a buffer zone so that you can cut right to the edge of these lines without cutting all the way through the blank
Referring to the brass tube of the pen you would like to turn, figure out the length you would like your pen blank to be and mark the length with a pencil.
Use a square to mark horizontal lines around all four faces of the blank to mark the length. You should now have four rectangle shapes, one on each face of the blank.


Using a rule, draw a line diagonally through the rectangle from top left corner to bottom right (or visa-versa - it doesn’t matter as long as it’s consistent on all for faces).
Turn the blank through 90 degrees and do the same. Repeat until all four faces have the rectangle with a diagonal line marked on them.


Prepare your veneers to size.


Cut and glue the blank
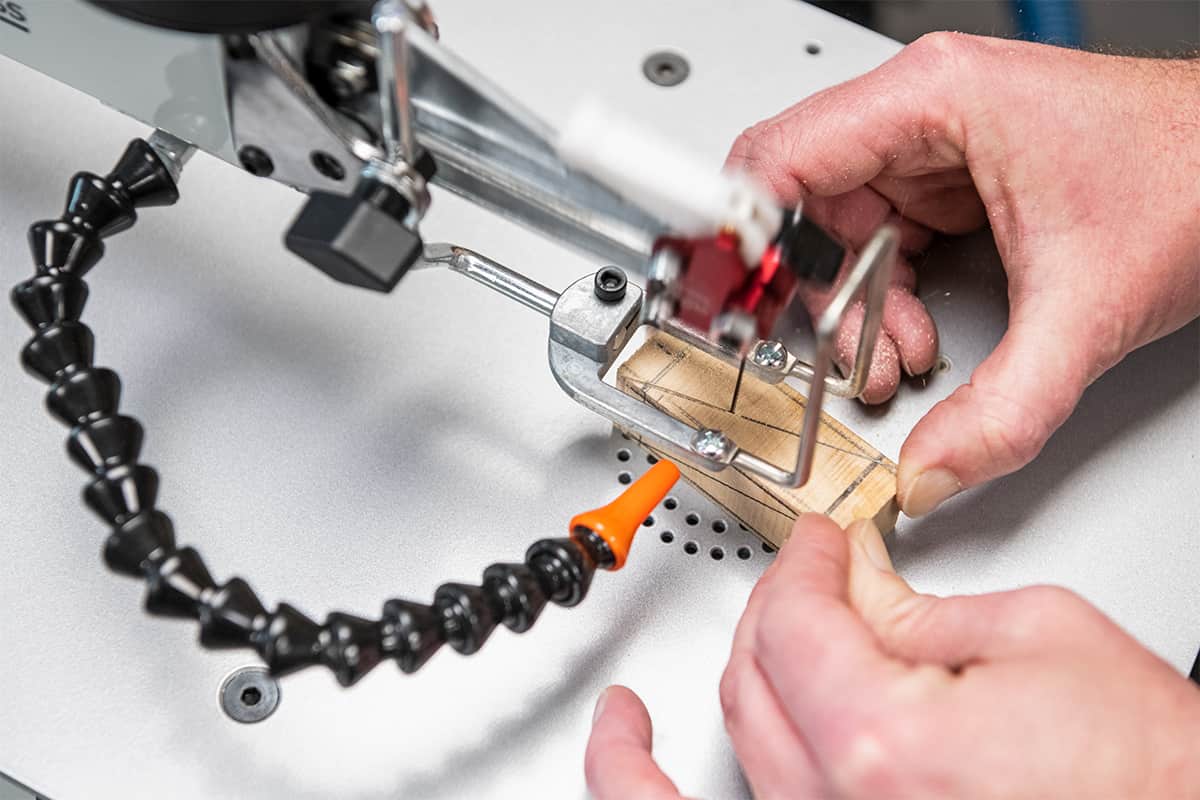
Cut the first face on the scroll saw, following the diagonal line until it reaches the marked lines of our rectangle.
Clear any waste dust that may be trapped in the cut by tapping on the table of the scroll saw or on the bench. Test fit your veneer.
Apply glue to the veneer and slide it into the cut. Be generous with the glue. We’ve used a 5 minute epoxy resin, but a super glue will also work.


Clamp to ensure a good contact between the blank and veneer and leave until the glue has cured.
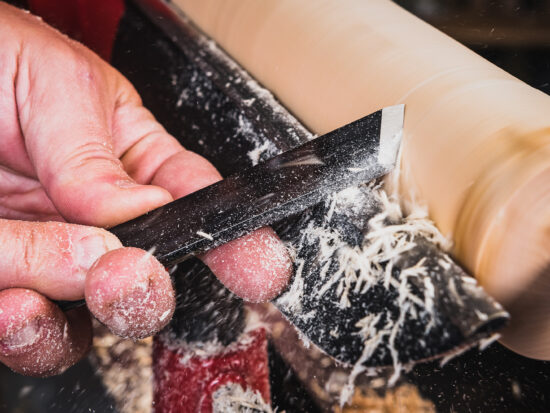
Once the glue has dried, trim off any excess veneer and glue. We used a carving knife but you could use a belt/disk sander, just be sure not to sand away any of the pencil markings.


Now turn the blank 180 degrees so that we are working on face 3, or the opposite side to the first cut. Cut the diagonal line on the scroll saw and glue in another piece of the veneer.
Once the glue has dried repeat this process for faces 2 and 4.
Turn your blank
You are now ready to prep the pen blank the same way you would any other. Drill the correct size to suit the brass pen tubes. Glue the tubes in and trim. Try to keep the drilling central as off centre drilling will affect the size of the ellipse.
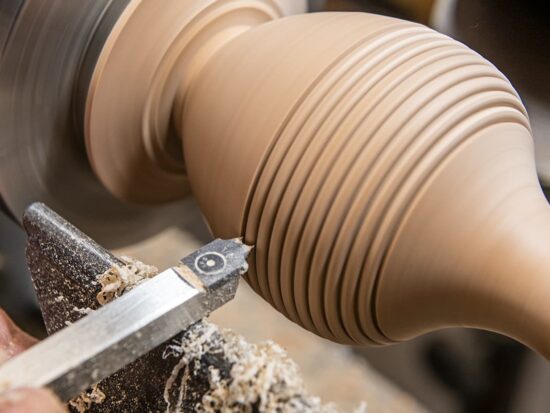
Turn your pen as per instructions on the pen kit. Finish off with your chosen finish.

Made it, share it!
If you have mastered these techniques and have made some pens, share your pictures with us! Tag us in your photos on social media with @axminstertools and show us what you’ve made. Find us on Facebook and Instagram.
For more tips on pen turning...
Watch our Woodworking Wisdom beginner's guide to turning pens.