The Resourceful Woodworker marks a dovetail joint
For some strange reason, woodworkers appear to think that the common or garden through dovetail joint is the high point in their woodworking endeavours. Cut a few so they fit well, look presentable and many think that they've reached the ultimate achievement in joint cutting.
To be fair, they are tricky to cut, but not that tricky and a few practice sessions will usually see even the relative newcomer making a reasonable stab at the joint. But you only have to look at some of the stuff the Japanese do to appreciate that there’s a vast amount of joinery out there which is infinitely more complex.
Over the course of the next few instalments the Resourceful Woodworker is going to have a look at marking out and cutting a simple through dovetail joint. This is the way that I cut them and most woodworkers will find their own variation on the theme, but all methods are essentially the same. Dovetails are used to join two bits of wood together across their width, the beauty of the arrangement being that the joint will resist mechanical pull in one direction which makes them ideal for, say, the joints on the side of a drawer.
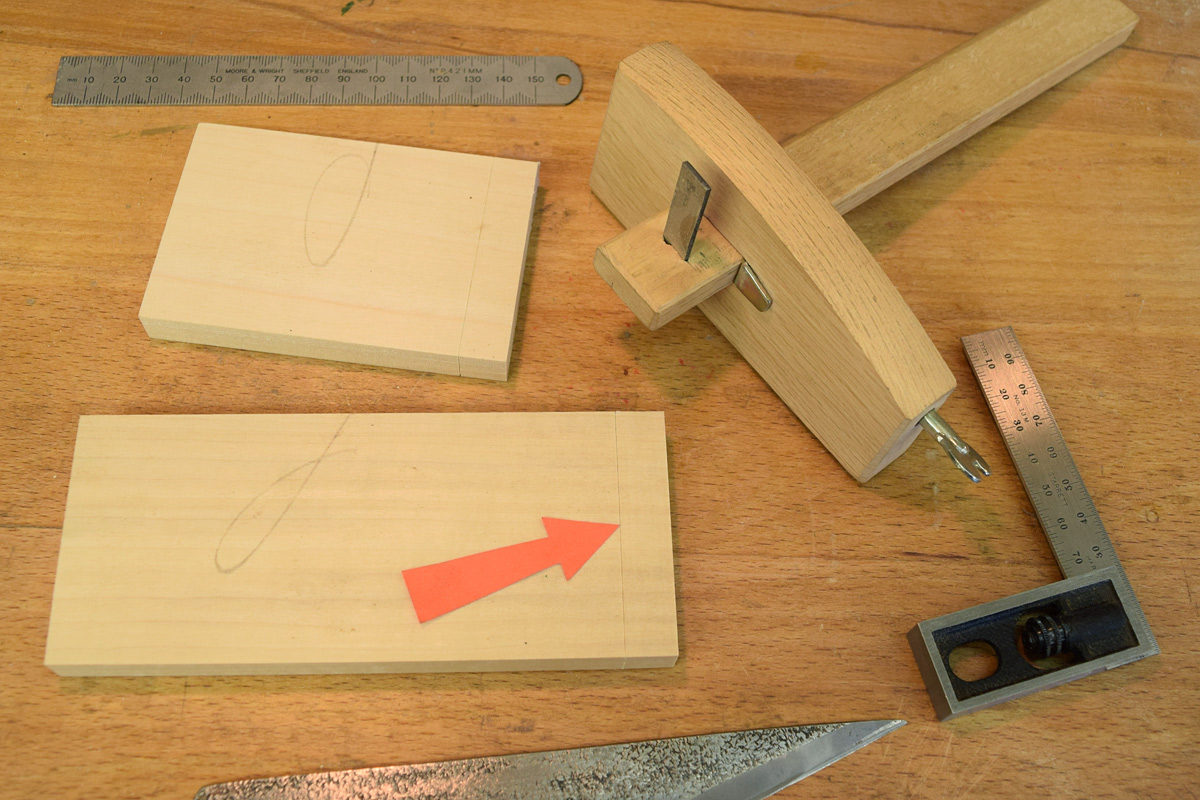
The prerequisite for accurate work is the sound preparation of the timber. Each piece should be prepared flat and true with the ends planed dead square. The first step is to mark the shoulder lines with either a marking gauge or knife and try square.
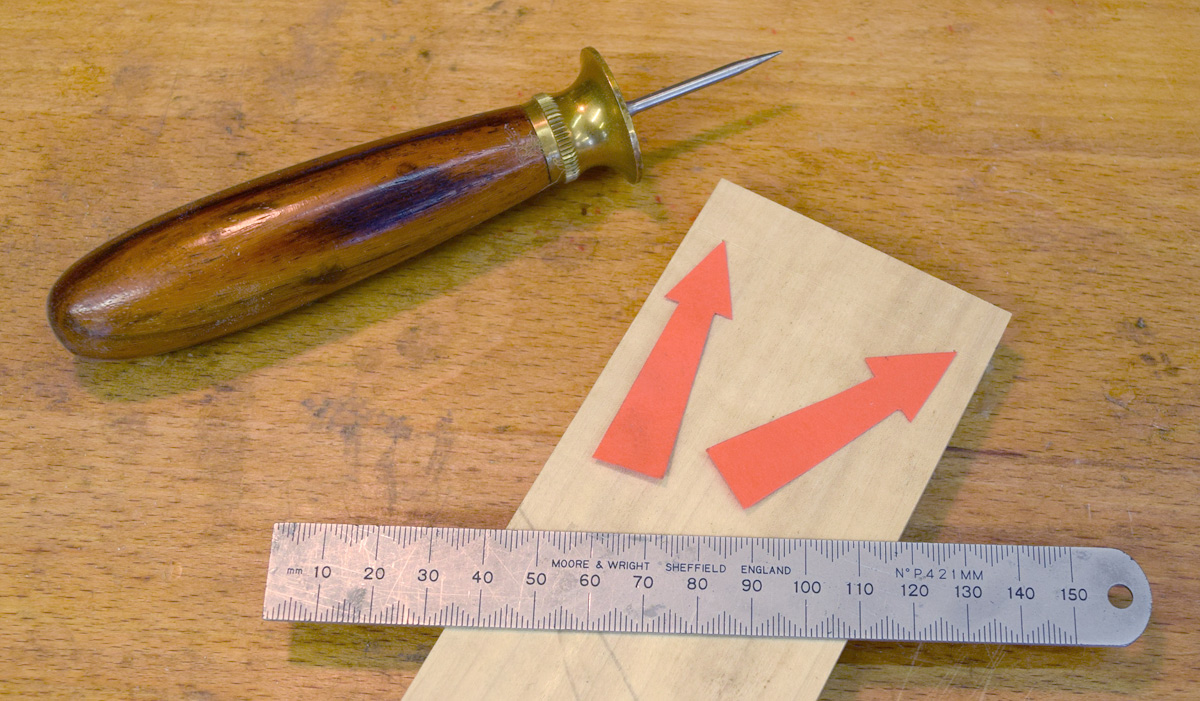
The gauge line should be fractionally bigger than the thickness of the wood to allow for a little overhang when the joint goes together. Step two is to mark out the two 'half-pins' at the edges. The 'pins' are the bits of wood between the tails and there are obviously two half-pins, one each side. The general rule is that they measure half the thickness of timber plus around 1mm along the shoulder line, so these two awl dots (arrowed) are 7mm in from each edge.
These two dots, which mark the corners of the half pins, are now converted into a 1:8 slope at each side, the result of which is that there's one large dovetail in the middle of the wood. I'm using a red roller ball for clarity, but a sharp 4H pencil will produce a finer line although it may be more difficult to see.
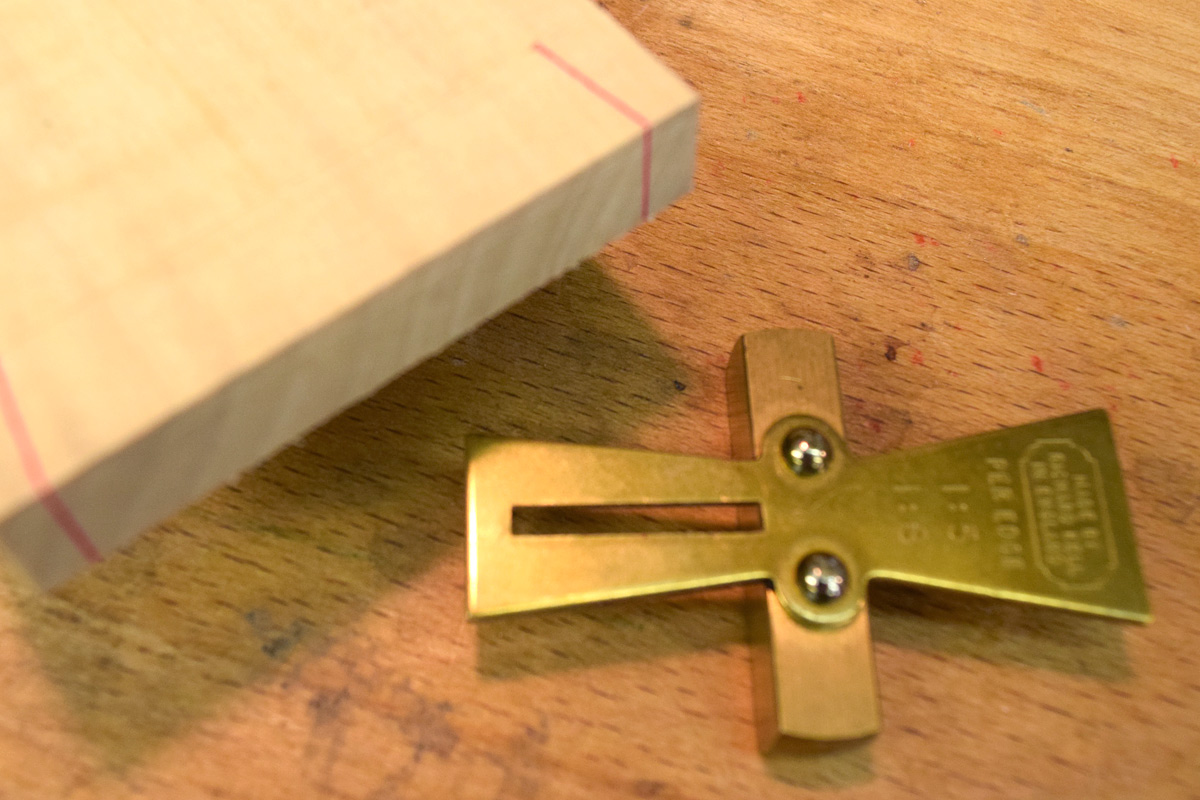
Perceived wisdom is that there should be roughly one dovetail each 25mm or so across the width. This isn't written on a tablet of stone or even cast in concrete so it's up to the woodworker to use his or her judgment to decide how many are needed. The wood here is 66mm wide, so I'm going to have two dovetails, meaning I've got to split the big one exactly in half.
There are a number of ways to do this, but the easiest is to use a pair of dividers. Set them to slightly over half the distance of the big dovetail, place one leg on the end of the dovetail and step out once to make a dot in the middle of the wood.
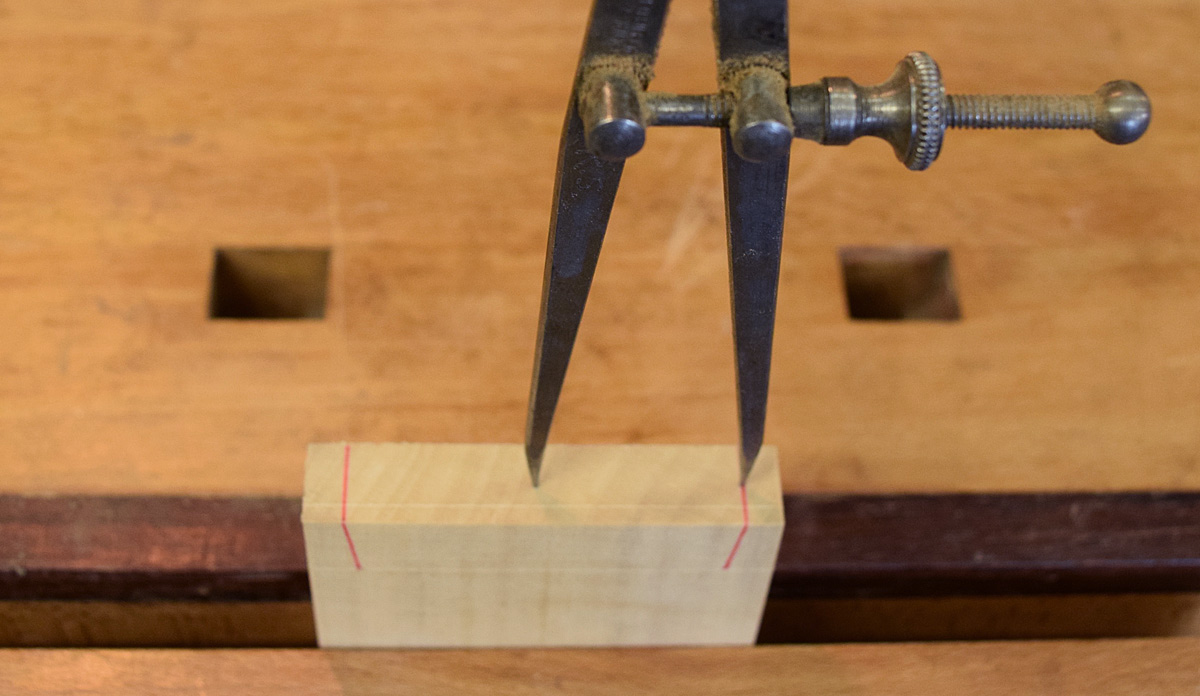
Step out from the other side in exactly the same way. You'll now be left with a pair of dots which will be equidistant from the edges and exactly in the middle of the wood.
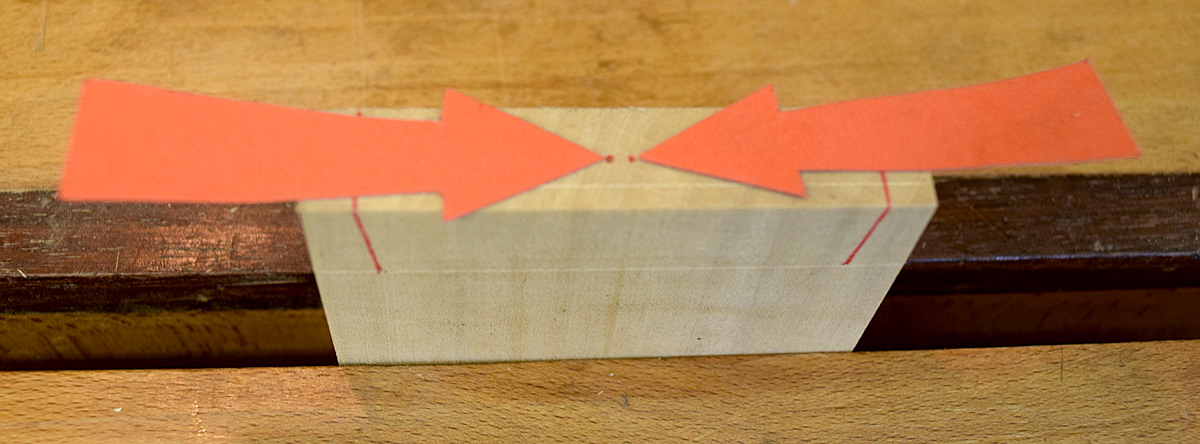
The final stage in the marking out is to convert these two central dots into the middle pin, the result of which will be the emergence of both the dovetails each side.
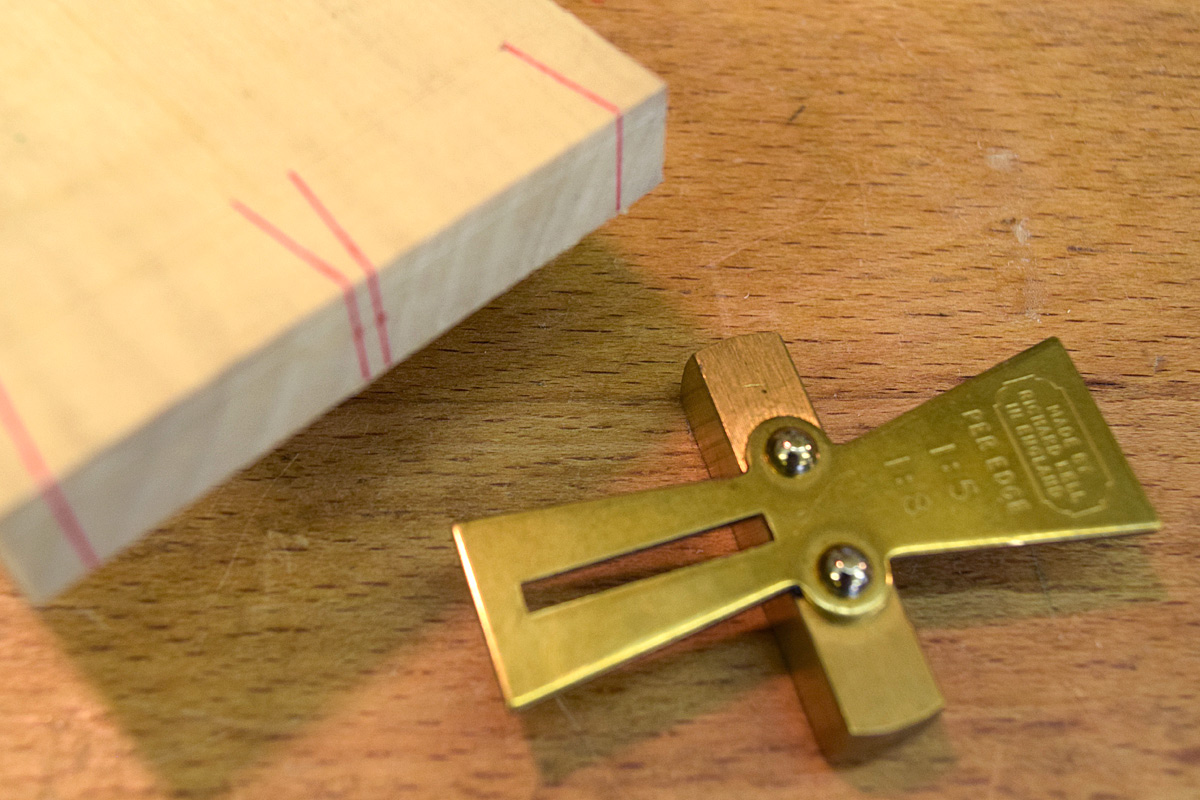
I've done two dovetails here, but if the board was wider, it's simply a question of trial and error when setting out the distance between the points of the dividers. They're then stepped across the end to hopefully mark out the correct number of pins and dovetails.
Next time I'll be looking at cutting the dovetails.


