How To Restore And Reupholster A Wooden Chair
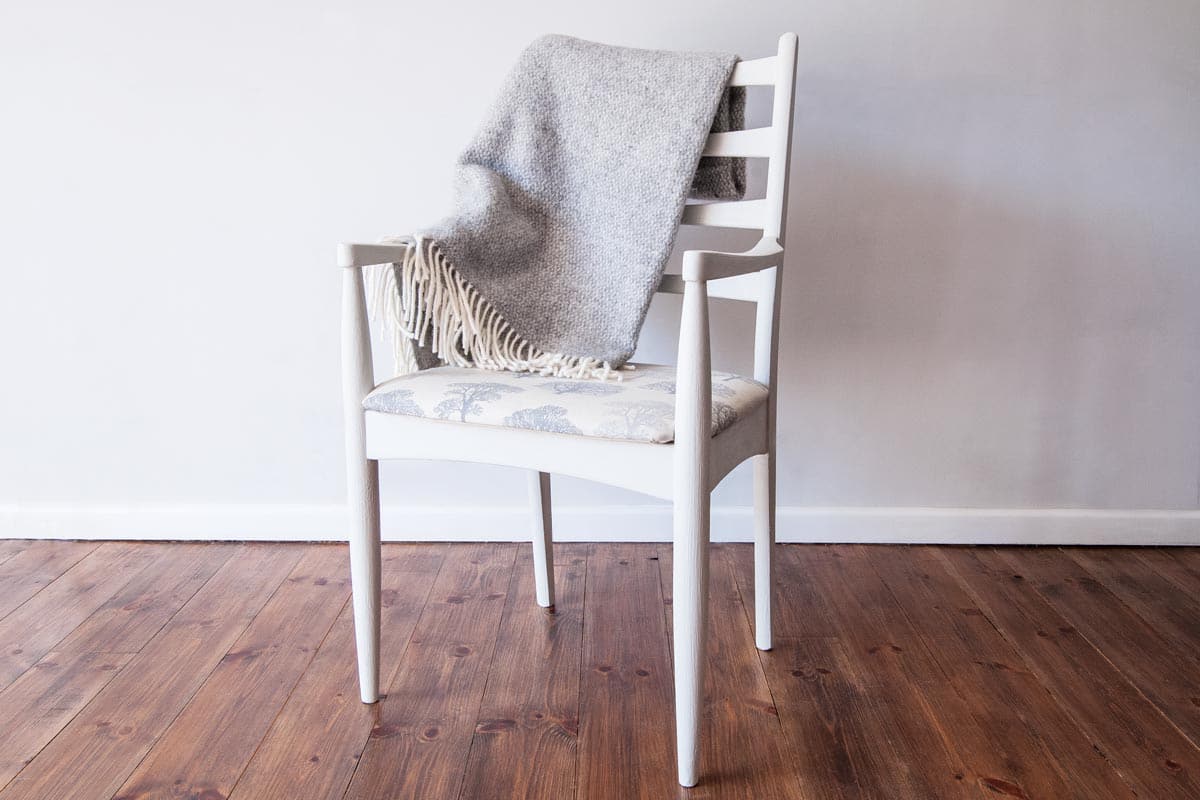
There is something quite special about restoring an old dusty chair. There’s the satisfying feeling of stripping it back to unearth its natural beauty. The elated feeling when you have the choice of which finish and fabric to use. Then finally to see it finished and transformed into a tailored, bespoke piece of furniture that sits comfortably in your home.
With these simple steps learn how easy and achievable it is to restore a dusty, old chair of your own!
What you'll need


Chair restoration preparation
Before starting out make sure that you have a clear area to work in. It is also important to make sure your workspace is well ventilated and you wear the correct safety wear - we recommend eye protection and a respirator mask (minimum of FFP3 protection).
Step 1
Remove any old screws attaching the cushion to the chair to allow you to remove it.


Step 2
Wipe down the chair using a brush and damp cloth to remove any dust, cobwebs or sticky residue.
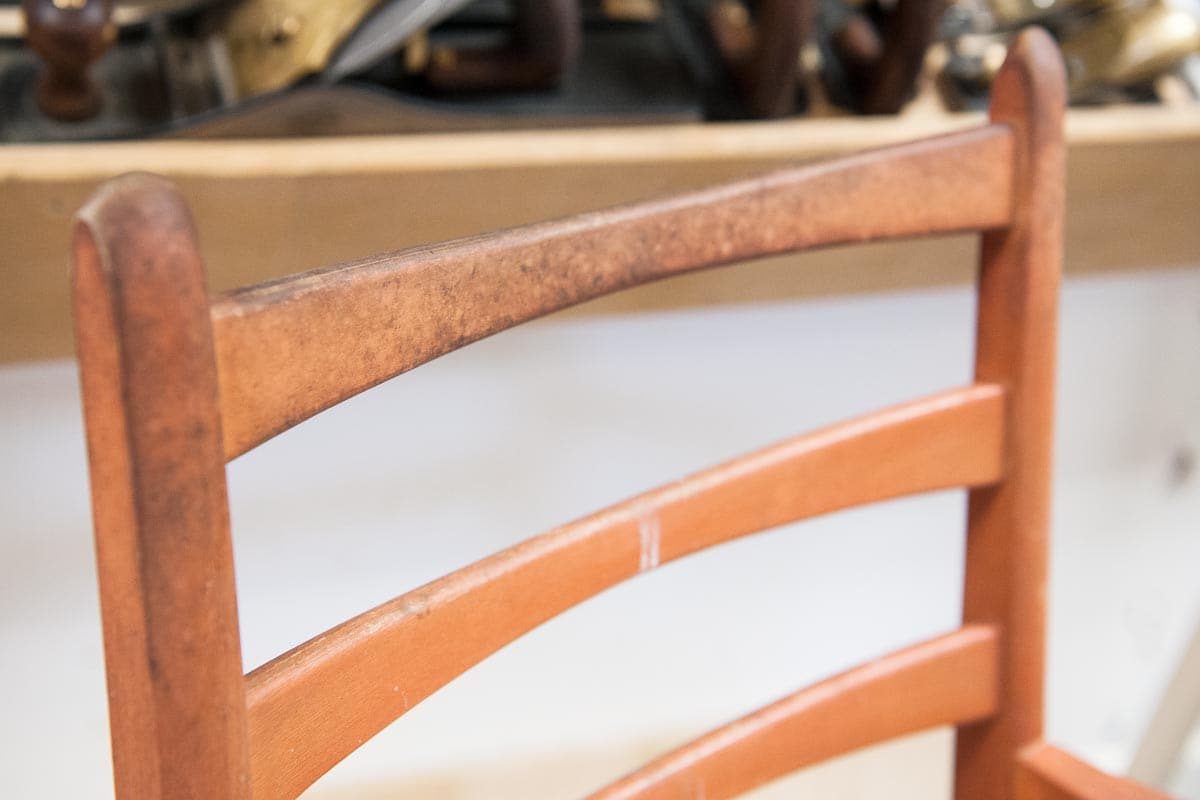
Step 3
Apply a varnish stripper to speed up the sanding process. This is recommended if your chair has any curves or fine details. You can choose to skip this step and sand off the varnish as shown in step 6.


Step 4
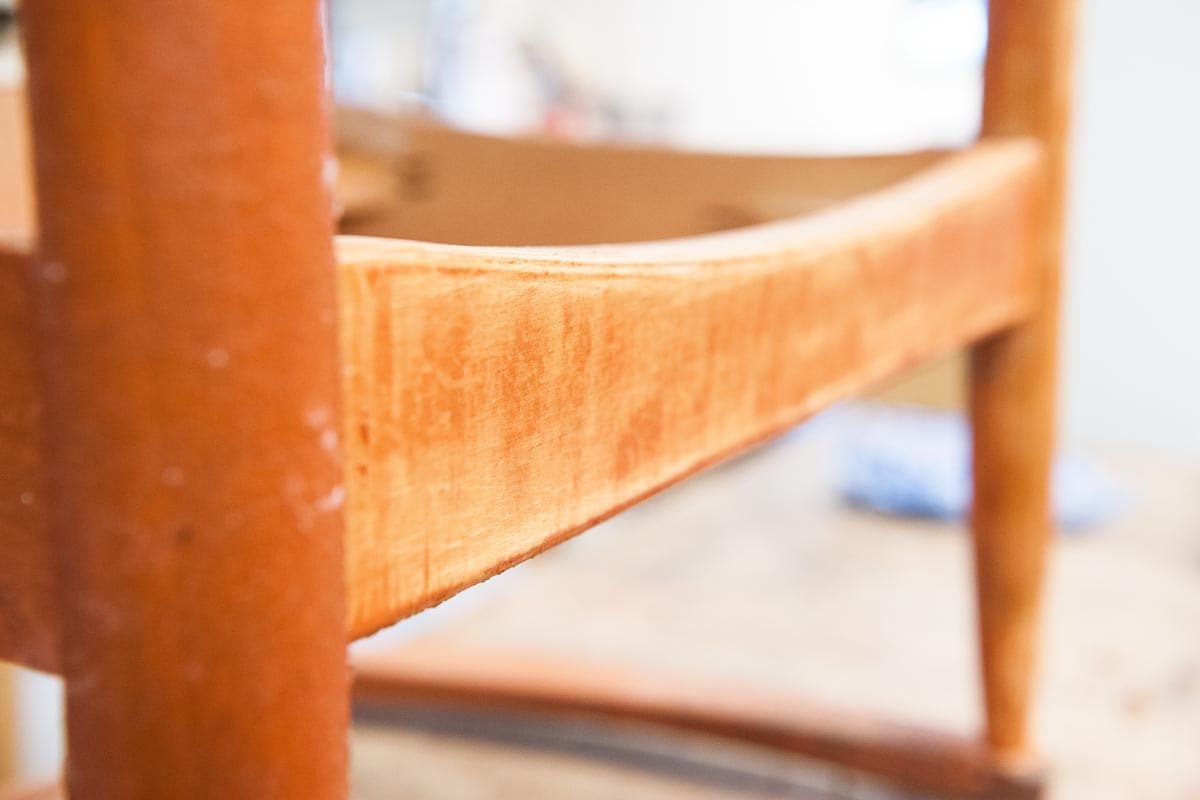
After leaving the varnish stripper on the chair for the correct time instructed. Use a scraper to scratch off the varnish, removing any old lacquer and leaving just the natural wood.


Step 5
Wipe off any excess stripper using a damp cloth.
Step 6
Sand the chair, removing all excess lacquer, to achieve a smooth surface. This project used the Mirka Deros Random Sander working from a coarse grit (80 grit) up to a fine grit (400 grit). Hand sand any areas you cannot reach using a medium grit (240, 320 grit). If you are not using a power sander, follow our Top Tips for hand sanding.


Step 7
It’s time to apply the finish!
This project has used a chalk paint, to achieve a matte finish, and is applied with a paintbrush. However, any of Axminster's extensive range of varnishes would work well to achieve a nice finish. You may need to repeat this process depending on the finish you want.


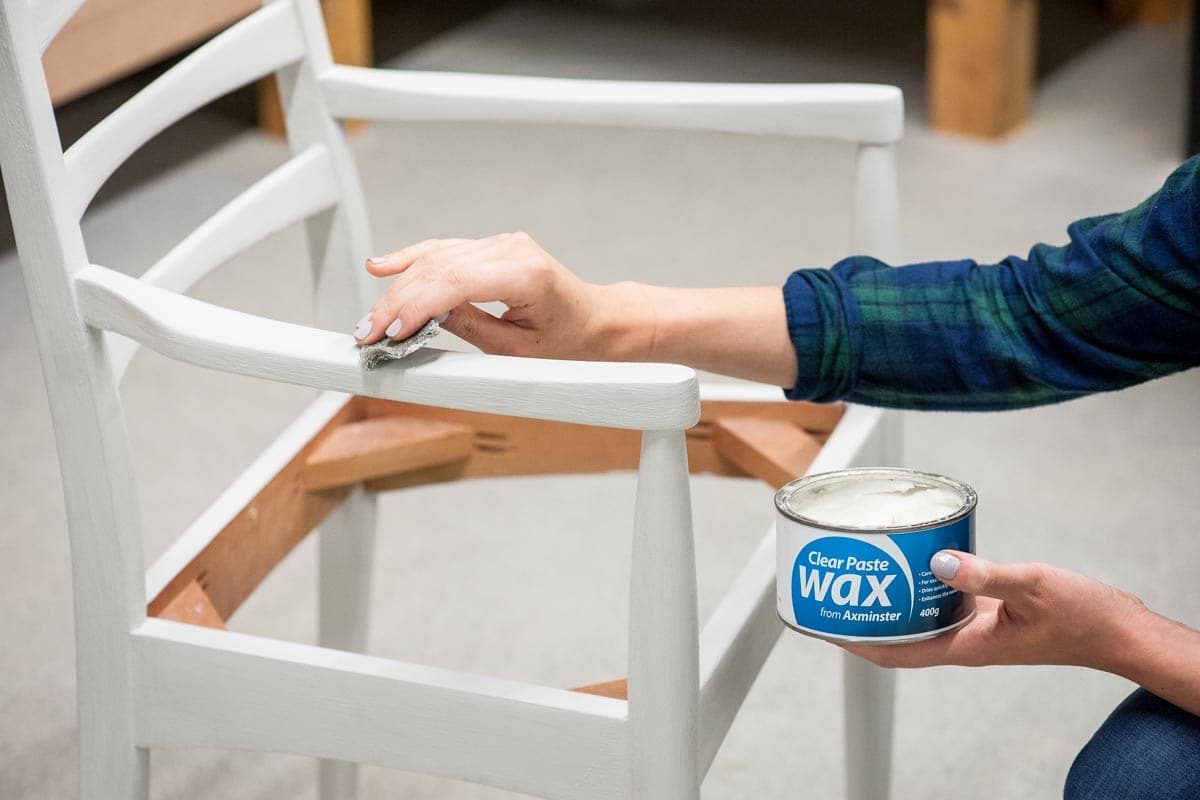
Step 8
Once the chair has dried, add a sealer finish such as the Axminster Wax and apply with a cloth.
Reupholstering your cushion
Step 9
Strip the old fabric from your cushion using the staple puller from the Arrow TruTac Stapler Upholstery Kit or similar.


Step 10
Decide where you want the pattern to show on your cushion.
Step 11
Cut the fabric using the seat as a template and leaving an excess perimeter of roughly 3-4 inches.


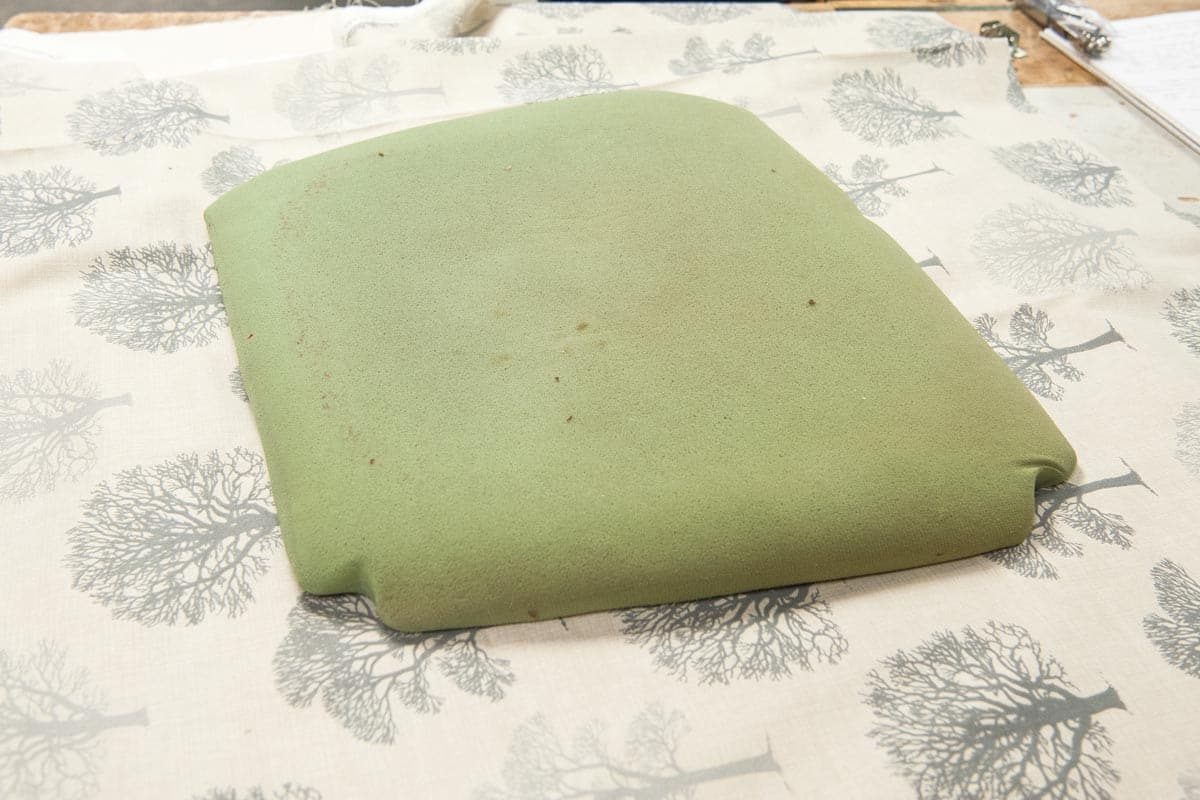
Step 12
Lay your fabric, pattern facing down, on a flat surface to ensure there are no wrinkles. Then place your cushion on top of the fabric, top side facing down.

Step 13
Staple your fabric to your cushion. Leaving the corners for last as they are the most difficult, start stapling the sides. Pull the fabric tight and make a staple in the centre on each. Then start stapling towards the corners, leaving a couple of inches from each corner.


Step 14
When this is done, it's time to tackle the corners! There is no right or wrong way to do this you just want to make sure the fabric is taut and looks neat on the top and sides.
Pull the fabric in each corner centre towards the middle of the seat and staple. Fold over one edge and staple to form a sort of pleat and fold the other edge to do the same. You may need to add a few more staples to ensure the corners are tight.


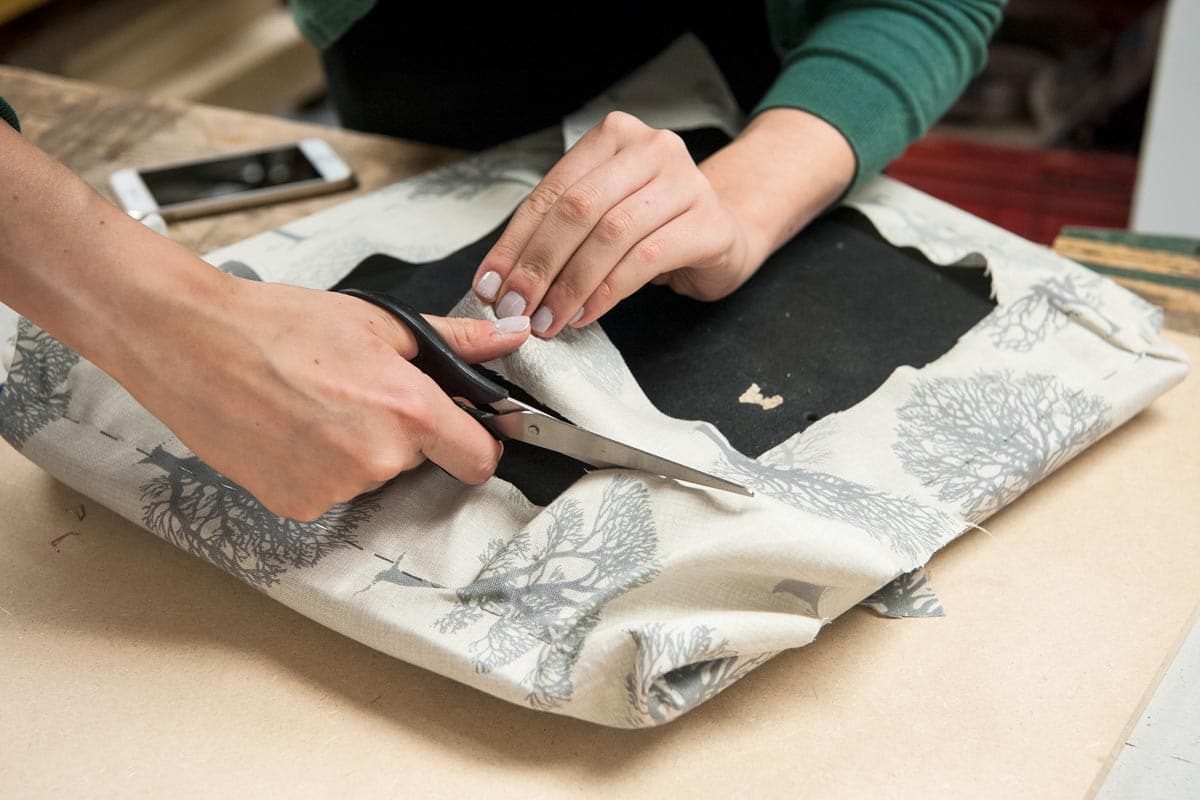
Step 15
Trim off all the excess fabric.
Attaching dust cover
This is not essential but you will achieve a much tidier finish by hiding any folded or loose fabric.
Step 16
Cut out the fabric using your cushion as a rough template and leaving a couple of centimeters excess around the perimeter.
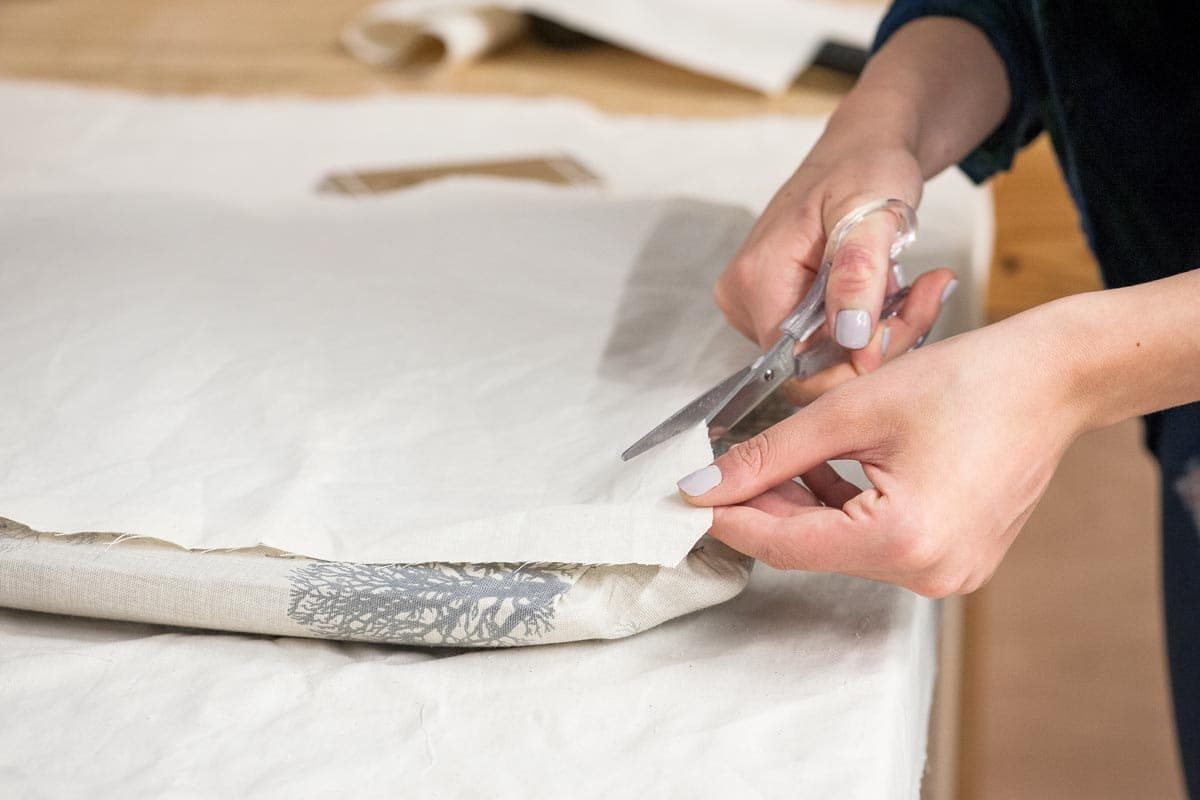
Step 17
Folding the edge of the fabric, position the dust cover so it covers the staples used for the top fabric.
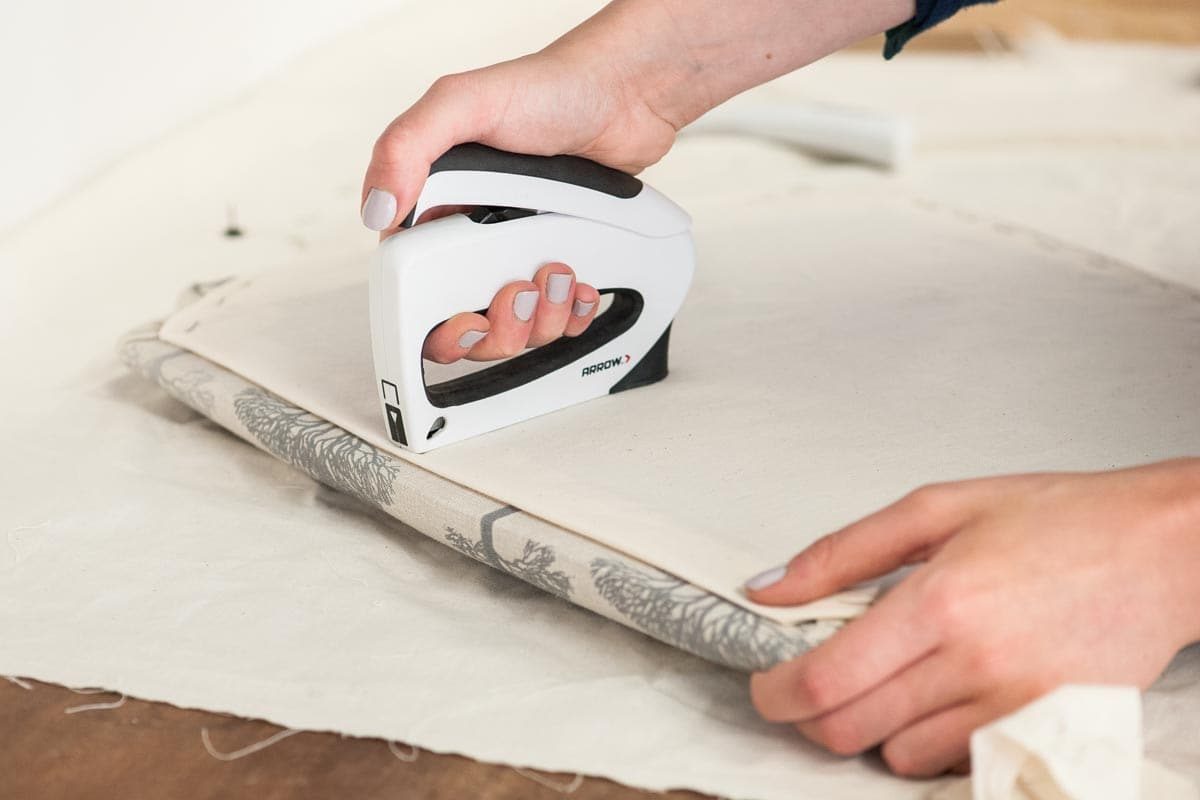
Step 18
Staple dust cover in a similar way as before (minus the corners!) centre first and work towards the corners, ensuring the dust cover is reasonably taut.