How to Turn a Resin Flower Frog

What you'll need
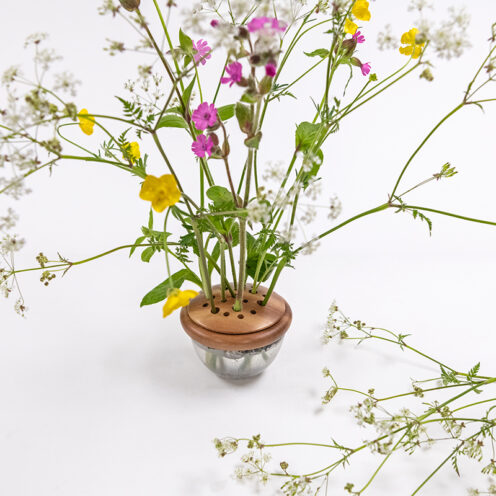
A flower frog is a useful tool for any florist wanting to create impressive floral arrangements. Often a lidded vase design featuring holes to hold the stems, a flower frog can help hold the arrangement in place while keeping the stems fresh for longer.
In this Woodworking Wisdom demo, Colwin Way shows you how to cast and turn your own resin flower frog with a wooden lid. Watch our video or follow of step by step guide below.
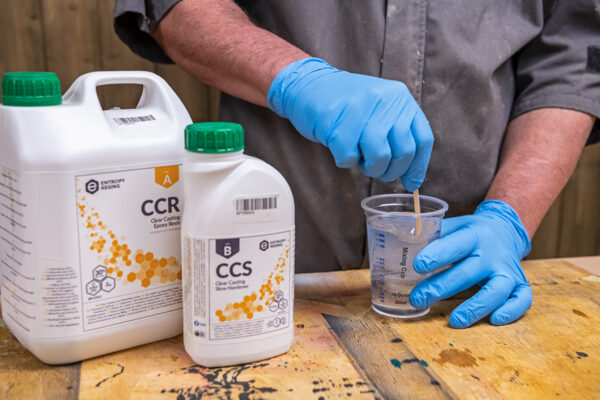
Mix and pour the resin
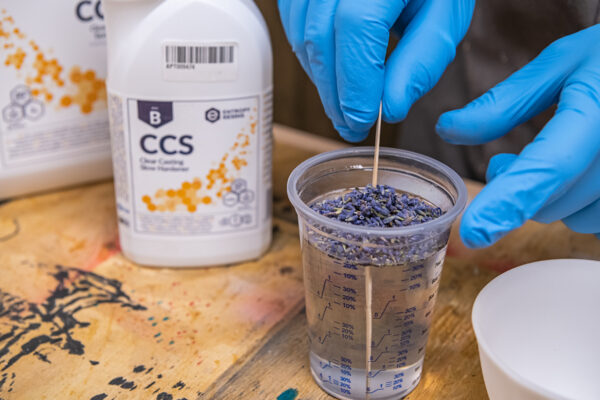
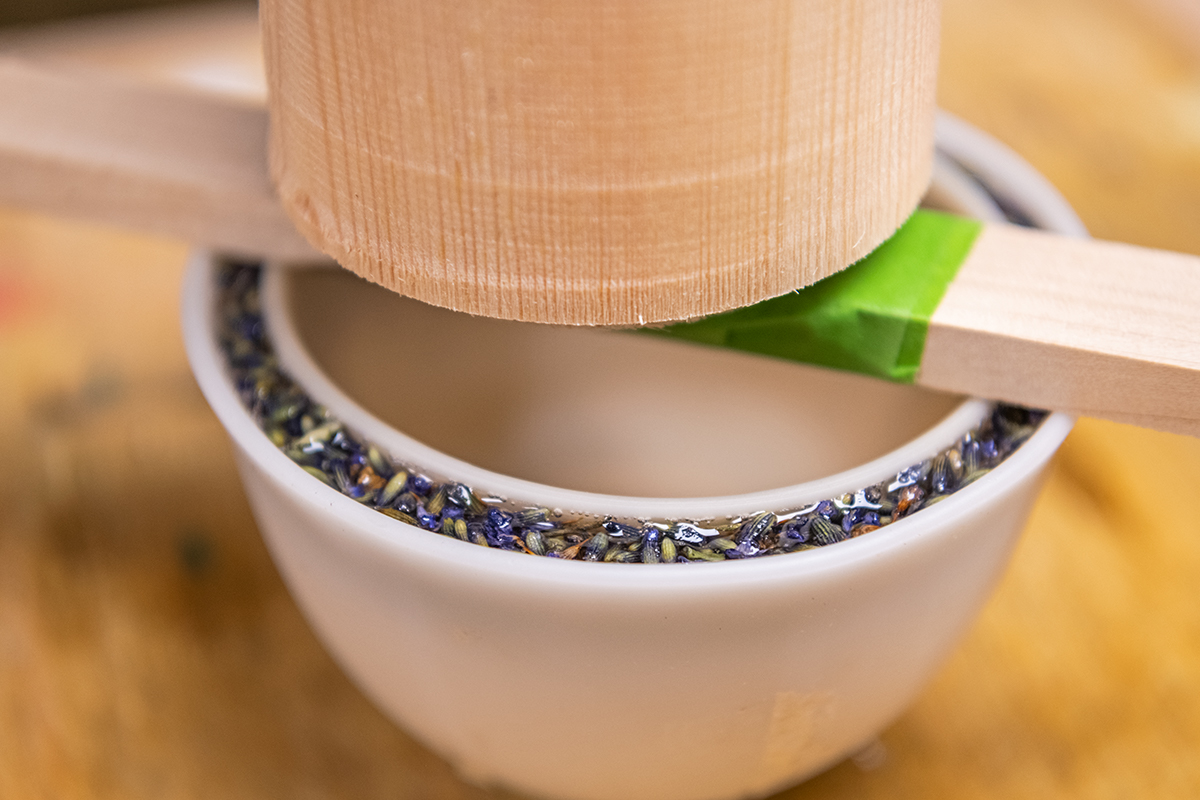
Start by pouring into a mixing vessel the desired amount of resin, add the indicated about of hardener and mix well. Then, mix in any pigment or additions and mix well. As this will be a flower frog, we have added some dried lavender.
Pour half the mixture into a mould. Here we’re using a latex cake mould. To use less resin, we're also going to place a smaller latex mould inside the first, allowing space for the resin to rise up. Weigh down the second mould to stop it from floating.

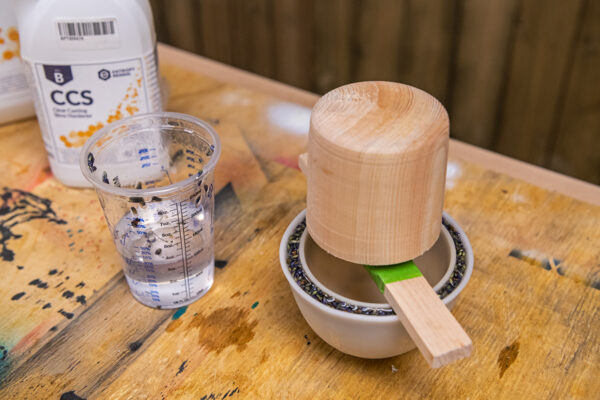
This will leave a 6mm wall thickness. However, if you are not using a second mould, just turn the centre out to the same thickness.
Leave the resin to cure for four days.
Prepare the lid for turning
While waiting for the resin to cure, you can prepare the lid for turning. Start by cutting two 100mm square pieces. This is to form the pot rim and the lid. We have used 20mm thick boards.
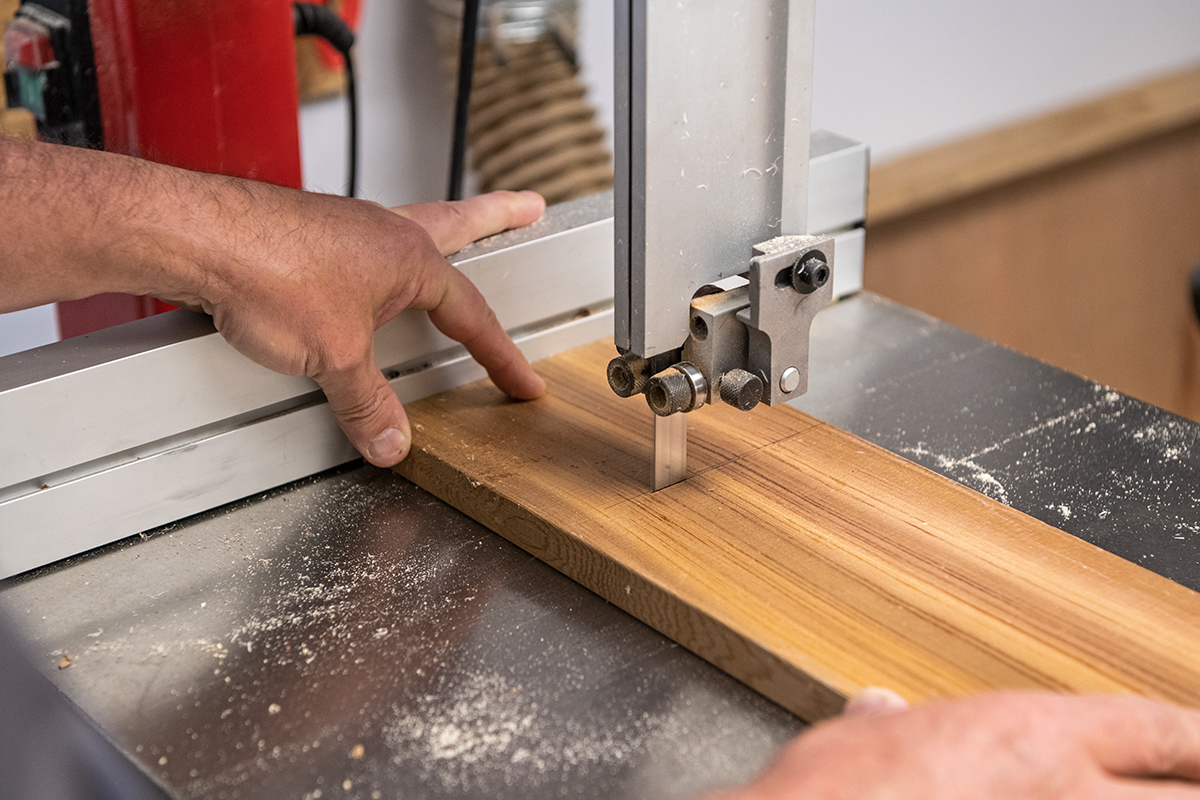
Mark from corner to corner and mark your centre point and scribe a circle using the centre of 100mm diameter. Then, using a bandsaw, cut into rounds or hexagons.
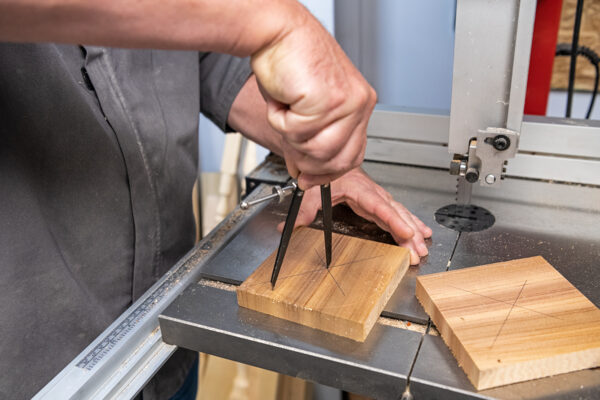
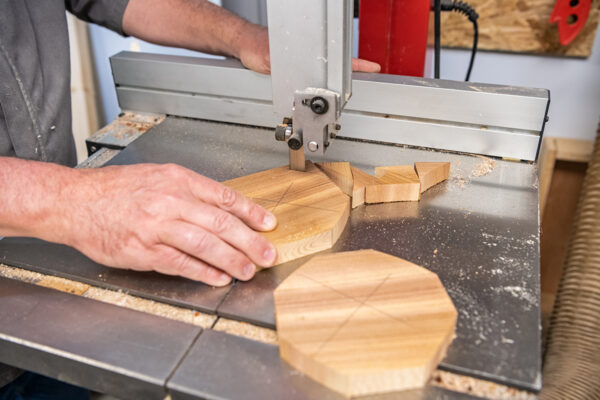
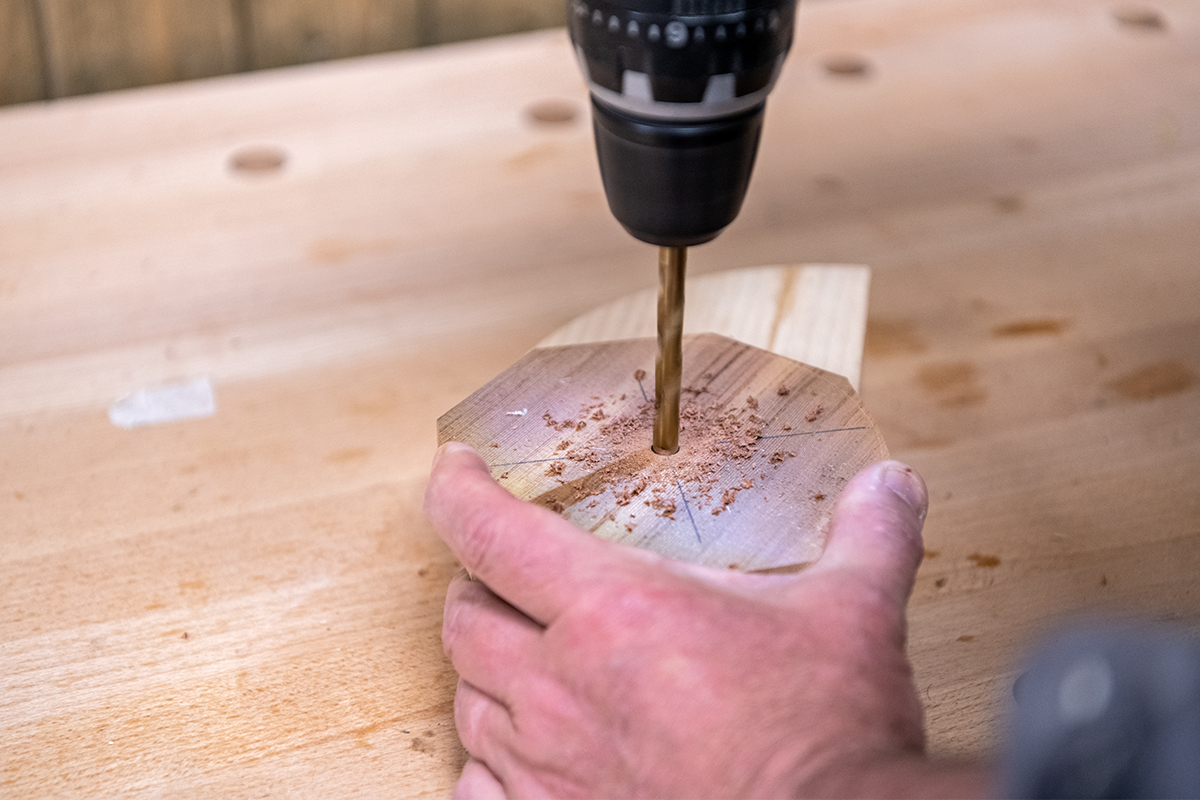
Next, drill and 8mm hole in the centre so that the piece can be mounted to the lathe using a screw chuck.
Prepare the resin blank
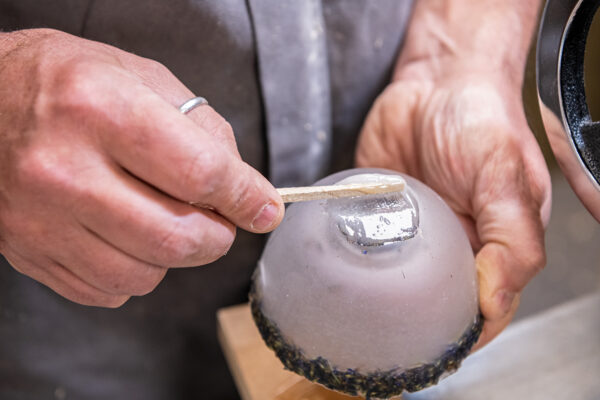
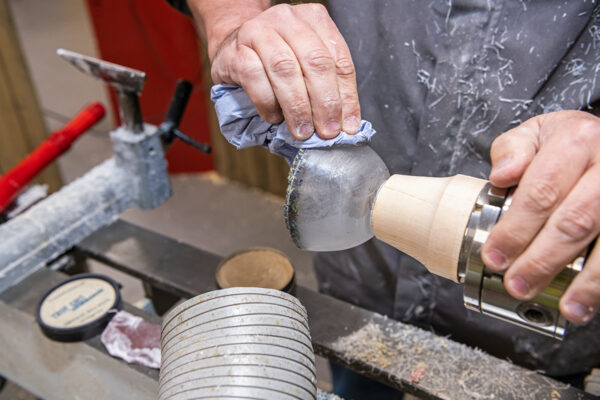
Once the resin has dried you can remove it from the moulds and flatten off its base on the disc sander.
Turn down a scrap piece of timber and create a hold point for your chuck. Flatten its face to a diameter of around 50mm. Glue the pot's base to this piece of timber using epoxy glue. You can use the lathe to clamp it together, while the glue is drying.

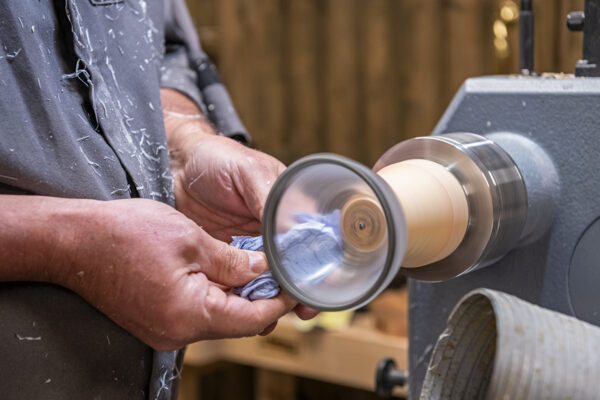
Once the glue has set you can start to tidy up the edges, we are going to add a wooden lip so just true this area clean.
You can now sand to a finish. As it's resin, you can sand to 1,000 grit dry. The final sanding is done with an abrasive paste, in this case True Grit. Then buff to finish.
Part the pot from the scrap wood and sand the bottom flat on a disc sander.
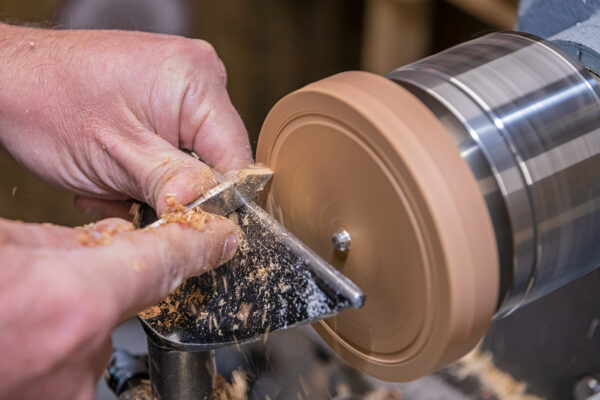
Turn the wooden rim
To begin making the rim, screw your blank onto a screw chuck and start by cleaning up the outside edge down to diameter. Then, measure the diameter of the pot rim and mark the underside ready for cutting.
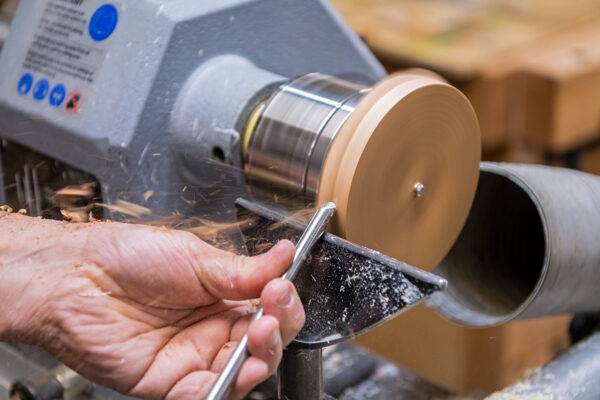
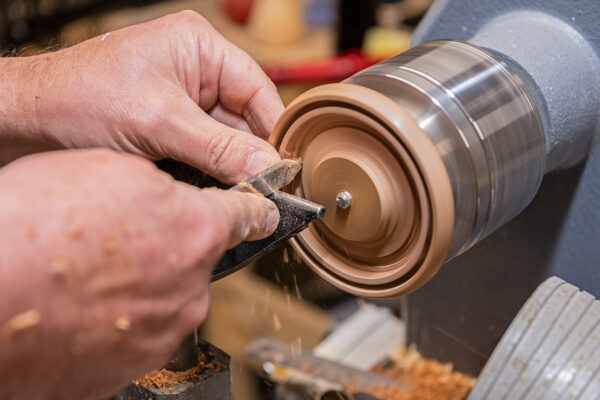
Next, cut the recess in ready to slide over and glue onto the pot. Start taking out some of the waste wood from the inside

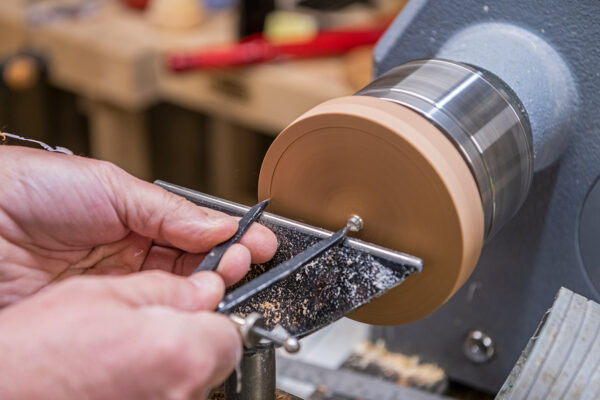
Sand all the finished areas to a good finish. Once sanded, carefully part through the ring to separate it from the waste.
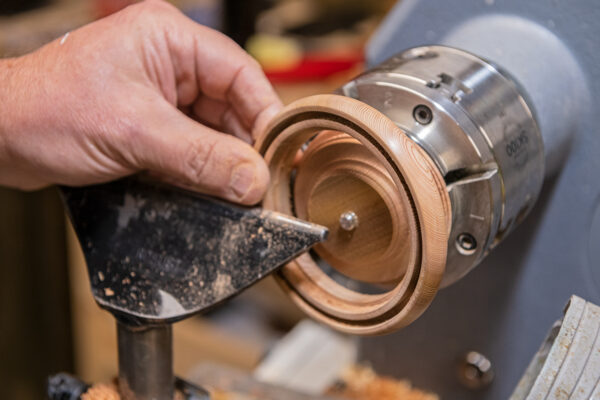
Then, clean up the inside by regripping the ring in some button jaws, this will give you access to the un-sanded areas.
The ring can now be oiled before fitting to the pot itself.
Turn the flower frog lid
Before turning the lid you will need to drill the flower holes. If this is done after the turning, it's likely that you will get bad breakout.

The underside of the lid will be the first part to turn as we can then use the lip to grip when turning the top.
Measure the wooden rim and size the lid to it before cutting in the step that will sit inside.
Sand to a good finish.
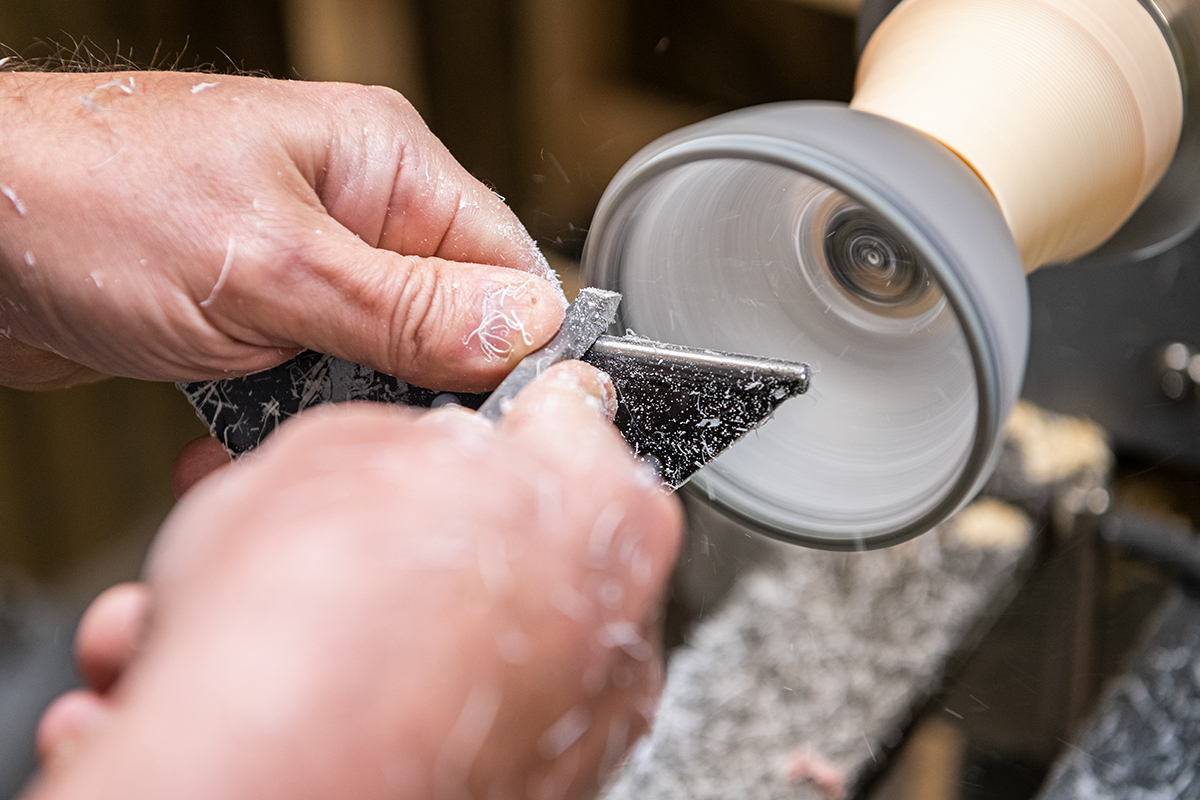
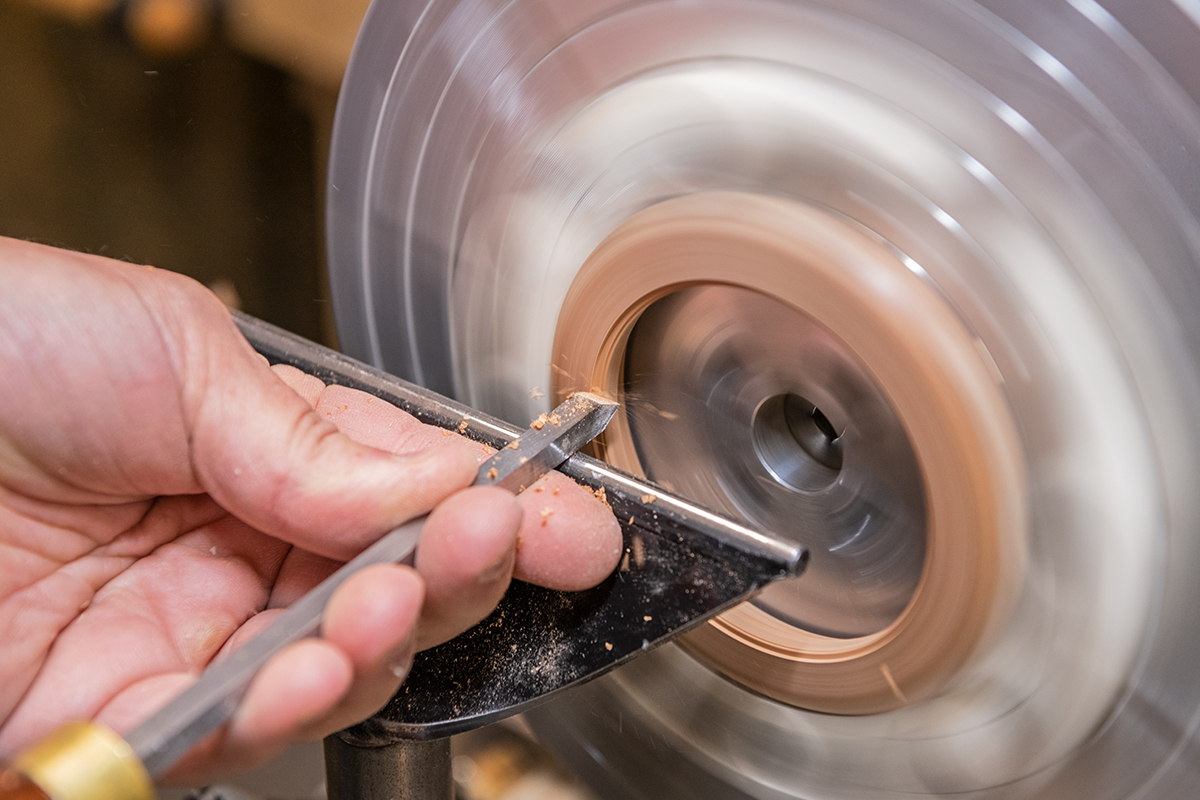
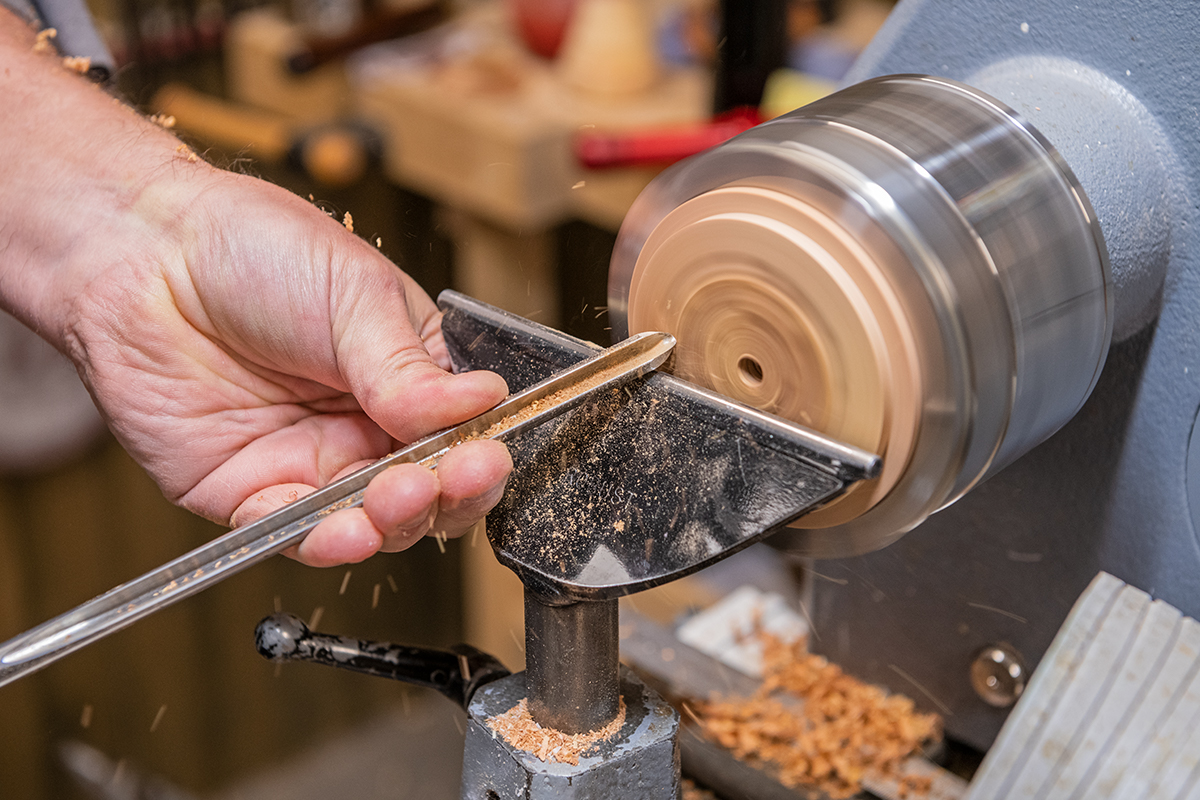
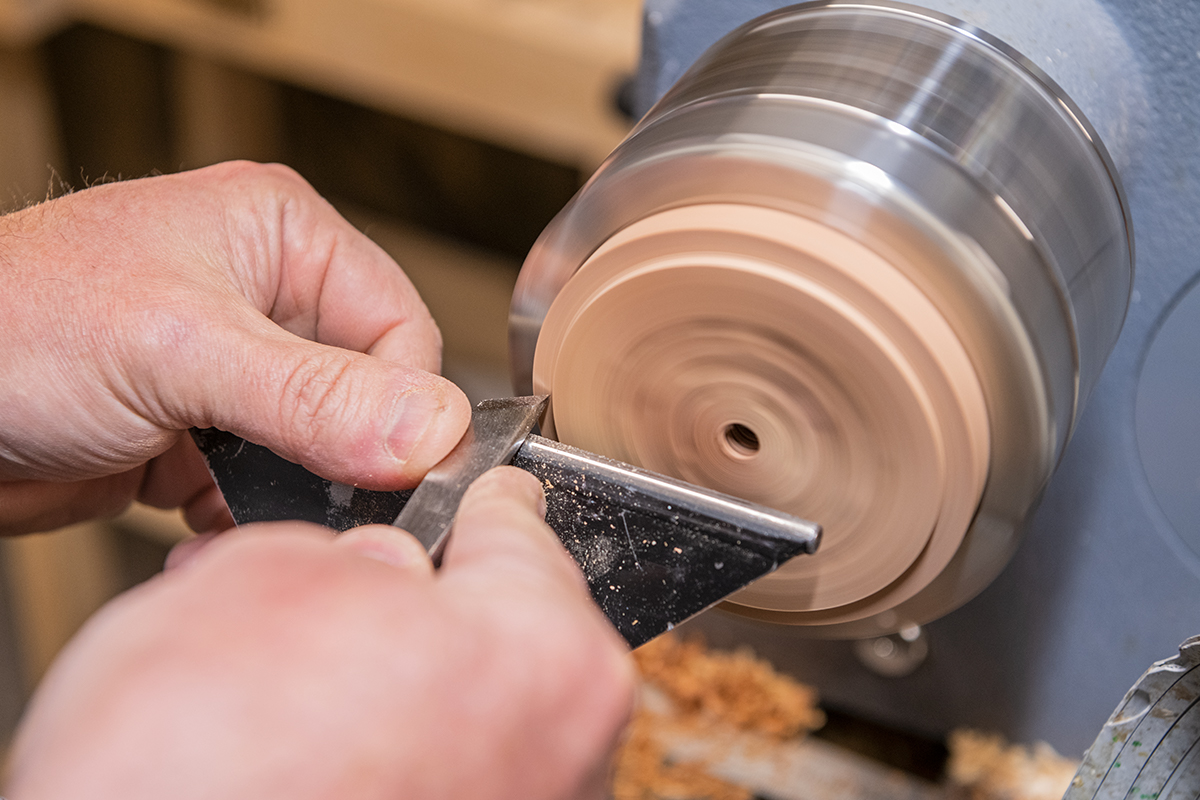
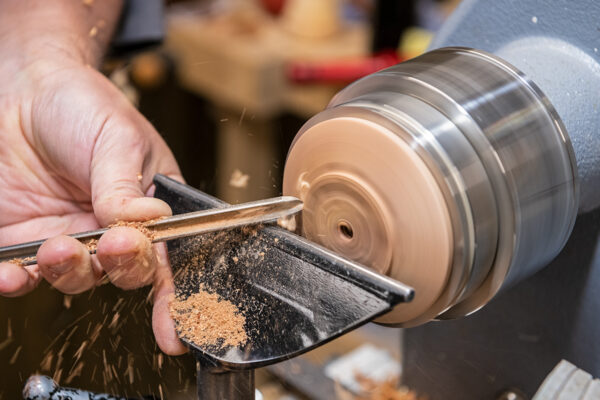
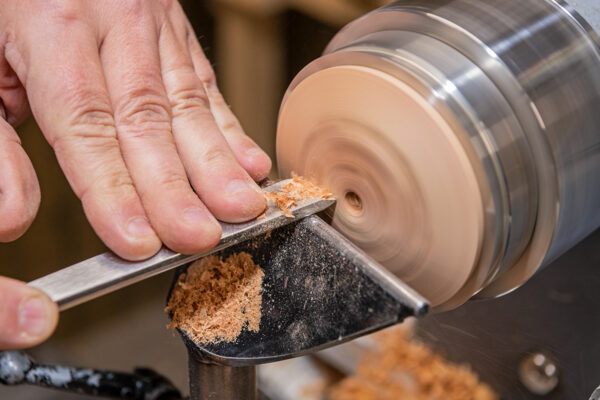
Turn the lid over and grip the lip just made, radius the top of your lid carefully with a bowl gouge. Once almost to size, use a sharp skew laid flat to give you an even fine cut to minimise breakout before sanding to a good finish.
Give the lid an oil finish and leave to dry then buff to a good finish.
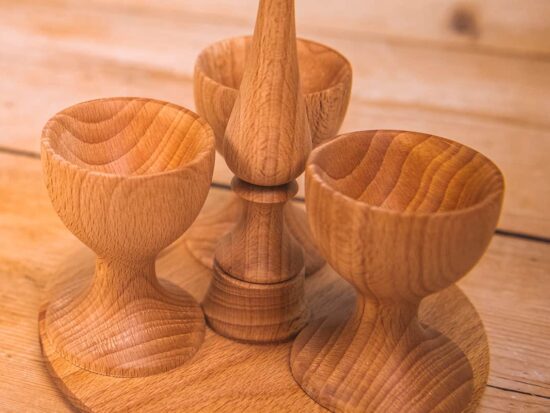
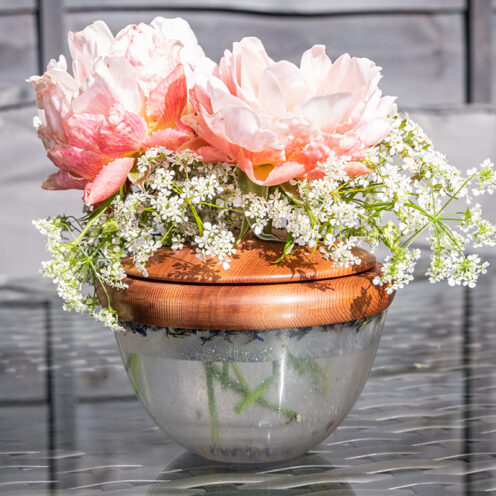
And there you have your finished flower frog.
Made it? Share it!
If you have made our flower frog project, then why not share with us your pictures on social media? Search and tag @axminstertools on Instagram or Facebook. Or upload your images to our online gallery.