Glues and Gluing: Part Three
Having explored a range of suitable glues and adhesives for the modern workshop, it’s time to look at applying the stuff. And more importantly, getting the ‘squeeze out’ off again. There’s a whole raft of different ways of applying glues, all of which work very well.
The disadvantage of these systems is that most of them, unless designed to be disposable, need cleaning afterwards. For me this is just another irksome chore to do at the end of a complex gluing process. There are a couple of exceptions, which are much easier to clean. They are the two applicators made from silicon rubber where the glue peels off when completely dry, except with polyurethane, as noted by one or two customers in their reviews.
Tools for the job
For many years I used the plastic spatulas which I usually bought in bulk from a local art shop. However, the services of a craft knife had to be employed to remove the dried glue, leaving them fit for the bin.
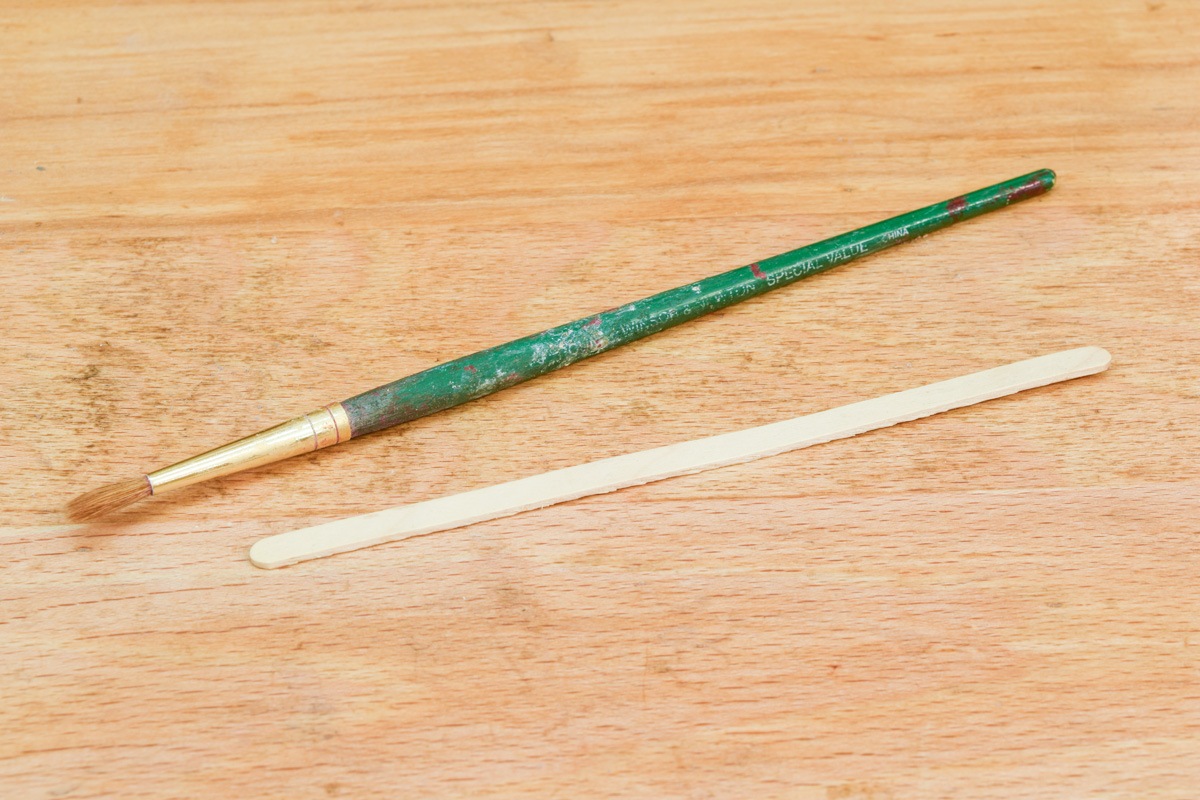
I discovered quite by chance that a simple artist’s paintbrush is absolutely perfect for applying small quantities of glue. All I need to do is to drop it into a pot of water when I’ve finished, which stops the glue from setting. I also discovered at the same time that beechwood coffee stirring sticks work equally as well, with the advantage that they can be thrown away after use. Both of these methods work very well for many gluing applications such as dowels, dominoes, mortice and tenon joints, dovetails or similar.
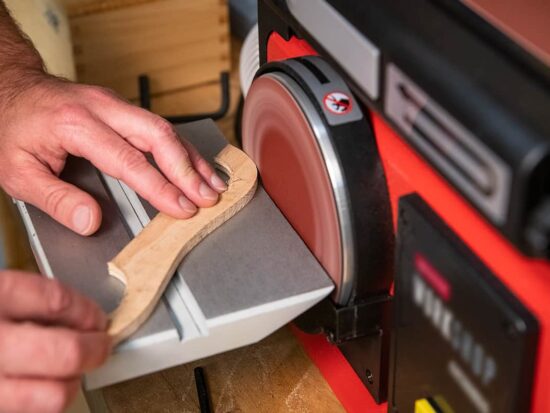
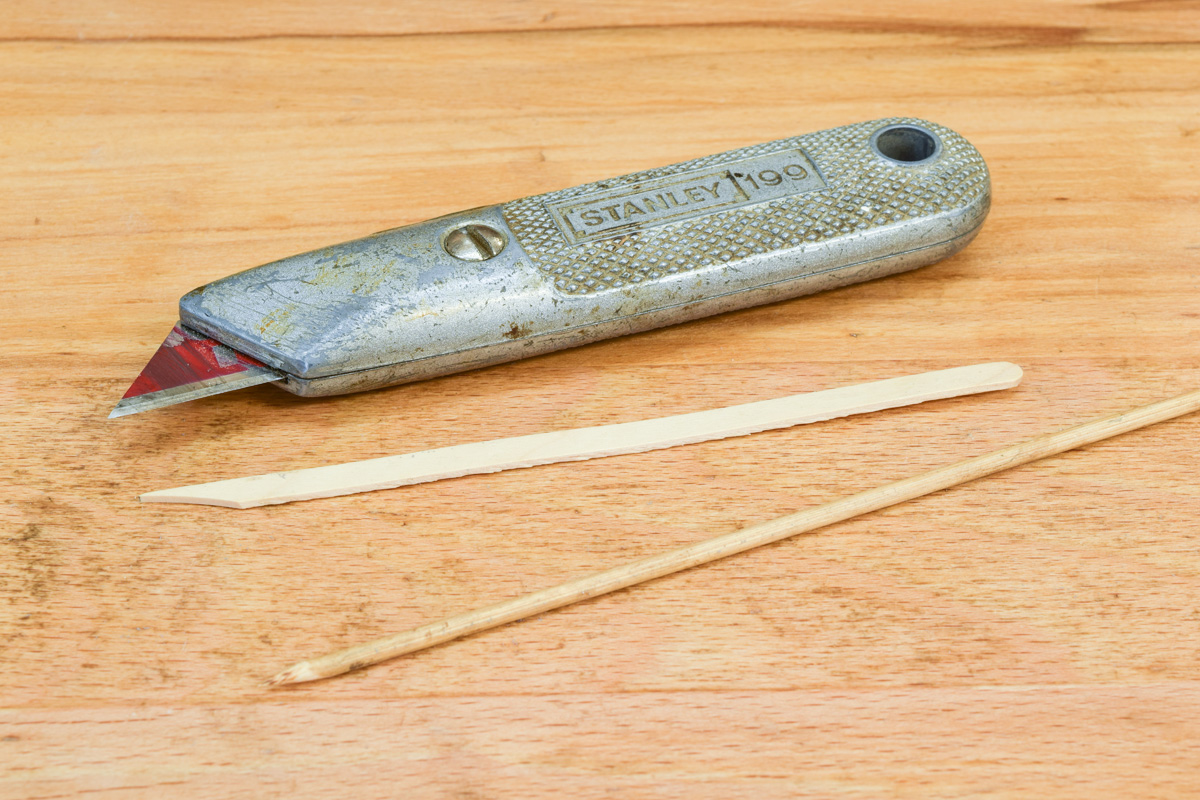
Occasionally, there’s a need to apply very small amounts of glue in precise locations. For that, the craft knife is again pressed into service to sharpen the end a coffee stirrer. The other option is to use a bamboo barbecue skewer and once the residual glue has been wiped off, it’s simply re-sharpened on the disc sander ready for another small gluing job.
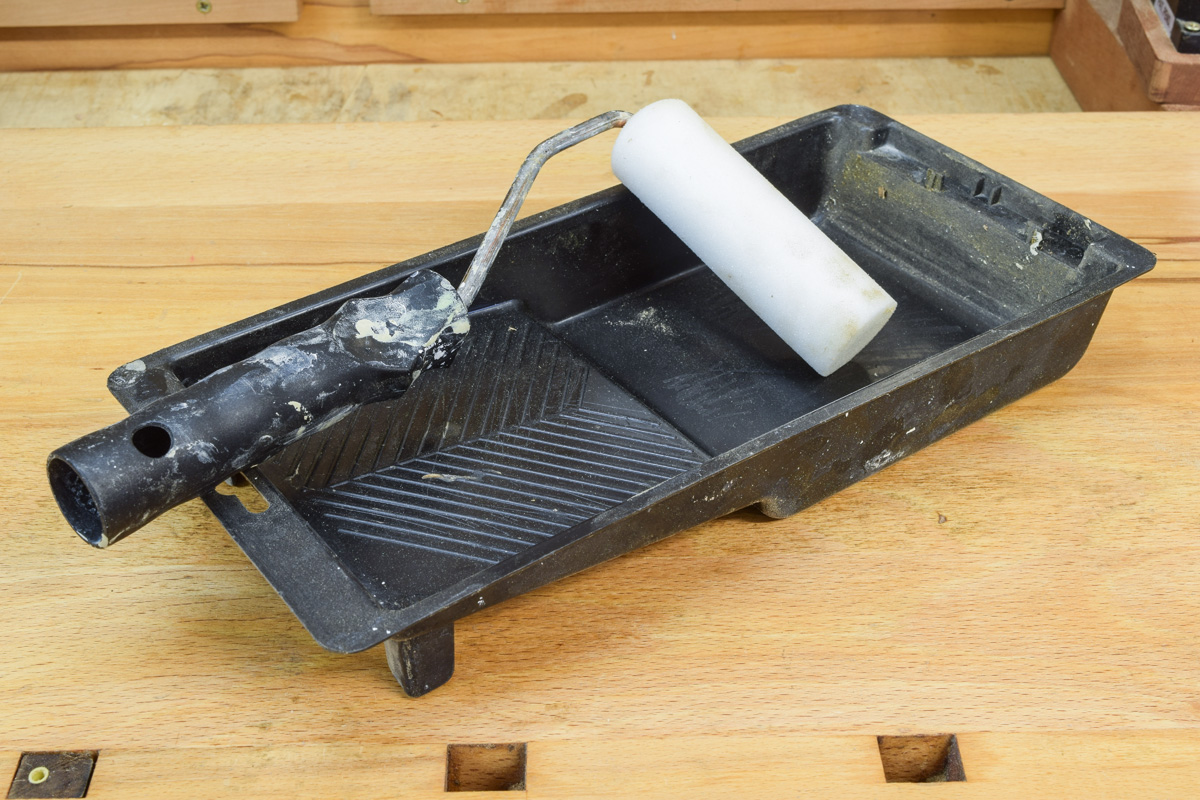
Big areas, as may be found when veneering, need a different approach. Even a larger paint brush won’t get enough glue on quickly enough. In this instance, a roller is the right tool for the job. I use a small decorator’s roller with a disposable foam head; the sort of thing used for painting behind radiators. I can buy a pack of ten of these things for less than £3 which doesn’t make too much of a dent the wallet!
How much to apply?
Applying the glue is fine, but how much should you slather on, if at all?
With the proviso that joints fit, then the minimum to do the job properly and to ensure coverage of all surfaces. I always apply a thin smear of glue to both sides of the joint. There are different views on this, as some woodworkers only apply glue to one surface. But if the ‘belt 'n’ braces’ approach is adopted, you can be sure that that you’ve obtained the best coverage. The difficulty then arises because the time taken to apply the glue has now doubled. This means that the ‘open time’ has been halved. And in a very warm workshop, it’s a difficult call to make, especially if you’re using PVA!
The 'squeeze out'
Having gone through the tedious process of applying the glue, and bringing the joint(s) together, you need to remove any excess before it sets. This is called the ‘squeeze out.’
Or do you?
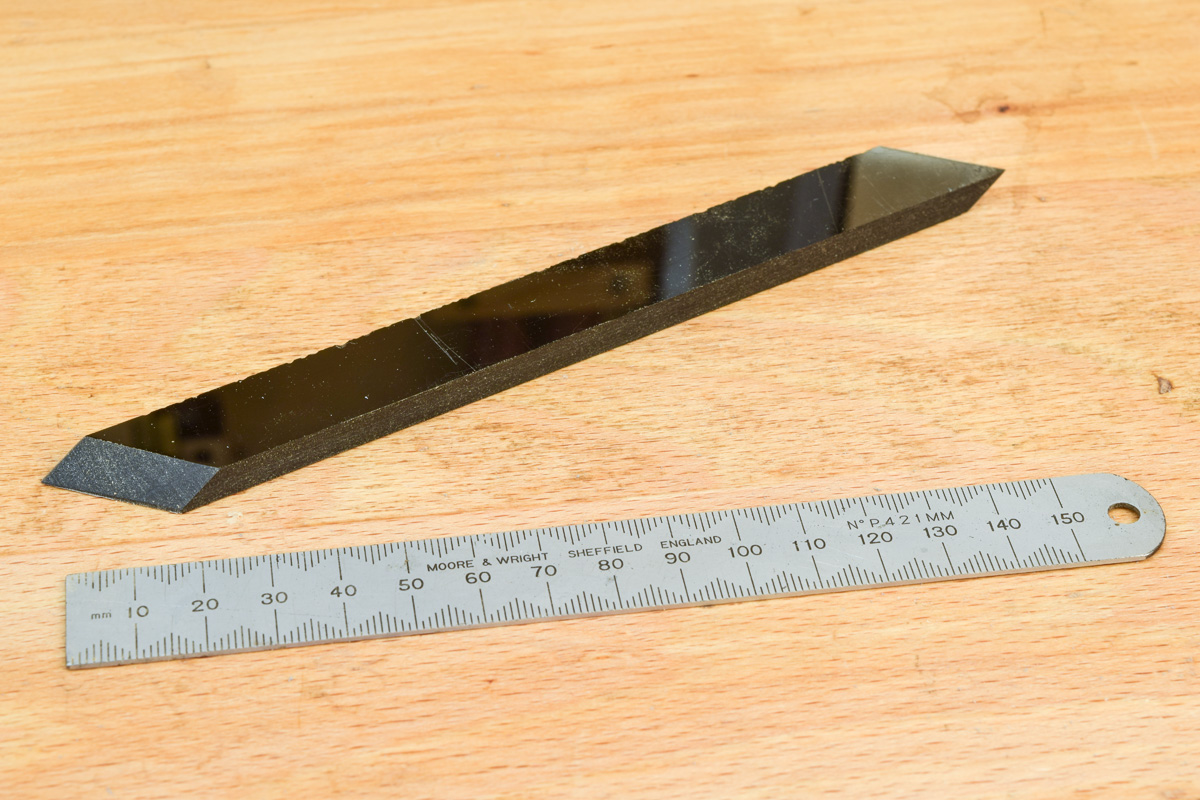
One technique I frequently use is to pre-polish and wax all internal surfaces to provide a ‘resist’. When the glue has hardened to a jelly like constituency, it’s then easy to pick it off with the edge or point of a ‘shop made glue scraper, made from an oddment of acrylic plastic. When it becomes encrusted with glue, simply sand it again at each end to leave a pair of bevelled edges. This is especially useful with Cascamite, which is very difficult to remove once it has set glass hard.
When the ‘squeeze out’ has to be removed while wet, the glue scraper is effective at taking off the excess. What little remains can be completely removed by scrubbing the area with a damp stencil brush; never wet it fully, or the water will penetrate the joint and dilute the glue.

This concludes this three part treatise on glues and gluing. If you have any queries on the issue, please leave your questions below.