How To Make A Fold Up Potting Table
Whether you are a hardcore gardener or weekend warrior; this potting table or potting bench is perfect for anyone looking for an organised space to repot your plants or grow new seedlings.
What you'll need
Build Your Own Bespoke Potting Bench
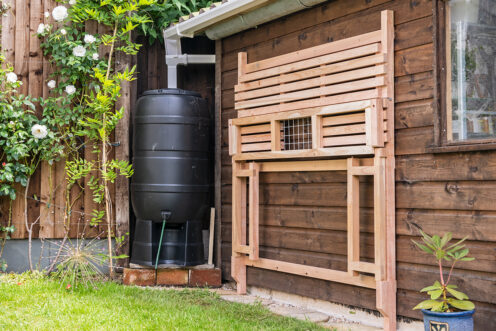
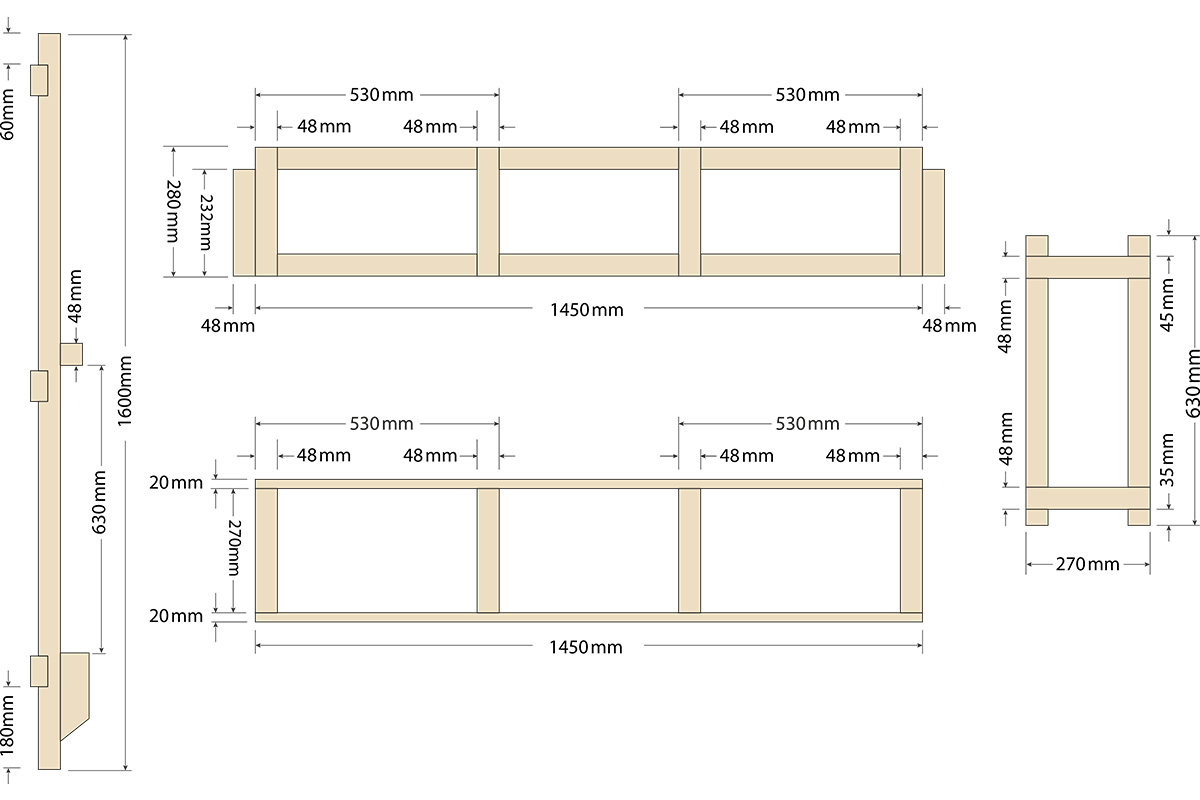
Not just a potting table, this design can be easily adapted to make a fold up garage or workshop work area with the added bonus that you can manoeuver or pack away when not in use. The timber sizes we have used are a guide but can be adapted to what is available or to suit your location and purpose.
A note about materials
If you do decide to leave your workbench outside for long periods of time, then it is important the materials you use are weather resistant. For the timber, we recommend using timber with a good rot resistance. We have used a Western Red Cedar but you could also use Larch or Sweet Chestnut to name a couple more. The timber needs machining to size or can be bought pre-machined. We have also used a 15mm copper pipe for our design that won’t rust or expand when it gets damp.
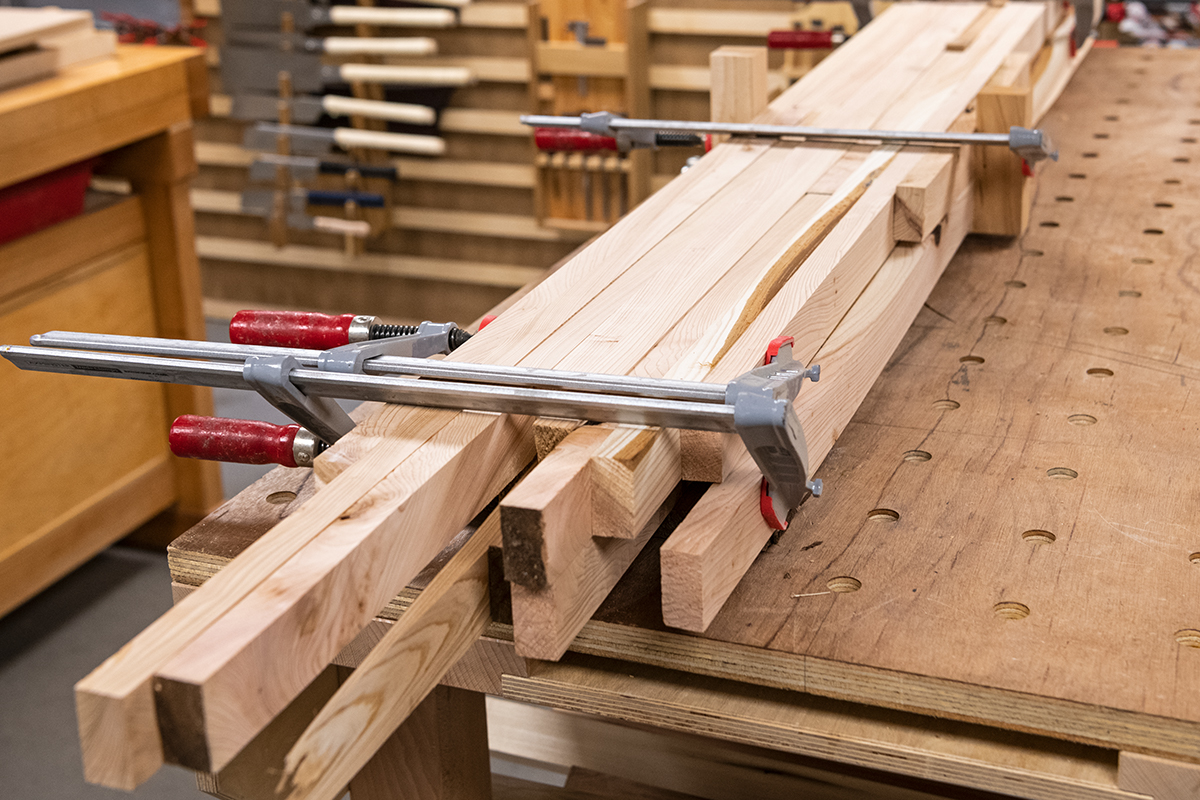
Top tip: Whilst storing the materials it's worth clamping them together, to reduce movement!
Part 1 – Make the gate legs
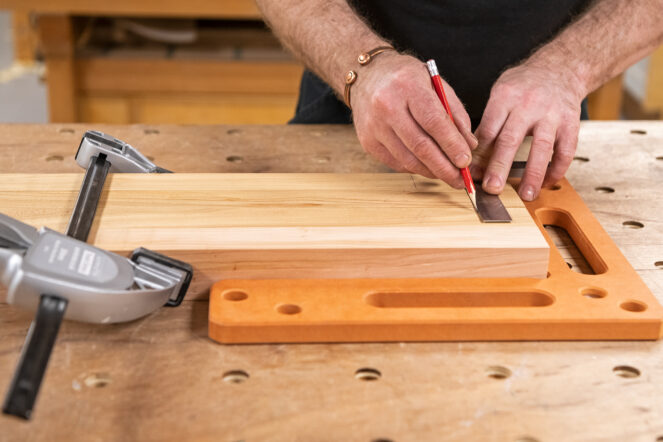
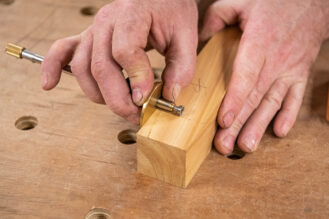
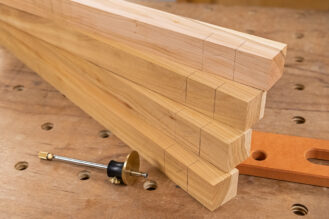
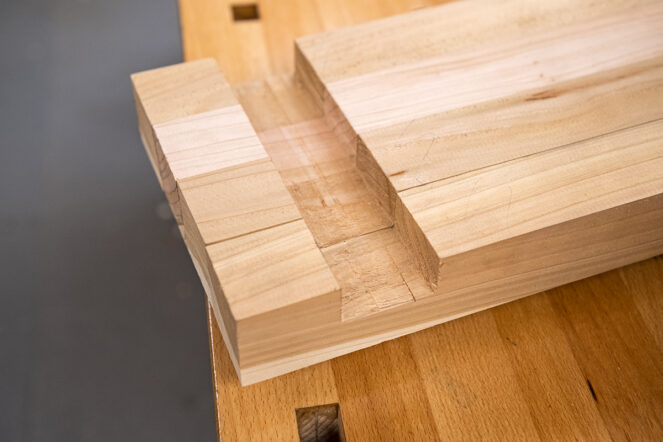
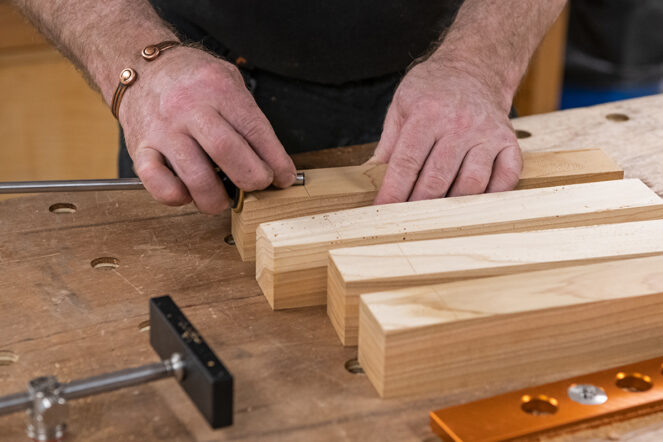
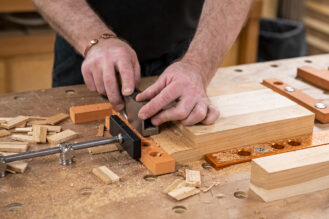
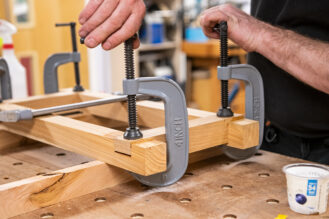
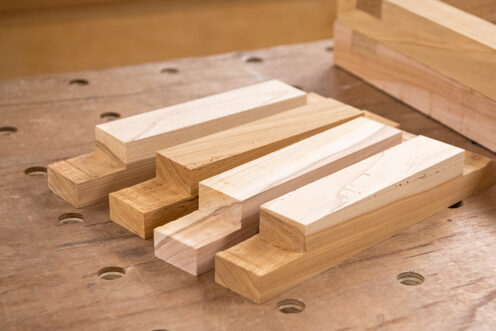
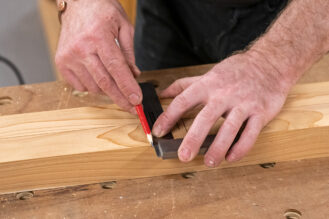
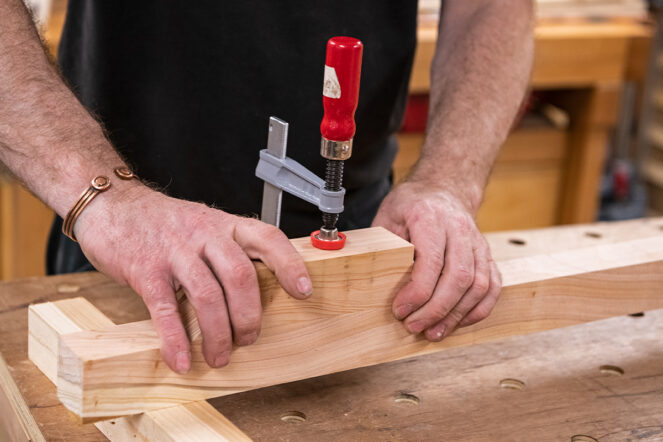
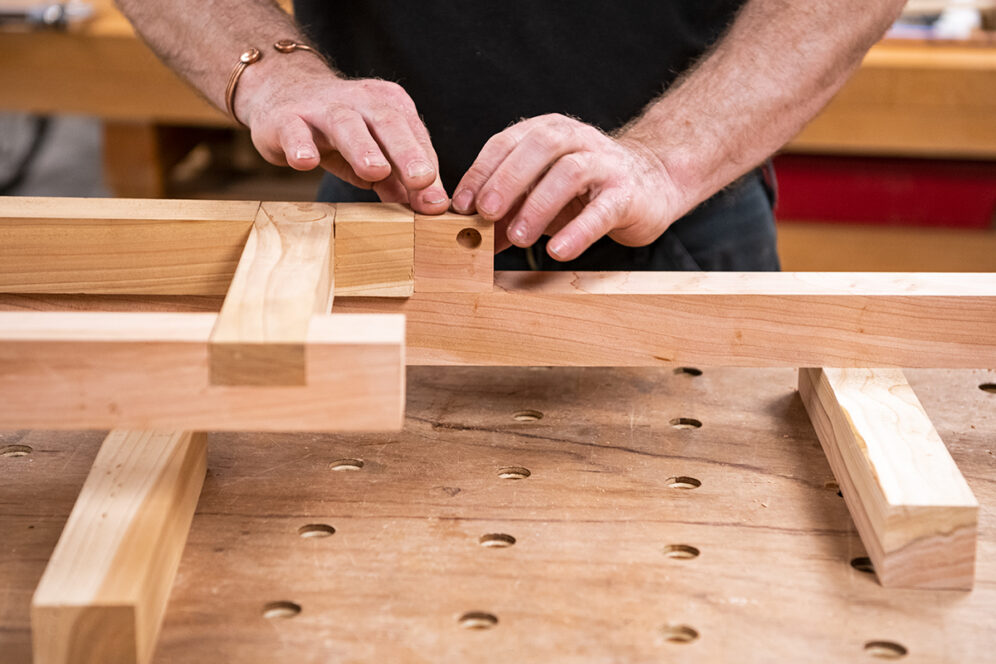
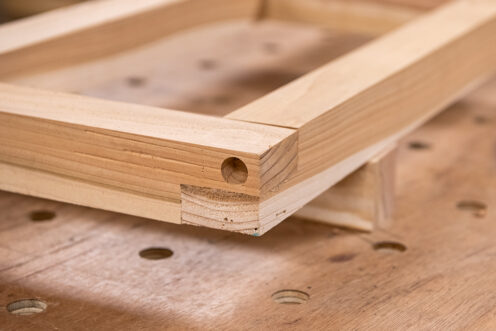
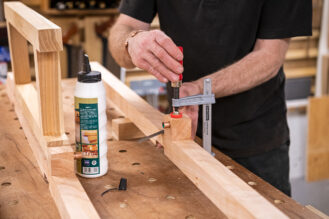
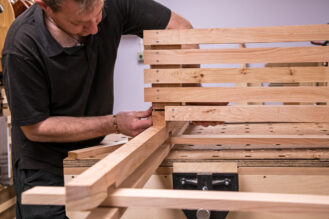
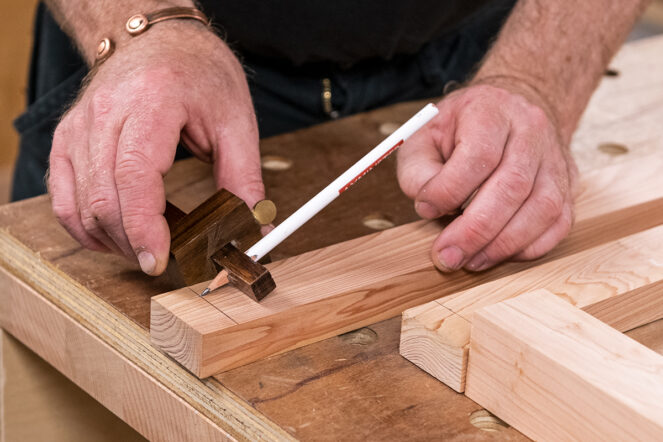
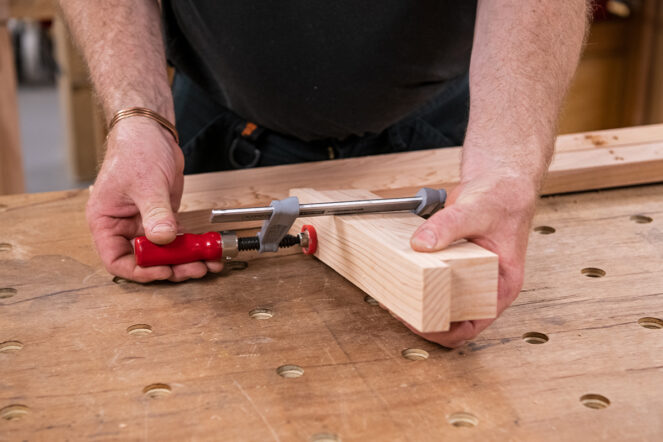
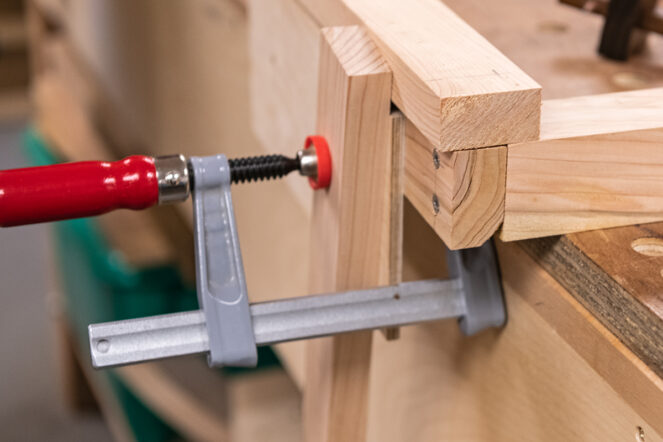
Cut the square sections for the potting table frame and legs frames to the required length. Remember to cut the longer sections first. Clamp the same size legs together. This will make the marking out of the halving joints more accurate and quicker. Use a square to mark out the shoulder points and a marking gauge to mark out the halfway depth.
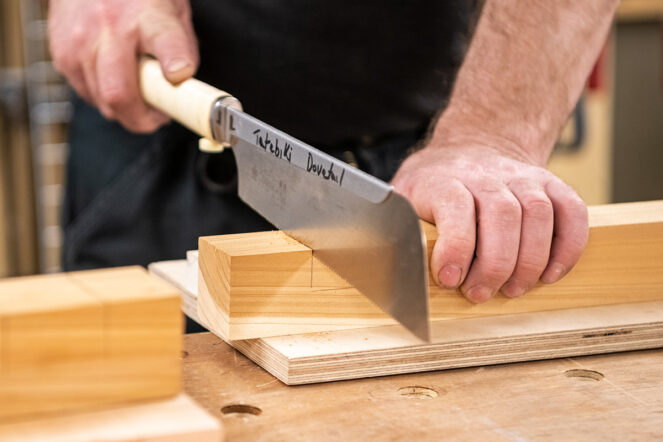
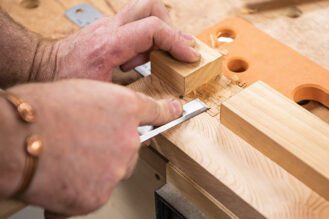
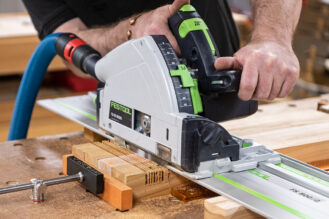
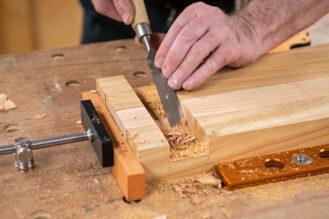
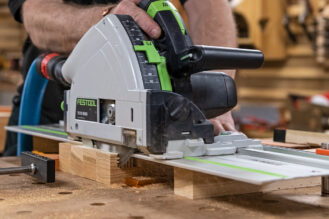
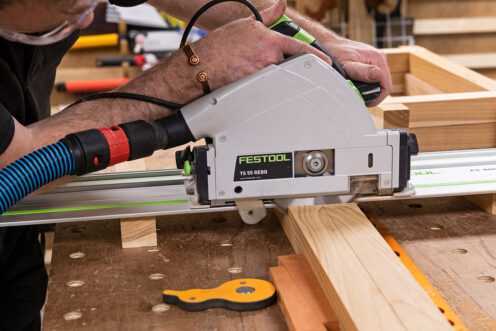
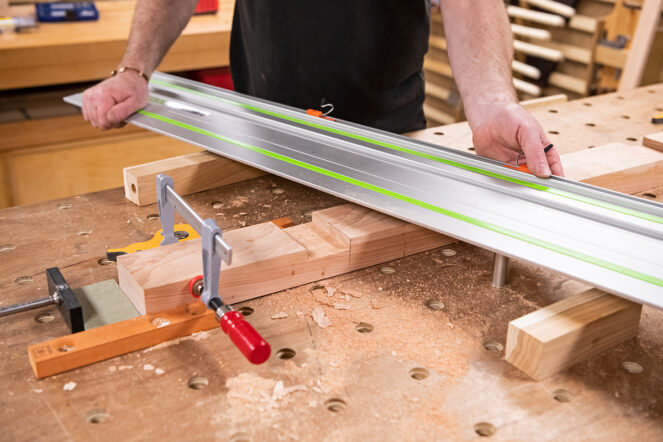
To cut the halving joint use a saw and chisel. Alternatively, to speed up this process use a guide rail saw and UJK Parf Guide System set up.
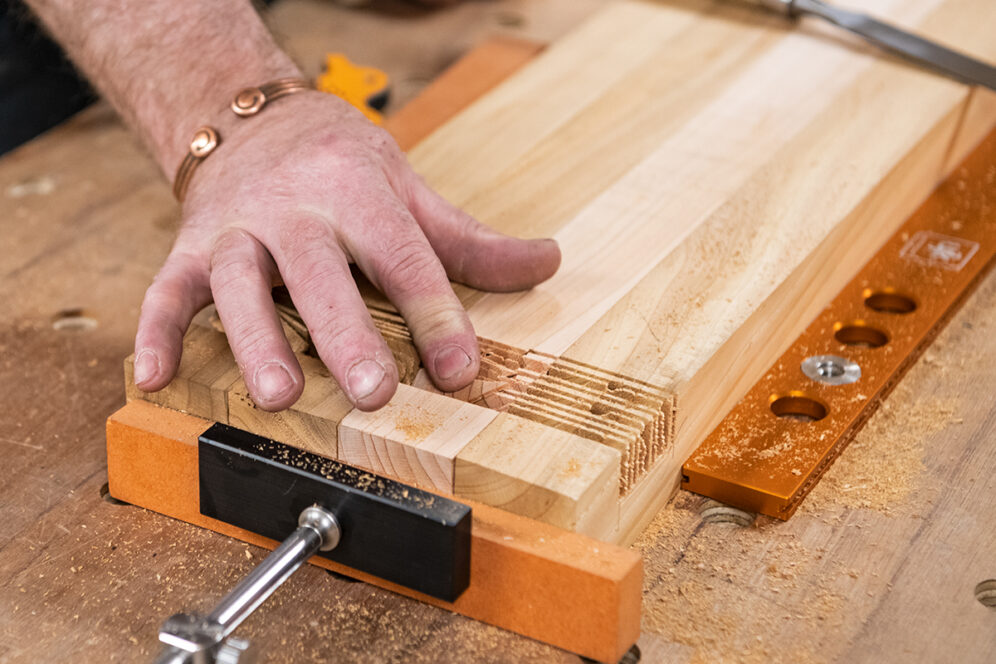
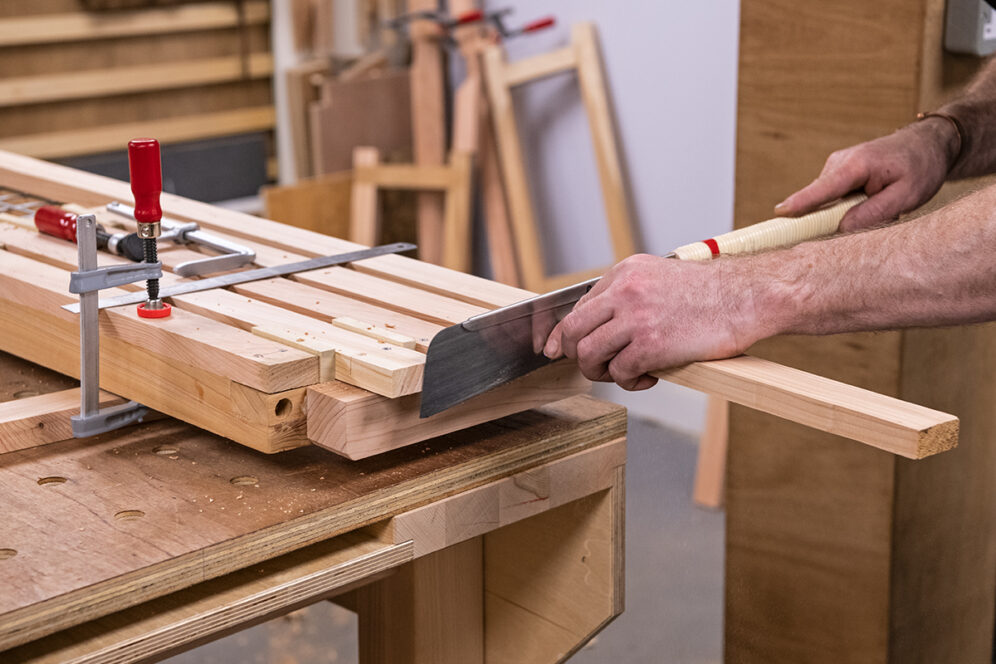
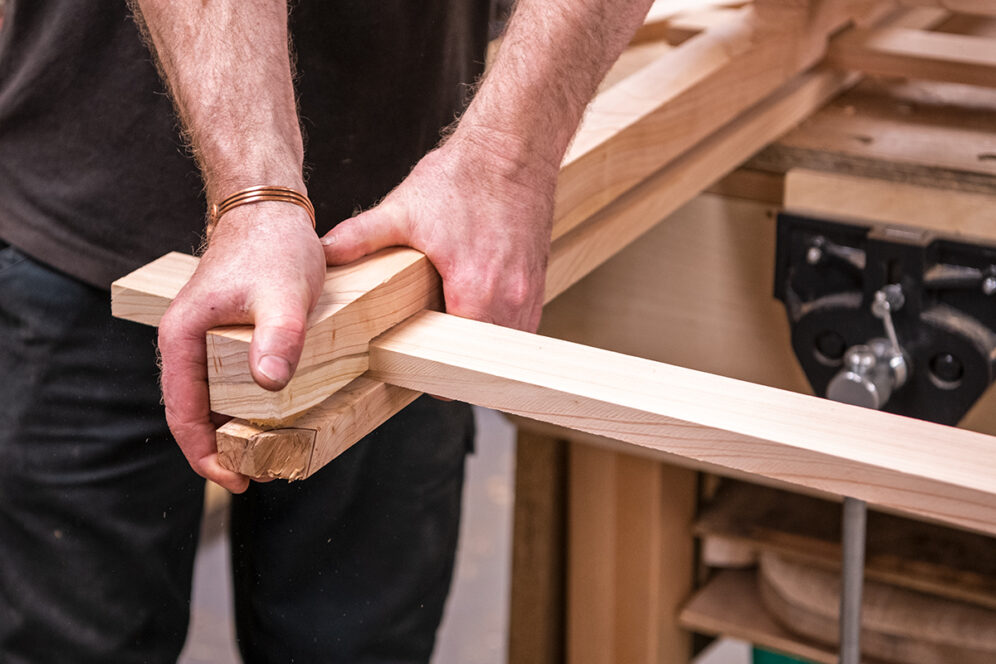
Making the project with joints that accurately fit together will add strength and outlast a screwed-together construction. If using a guide rail saw, clamp the sections that are the same together and cut at the same time. The clamping together allows the work to be moved under the guide rail, taking a number of cuts allows the widening of the recess to form the halving joint.
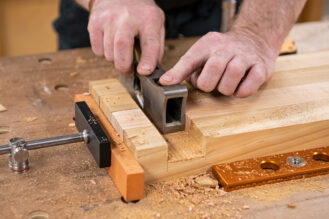
Start with the leg frames as these are easier to handle. Cut the halving joint in the legs. Again, this can be done either by hand or using the guide rail saw set up. Take numerous cuts to widen the recess, and then clean out with a chisel or shoulder plane.
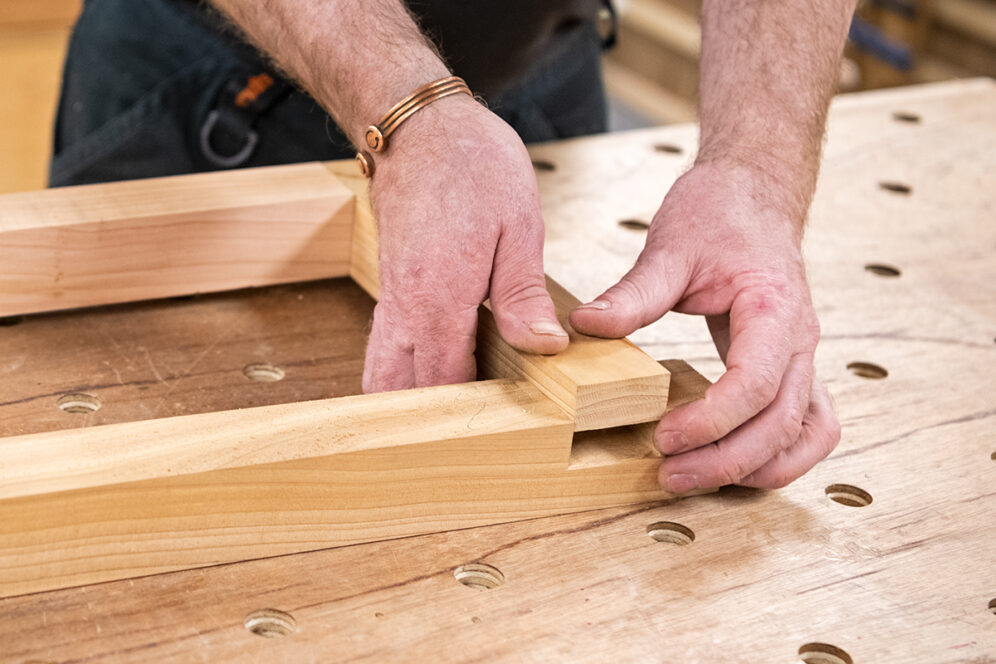
Mark out the halving joints on the top and bottom rails. The guide rail saw set up speeds up the cutting of these joints as all four are cut at the same time. With the bulk removed, refine the joints to fit into the recess cut into leg rails.
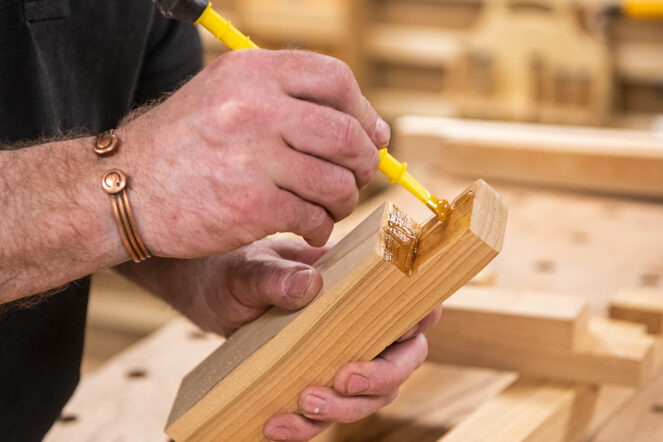
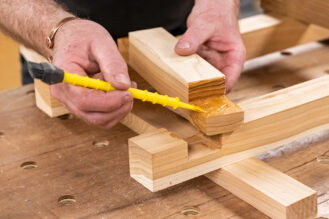
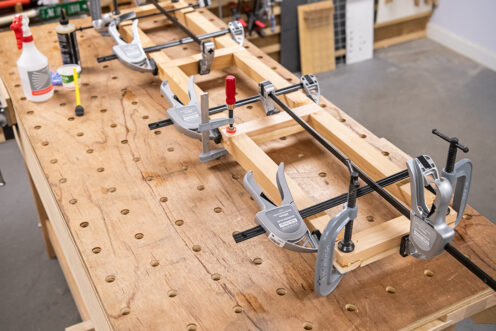
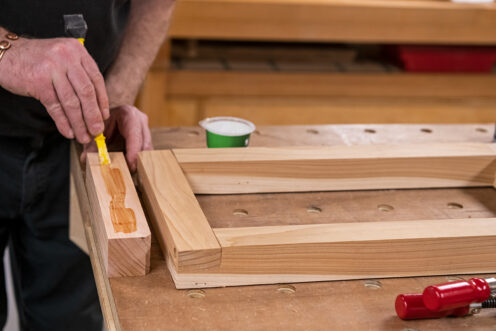
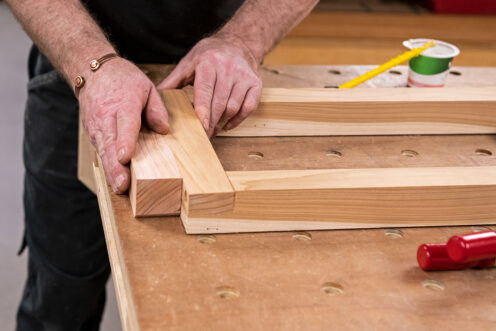
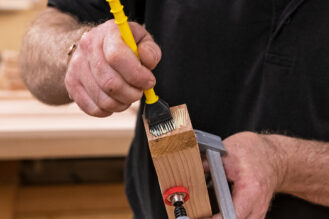
Next, with the joints cut and checked, the leg frames can be glued together; measure corner to corner to ensure these are square, and allow the glue time to dry.
Part 2 – Make the potting table frame
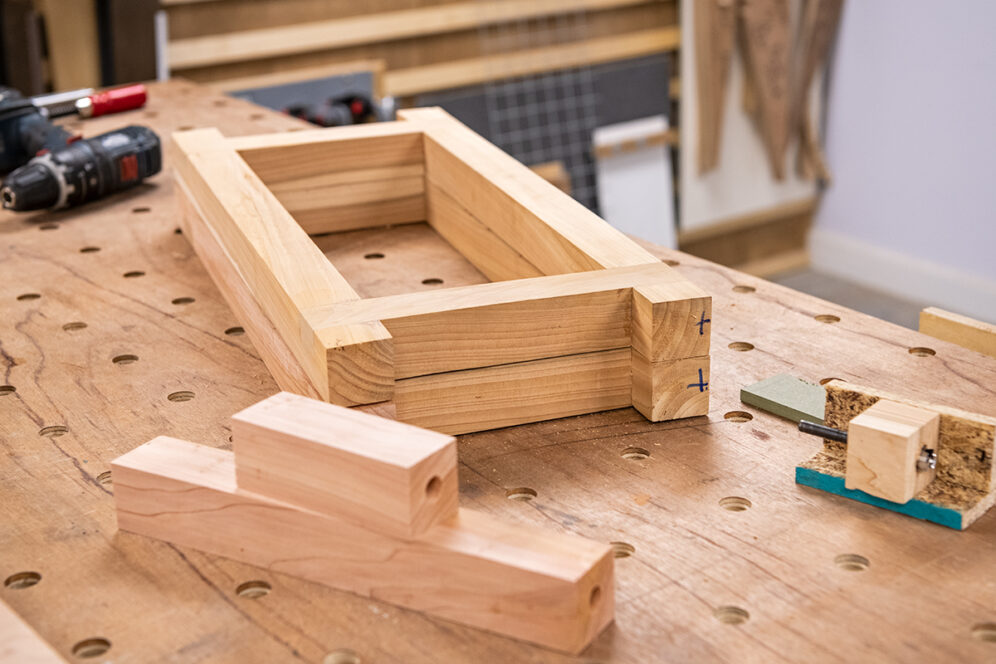
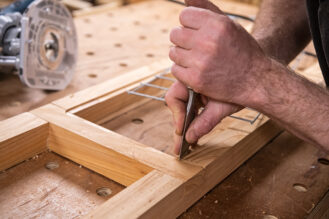
With the short rails cut to length, mark out the halving joints. Cut the joints on the ends using the same method as used to make the leg frames.
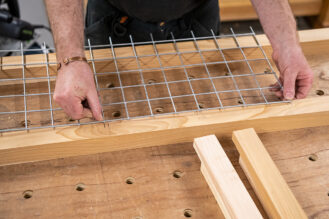
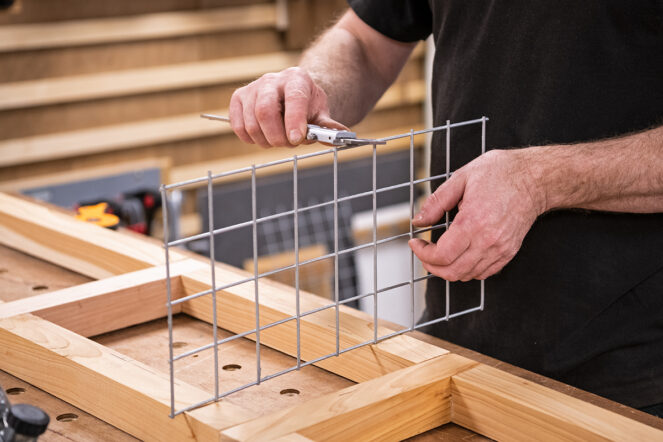
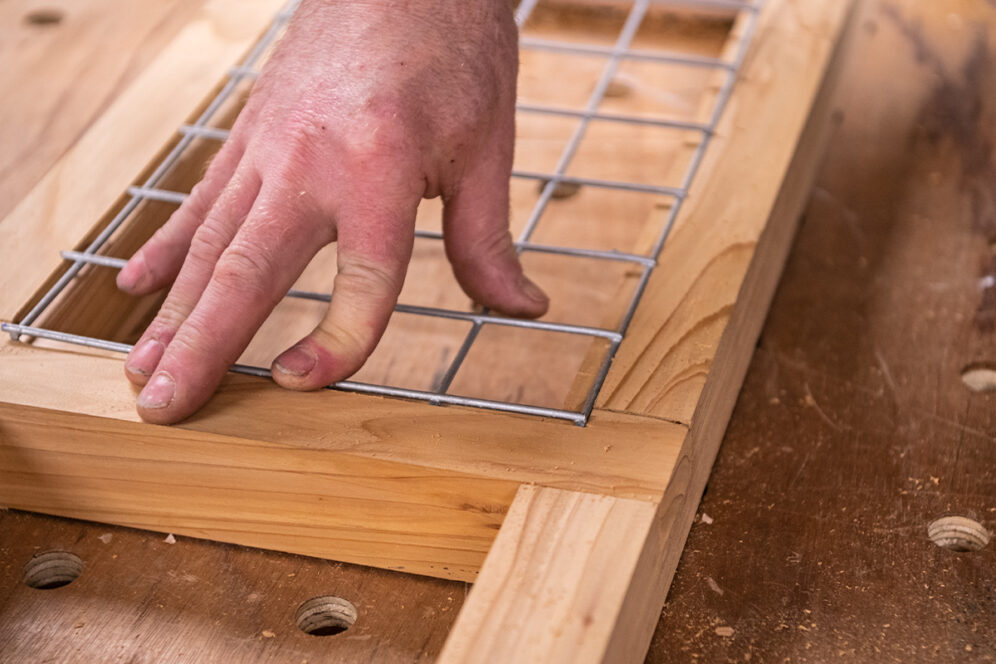
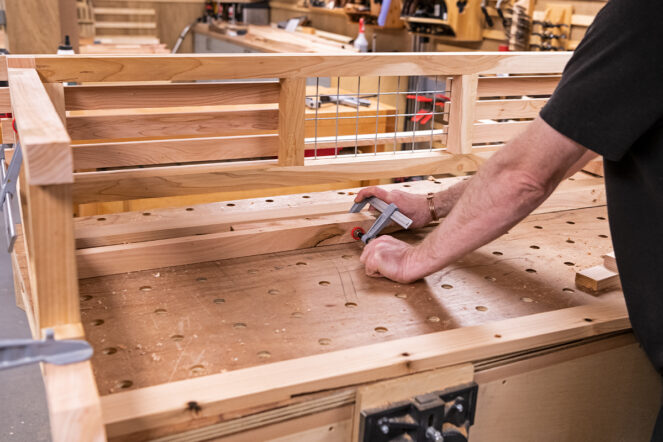
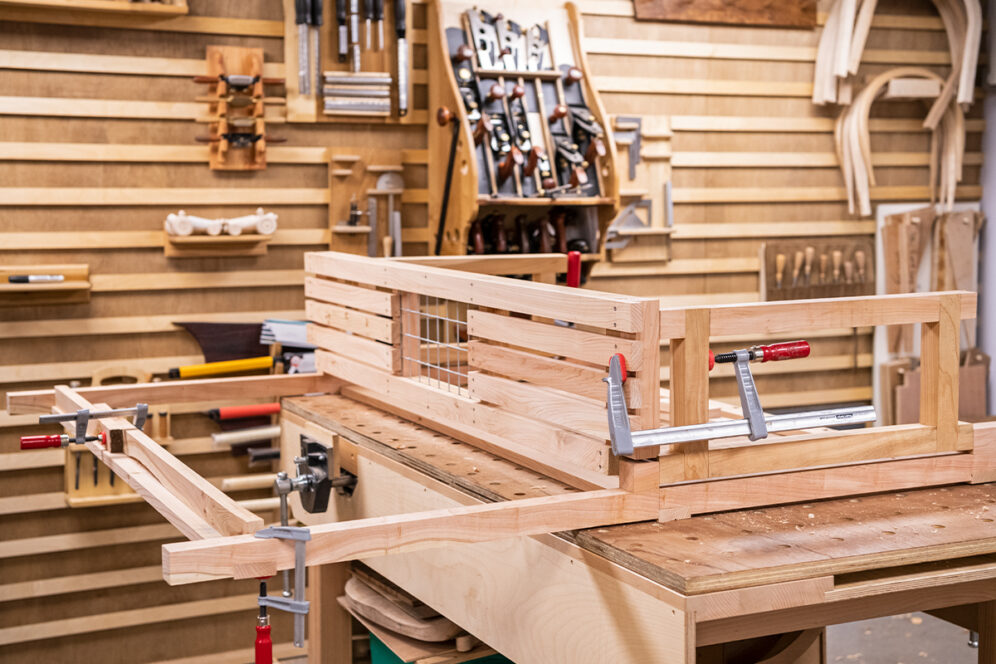
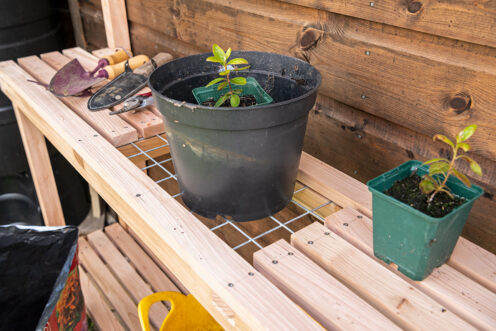
Within the top of the potting table, or potting bench, it is possible to set in a wire mesh area to have as a potting area. This allows compost to drop through into a collection tub below. Set the frame out on the workbench and plan out the location of short cross rails to support the wire insert. Be sure to allow about a 10mm overhang of the wire mesh over the rail.
Mark out the positions of the halving joints within the front and back rails and cut these using the same method as before. Once the joints are cut and checked that they fit, the frame can be glued together.
Part 3 – Make the pivot blocks for the upright supports
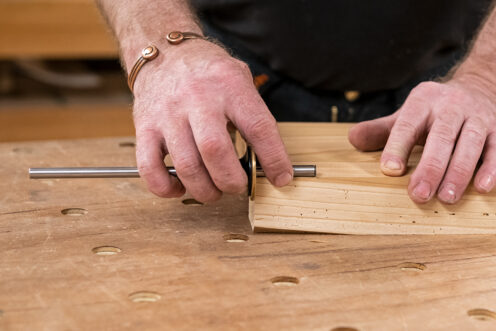
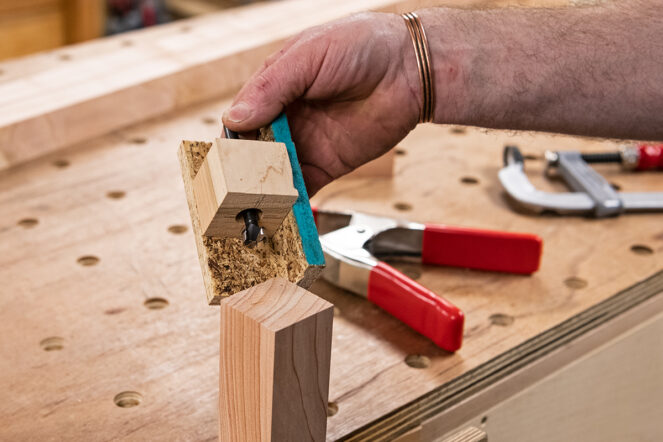
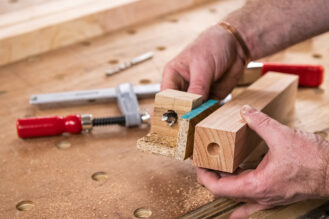
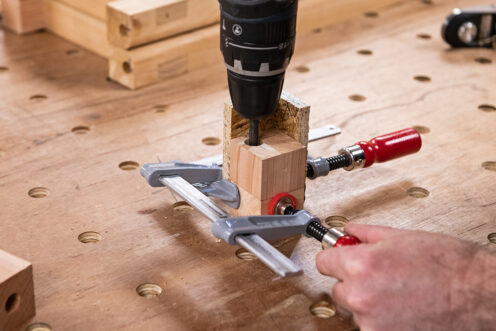
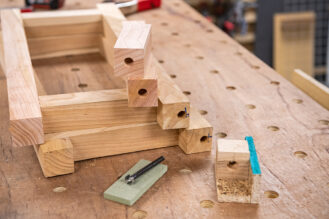
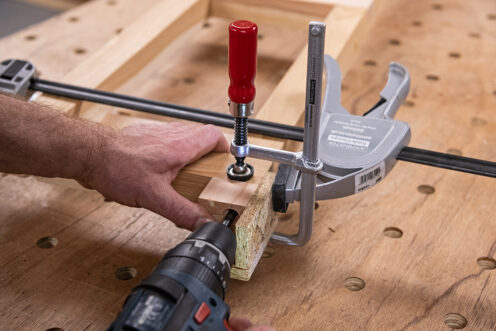
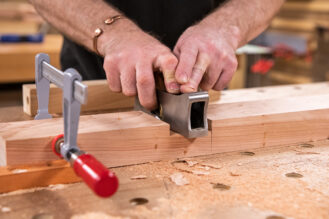
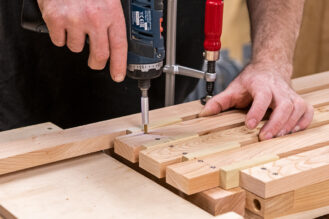
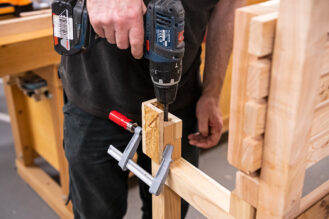
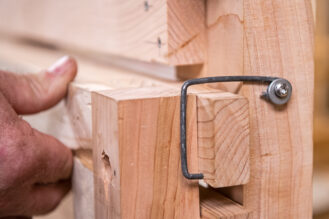
The leg frames pivot on blocks that are fixed to the upright supports. For the pivot pin, we have used a 15mm copper pipe. To drill the location hole for the pipe, make two simple drill blocks. With a hole through the centre to support the shank of the Forstner bit, this helps keep it straight. These clamp onto the material to be drilled and provide an accurate drilled hole location.
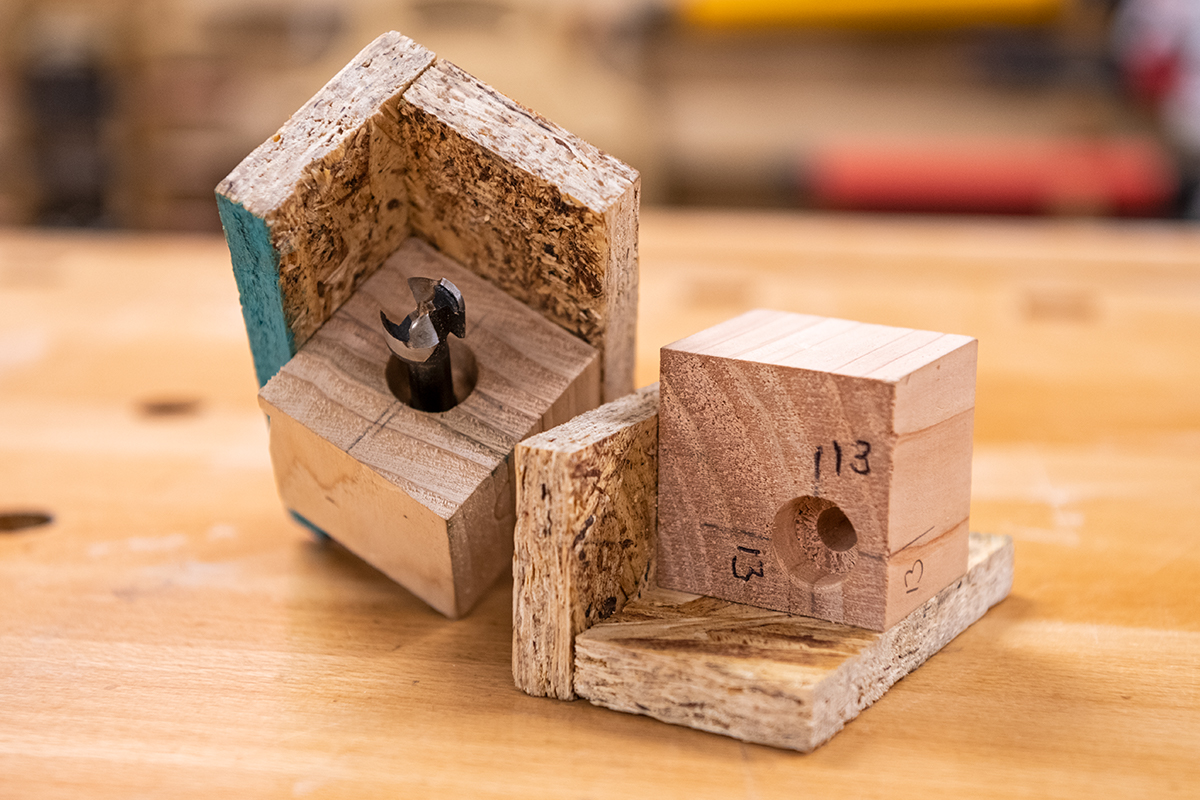
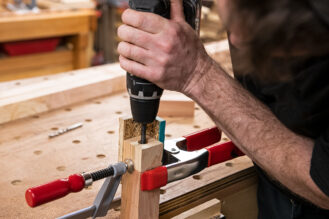
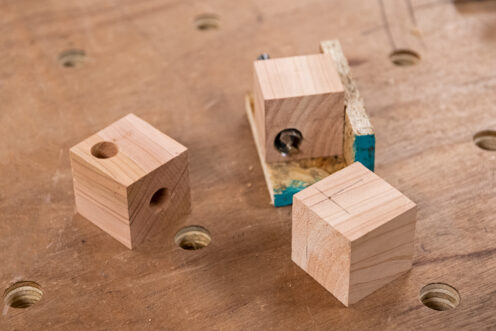
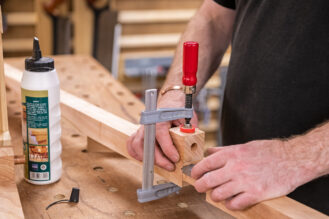
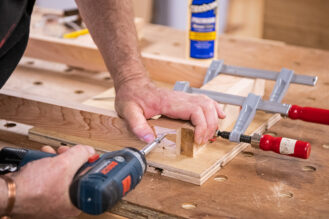
To make the pivot blocks, start with these as a longer length. This will be easier to hold and drill. Using the drill block allows an accurate central hole to be drilled. Clamp the drilling guide onto the square section and drill 15mm dia by 15mm deep into the end grain.
The pivot blocks can then be cut to size. The top two are a cube, and the lower two are longer to allow more surface area and a better fixing onto the upright supports. The cubes need to be drilled with another hole that allows the table frame pivot point to be located. This can either be drilled on a pillar drill or make a drilling guide block up and drill this, 15mm deep. Be careful when you mark these out as must be made as a right and left-hand block to fit either side of the potting table. The centre point of the drill is set in 13mm off the two corner edges.
Part 4 – Drill the gate leg frames
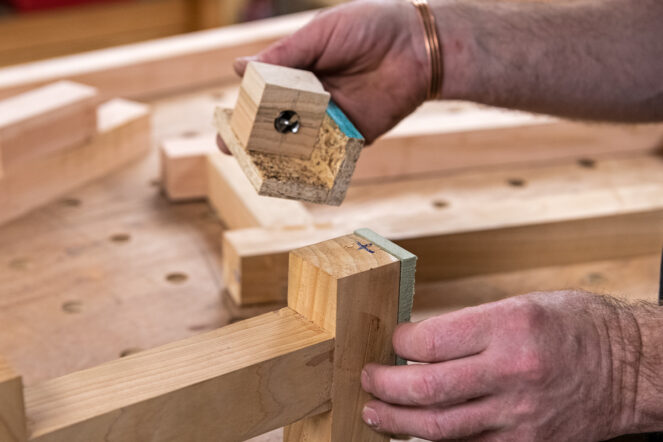
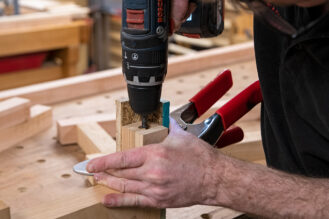
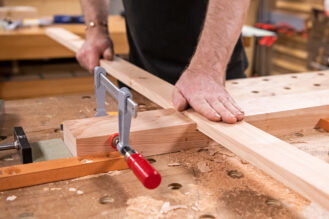
To drill the holes into the top and bottom of the leg frames, use the same central drilling block. However, this time use a 9mm piece of MDF to create the offset. The MDF is placed on the outside face of the frame and the drill block clamped in place. Drill to 15mm deep, and repeat on both ends of the frame.
Part 5 – Finish adding the pivot blocks
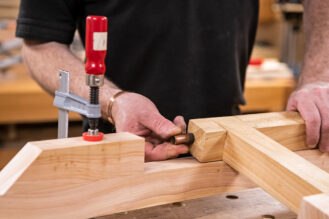
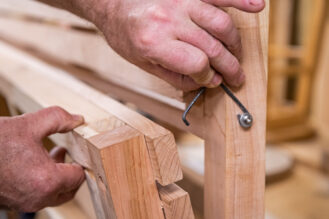
On the upright supports, mark out the position of the lower pivot blocks and clamp these in place. This can be adjusted to suit the user's body height. Insert the 28mm long section of copper pipe and then locate the hole drilled into the leg frame into this. Insert 28mm copper pipe into the top of the leg frame. Position the small cube pivot block in place and clamp to hold. Remember that these are for either side of the bench and so one is left-handed and one is right-handed.
Part 6 – Round over the internal corner for the gate leg frame
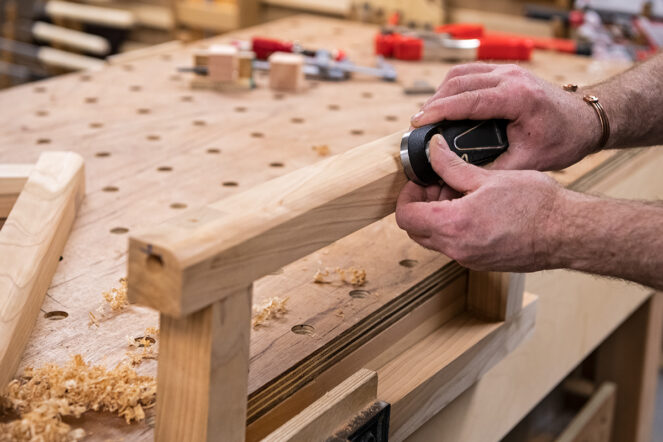
To allow the leg to pivot, the internal corner will need to be removed. This can be done with a router table. However, it is more enjoyable to do with a block plane, working down the length to create a round over. Refit this into the pivot block and test to ensure it clears. Only the internal corner needs to be removed.
Part 7 – Table frame pivot point
Drill this using the drilling block with the off central position. Drill the hole so that the offset is near the top of the table frame, on the rear of the frame both ends need to be drilled.
With the pivot holes drilled in the potting table frame, next glue the two support blocks in place. This will create extra length to line up with the legs when swung into location. Position them so that they are level with the front of the frame and do not cover the drilled holes which are on the back of the frame.
Part 8 – Upright and cross rails
To make the bench more rigid and to allow this to be fixed to a wall, set the three cross rails into the backs of the main uprights. These are set into a housing joint recess in the back of these uprights. These can be cut in the same way as the halving joint, but only the uprights are cut. The inserted section needs to overhang by 4-5mm, this overhang creates an airflow gap helping the timber to dry.
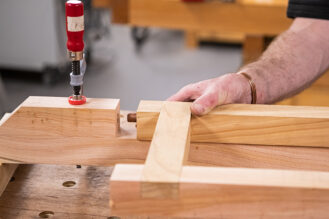
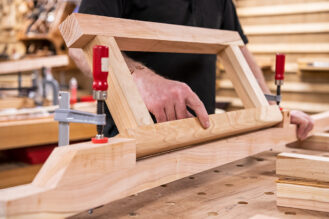
With the cross rail locations cut, the pivot blocks that hold the legs in place can be fixed in position. The lower blocks are fixed first. These are screwed in place from the rear with three screws to ensure they're firmly held - do not glue these. Insert the leg frame with the copper tubes in place, insert the top pivot block and use a clamp to hold this in position! Check the leg swings and that these are positioned correctly, Next, glue the top blocks onto the main uprights, clamp and allow the glue to dry.
Part 9 – Adding a wire grill
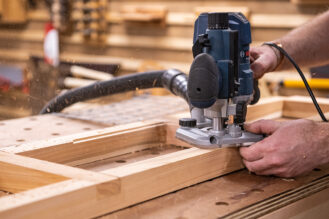
If a wire grill is to be inserted within the bench area, use a bearing guided rebate cutter and ¼" router to create the rebate. To allow the wire grill to be set in from the top, the bearing has a 12mm offset to the cutter. Measure the thickness of the wire and set the cutter depth to this. Use the router and work in a clockwise rotation around the frame section to be recessed. With the rebate formed, chisel out the corners and check the wire fits in.
Part 10 – Add slats to the bench top
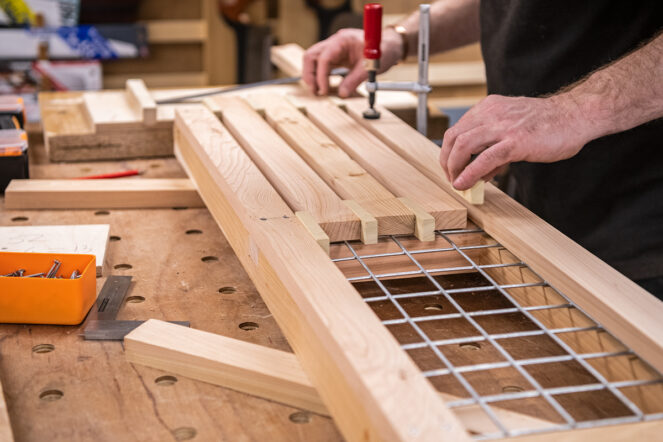
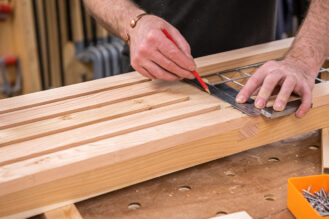
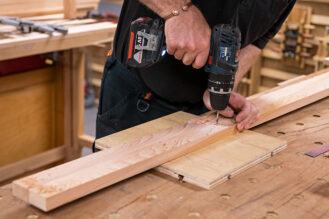
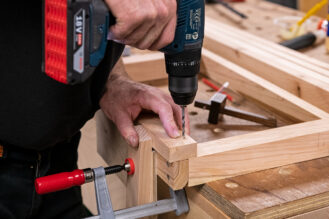
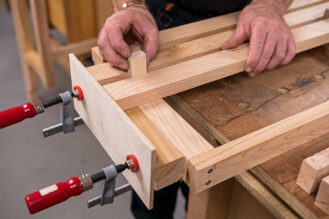
Firstly, lay out the slats. The back long slat is the same length as the rear of the support frame. The short slat should overhang the wire grill and the end of the support frame by about 20mm. The long front rail can have one end square and trim to length when fixed. Clamp the front and rear slats in place and lay in the short slats, wooden spacers are positioned between the slats to maintain accuracy. The pilot hole positions are marked on with a square and pencil; then drilled with a 4mm lip and spur drill to create accurate inline fixing points. Finally fix them in place with stainless steel screws.
Top tip: Use stainless steel screws to prevent rust and discolouring of the timber!
Part 11 – Assemble the bench
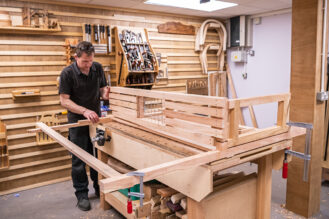
This next step will require some space and ideally an extra set of hands!
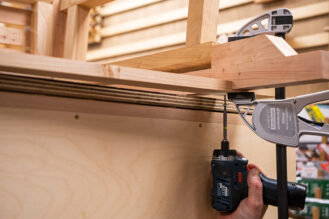
Start with one of the main uprights, and position the back support rails so that these are flush with the outer edge. Clamp this in place and screw in from the rear through the support rail into the upright. Repeat this for all three of the support rails to ensure the bench is stable.
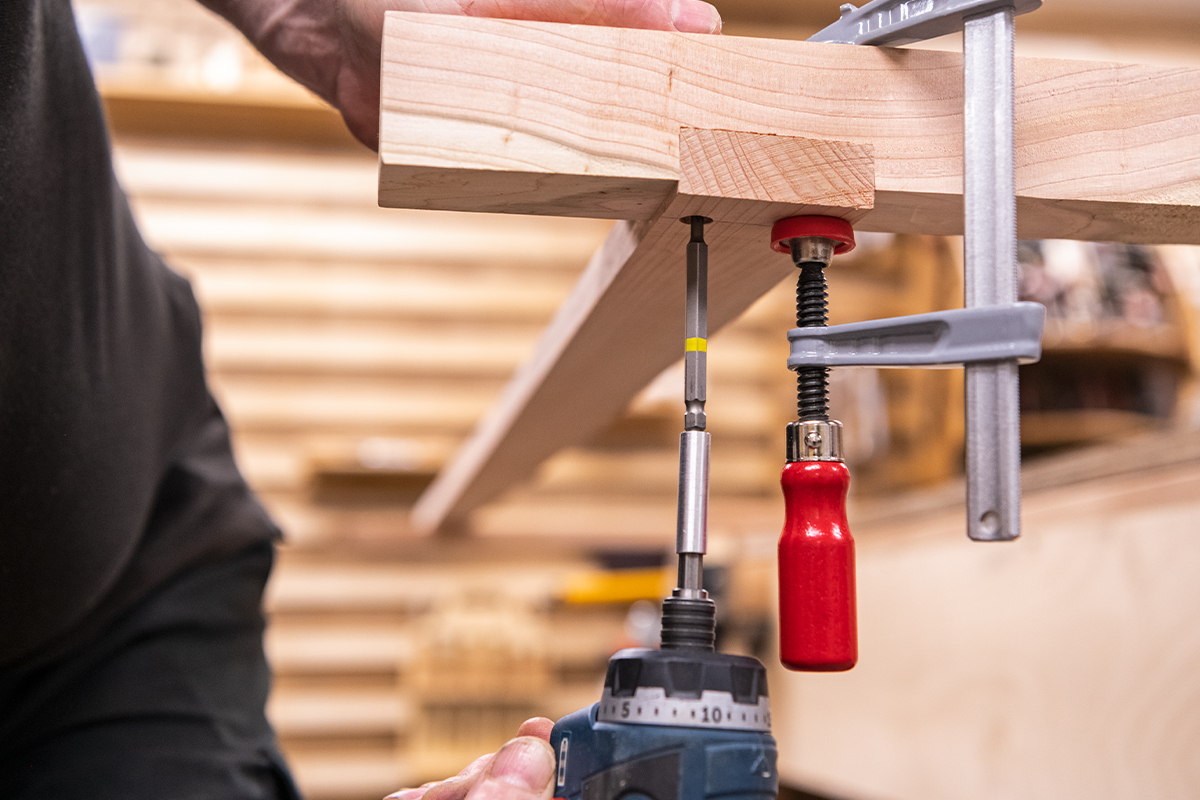
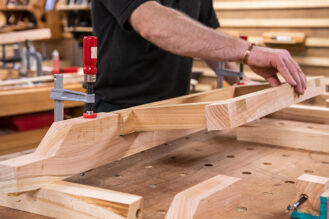
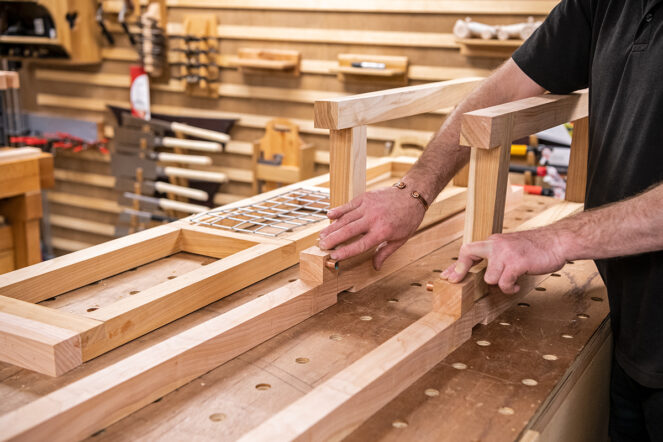
Next, insert a 28mm length of copper pipe into the table pivot point on the upright. Carefully load the table frame onto the upright and locate the copper pipe into the drilled hole in the table frame. With the one end in position, repeat for the other side, at this point the back support rails will be too long and protrude from the edge of the upright frame, only clamp these in place as the lengths will need to be checked. It is worth checking that the Potting Table moves easily on the pivot point.
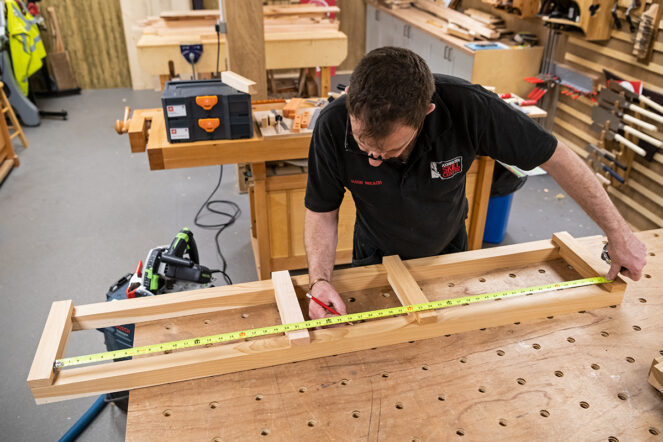
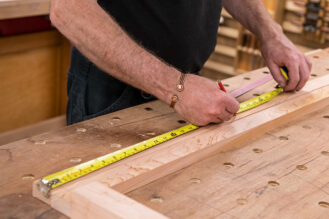
Check the lengths are the same. The middle where the table frame is located and pivots is the required size. A measurement stick can be made by clamping two lengths of batten together and used to get this equal top to bottom. Clamp in place, drill a pilot hole, and screw in from the rear of the support rails to fix the three cross rails in place. To stop the table section from dropping, clamp this to the legs.
Part 12 – Trim the cross rails
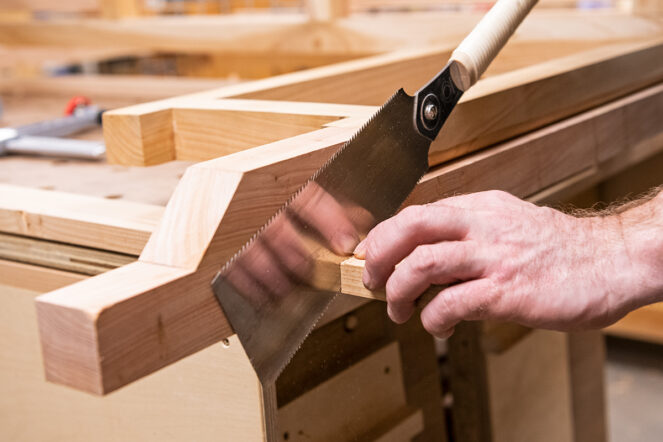
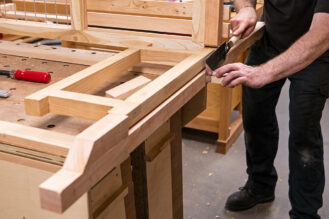
Use a hand saw to trim the protruding lengths of the three cross rails. With the bench in the vertical position and held in place, use a clamp to hold the table up and safely out the way.
Use the drill guide block to drill a hole in the centre of the top of the legs; drill to 15mm deep. Insert the copper tube and run a marker pen around the top of the tube. Gently lower the table onto the legs, align the outer edges, and firmly grip. The marker pen will leave a line on the underside of the table frame, lift the table back up, and clamp to hold this safely. Free hand drill the holes to line up with the marker pen circle on the underside of the table frame. Afterward, check to see if the leg and frame are located.
Part 13 – Sort the lower frame
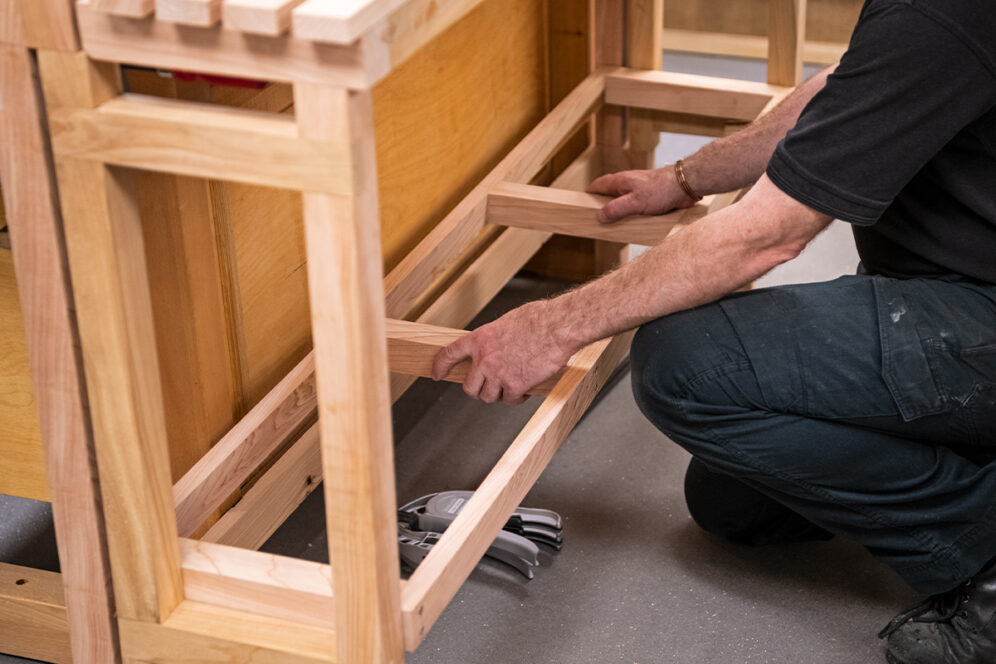
Cut the timber to lengths and check how these fit. Assemble this with clamps to hold this together to create the frame. This allows the sizes to be checked before you screw together.
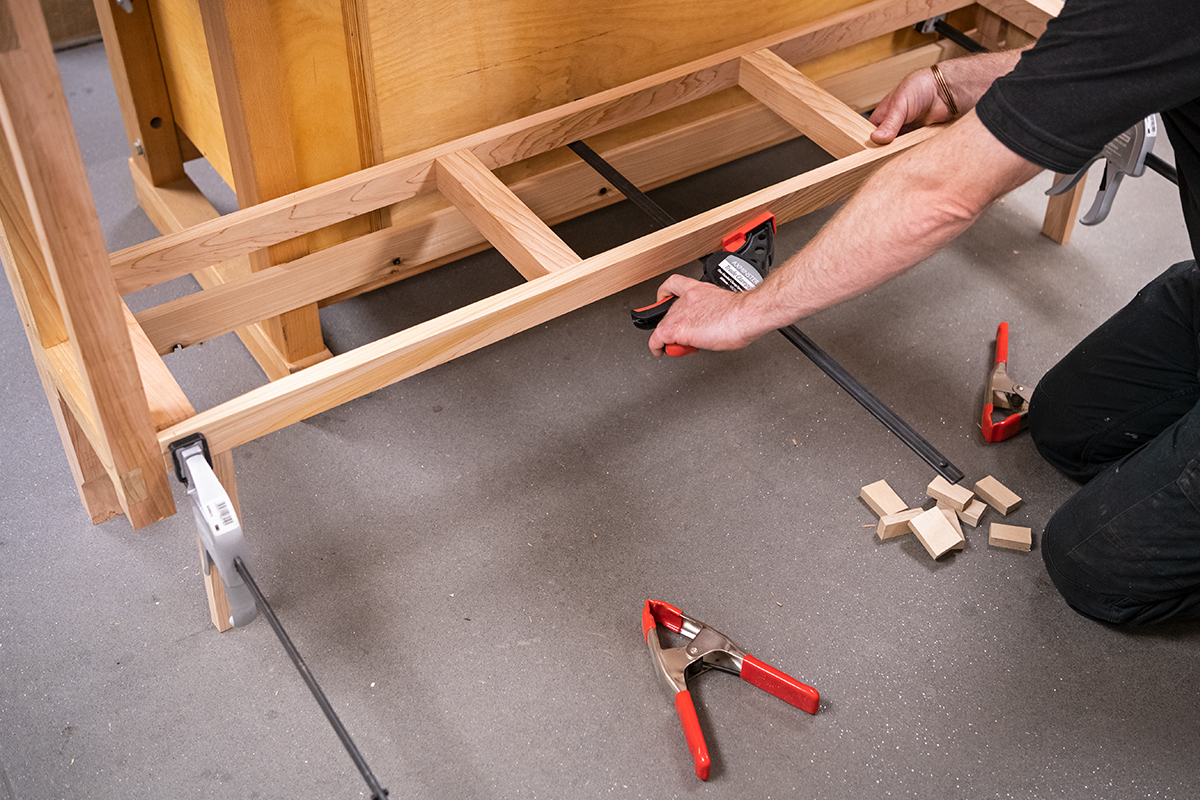
The lower frame is screwed together. Lay the frame out on the bench and mark out the positions of the pilot holes. Use a square and a cutting gauge with a pencil inserted. Drill the holes using a 4mm lip and spur drill - do this on a baseboard to reduce break out.
Clamp a batten on the edge of the workpiece to help align the two workpieces when screwed together. Use water resistant glue and stainless steel screws to fix the components together. Once assembled, check if the frame fits within the base of the main unit.
Part 14 – Organise the slats
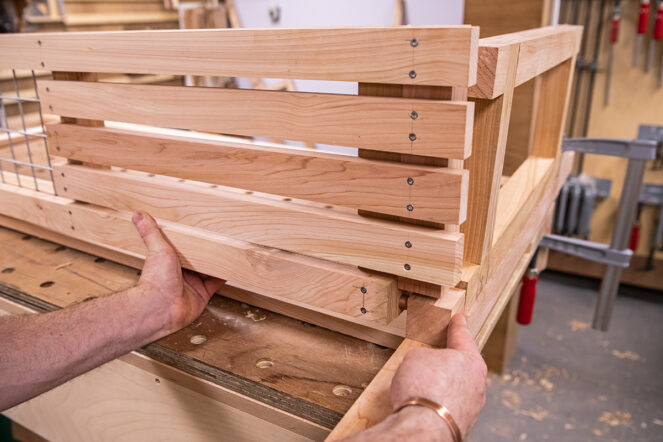
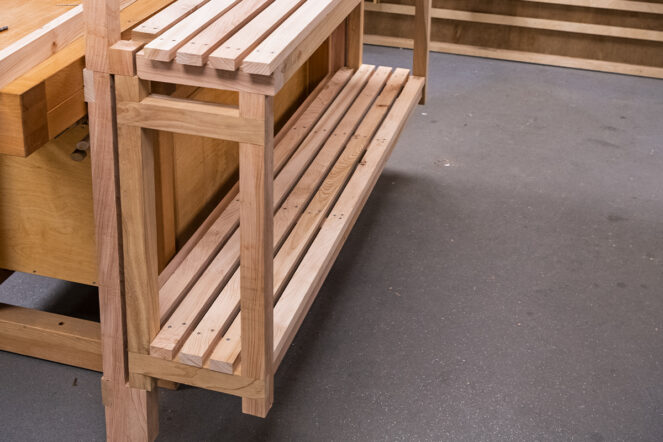
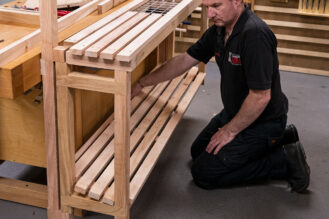
You should have five slats; three long ones that sit onto the lower rail of the leg frames and two shorter ones that fit inside the leg frame. Firstly, fix the front rail first, this overhangs the frame by about 6mm. To keep this even use a scrap of 6mm ply or MDF clamp between a batten that is clamped on the front of the frame, this acts as a length stop. The same setup can be used to create the overhang on the ends using a scrap of the square section material and a stop board clamped in place. Mark out the screw locations, pilot drill, and fix in place. With the front rail fixed, work out the spacing for the other four, and cut spacer blocks to a position between to ensure equal gaps between the slats. Drill and fix the slats.
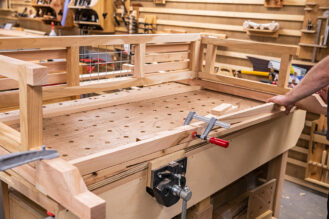
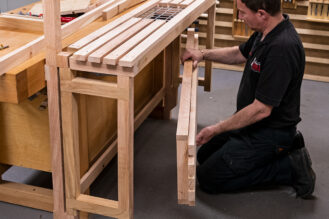
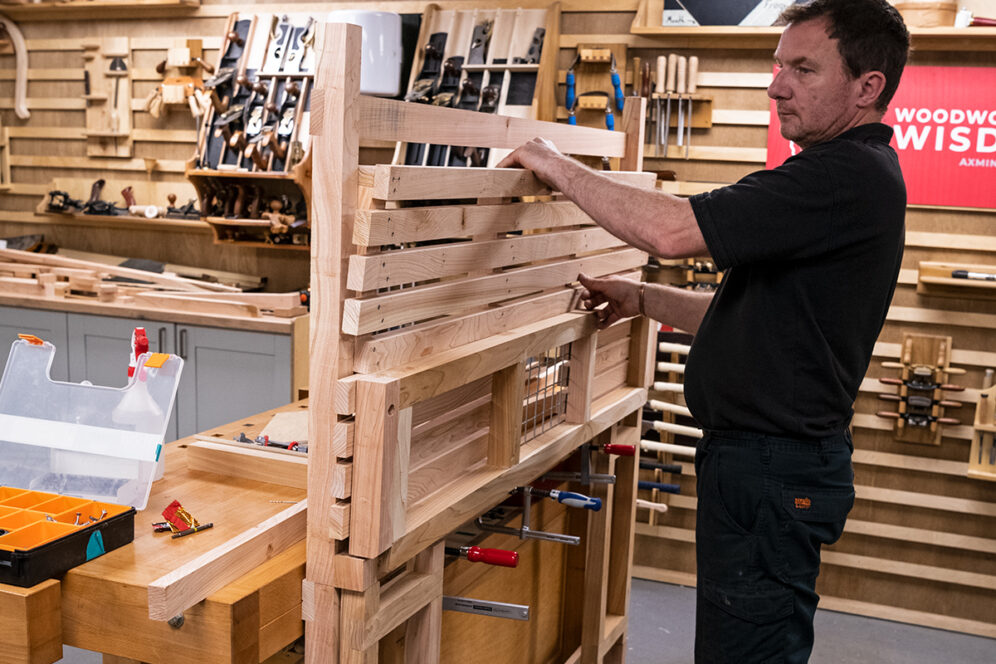
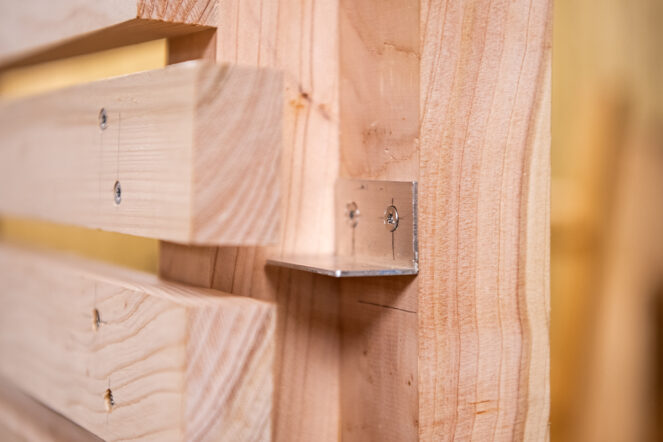
Check to see if the frame fits, how this looks, and how easy it is to manoeuver. When stored away, the lower frame will be located above the potting table. Two small aluminum brackets are screwed onto the uprights to support this.
A simple wire catch can also be made and fitted to secure the potting table when upright.
Discover more…
If you’ve enjoyed reading this article, why not take a look at all of our How To projects and see what sparks your woodworking interest?
Get connected!
Follow us on Instagram and Facebook to stay up to date on all the latest projects.


