Make it for Mother’s Day | How to Make an Offset Vase
What you'll need
Give a gift they’ll love with project inspiration from the Woodworking Wisdom team.
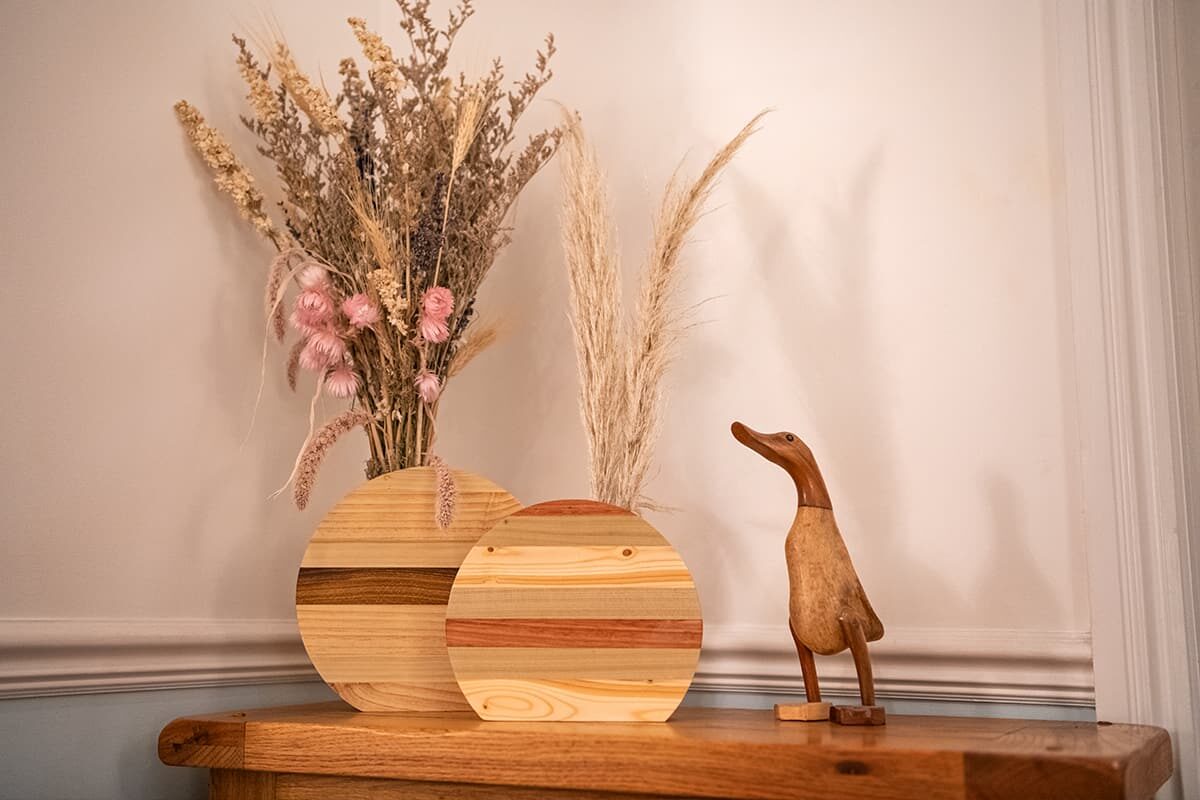
Perfect for Mother’s Day, birthdays, Valentine’s Day or just because, this stunning dried flower, offset vase would look beautiful in any home.
Prep your project
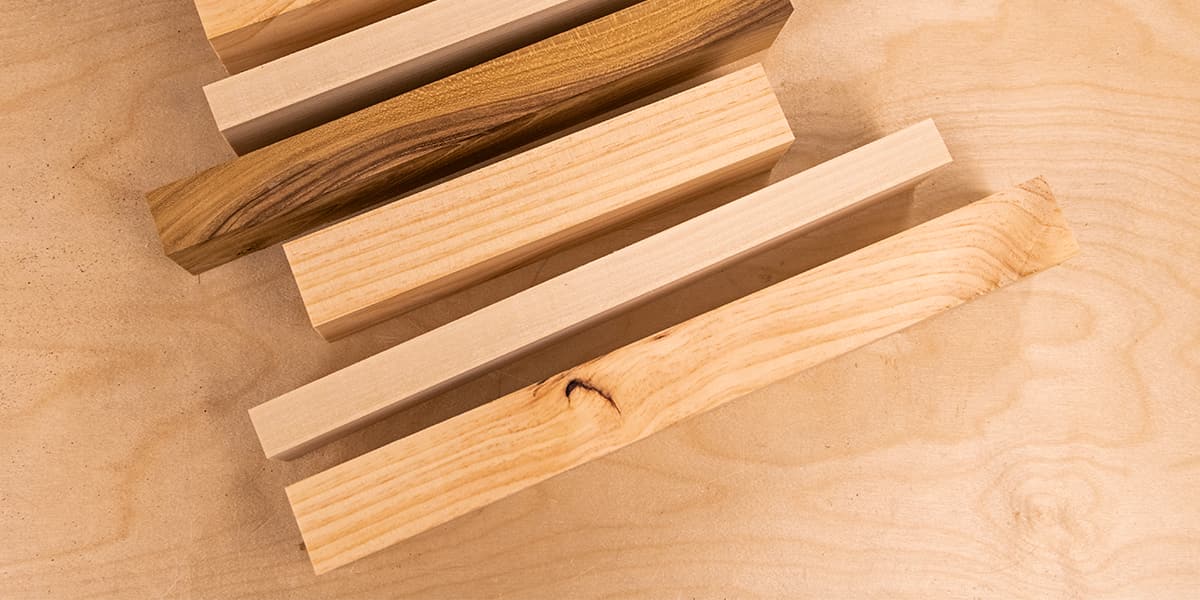
Select your pieces of timber. The surfaces that will be glued should be clean and flat to ensure a good bond. We have used a range of off-cuts from other projects.
Check that your round template will fit when aligning on one end. Measure across the width and establish a centreline.


Drill the timber
Set the depth of the pillar drill so that it will cut all the way through your timber. We recommend placing a breakout board on the drill table, get the drill running and lower the cutter until it just scores the breakout board then turn the drill off and set the lock nuts into position.
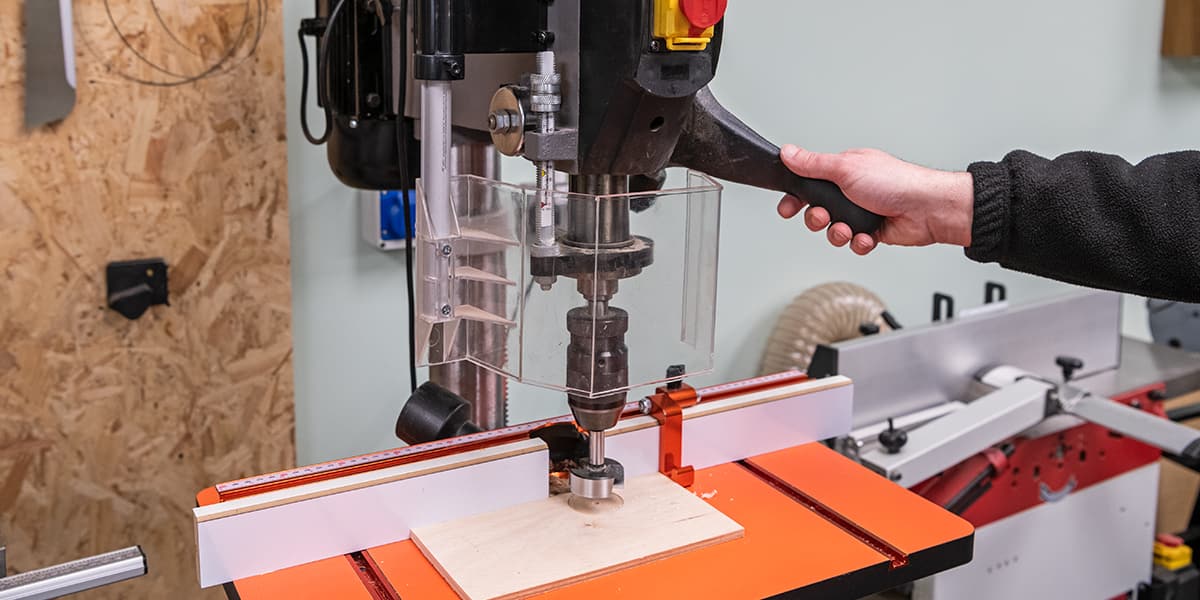
Decide on the offset and mark on the centreline. In our example the offset was roughly 75mm or 3”. Set the fence and stop so that the drilling position is repeatable. You can clamp a piece of timber to the table if you don’t have a fence or stop.


Drill though your pieces of timber until you have your desired depth. Stack them on top of one another to get a clear idea of how deep the hole will go. Leave the last few pieces, these will form the bottom of the vase.


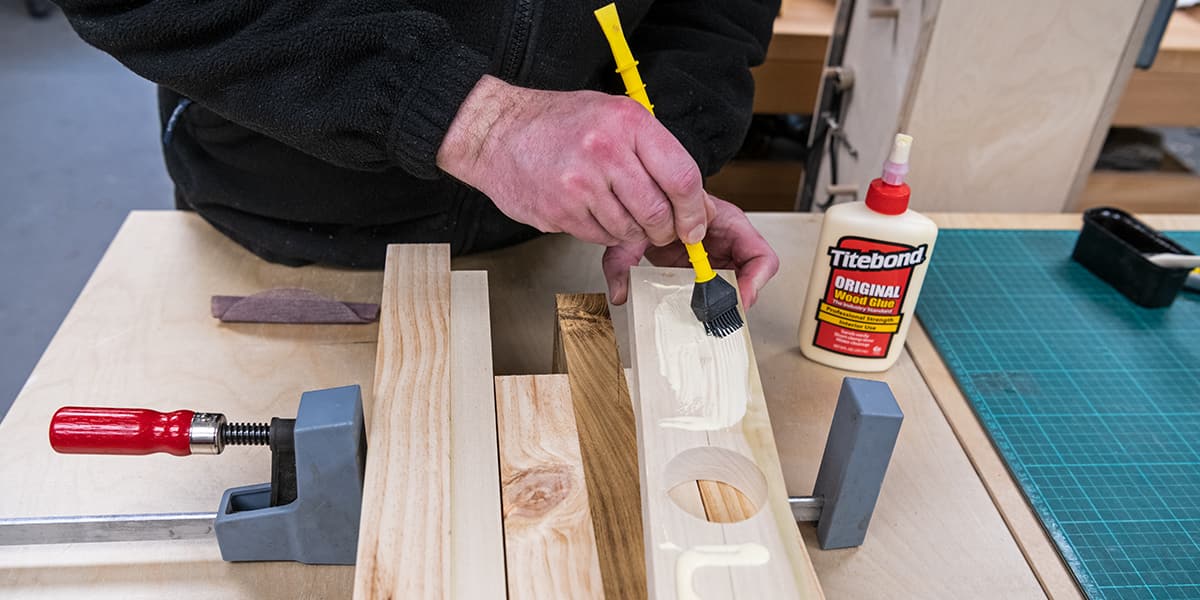
Assemble
Set the clamps down on your workbench, jaws facing up. Open the jaws enough that you can place your project pieces in with room to be able to apply glue and manipulate the timber and keep it aligned. Glue and clamp workpiece.
Use a straightedge to check that all pieces are aligned, Sometimes when applying pressure with the clamps can make them move.
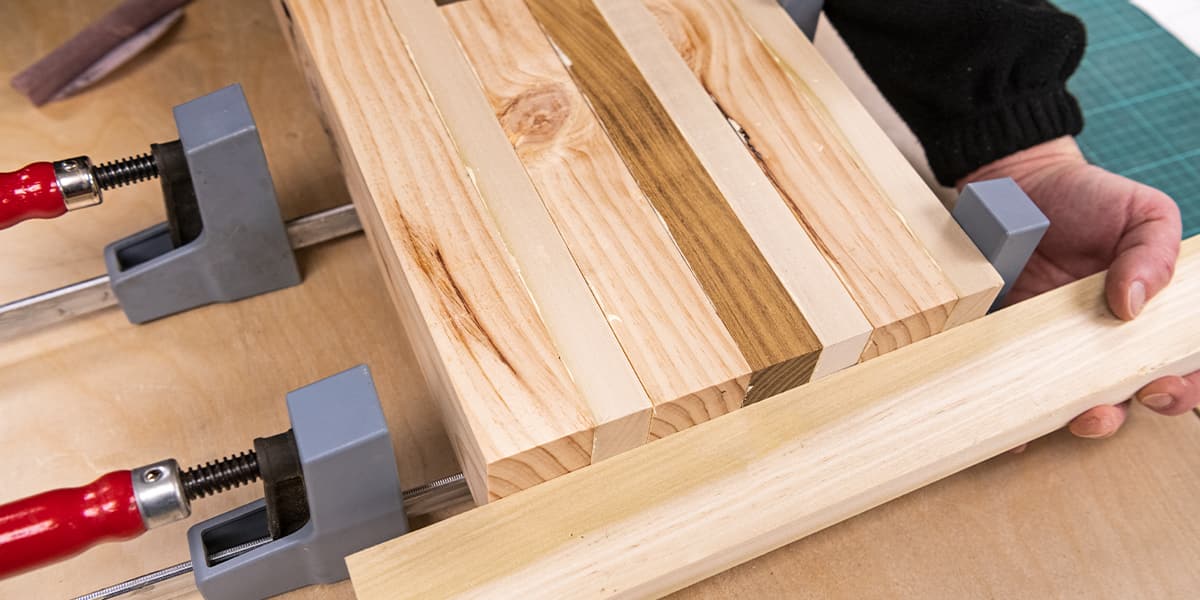


Tighten clamps, you should get a little squeeze out.
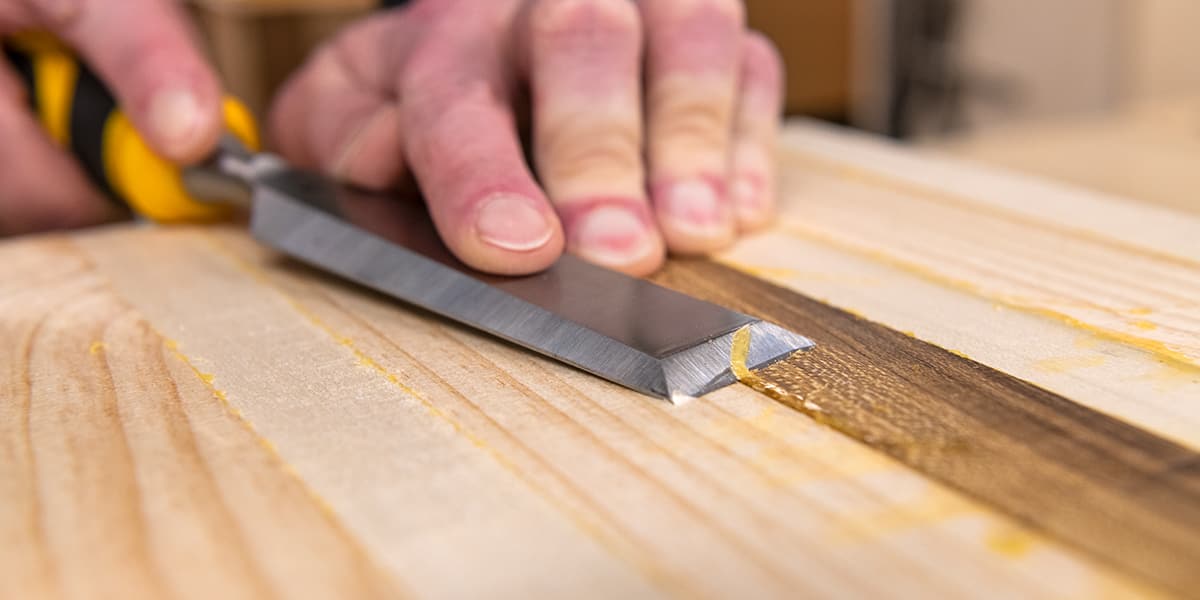
After the glue has gone off remove any excess glue from the join line with a chisel.
Cut the shape
Draw around your template. Cut just outside the line on the Bandsaw so that the line is still visible when you have finished.


Cut a flat for the base/foot.


Using a disc sander, sand up to your pencil line. Remember to keep the workpiece rotating so as not to sand any flats.


Using a random orbit sander tidy up any remaining glue or scratch marks.


Oil your project, we have used a Chestnut Finishing oil.


That’s it! You’ve made an offset vase. Grab some dried flowers to finish the look.
Make it and share it
Did you make this project? We would love to see it! Share with us on social media images of your finished project and tag @axminstertools.