How To Set Up A Garage Workshop
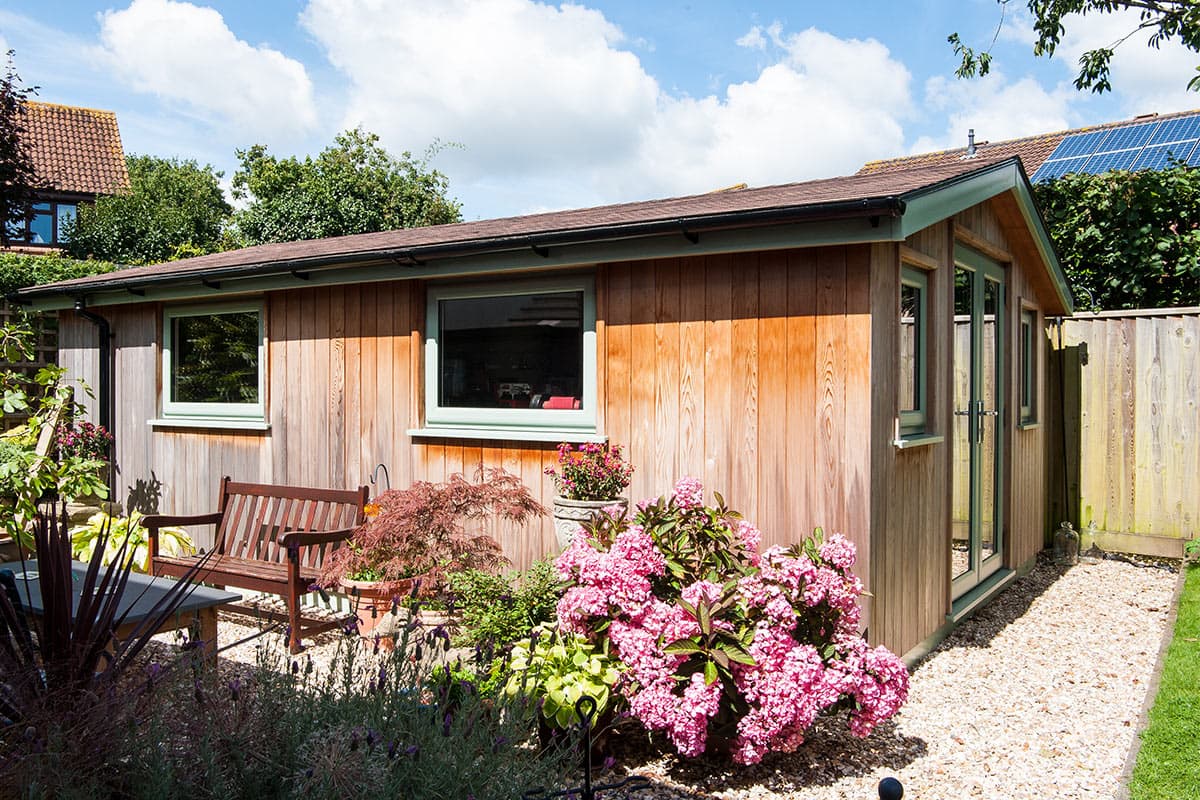
Following on from our guide on How To Set Up A Small Workshop we’re now going to look at what you can do if you have a little more space to play with. Too often garages or garden buildings get stuffed with clutter slowly filling up over time with storage boxes, old bicycles and those secondary items you just might use in the future. If you don’t need the space for your car, a garage or cabin makes a natural place to house your tools and the solitude needed to concentrate on those near woodworking masterpieces you’re going to create.
If you've had a clear out and are ready to start, having your own personal workspace will make all the difference to the way you work. Using a single garage workshop or larger exterior space however still needs careful consideration about how to maximise the floor space.
Workflow
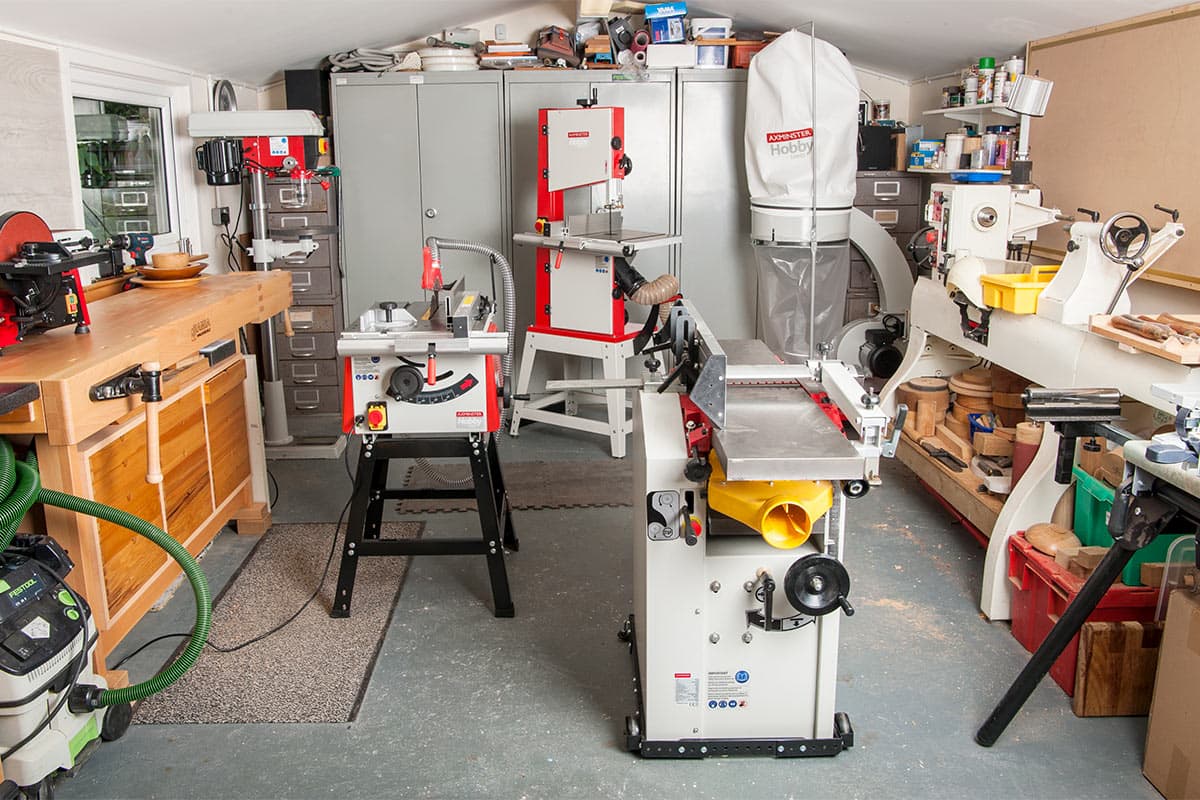
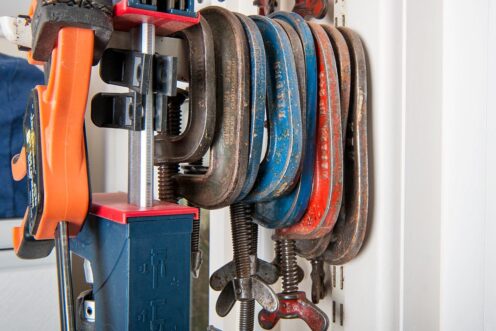
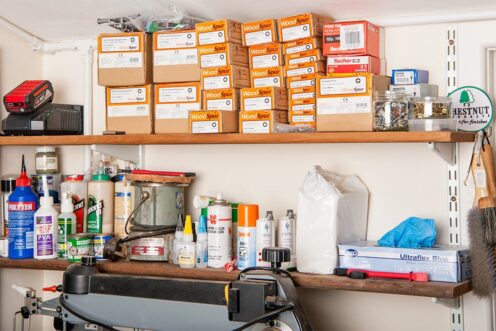
When planning the layout of your garage workshop, it's worth thinking about what tools you'll need for each stage. Also consider where the outfeed from tools such as the planer thicknesser will go so they're not obstructed. This is when a mobile base for machines can make moving much simpler. You can then set them up in the optimum position for a streamlined workflow. Other areas you may want to look at are where to put your clamps. Supposedly you can never have enough right? So think about where you're going to store them upfront. Then allow for additional space to hang them as your collection grows. Storing fixings and glue near your assembly table is another sensible way to keep groups of tools close to hand.
If you're hoping to have your garage workshop resemble a smooth running production line having commonly used groups of tools within arms reach will help to save time. Mapping everything out on paper first is another way to help save time in the long run. Graph paper can be printed out online for free and this is a good place to start to lay down your provisional plans. Alternatively in each of our Axminster stores there is a Live Workshop where you can see the tools set up in a workshop environment. This helps you to see the size and scale of the machinery plus you can also get hands on with the tools and see if they're right for the space you're working in.
Tool storage
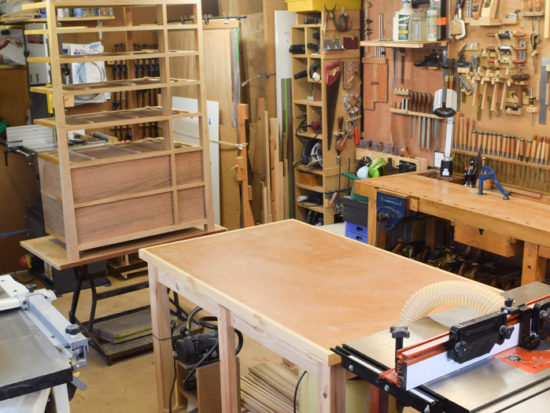
In any workshop having plenty of storage can make such a difference. Making the most of your walls is key as it's otherwise redundant space. In this workshop the turning tools are all housed next to the lathe. This makes a clever use of space so the tools for the work you need to carry out are easily accessible.
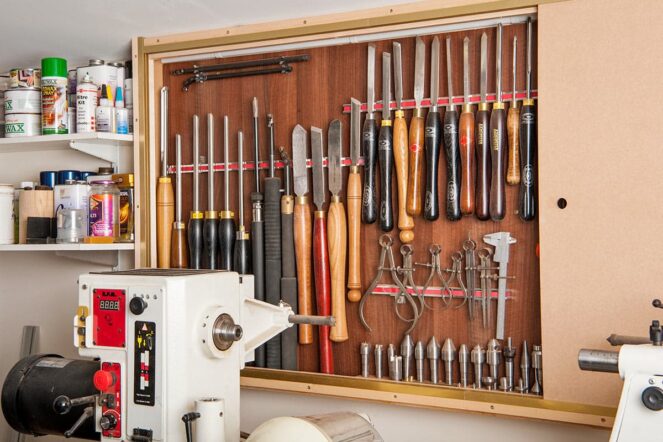
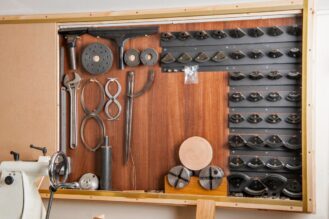
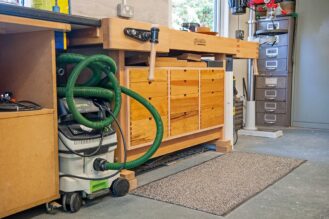
Underneath work surfaces is an obvious place to house sundries. As a result, drawers make a good addition if they're available for your workbench. Nails, screws and hardware will quickly start to build up as invariably you'll always have a surplus after completing a job. Garage workshops cry out to accumulate clutter but making allowances for this and actually leaving space will prevent your workspace looking like a hoarders paradise. Also to help with organising your garage workshop, look out for our upcoming article on how to build your own tool storage cabinet.
Which machinery for a garage workshop?
Naturally people start hobbies at different stages in life. The list of tools we recommend here range from the hobby to the professional. Whether you're an apprentice just starting out or if you're retired and perhaps have more disposable income then match the tools depending on your budget. If the machines are receiving medium use then a hobby machine is fine but if you think you'll be using a particular tool for extended periods you might want to look at the trade/professional rated tools.
Tools to consider
Having a decent planer thicknesser allows you to buy rough timber cheaper than pre-planed. Plus you can then prepare wood to the correct size to match your project. Our guide to planer/thicknessers has more information on which models to choose from to best suit your needs.
With any machine it's important to have it hooked up to the right extraction. Above all else safety in any workshop is paramount. Again the dust extractors guide helps to provide some guidance on the range of extractors available. Plus there are hints on the factors to consider when choosing the most suitable extractor for your needs.
One of the most used tools in the workshop, a bandsaw is an absolute must. Many tools make a claim to being the most versatile but the bandsaw is definitely in the top ranks of multi functional tools. Make cross cuts, curves, thin veneers, all from a machine that takes up limited floor space.
For some the table saw is the centre piece of the workshop. Cross cuts, ripping or preparing sheet material it's a machine for a variety of jobs. Look for features such as a cast iron table which will provide an accurate surface to work from and help to reduce vibrations.
When you have some more room to play with like in a garage then a pillar drill is indispensable. It will give far greater accuracy than drilling by hand. Plus the ability to set the depth and angle means it's a real time saver when drilling repetitive holes.
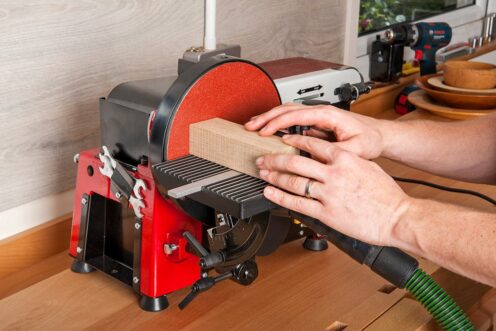
Combining a belt and disc sander into one machine lets you tackle more projects. Run the belt sander for removing large amounts of wood in the early stages of sanding. Then switch to the disc for sanding smaller components.
Room for one more
After thinking about the core machinery that leaves the power and hand tools. Along with the machinery you're not buying everything at once. As the jobs dictate you can build up your collection. Power tool systainers do start to take up room as do chisels, saws and planes so again leave space for these. One option is to use filing cabinets which make a simple solution to neatly pack everything away.
Hopefully this has given you some ideas for creating your own garage workshop. Remember mapping out the space at the start will make a significant difference to the ease and the way you work. If you've set up your own garage workshop please let us know of any of your own tips and how they've worked best for you.
A note about power supply
All Hobby Series machines come fitted with a 13A plug, so will run from a domestic 13A outlet. Many Trade Series machines are much more powerful and so are fitted with the blue 16Amp 3 pin plug which will require a suitable outlet to be plugged into. Having a 16A outlet fitted can in many instances be just an extension of the 13A ring main in a workshop, or may be a dedicated circuit, any qualified electrician will be able to advise and fit a suitable outlet. The main circuit breaker protecting this ring main or dedicated circuit should be of the B or C type which gives surge type protection rather than the A type which is an instant overload trip. The surge protection copes with the short but heavy start up demand many larger machines have.
We are not going to talk about 415V 3ph as 99% of domestic premises don't have access to this supply. Unfortunately, second hand 3ph machinery is quite cheap to buy, especially at plant and machinery auctions, but can present some headaches trying to get it to work at home using cheap inverters.


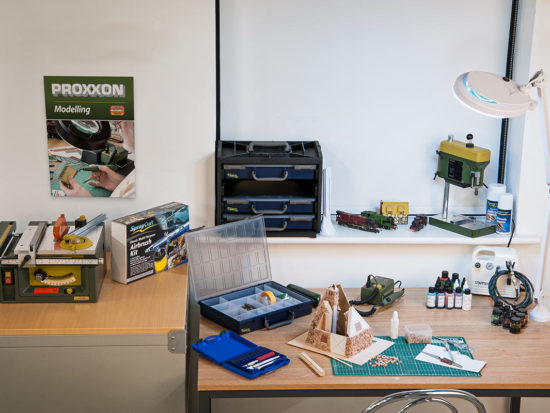
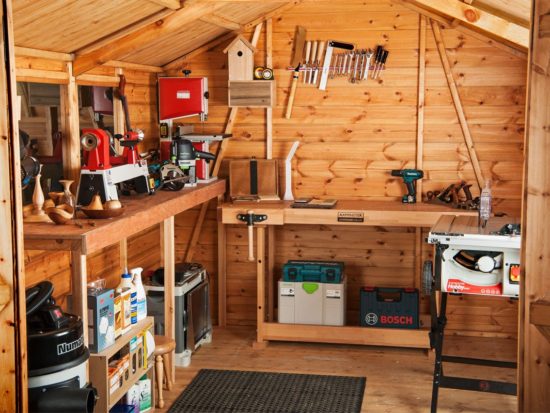
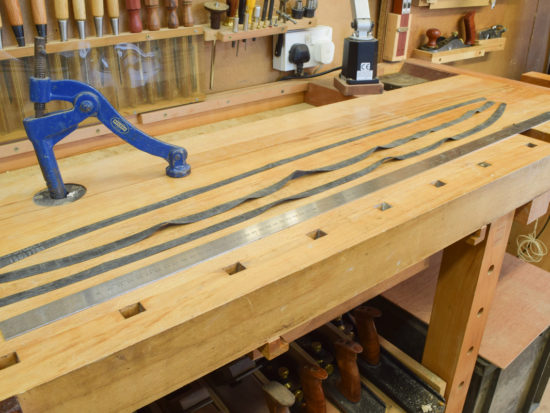
fantastic if you have the space, even in your last article on setting up a workshop, there seemed very little actually in it... I'll have to sned you some photos of mine, perhaps you could help me re-design the layout to creat alll that space...
The most critical thing is to plan out the layout with the machine tools or prospective equipment that you hope to buy. That said, THE most crucial thing is the floor space that you end up with to assemble your projects as it's this that determines the size of the stuff you can build. Time and again I've seen workshops beautifully equipped but there's nowhere left to build anything. That said if your workshop is properly organised you can, at a pinch, build some decent sized furniture. My first 'shop was a 7'x5' garden shed and in it I built a pine refectory table (it was the 70's!) for my parents that would comfortably seat five people, so it was around 5'x3'.
Hi, Rob
Thanks for your response. I'll take some pictures of my workshop for you to look at, and then perhaps you could advise further...
Happy to help Stuart.
https://uploads.disquscdn.com/images/8a8381bf3eb9fb03c53f8abb1d5311db2795d58f0a59d5cd5088586c8f7053da.jpg https://uploads.disquscdn.com/images/38371ba467616e1ef4c8da4694c9d31a0102c69e5529b5eabe080cad396d2dd3.jpg https://uploads.disquscdn.com/images/38c1c57998dc5a9a217a71ed1ea3e8c01eee589e14413a78709f00531e131025.jpg https://uploads.disquscdn.com/images/285a150462c500363075bf96a189a7cb5718f94984365e17da4b31fabae42f8f.jpg https://uploads.disquscdn.com/images/a681db83077e89bf12c68a0fdfdb47c6992bb7bff61d00dd9b9ea9ee8165068e.jpg https://uploads.disquscdn.com/images/187ff8067e34e2a6ba6947a5d38fa2fa1a0f4acaa5aa0e34d0b3df1064744411.jpg https://uploads.disquscdn.com/images/2185968e52265131cb35372b92842aaa18b7aa5cd63a8b43707181fabdf03b00.jpg https://uploads.disquscdn.com/images/0f298f907d0d76f8599d8f6b13f9514d4ff4a8adbab3bdbb8d4dbb8bfd2e6f37.jpg https://uploads.disquscdn.com/images/ed2312a94090052fb379b2272df2440692dadafbaf30d2b273158c1e3414a212.jpg https://uploads.disquscdn.com/images/a9337c073b1fbf4b815917cc6c3ee14f3eaada633ea43759fc44a20ac91dc369.jpg https://uploads.disquscdn.com/images/e106af31c6951141e3d1f6ff41fda58c756dd9180aad8d81dbda0d800f9adf43.jpg https://uploads.disquscdn.com/images/ba907c14ff7d54db0c3865345bc96b600ed709b97e6bce0802dc4dd251373e3a.jpg https://uploads.disquscdn.com/images/1cee5f83499965898827b9d5760feb360209986c15c2ac2b34c6aa53afc27114.jpg https://uploads.disquscdn.com/images/16a4ec2b36c66c01189810c38b18612ee30cbc8ccdce0b91d98f556bb355e731.jpg https://uploads.disquscdn.com/images/3d17d06410c8dba1f4f16ae5574d35502e8c8c5ffdf7c10e48aa72ed0427b4e2.jpg https://uploads.disquscdn.com/images/02146839d2af0e8e217921f87ac1f2cce2dbfe4c9a2cf49d40ab20149ea55c47.jpg
Here are the pictures Rob... no doubt after you've stopped laughting, you'll offere your expert advice...
Wow...thanks for the images Stuart. Where to start?
Firstly, the 'shop looks like it's a reasonable size and has been well plumbed in for electricity with plenty of points and decent overhead tube lighting. It also appears to be well insulated but is there anything in the roof space between the joists? Natural daylight is good as well with proper access via a standard width door. You've already had a stab at racking out material for boards etc and have got some shelving up for power tools and consumables. You've got a range of machinery and hand tools but nowhere to use them or make anything as all available space is cluttered up with 'stuff'...some of which may be useful, but I suspect a lot isn't.
As you appreciate, this is my personal view and is the way I would go about sorting it out, but everyone works in a different way; you may do things very differently to me. I think you need to decide what sort of woodworking activity you enjoy and what it is you want to make. For instance, is it DIY weekend stuff using softwood predominantly or something more demanding, maybe edging towards fine furniture making? You have the space, but it needs to be organised and what you want to do determines the equipment you put into it.
It seems to me that all sorts of stuff has been dumped into it over some considerable time, so once you've decided what you are going to do in it, a really good 'cull' of everything that is not needed should take place. Be absolutely ruthless!...if it's not in the plan, get rid of it or find somewhere else to store it and remember, it's YOUR workshop and no-one else should be using it.
It's a big help to plan out the location of machinery, benches and tools using squared paper. Pieces of thin cardboard are cut to scale to represent the footprint of the equipment. Once that's been done it's quite easy to see where the gear should go and you'll then be able to see how much space you've actually got to play with.
Once you can see the space on paper you can then decide, using the plan above, where to place machines, hand tools and power tools. It looks like you have a decent bench under the window (but no vice?) and this should be where you start as the bench is THE most important 'tool' in the workshop. Everything happens at the bench and if you haven't got a decent one, you won't make much. The long bench could also be shortened to make floor space for the bandsaw.
The available floor space ultimately determines the size of any project you can make, so machinery should be arranged around it so that the longest piece of timber that you might want to process can be accommodated. For example, a planer/thicknesser should be smack in the middle of the longest wall, the pillar drill positioned in the middle of the shortest wall. If you look at Charlie's main pic, the pillar drill has been placed right into the corner next to a filing cabinet...not a lot of good if you need to drill a hole in the middle of a 5' bit of timber?
I reckon with some careful thought, your workspace could be turned into a really good home workshop but it needs to be seriously de-cluttered so that you can literally see the wood from the trees.
Hi, Ron
Thank you for responding, I thought once you took a look you might be lost for words...lol... I had a serious declutter last year, but I have a wife who thinks nothing should be in the house, so dumps everything in the workshop...!! I also have a good metal framed tent, into which much has been decluttered...it's full, and yes I need to be ruthless (again)... I do have an large engineers vice fixed to the bench...maybe it was 'camoflaged'.... the walls are insulated with rock wool and overlaid on the inside with 10mm ply, I have not insulated the roof yet as I also have 'stuff' hanging and positioned within the joists too...space is, as you can see, at a premium...but have a bunch of 100mm thick celotex insulation ready to go when I do... the shop also has two 450mm bar heaters to keep it dry and above frost point in the winter...
I shall,be retiring in a few years so want to get to do everything I've had little time to do up until now, so will be having a go at just about everything, but I doubt 'fine' furniture...at present I am in the throws of putting together tool boxes to store cutters, and similar kit that comes in cardboard boxes, to keep it in good condition and than can be stored and easily stacked up if necessary... I have thought about benches a lot, and as you can see much of mine are covered in tools, tool blades, disks and other 'stuff' that needs sorting, I also have lots of everything else, from plumbing, electrical, and general diy kit to laser levels and construction tools and equipment... I shall take your advice and try to plan it out a little better, and from just thinking about this, I will most likely be building a new garden building complete with 'stuff store' in the non-too-distant future... the last essential it has is a wireless (Bluetooth) remote alarm system...and upvc double glazing...that latter was actually just as cheap as replacing the wooden single glazed frames when they started to reach end of life...
Perhaps once decluttered and sorted I'll be able to move about floor space when working there without having to constantly move equipment to do so, and actually be able to do something larger than 18x24... I have been looking recently at other equipment I'll likely need, like a decent saw table and router table too, so was toying with the idea of making flip over benching to accommodate some items, but this would mean dispensing of the narrower benches and going for a free standing bench...something I've never really been impressed with unless it's actually large enough to do some serious work on...so I'll have to give this some more thought...
Hope you enjoyed the craic, I've enjoyed planting my workshops woes on you...
Best regards.
I find it interesting, and just a little disappointing that the majority of discussion, advice and guidance focuses on woodworking. It's almost as if metalworking doesn't exist!
Axminster is predominantly a woodworking tool specialist...
Thanks Gaz (I think), but presumably Axminster, since it does both advertise and sell metal-working machinery, tools and miscellaneous related items, does HAVE an interest in it, or am I barking up the wrong tree?
I too do the occasional bit of wood spoiling as well, but my main interest lies in working (in all ways) with metal/s.
Great article came just in time as I am moving from current workshop to my garage and building a 14x10ft shed to use as for finishing and hand work, garage will be machinery.
I agree - a great article, but.....
before investing in all those time saving power tools we should all consider the noise (esp. if the tools include a planer thicknesser which I've found runs at in excess of 100db!). Some advice on soundproofing would be helpful here.
I put rockwool insulation in my walls and ceiling and 18mm ply inside. makes fixing tool racks etc easy and helps with sound insulation quite a lot. but to keep the neighbors really on side, I plan my day so the bulk of the noise is between 11am and 4pm, hand tools only after dark not much more can be done really.
My 'shop is reasonably well insulated with 50mm of Rockwool in the walls and 100mm fg in the roof space. Two other very important things to consider are adequate lighting and ventilation.
Something to consider is get some decking or general outside space, much easier to persuade the wife to have a nice deck in the garden than an extension to the workshop... it makes a good space for reducing large bits of timber to a size that can be worked on in the workshop I can't sensibly get an 8' x 4' into my workshop but the deck outside gives me workbench space that is level with the floor of the workshop (be sure to give a decent slope away from the doors though, rain needs to stay outside!) I can then if I need to bring machines out, or more often use the track saw, chain saw, or whichever tool is appropriate to make the timber fit into the shop for further work.
The other thing to plan for early is dust, if you have a pile of sawdust safely tucked away in the far recesses of the workshop, it will become air born about 30 seconds after that perfect coat of varnish has gone on...
I agree with the comments on the need for 'space to build' and improved my workshop when I realised that nearly everything could be put on wheels. I have a fairly large combination machine (saw, planner, spindle moulder etc) which is pushed into a corner when not in use and can be easily rotated to cope with various shapes and sizes of materials when in use. I don't find that the machine moves when pushing material through the machine but if it did there is little extra cost in fitting the locking type of wheel. My cupboards and even my scrap bin are on wheels. As a bonus it makes cleaning up easy as well.
Some stuff can go onto wheels, but then you have the problem of trailing cables. I hate cables, end of story. If you position your machines with due care, you can generally get round the problem of leads.
Hi I am at the planning stage of a garden workshop. Due to the garden layout I have to build close to boundary on 3 sides which means non combustible materials. That rules out timber unless coated with an approved fire retardant.
I have room for approximately 9x4 meters but then this takes me into building regs territory and restricted to 2.5M overall height without planning.
I could go roughly 7.5x4 and stick to 2.5m height I think this avoids nth PP and BC. Do you think this would be a workable space? Or should I bite the bullet and apply for the larger options. I would have liked a partitioned section to house some weights and bench.
When I built my workshop I made an appointment to see someone in the planning dept. who told me exactly what I could and couldn't do. If you're in an area of 'outstanding natural beauty' you'll need PP regardless of what you want to build. With my current 'shop, the most important thing was that it had to be more that 5m from the house, so I laid the foundations out 5.2m from the back door, whereupon a planning inspector arrived to check that everything was according to the regulations. Apparently, he had been summoned by a 'kindly' neighbour; he stayed less than 15 seconds when he saw that what I was building was kosher. If in doubt, pop round to your planning dept. and they'll set you straight.
https://uploads.disquscdn.com/images/3ebf97c4b00d0ff170d6292b39e45bfe704a3692d20bfb6cafd5da278e903d44.jpg
Built (building) mine on the boundary and used corrugated metal cladding which cost around £10m2 so far cheaper than timber. There is a timber panel to be added as well as a feature (where you see the timber battens) and the plywood you see has an aluminium wrap to go around it. Mine is 45m2, roof at the highest end is 4m and I went for full planning permission. It will have a bathroom and kitchenette in it....
To reiterate Jon Blagneys & others; please think about NOISE!
Most of us live in crowded towns & cities with close neighbours. The sound of your router or whatever going for several hours on a regular basis will be annoying. Some folk will just complain straight to the council rather than confont you. My dust extractor makes enough noise on it's own, enough to make me wear ear protectors & when I'm using the thicknesser or router there's a LOT of noise - there's no doubt the neighbours can hear me. I have an old brick garage with cast concrete roof so pretty lucky compared to most as the dense materials means less noise gets out - mostly through the wooden doors. If you have a wooden shed, don't use Celotex or other foam insulation boards, line the framework with dense rockwool - there is / are specific "acoustic" grades (e.g. RW45A) for noise control. Then ideally cover with plasterboard as it's very dense (& there is a soundbloc grade), including the door & make sure it fits / seals well to frame - use foam rubber draught excluder or similar. You can box the p.b. in the door with ply to protect it. You might need to upgrade the hinges & possibly the frame (some sheds are shockingly flimsy construction!) Decent thickness ply is second best re noise control but better than nowt.
Fortunately the machines mostly make high frequency noise which is easier to control as outlined above, rather than bass end noise which isn't.
If you have a small budget & enough space, duct your dust to an outside storage area where it can be filtered & dealt with there. Trying to achieve super fine Hepa quality air inside can be very expensive. You only have one set of lungs & serious lung problems are common in the woodworking world. A read of Bill Pentz website is time well spent (billpentzdotcom). Even if you can't afford a fancy dust extr. set-up his insight is spot on.
Re. workshop / garage size if thinking of building, I believe 30m sq. is the limit before PP required so that means only about 5m X 6m x 2.5m (which is not v. high if handling 8' x 4' boards!) but other matters apply; distance from boundary / neighbours house / impeding their light etc. Have a chat with your neighbour.
[…] preparing the layout of a garage workshop, make sure to provide adequate workbench space for your tools. You can also consider installing […]