How to Turn a Seed Pot Maker
What you'll need
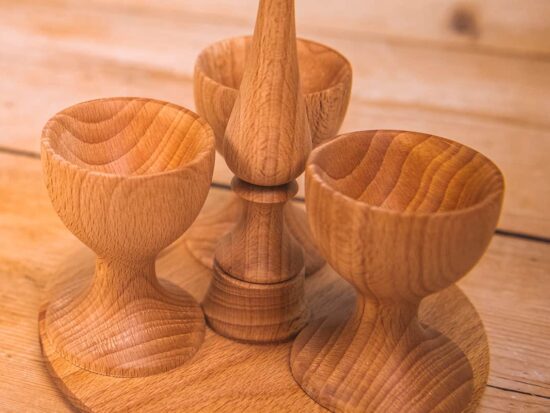
Looking for a simple beginner's woodturning project then look no further than this easy to turn seed pot maker.
This is a handy device for gardeners to help make and shape seed pots from old newspaper for growing and sewing seedlings.
An easy project to get to grips with tool techniques, that is not only good for learning and practising new skills, but gives you a great end project that is useful for any keen gardener. Once mastered this could make an excellent craft fair piece.
Watch our Woodworking Wisdom video with Colwin Way, or follow our steps below.
Prep for turning
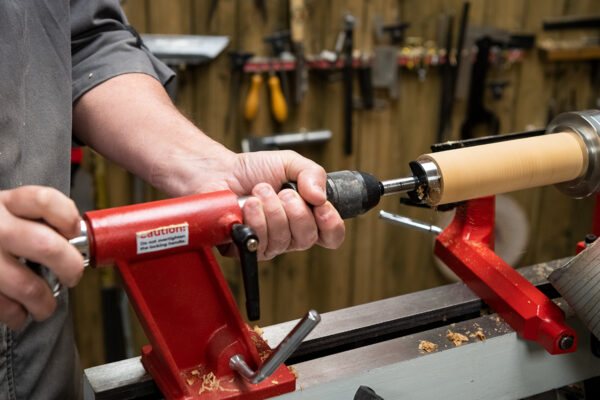
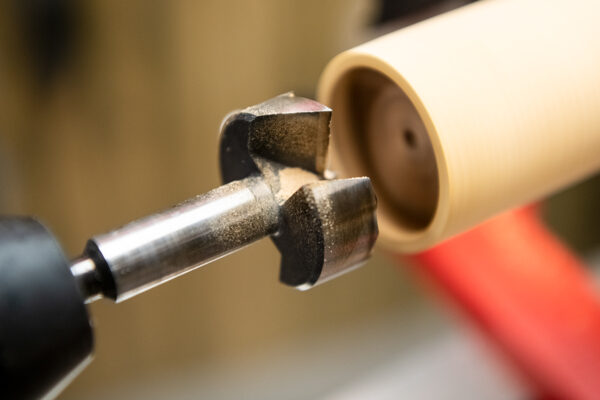
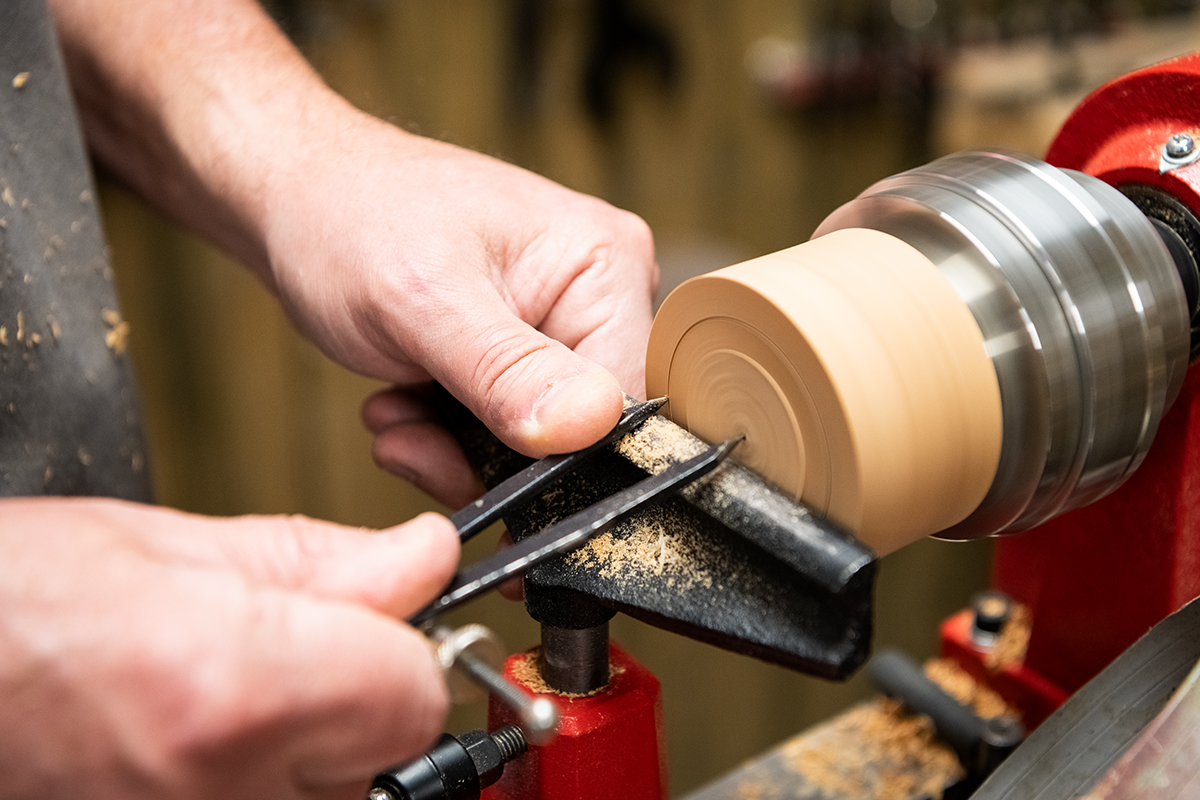
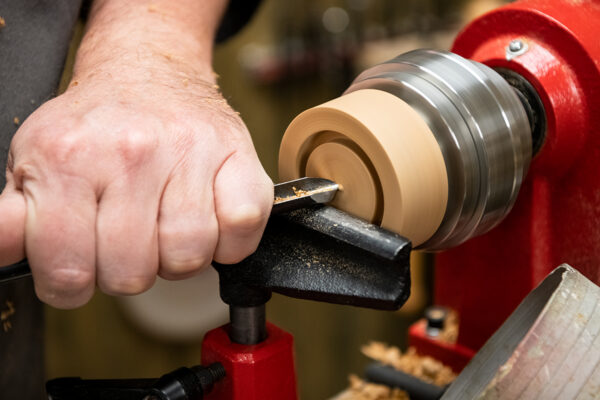
Rough your piece of timber down to a cylinder and hold in your chuck. Colwin is starting with a piece of timber 50mm diameter x 175mm long. Once secured in the chuck, use a 42mm drill bit to create a recess 10mm deep.
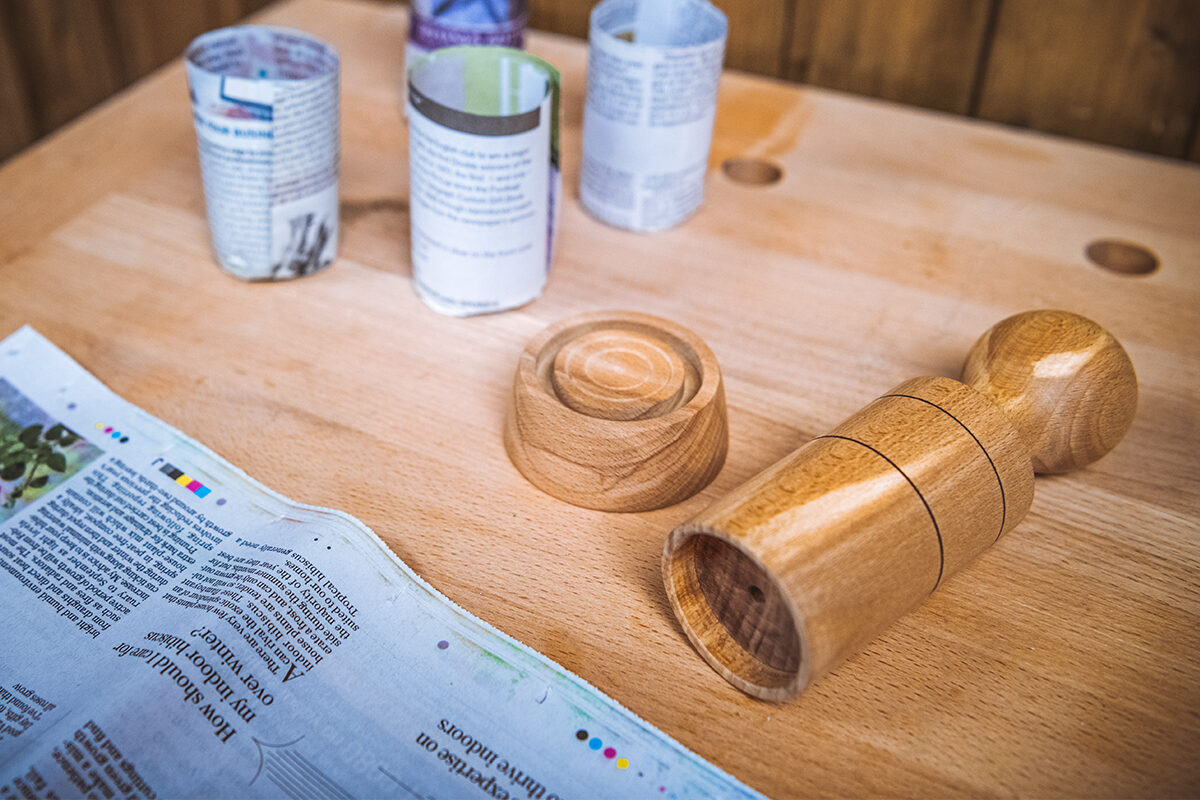
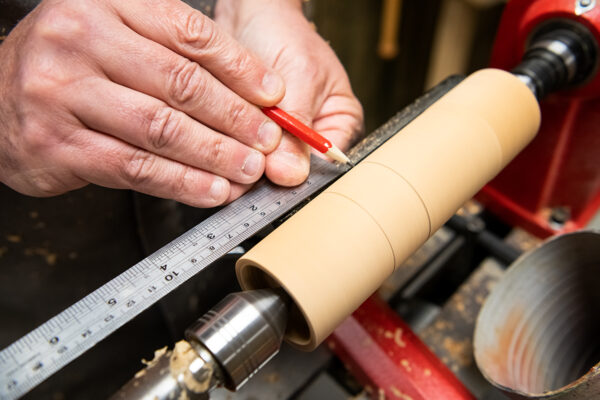
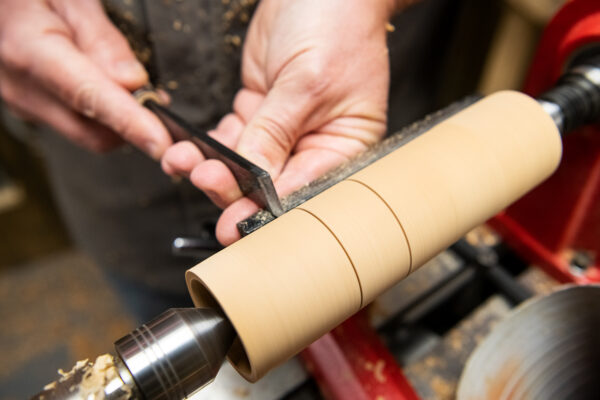
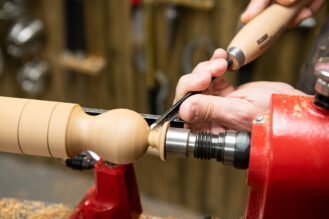
Now the hole is drilled, the blank can be held between centres and marked out, firstly marking 50mm then 75mm up from the drilled ends. These will be the marks used to gauge the size of your pots and give you the corresponding pot sizes. These marks can be cut in preparation for burning later.
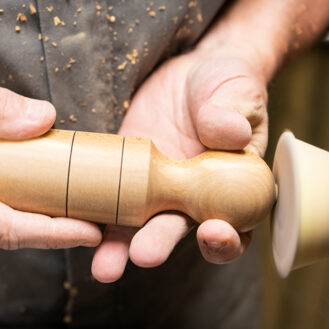
You can now shape your handle to your desired design. Colwin has chosen a simple ball end. Don't forget to leave enough waste to clean away any marks left by the lathe drive centre.
Burn the seed pot lines and sand
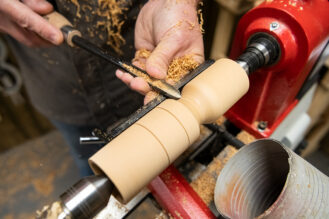
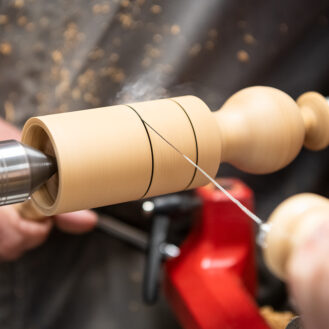
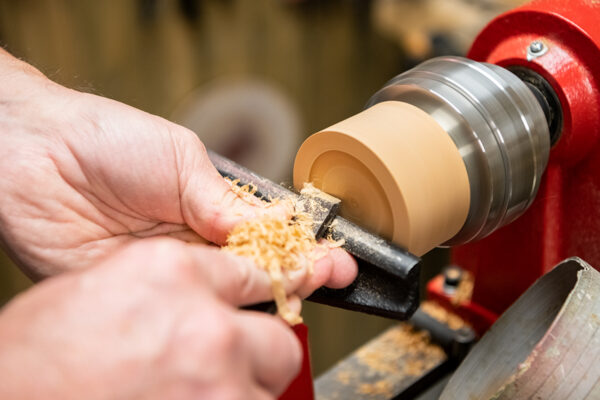
The early turned pot length lines can now be burnt to make them more visible. Colwin has used the Easywood Tools' wire burning kit to do this.
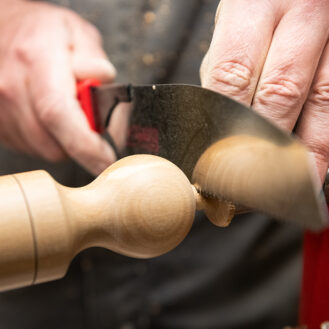
After sanding, the nib end can be cut using a pull saw.
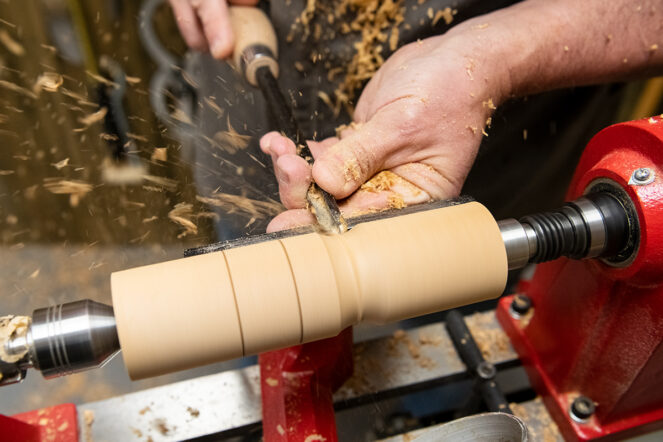
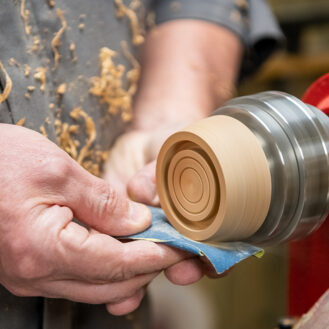
Next, sand away any signs of the centre or waste using a sanding pad held in your chuck.
Turn the base
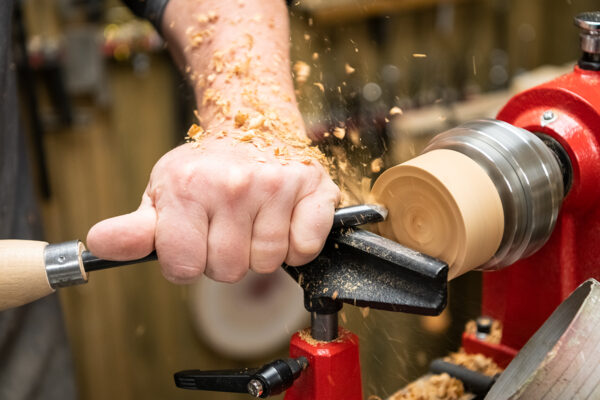
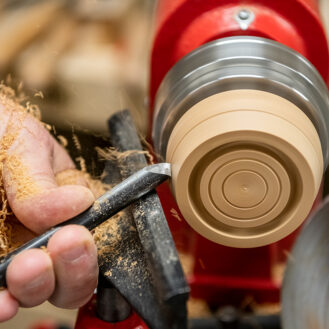
Moving onto the base, turn between centres to remove all corners and take down to a cylinder. We used a blank measuring 75mm diameter x 30mm. Shape a hold point in the tailstock end. A simple step will do, measured to fit your chuck.

Remove from between centres, add your chuck and hold the blank. measure the external grip of your chuck and scribe it onto the bottom of the blank.
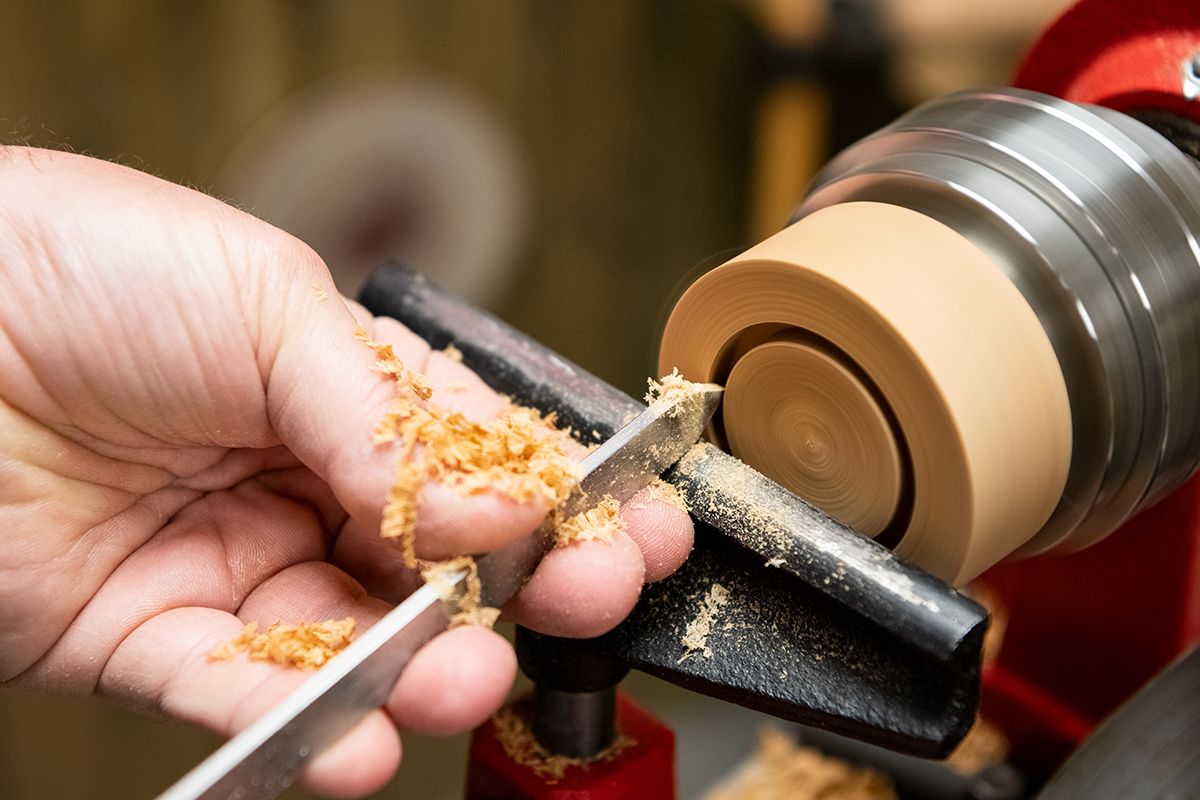
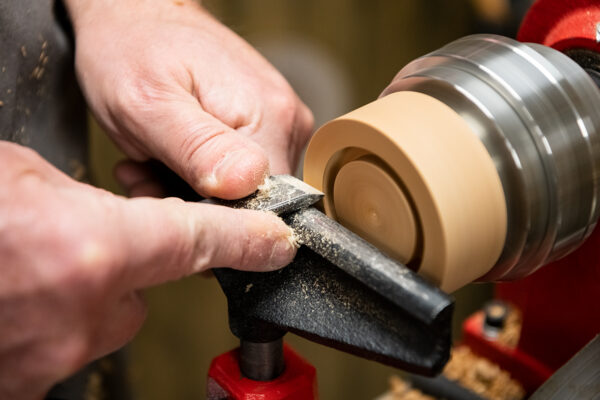
Using a parting tool and skew, cut a recess into the bottom of the blank ready to expand your jaws into. Next, clean up the top face of your blank.
Measure and scribe the diameter of the recess needed for the pot former to fit into. Next, cut this recess in with a parting tool, test the fit with the lathe switched off. The two pieces need to fit together loosely as there will be a piece of paper between the two faces.
Clean the faces ready for sanding.
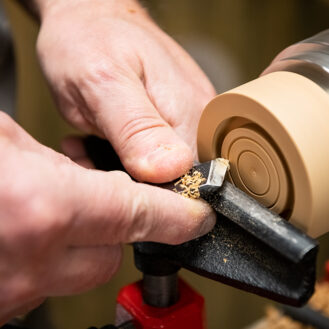
Next, add any decoration you want to! We opted for adding some simple lines with the top of the skew. Tidy and shape the outside edge to your designed design, sand and finish.
Made it? Share it!
If you have had a go at making these seed pot makers, then we would love to see it. Share with us your images on social media by tagging @axminstertools on Instagram or Facebook. Or email us at woodworkingwisdom@axminstertools.com