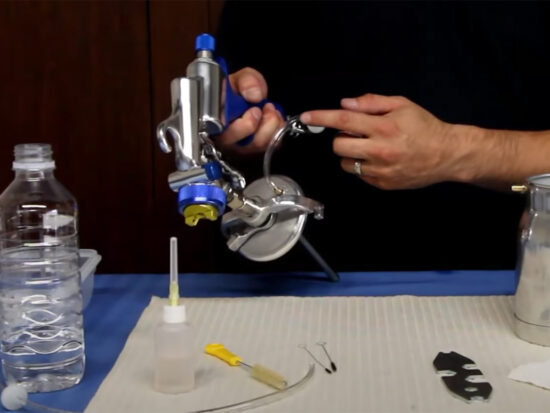
How To Use Osmo Spray Wax
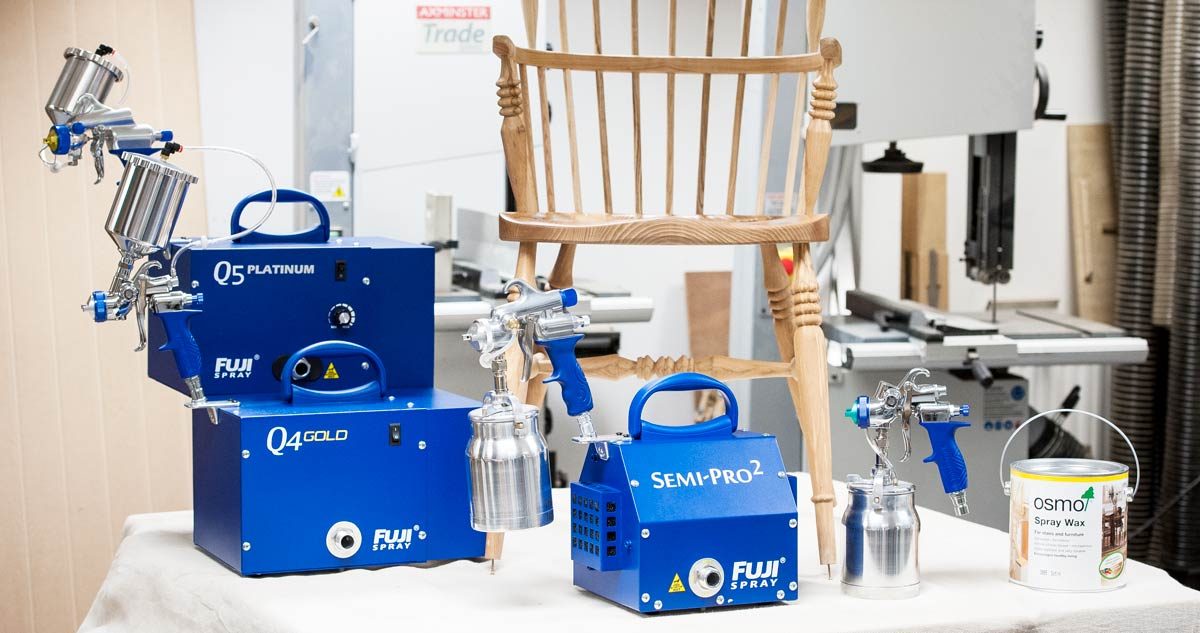
With Axminster shortly introducing the new Osmo Spray Wax, we thought what better way to test it out than to use it with a Fuji HVLP spray system. Here is a short guide to the preparation, setup and use of these products to help you when you make your purchase.
What you'll need
What is spray wax?
Osmo's Spray Wax is a sprayable version of Osmo’s highly regarded Polyx®-Oil. A unique blend of natural oils and waxes, it provides hardwearing and durable protection for wooden floors and furniture. This sprayable version gives a smooth finish to wood surfaces, and is resistant to water and dirt.
Preparing for spraying
Preparation is key when spraying. The first thing to consider is the working environment. Of course being outside is preferable, but with our unreliable weather, this sometimes can not be achieved. If doing work indoors, here are some things to think about:
- The room should be well ventilated
- A dust free environment
- Dust sheets should be used to protect your work area from the minimal over spray
- Turbine is 15 feet away from where you are spraying
Now it's down to the project. In this instance we were finishing a beautiful hand made Windsor Chair (come on our Skill Centre course or follow our step-by-step guide if you would like to build your own). Once this was completed, it was essential to sand the chair down to a fine finish. Here we sanded down to a 220g abrasive to get a smooth even finish. We then wiped thoroughly clean to ensure we had a totally dust free project.
The Spraying
Firstly, we were able to use the Osmo Spray Wax almost straight out of the tin with no mixing or dilution unlike most paints which need around a 20% dilution. We gave the wax a good stir, then strained it to ensure that it was totally clean.
After using the supplied viscosity cup and experimenting with the 1.5mm and 1.8mm air caps on a scrap piece of timber, we decided the better finish would be achieved with the 1.8mm air cap. Experimenting with our spray pattern, we adjusted the airflow control, and slowly added in the wax to our airflow.
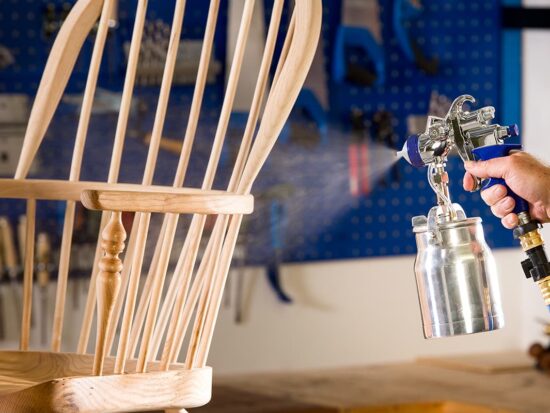
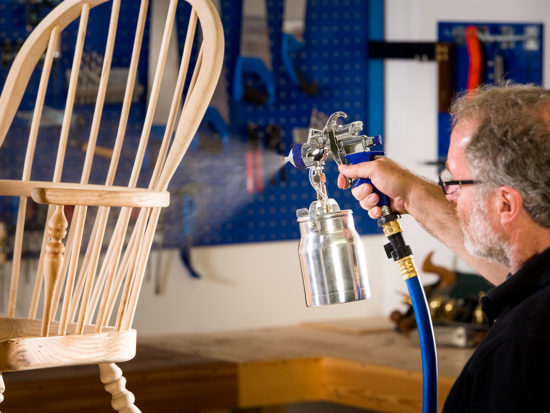
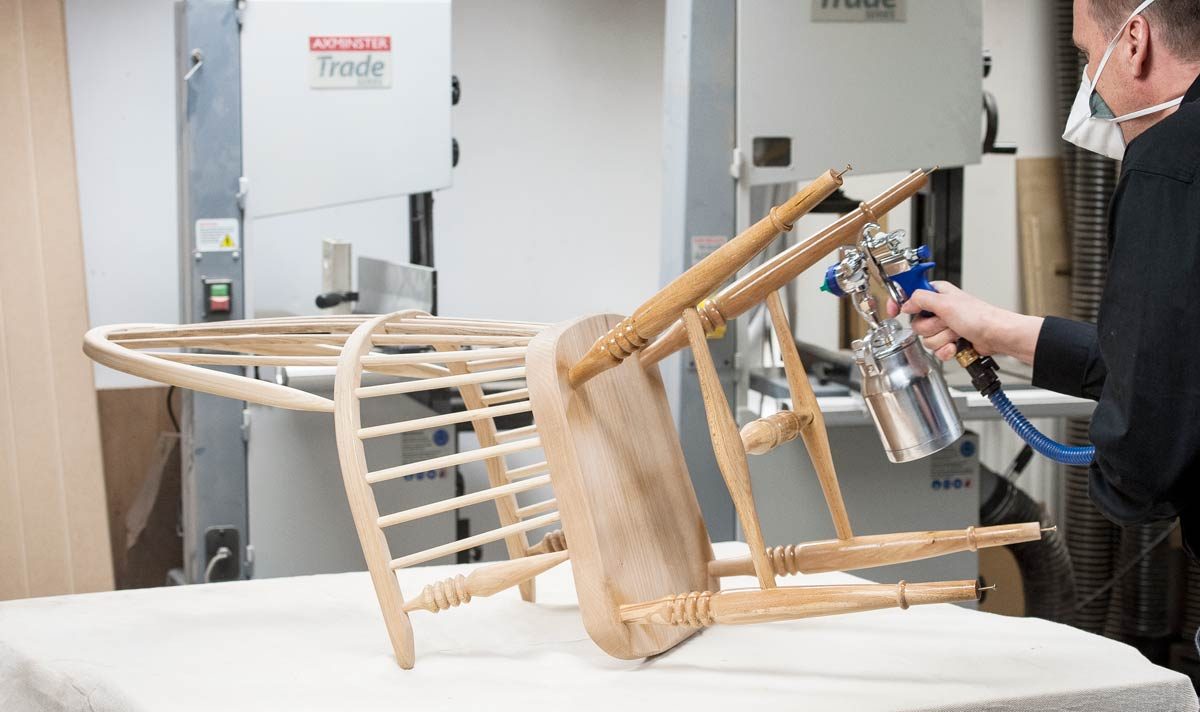
We began by applying our wax to the smaller areas and corners, before finishing the larger areas. We ensured that all were coated, by overlapping our coats by around 50%. During this, we also made sure to keep the gun around a consistent 10" (25.4cm) from our workpiece. We started the spray gun just before and releasing the trigger just after each steady sweep across our chair.
Turning the chair upside down we started on the chair legs first then the underside of the seat (the area that would be seen the least in case slight adjustments to the gun had to be made to achieve the best finish).
Then, turning the chair upright, we systematically started working our way around it to ensure we covered all areas, finally finishing with the main seat. After leaving overnight to ensure the chair was fully dry and following a light sanding with the Hermes Webrax 360g hand pad, we applied a second and final coat.
After Spraying
Immediate cleaning of gun and air cap is essential with a spirit based solvent as per the manufacturer's instructions. Once the second coat has dried you can sit back, relax and enjoy your new, beautiful piece of furniture.


