Making a Robert Ingham transfer jig

Some days ago I had a request from an Blog reader to give details of the construction of Robert Ingham’s dovetail transfer jig. Having bought his book ‘Cutting Edge Cabinetmaking’ a few years ago, (which, by the way, comes highly recommended) I decided to make his dovetail transfer jig, full details of which can be found within.
The jig is pretty straightforward to make and involves some simple wood and basic metalwork.
The block of wood used can be anything handy from the oddments bin. I used a lump of hard sugar maple (Acer saccharum) as it seemed to lend itself to this sort of job, but any dense timber like beech or even something exotic such as hornbeam would suit just as well.
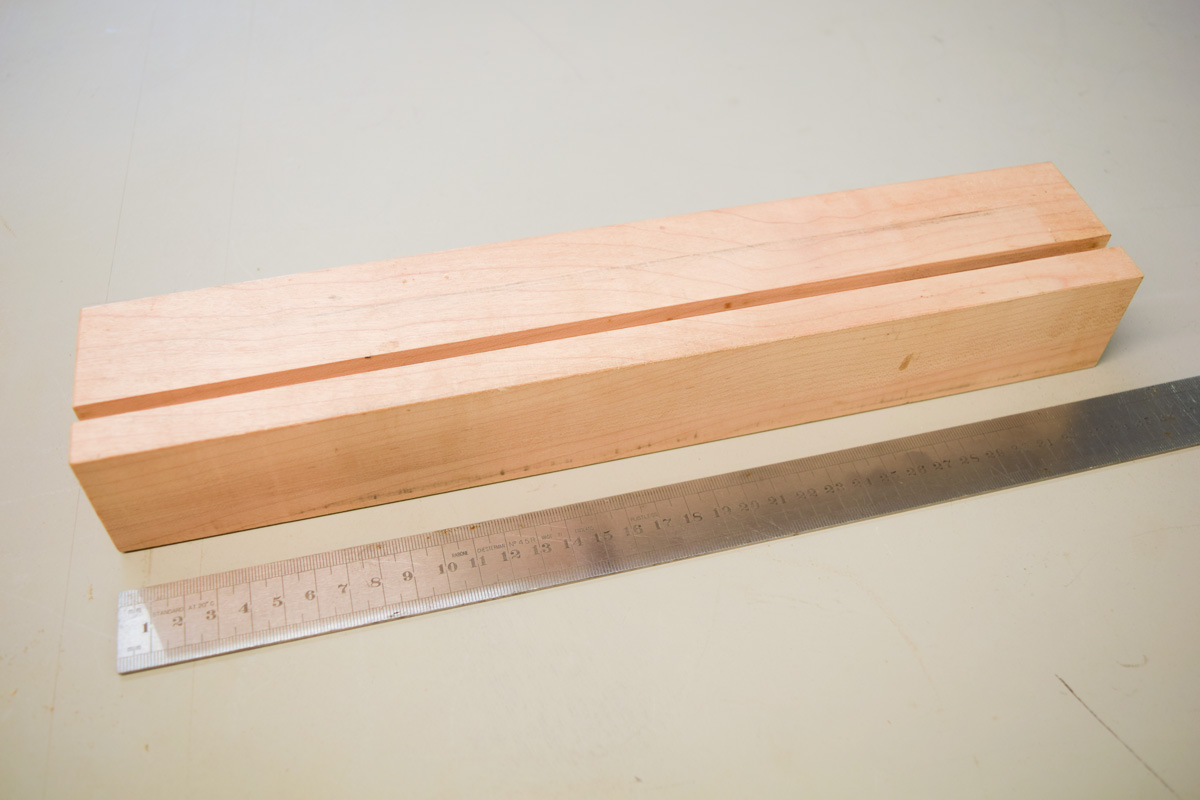
I made the block 350 x 65mm (wide) x 48mm (deep). Once square and true, the first task is to machine the T-slot in the top.

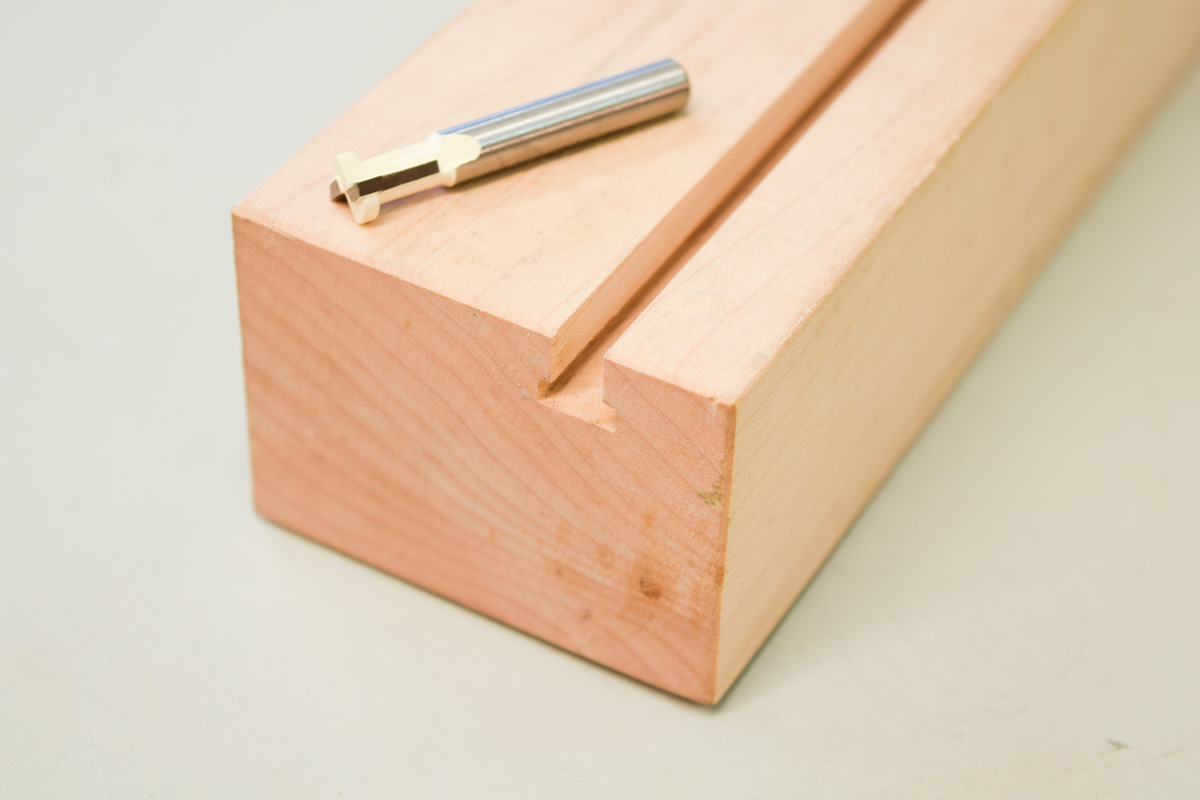
This ought to be done in two passes on the router table, first with a 6mm straight cutter to depth followed by a keyhole cutter shown in the picture. The next step is to locate a source of extruded aluminium angle which isn’t difficult to obtain, especially with the help of t’interweb and a phone. I opted for some 45 x 45mm stuff which was 6mm thick. The size of the aluminium angle isn’t critical so long as the overall sectional dimensions of the wood are slightly larger; hence my block was 65 x 48mm.
Cut off two pieces of angle so that each face is roughly square. Then comes some accurate work with files and emery cloth to make the edges square, particularly the vertical edges where the pin board is gripped. This takes some time to do by hand but if a small milling machine is available it will dispense with the tedious filing.
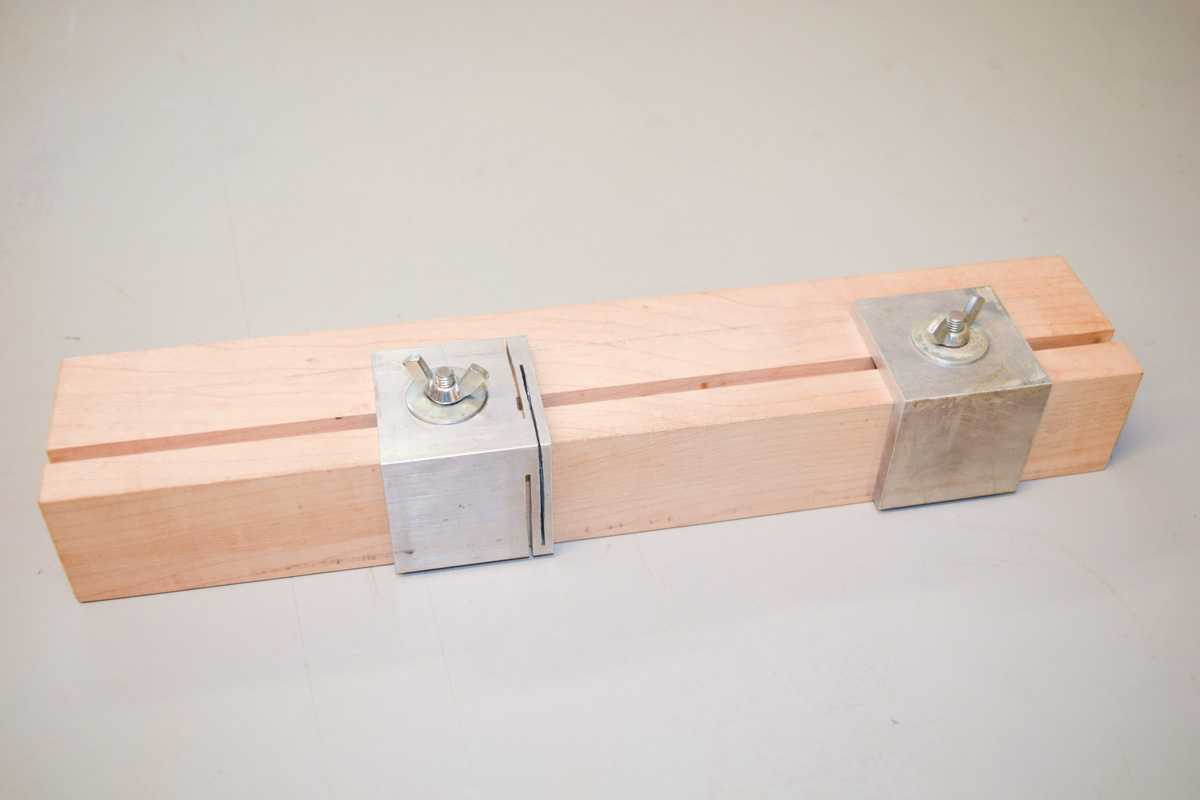
One face of each piece of angle should then have a 6.5mm hole drilled to coincide exactly with the centre of the slot. One of the pieces should also have a pair of slots cut with a hacksaw. When I first saw these in Robert’s book, I was a little puzzled by them but realised that they act as a spring to grip the wood, so that when it’s pushed against the job it holds reasonably firmly whilst the butterfly is tightened.
The final part to make is the T-bolts.

As far as I’m aware, there aren’t any commercially available T-bolts to fit this size slot, so I made my own. They consist of a small piece of steel bar with the corners relieved or rounded, into which I drilled and tapped a 6mm thread. A small piece of 6mm studding was then epoxied into each to complete the T-bolt. To obtain a really good bond, I always degrease metal surfaces by scrubbing with an old toothbrush and methylated spirit.
I hope this answers your query, but if not, please leave any further comments below.