'One On One' Routing With UJK Technology Router Bushes

Producing a shape that will fit exactly into a corresponding cut-out (known as ‘one on one’ routing) is almost impossible under normal circumstances. Router bushes create a different offset each time when combined with a cutter so it’s quite possible to machine a simple curved form which precisely matches a corresponding shape in a second piece of material. A 6mm cutter is used here with 24 & 12mm router bushes to create this ‘one on one’ form.
What you'll need
Method
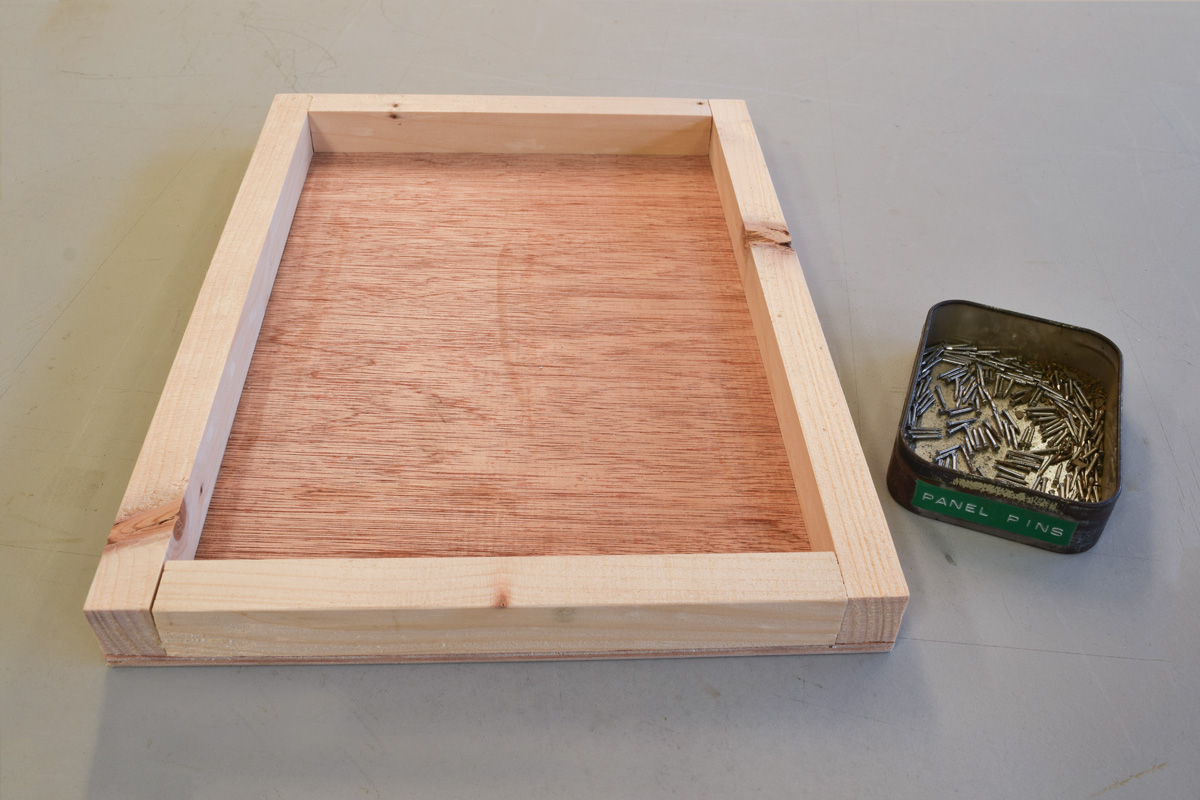
Step 1
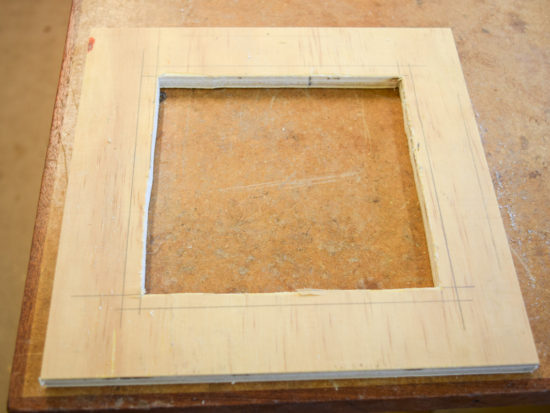
Prepare the box to suit the size of the finished project. It should be larger all round by approximately 50mm on each side. The raised section prevents damage to the workbench and allows the routed shapes to drop when the machining is complete.
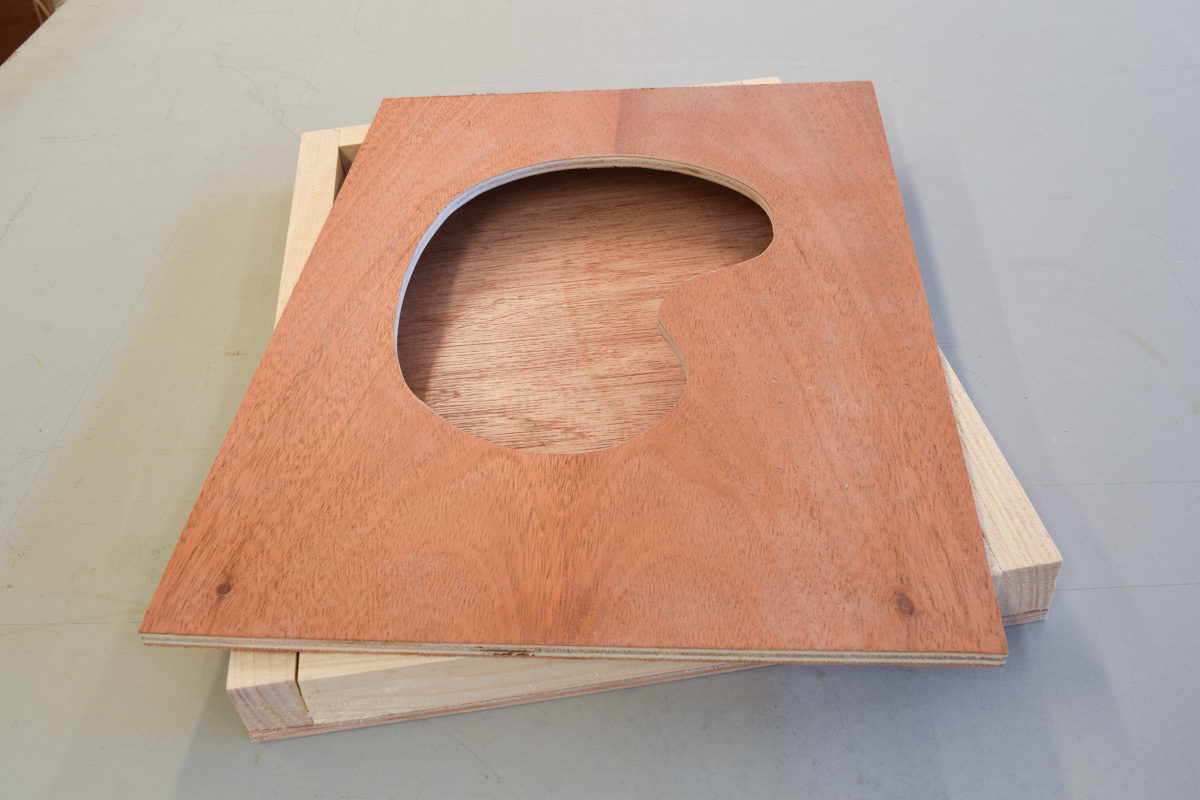
Step 2
Prepare the template. Cut out a simple shape with smooth curves using a fret saw and remove the saw marks with the Proxxon mini drill and a sanding drum. The template determines the exact shape of the finished project; any inaccuracy will be reflected in the finished article.
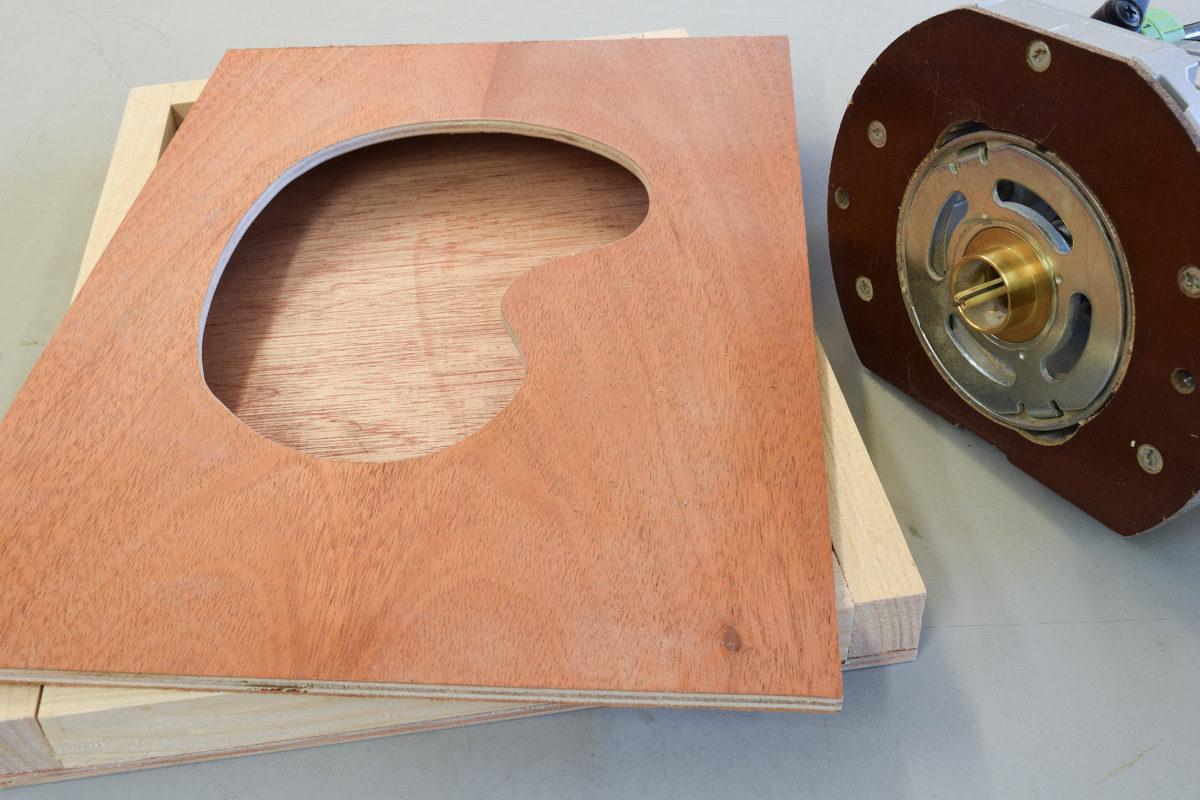
Step 3
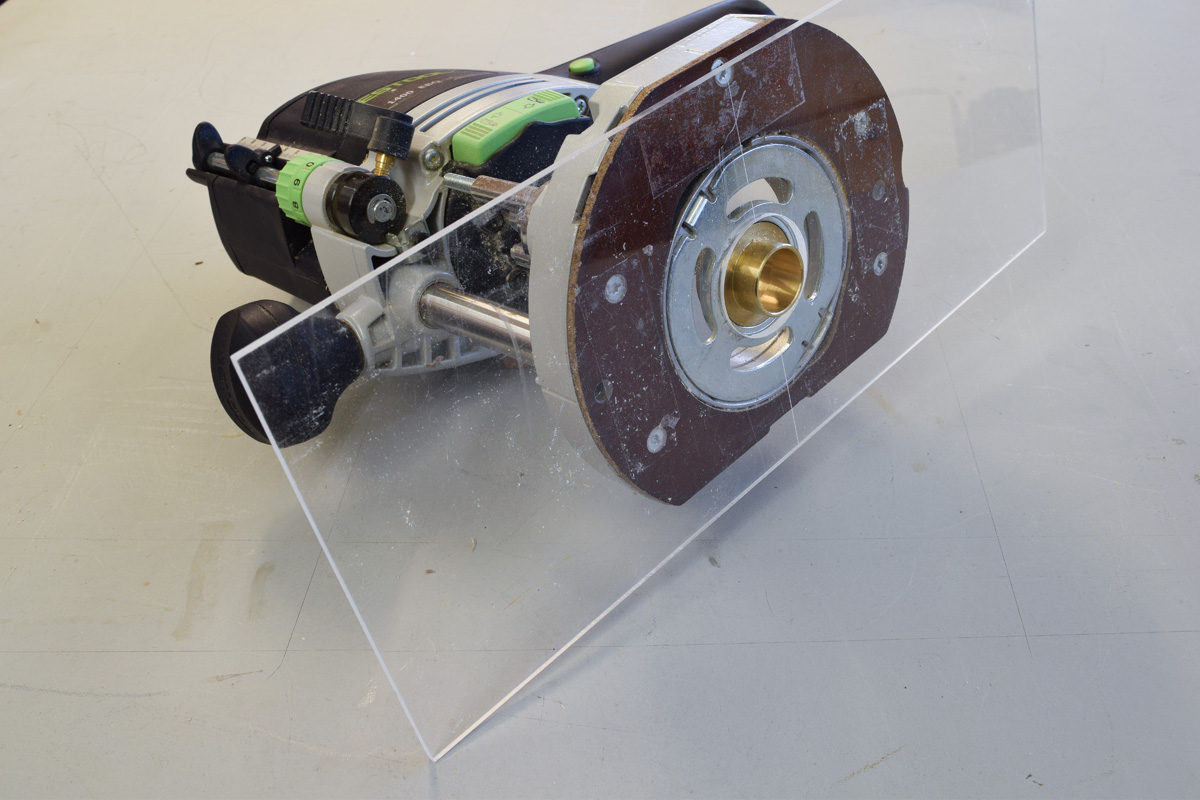
Insert a 6mm cutter and 24mm guide bush into the router. This gives an offset of 9mm (24mm minus 6mm then divided by 2).
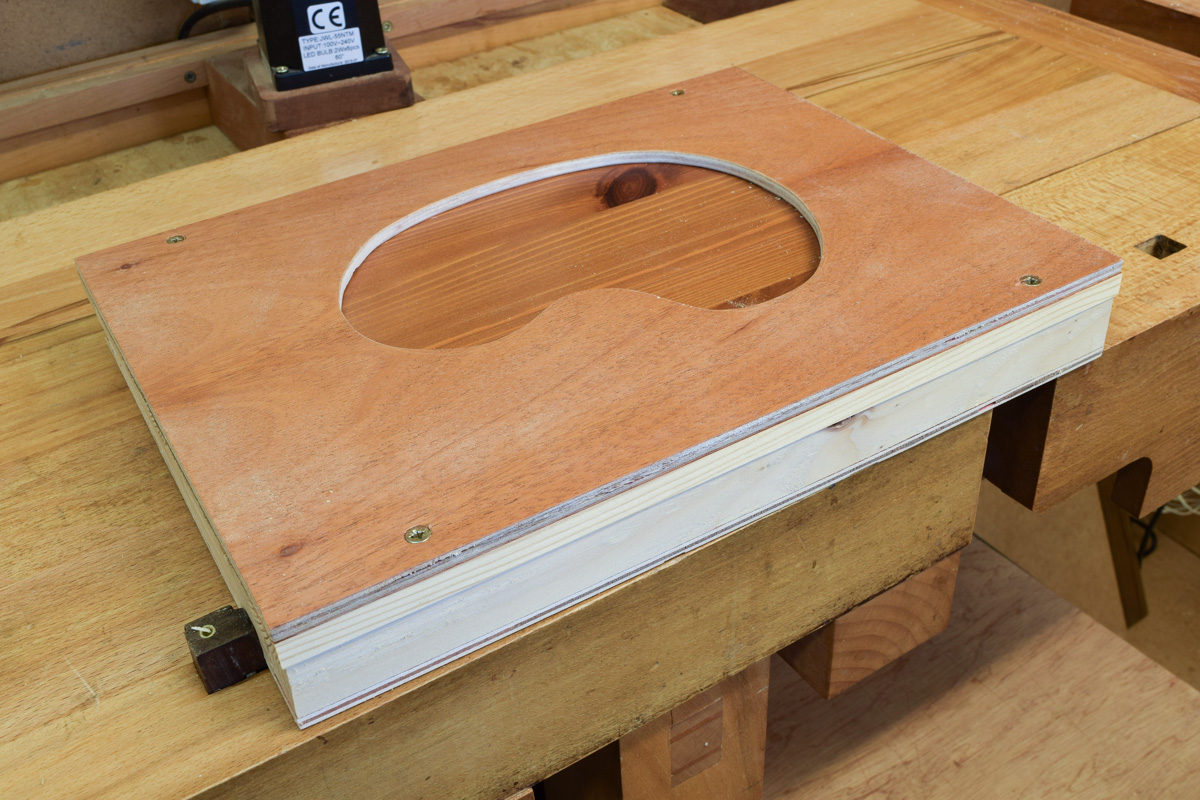
Step 4
Insert the first piece of material between the base and the template; screw together.


Step 5
Secure the template and base securely on top of the workbench.
Step 6
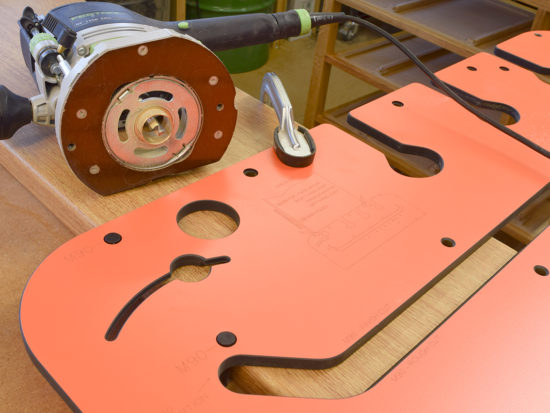
Use double-sided tape to stick the 3mm thick sub-base to the router, this allows it to bridge across the template during machining.
Step 7
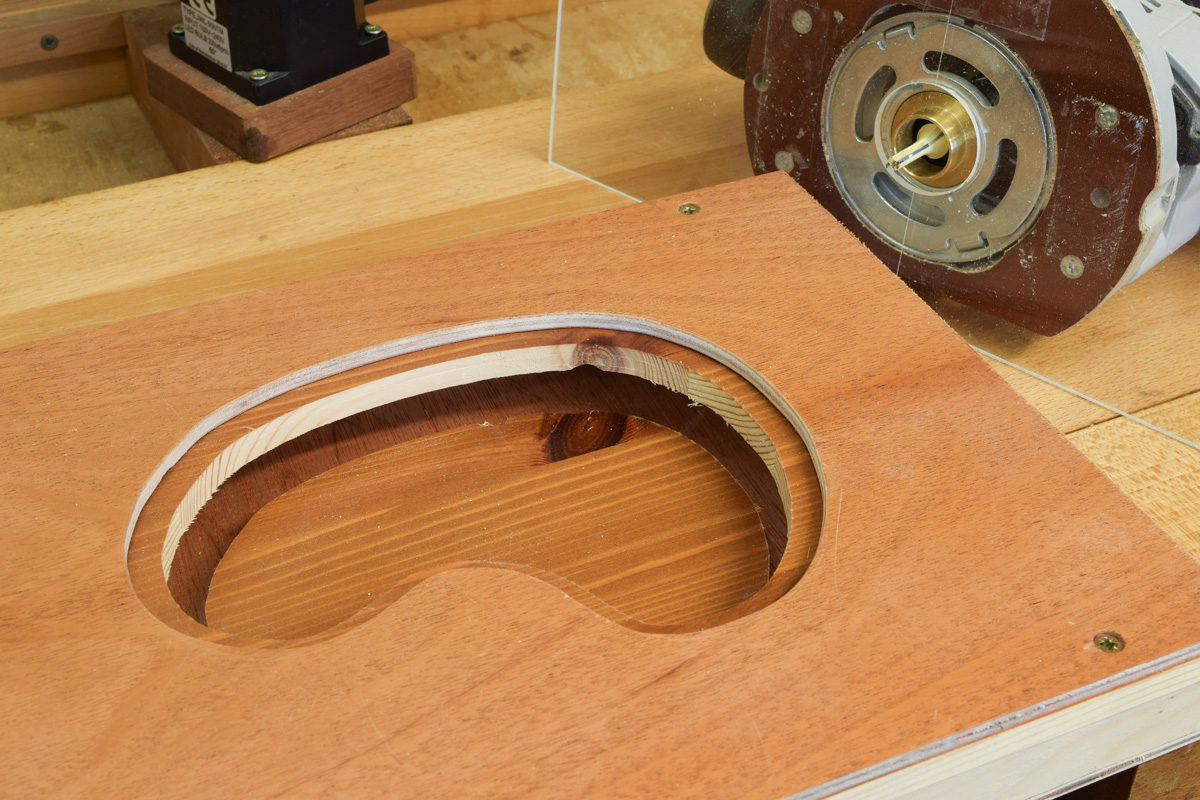
Take several small cuts following the shape of the template, cleaning out the groove each time with the vacuum. After the last cut, the waste piece will drop onto the ply base of the box.
Step 8
Remove the first piece of material and replace it with the second. Change the bush in the router to 12mm which gives an offset of 3mm (12mm minus 6mm divided by 2)
Step 9
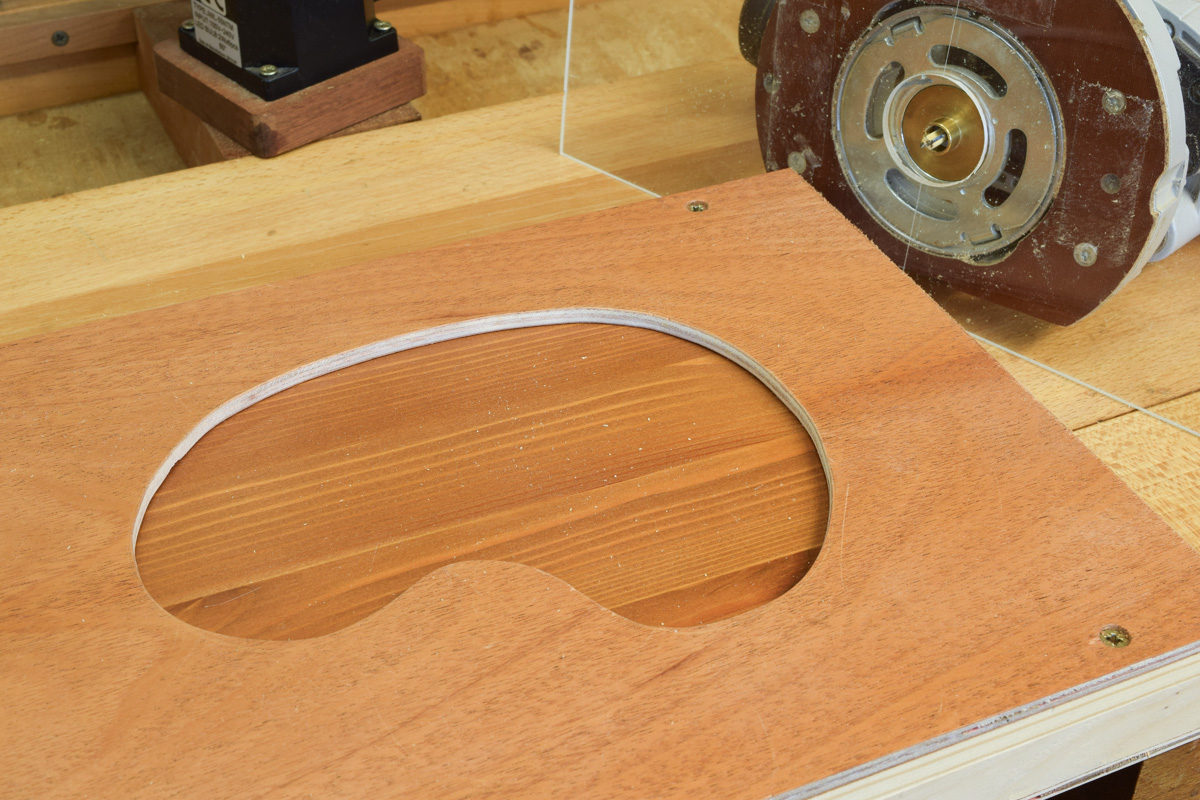
Take several small cuts until the centre section drops to the bottom of the box.


Step 10
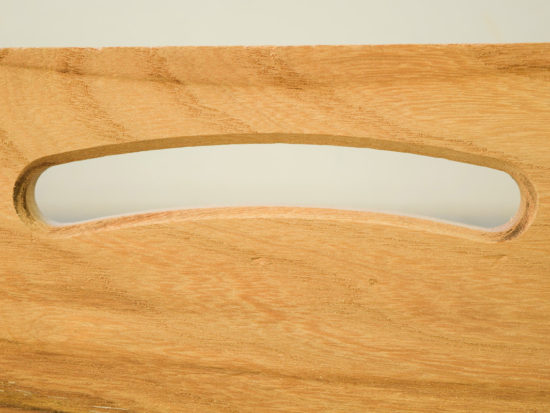
Completed project. The solid piece produced in step 9 will now fit exactly into the hollow shape produced in step 7.