Making a Telecaster - Week Four: Nearing Completion
Last Saturday Tom delivered his fourth and final workshop on making a Telecaster guitar, taking it towards its completion. Here's Tom's account of what went on...
What we used:
- Mirka Abranet Abrasive Discs 150mm
- Japanese Carver's Files
- Osmo Woodfiller
- Chestnut Shellac Sanding Sealer
- Chestnut Spirit Stain Trial Packs
- Liberon Cotton Rags
- Liberon Boiled Linseed Oil
- Axminster Hobby Series AHDP16B Bench Pillar Drill
- Fisch 10mm professional wood twist drill bit
Step One:
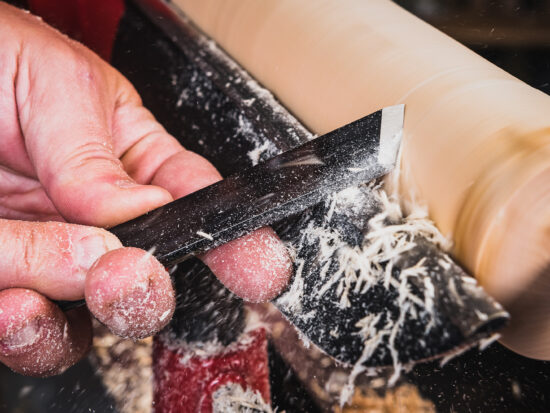
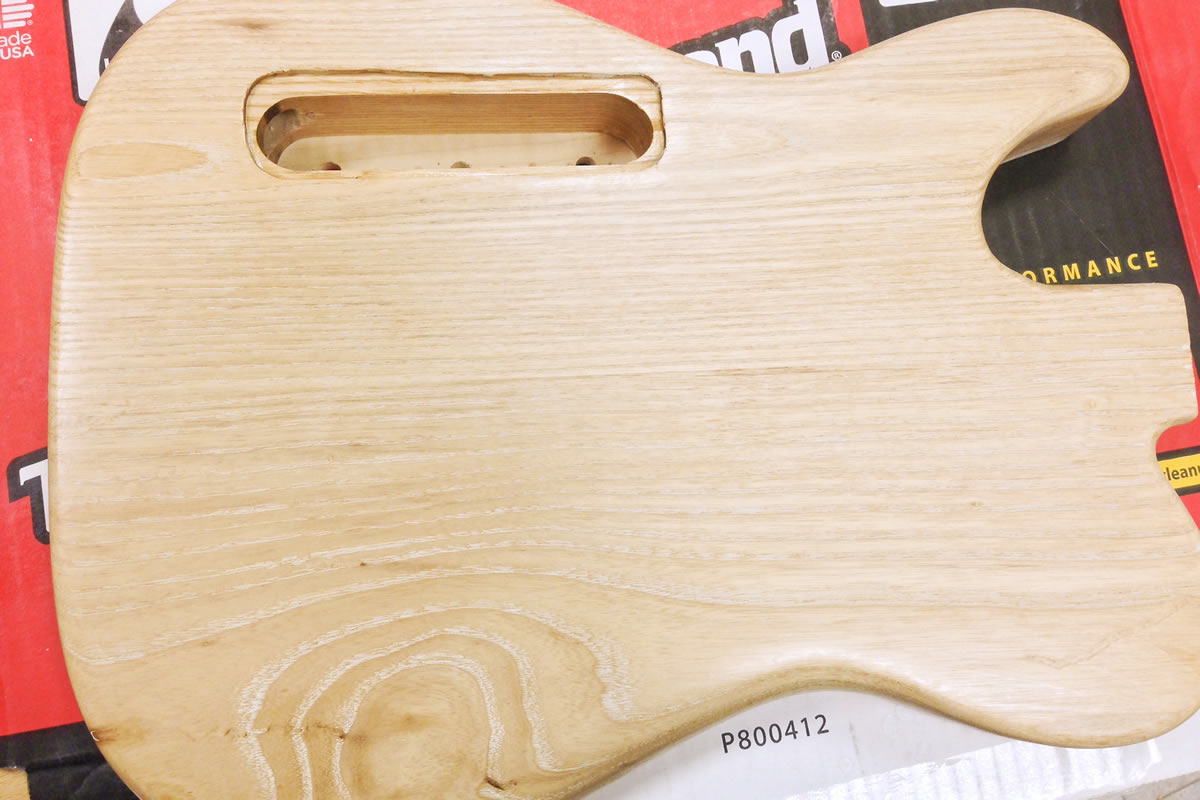
First of all, to get the body and neck ready for finishing we sanded it through the grits up to 400grit using Mirka Abranet abrasive. Abranet is an abrasive mesh that gives an astonishingly clean surface. The mesh prevents the sanding dust from being dragged around the surface, creating minute scratches, and leaves a silky smooth surface.
Step Two:
After we sanded the body we decided we’d backtrack a little and carve a smooth contour on the back of the body. The purpose of this contour is to break the harsh corner between the side and back of the body, making the guitar more comfortable to play. We carved it with the Japanese half round carver's file. Once the contour was a smooth enough curve, we re-sanded the area back up to 400grit.
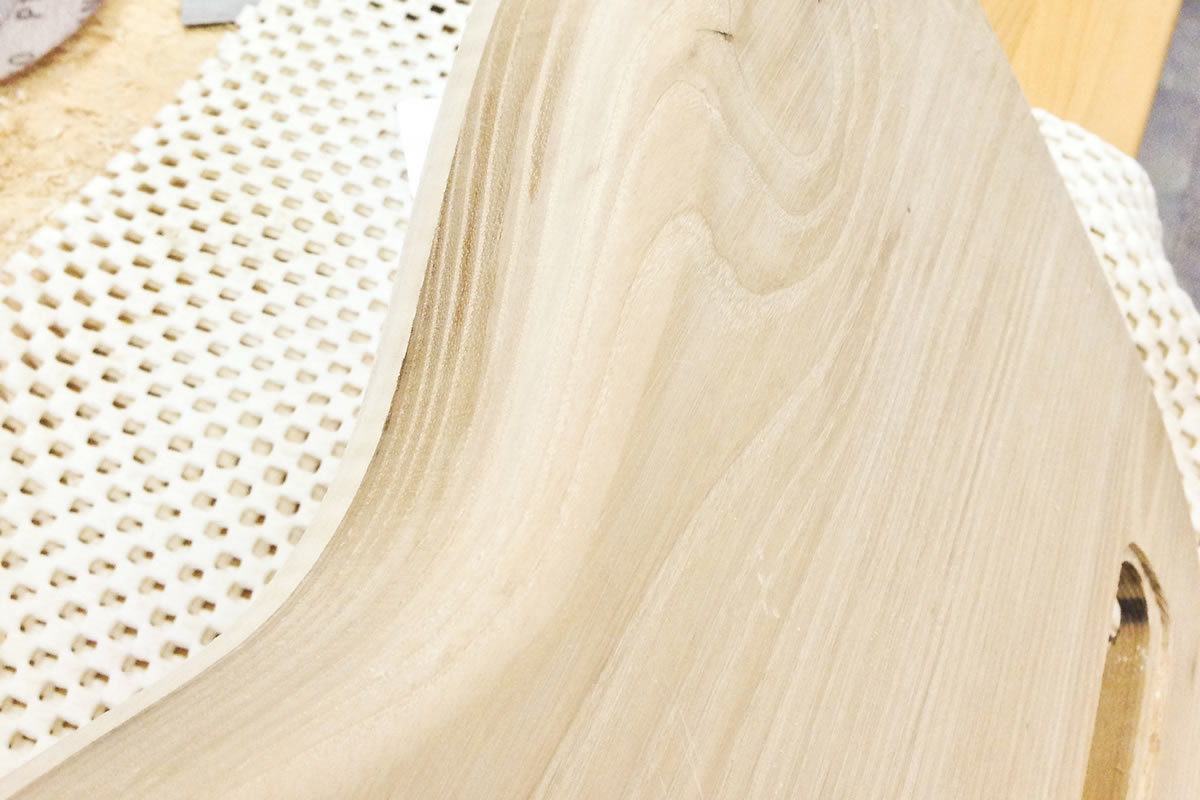
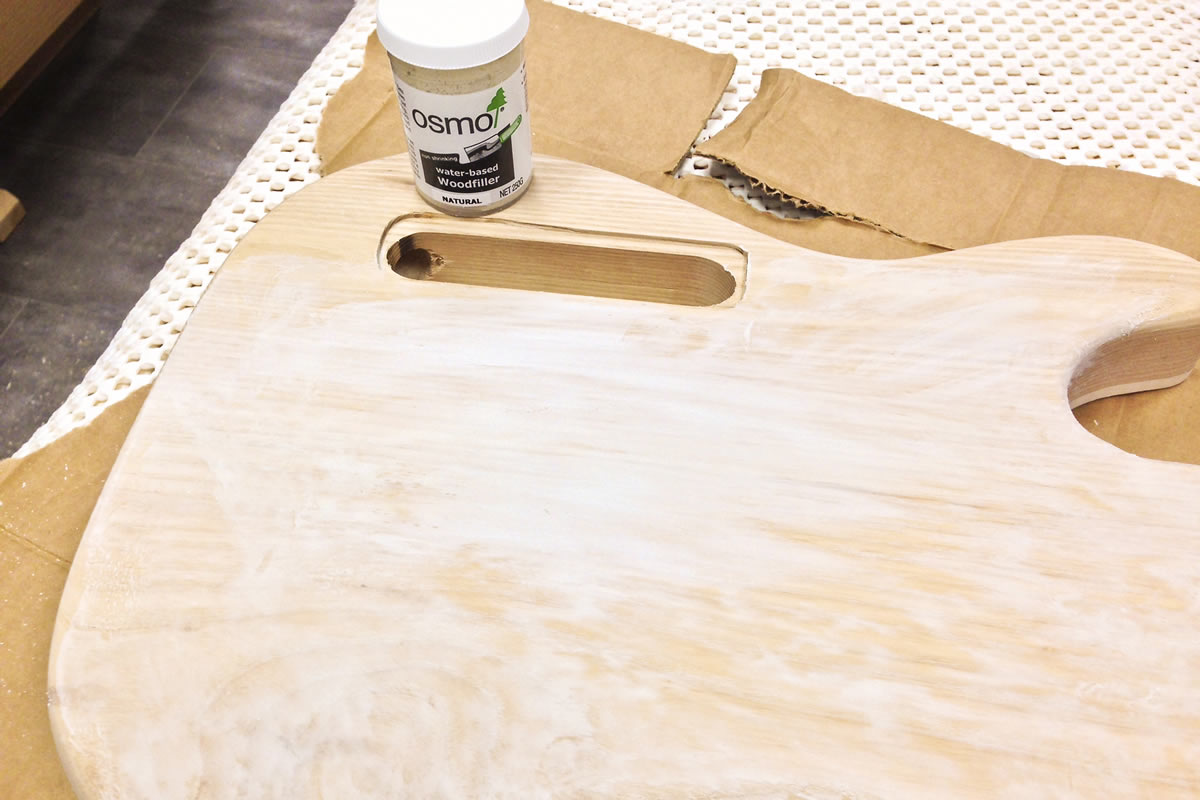
Step Three:
As Ash has a fairly coarse grain texture, if we had immediately sealed and lacquered the guitar body after sanding, the finish would follow the texture in the grain creating a surface with many dips and bumps. So that we could get a flat finish, following the sanding process we filled the pores of the body with Osmo wood filler. We were fairly thorough with this process to ensure all of the pores were filled. We then sanded the body back with 400grit and re-filled any offending pores until we were satisfied that the body was completely smooth.
Step Four:
Once the back and sides of the body were filled, we sealed them using Chestnut Shellac sanding sealer. We left the top unsealed so that we could stain it. Sealing the sides of the body before staining meant that we could scrape back any drips of the stain with ease, as it would be the surface of the shellac that we would be scraping instead of trying to scrape back the bare, stain soaked wood.
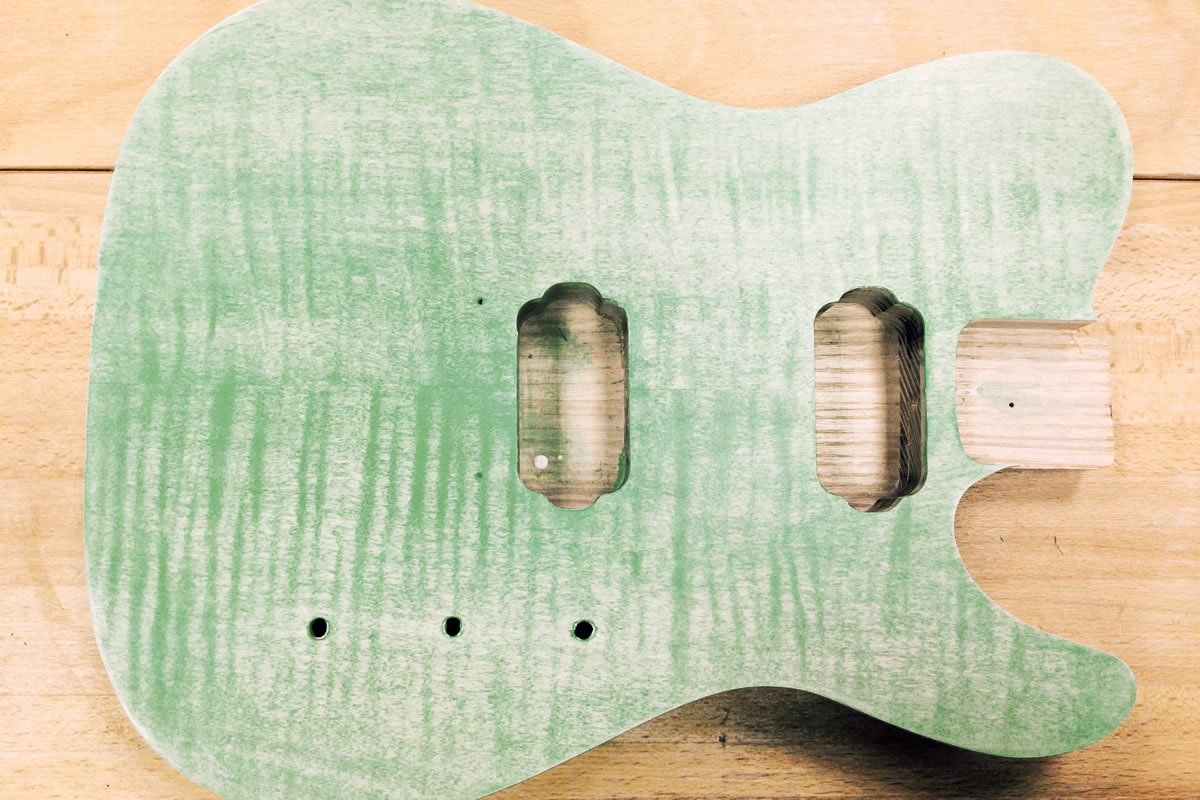
Step Five:
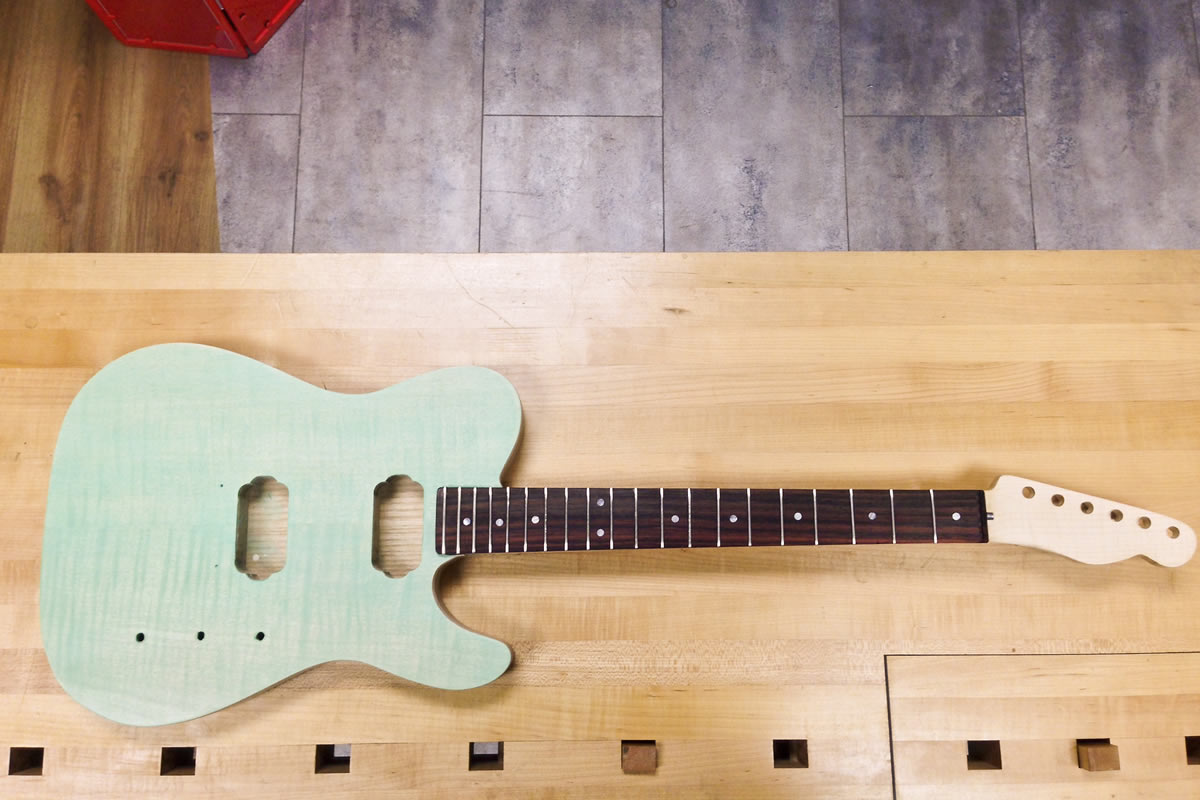
We then mixed blue, white and green Chestnut spirit stain until we reached our desired colour; in this case it was classic 1950s Americana sea foam green. We used cotton rags to apply the stain as we found it gave a more even, controllable finish.
Step Six:
As soon as the stain had dried, we sealed the top. A note of caution here: be extremely careful when applying shellac sealer over spirit stains, as heavy coats can and most likely will lift the stain, as in our case, leaving us with a patchy mess that we would have to refinish.
Step Seven:
Once the top was sealed, we scraped any unwanted dye off the sides of the guitar body, leaving a crisp edge where the sycamore top had a kind of faux-binding effect to it. We then sanded the sealer to create a flat, even surface.

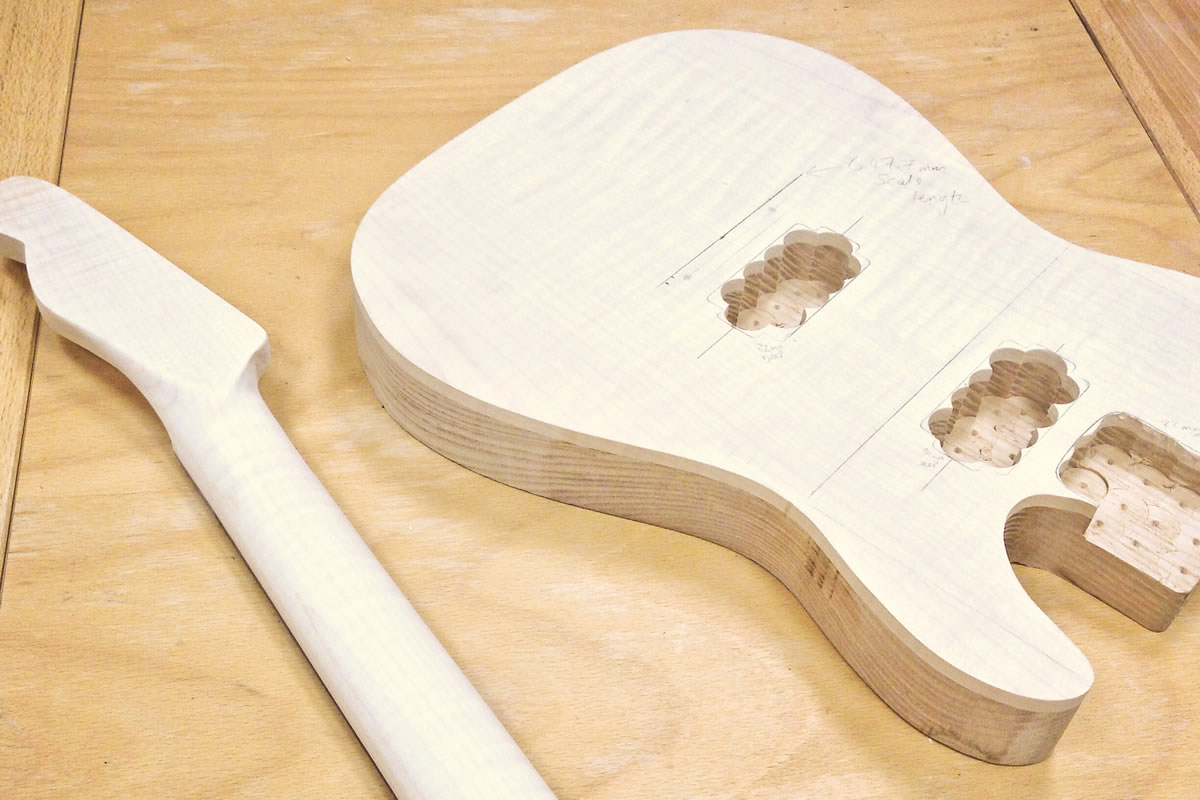
Step Eight:
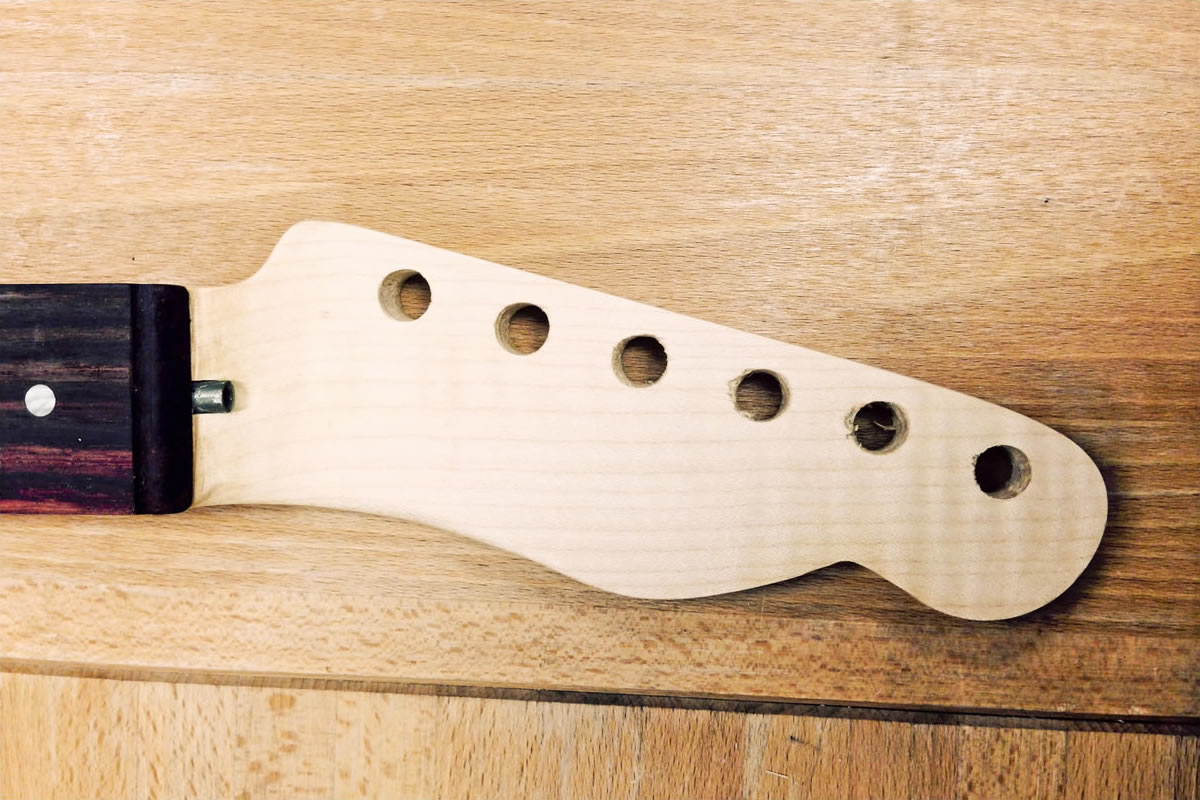
To drill the 10mm tuner holes, I used the Axminster Hobby Series AH1603DP Bench Pillar Drill and the Fisch 10mm professional wood twist drill bit. I marked the hole for the first tuner so it was in line with the position of the top string, therefore the centre of the hole was 9mm away from the edge of the headstock. I repeated this step for the bottom string and used a straight edge to connect the two marked points. I then divided the distance between the two points by five which would evenly space the remaining four tuner holes.
Step Nine:
We chose to apply boiled linseed oil to finish the sycamore neck. The oil finish would seal and protect the wood while also giving a very raw, slick feel to the back of the neck. We applied a heavy initial coat which we left for 15 minutes to soak before wiping the excess off. We then applied several thin coats every 24 hours. After the fourth coat we left the oil to fully harden over three days.
Step Ten:
With the body all sealed it was ready for lacquering. Only one problem here, unfortunately in store we don’t have the facilities to flawlessly spray our beautifully crafted body, so this part for the moment is where it ends. Fortunately, externally we do have access to a spray booth equipped with a compressor and HVLP gun, but it will be a couple of weeks before we get a chance to spray the body. Fear not though, for we will endeavour to get this done as soon as we possibly can, at which point we will update you all with the fully lacquered, fully assembled guitar!