Beat The Boredom | Woodworking Projects For Kids- Wooden Aeroplane
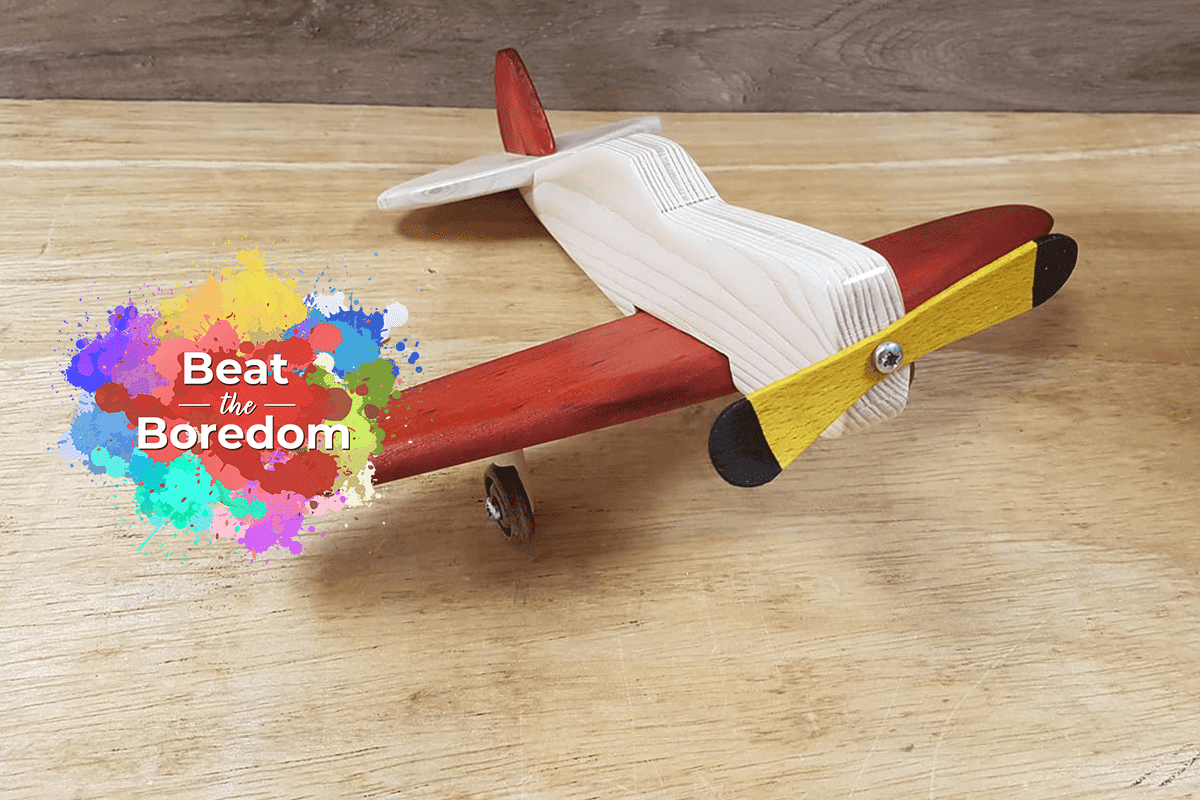
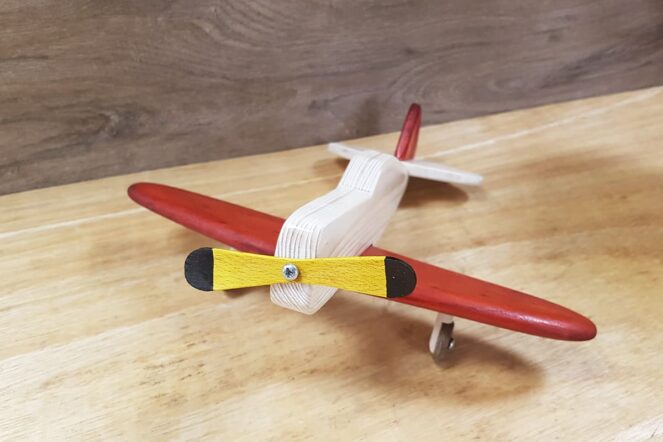
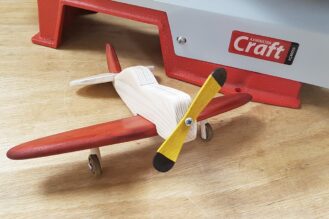
Fly high with another great woodworking project from our Beat The Boredom series. This week, our child friendly project is a wooden toy aeroplane. Ideal for younger children with adult supervision, this super cute plane will get kids hands on with woodworking and send their creativity soaring. Perfect for customising, it would make a great gift or keepsake!
What you'll need
Wooden Aeroplane Project
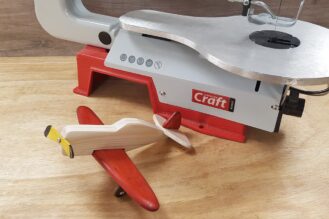
Our wooden aeroplane woodworking project is a great little project for the younger budding woodworker or anyone who has just received their new scroll saw!
Part 1 - Shape the propellor
The inspiration for this woodworking project came from a simple lolly stick!
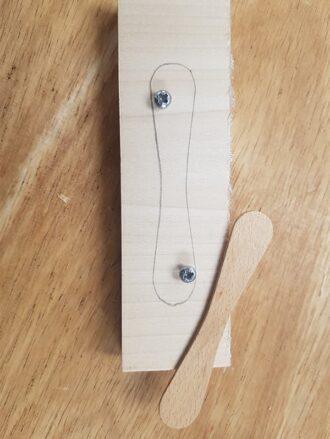
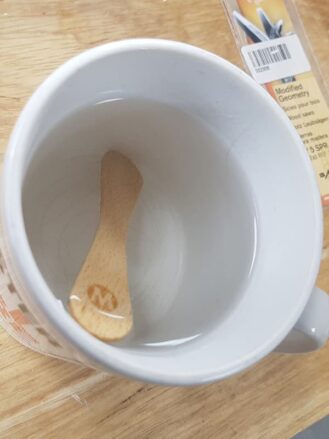
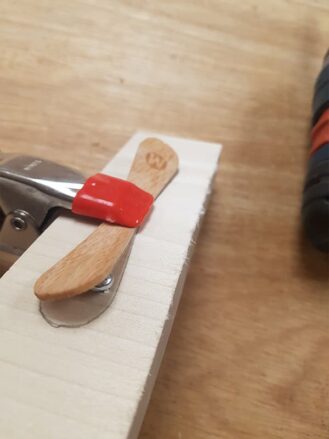
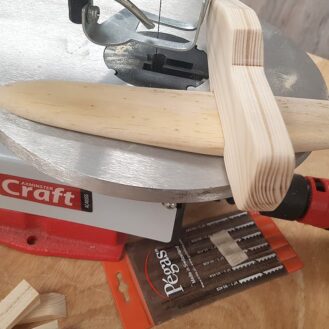
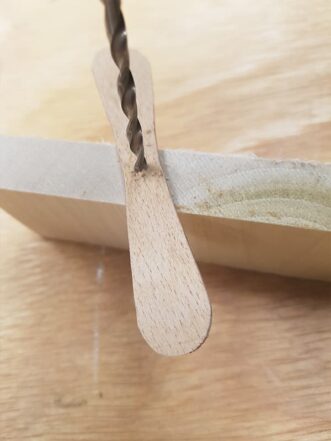
Firstly, soak the lolly stick in some hot water for a few minutes to make it more flexible. Next, make up a simple jig to hold a twist shape. Leave to dry while you start with the other components.
Part 2 - Mark up and cut out the wings & fuselage
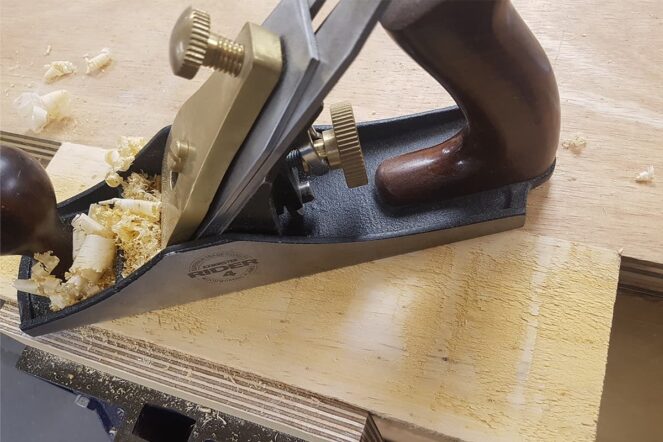
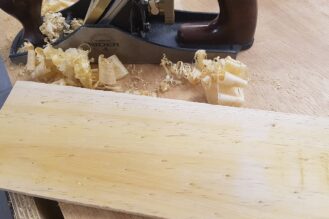
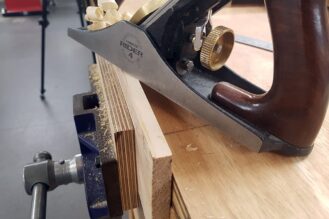
The wooden aeroplane can be made using off cuts that you have lying around the workshop; softwood or plywood works best. If you wish, maybe choose a combination of the two materials as the design is up to you!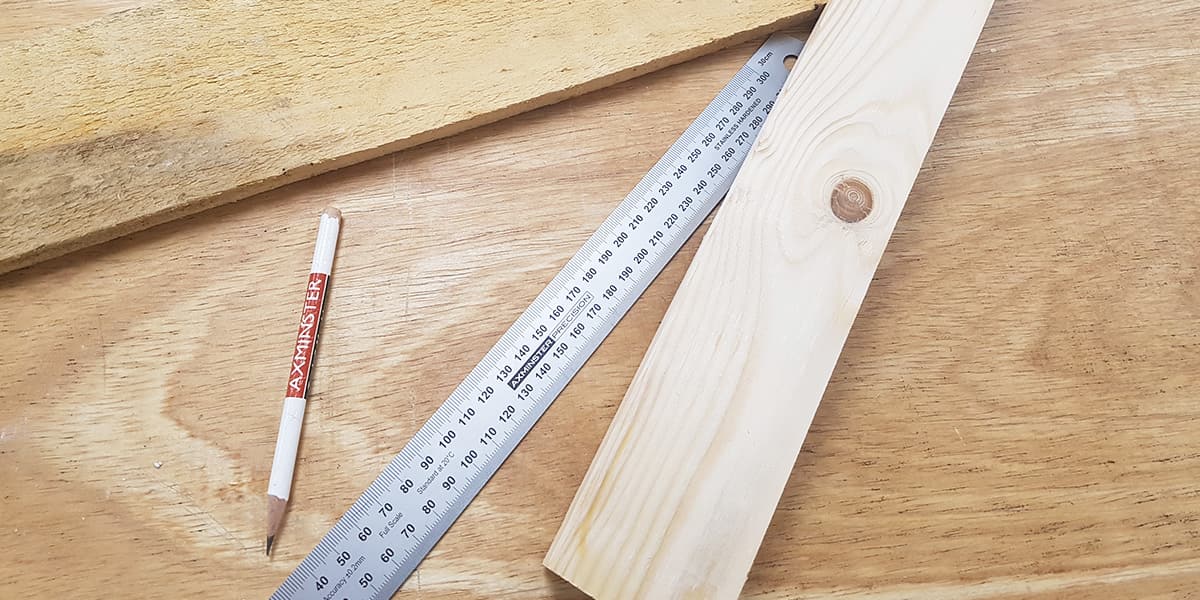 Start out by planing or sanding your chosen timber until it is smooth and flat.
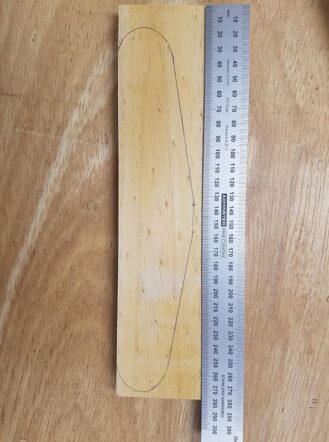
In our example, the body (fuselage) was cut from the thicker 20mm timber and was drawn out at 200mm long. The wings were made from the thinner 10mm timber and was drawn out at 260mm long.
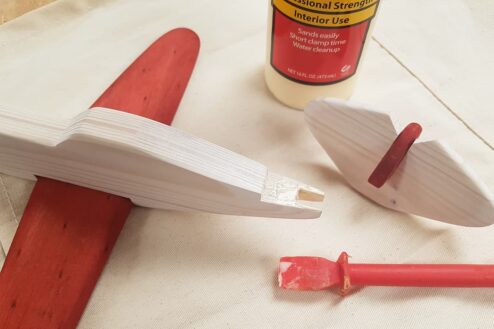
On the underside of the fuselage, mark out and then cut a recess to receive the wings. In this instance, the wings were 10mm thick x 50mm wide.
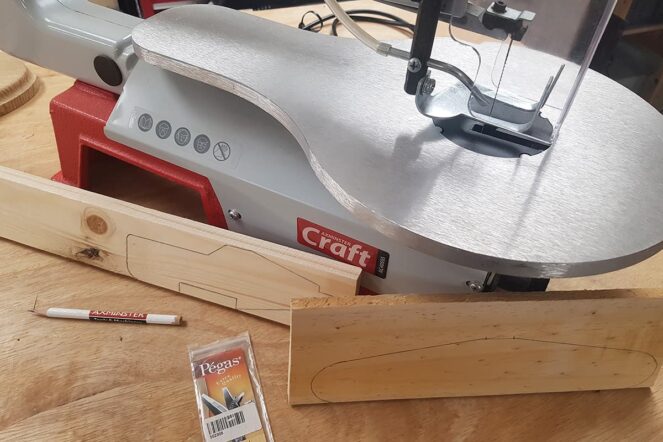
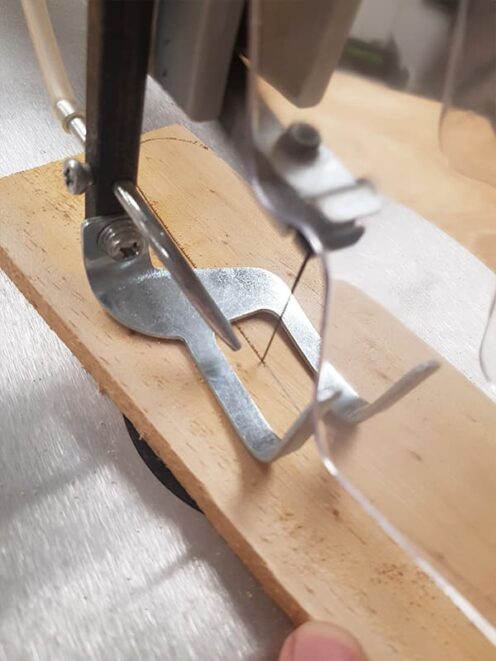
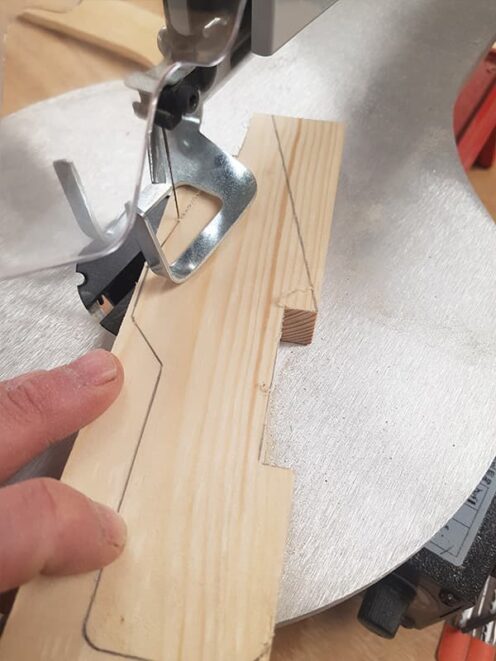
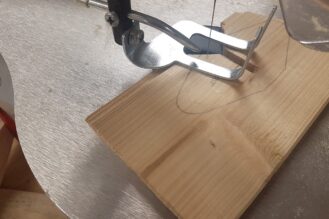
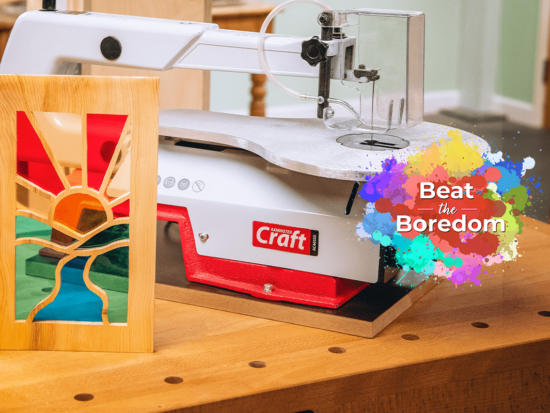
If you are using a scroll saw, we recommend cutting out the wings as this is the simpler shape in the thinner material. Next, slowly and carefully cut out the fuselage.
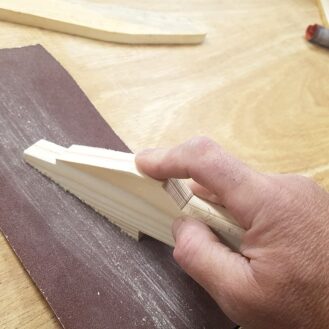
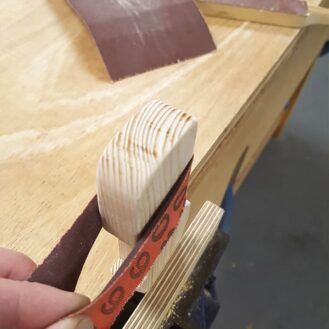
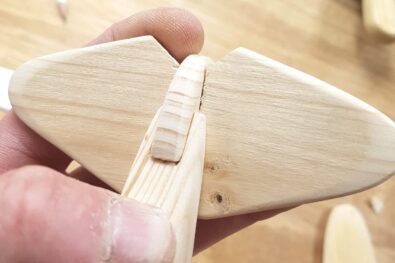
Once cut out, use a 120g abrasive paper to round over all edges. Make sure that the wings will fit into the recess on the underside of the fuselage.
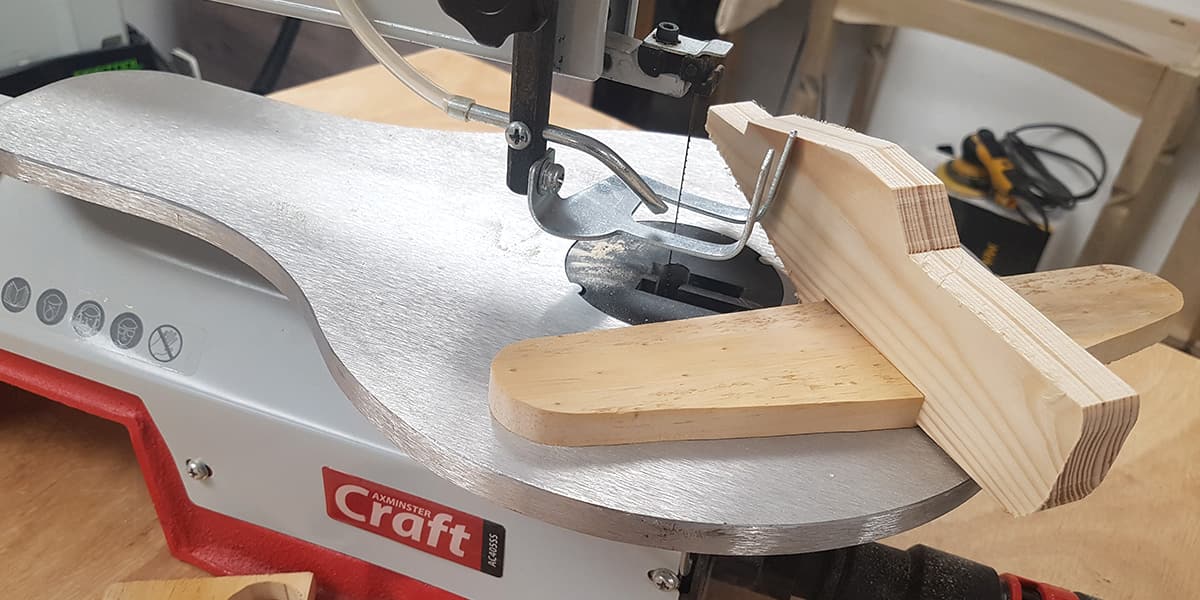 Likewise, remove all of the sawing marks. Here, you may want to sand the edges of the wings a little more to make them look more aerodynamic.
Part 3 - Mark out and cut the tail & rudder
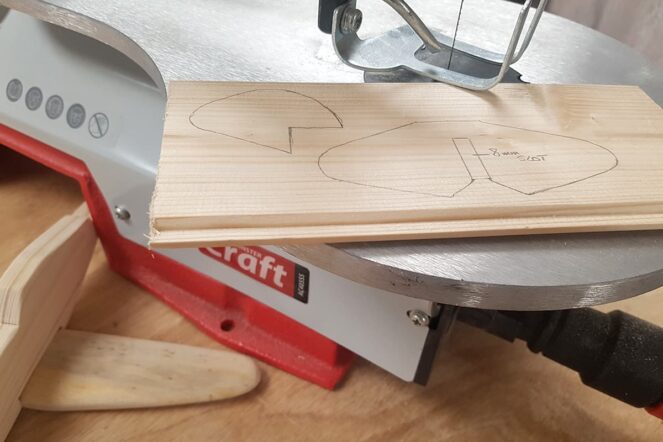
Ideally this part is made from thinner timber; 6 - 8mm thick. In our example, we had some off cuts of 8mm pine paneling which we felt would be perfect for this job.
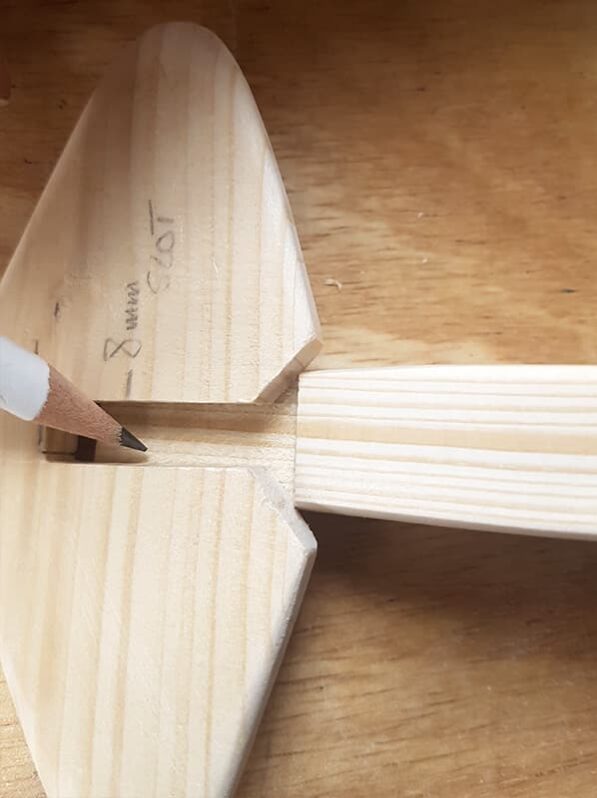
For the tail to receive the rudder, an 8mm slot was cut into it.
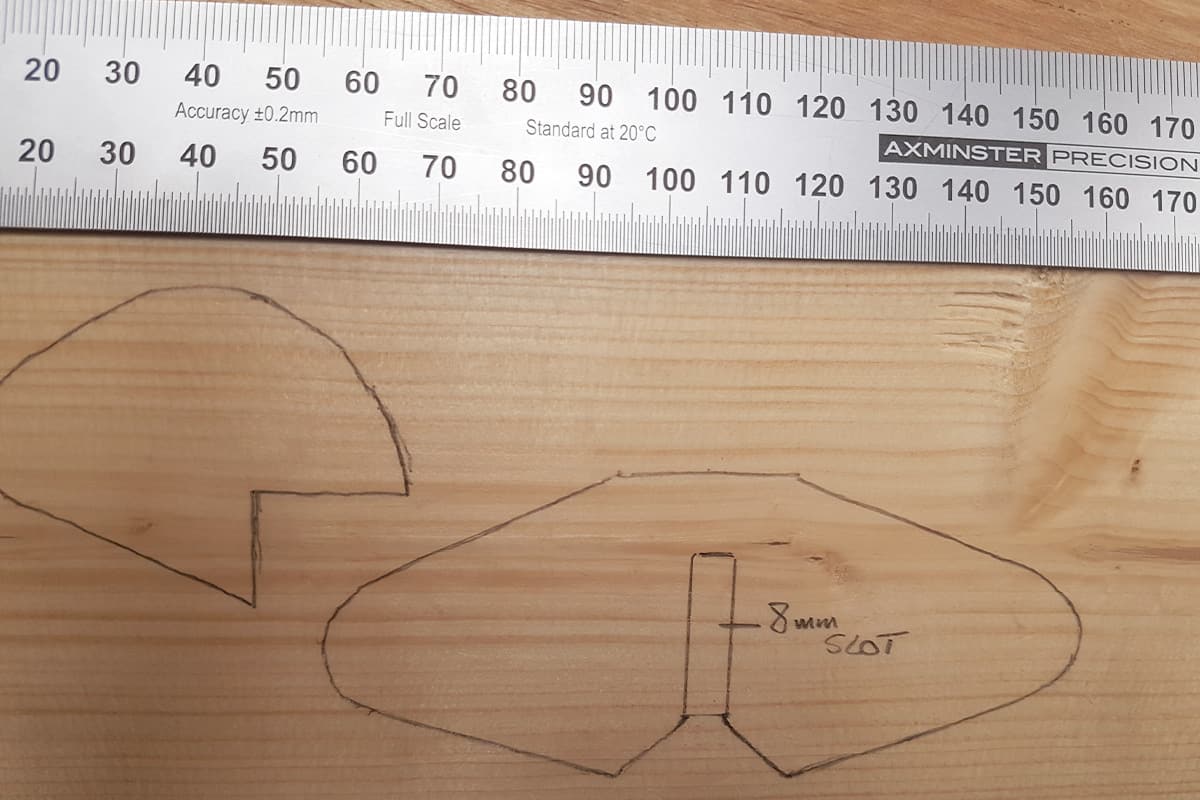
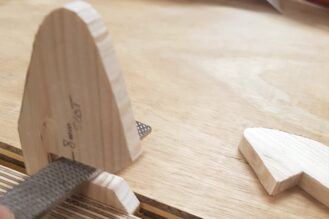
Carefully cut out the tail and rudder shapes on the scroll saw, paying extra attention to the 8mm slot. It is best to cut just waste side of the slot and then use a fine wood rasp to fine tune the slot to size.
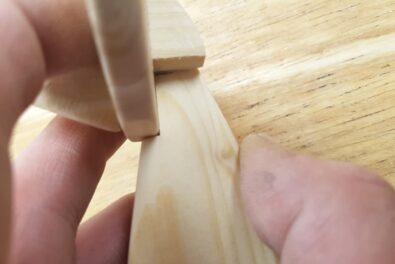
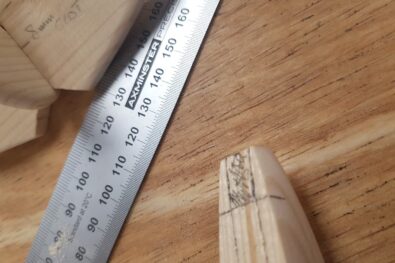
It's then just one final cut to make; an 8mm slot cut into the tail end of the fuselage to receive the rudder. You can use the 8mm tail slot to help mark this out.
Part 4 - Sand up, finish and glue
Lastly, complete a final sand of all components. Here, make sure all saw and pencil marks are removed. Also, ensure that everything slots together. Once you're happy, apply the colour and finish to the project.
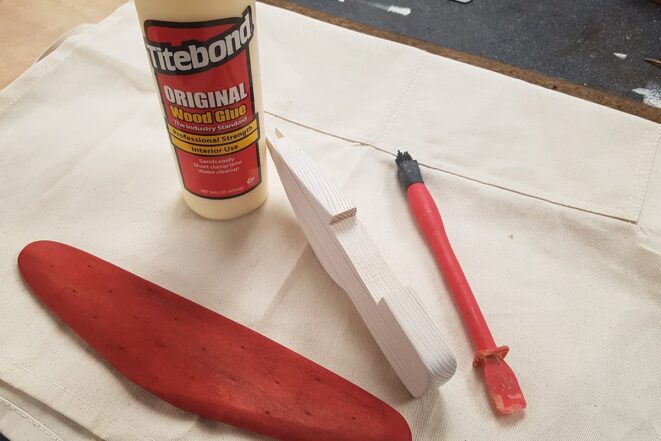
For this project, we opted for a different colour wing to the fuselage to mix things up a little. We chose white and red and applied the colour before the final glue up.
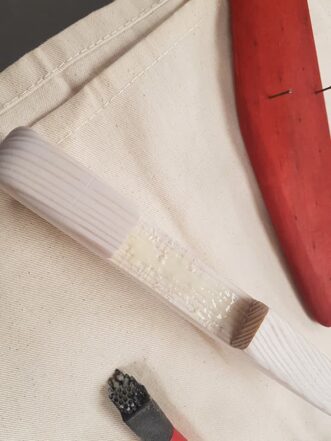
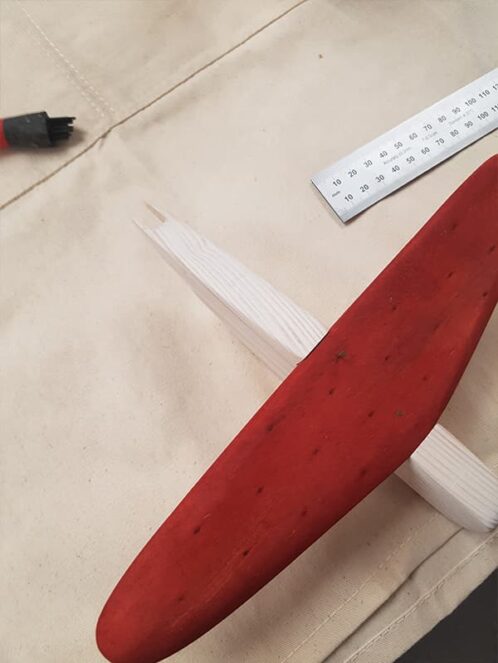
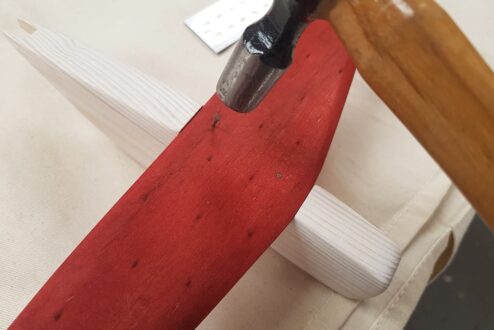
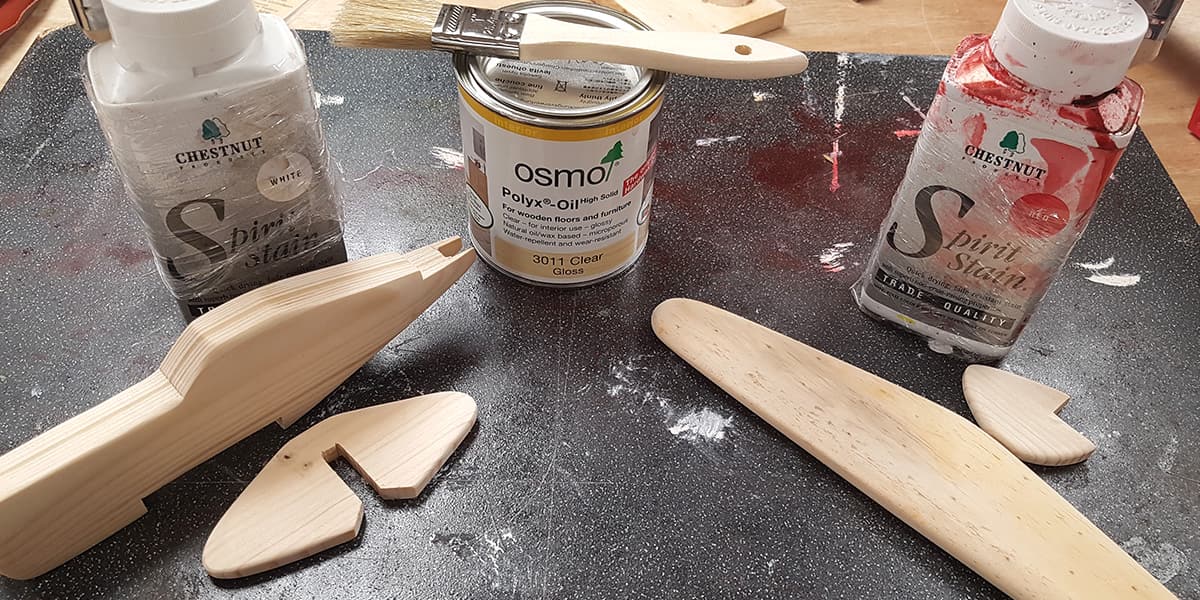 Once dry, use a PVA wood glue and a couple of small panels pins to carefully assemble the components.
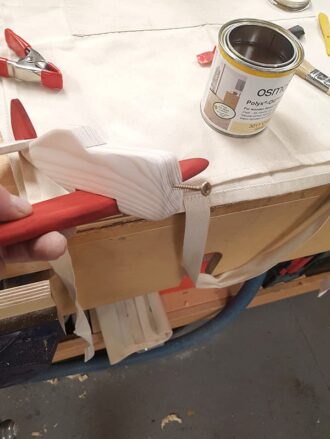
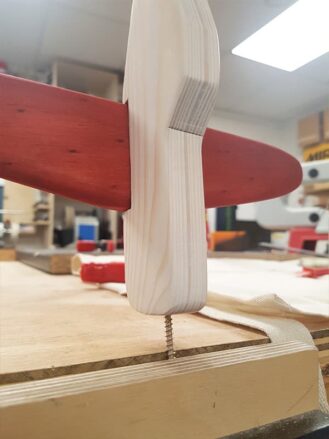
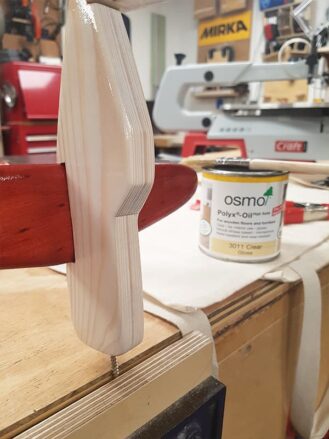
After 30 minutes of drying time, add a final coat of durable toy safe oil. Here, use the hole drilled to take the propellor to help hold the wooden aeroplane in the vice while you apply the finish.
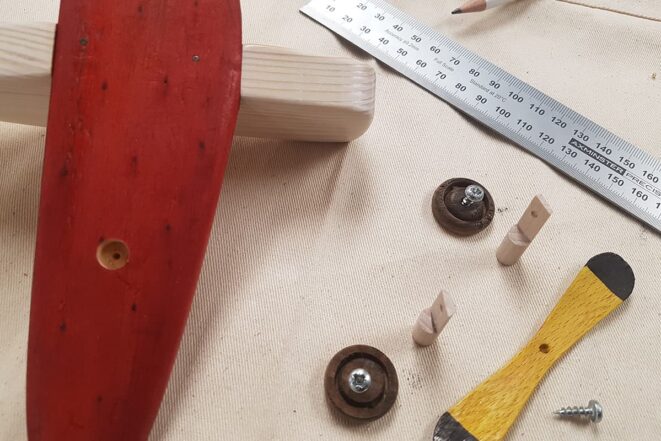
You now have just one final component to fit; the propellor. Drill a small 3mm hole in the centre then use a short domed head screw to fix it in place. Allow movement to spin the propellor once in use.
If you wish, add in some wheels. To do so, cut two small discs at approximately £1 coin size and fit them using some 8mm dowel.
Win a £25 Gift Card…
For a chance of winning at £25 Axminster Gift Card, simply show us what Beat The Boredom projects you’ve completed by uploading them to Instagram, Facebook or on to our Community Forum.
Snap It
Take a photo of your project.
Tag It
Use the #BeatTheBoredom hashtag and upload it to one of the following;
- Instagram or Twitter and tag @axminstertools
- Facebook and tag @axminstertools
- The Community Forum under the Beat The Boredom post
Win It
Send us your Beat The Boredom creations for a chance to win a £25 Axminster Gift Card- one to be won each month!
Discover more…
If you’ve enjoyed reading this article, keep an eye out for our next woodworking project for kids as part of our Beat The Boredom series. Watch this space for more details! Furthermore, why not take a look at all of our previous projects below?
Get connected!
If you’re searching for Beat the Boredom projects, you’ll find them on the Knowledge website. Alternatively, follow us on Instagram and Facebook to stay up to date on all the latest from our Beat the Boredom series. Connect with us using #BeatTheBoredom to @AxminsterTools.


