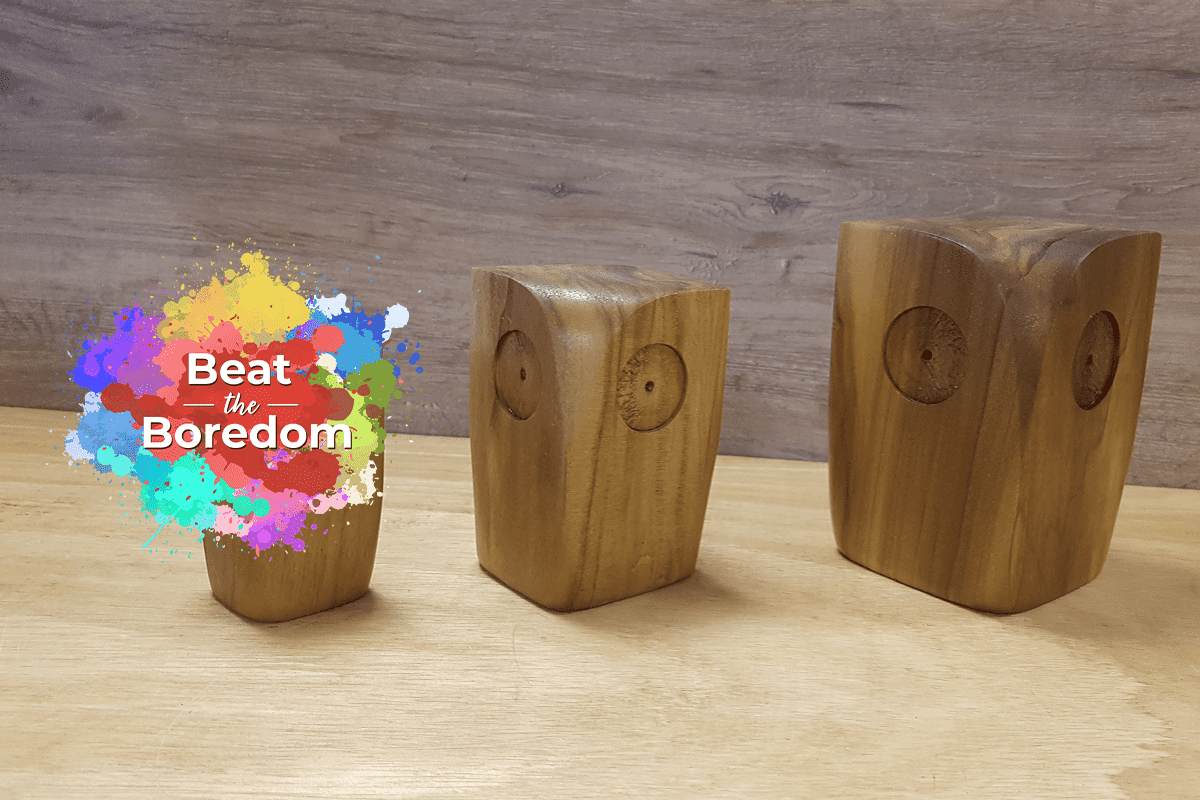
Wooden Block Owls Project
Did you know there are over 225 species of owl? Have a go at making these cute wooden block owls with your kids this weekend. Simple and fun to make, get your children involved in woodworking and spark their passion in getting creative!
Part 1 - Cut materials to size
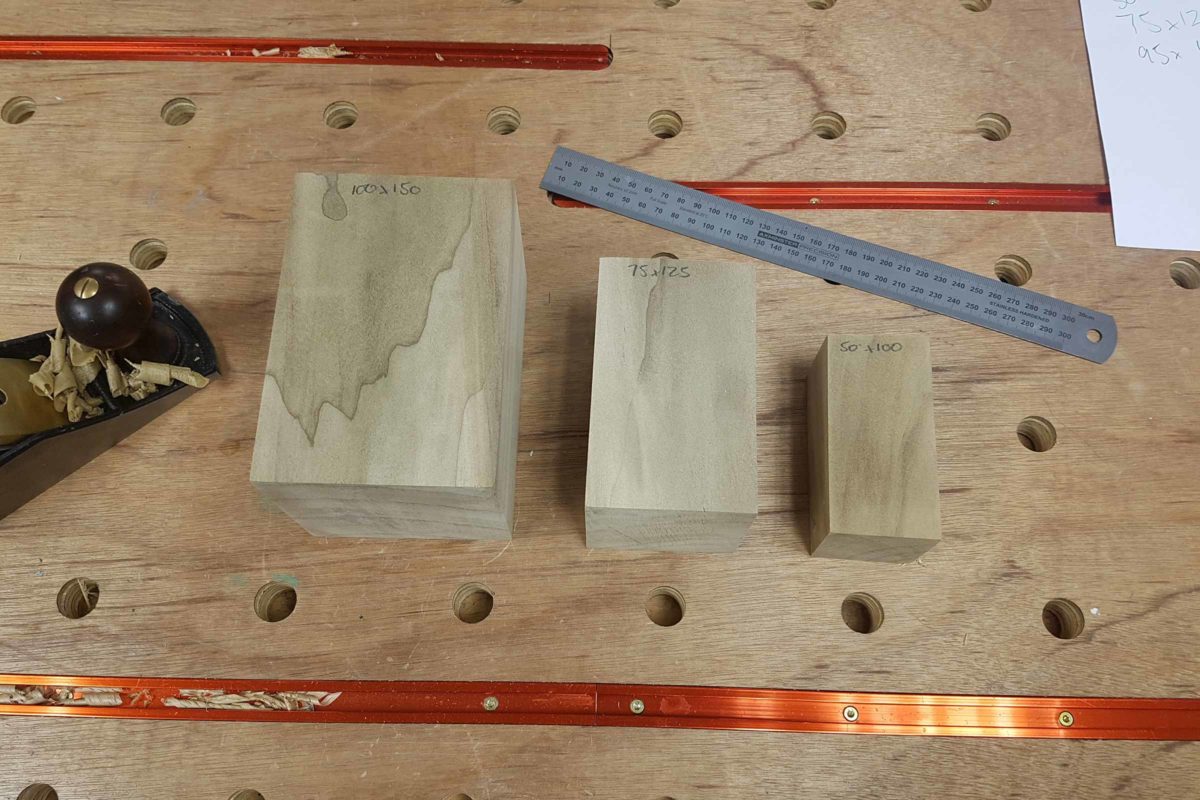
In our example, we choose to use a large off cut from a large board of Poplar. Our piece had some dark, nice looking grain pattern to it, however any fairly large dry chunk of timber would suit this project.
Measuring our piece of timber, we discovered we could create 100mm, 75mm and 50mm square blocks from it. This gave us three sizes, stepping down equally to produce three owls.
Next, use a bandsaw to cut the timber down to these three sizes. A wider blade at ½” 6TPI with steady slow feed is ideal for this task as it produces a straight cut with a reasonable finish.
Now, use a mitre fence to accurately cross cut the timber to length to finish at the sizes below.
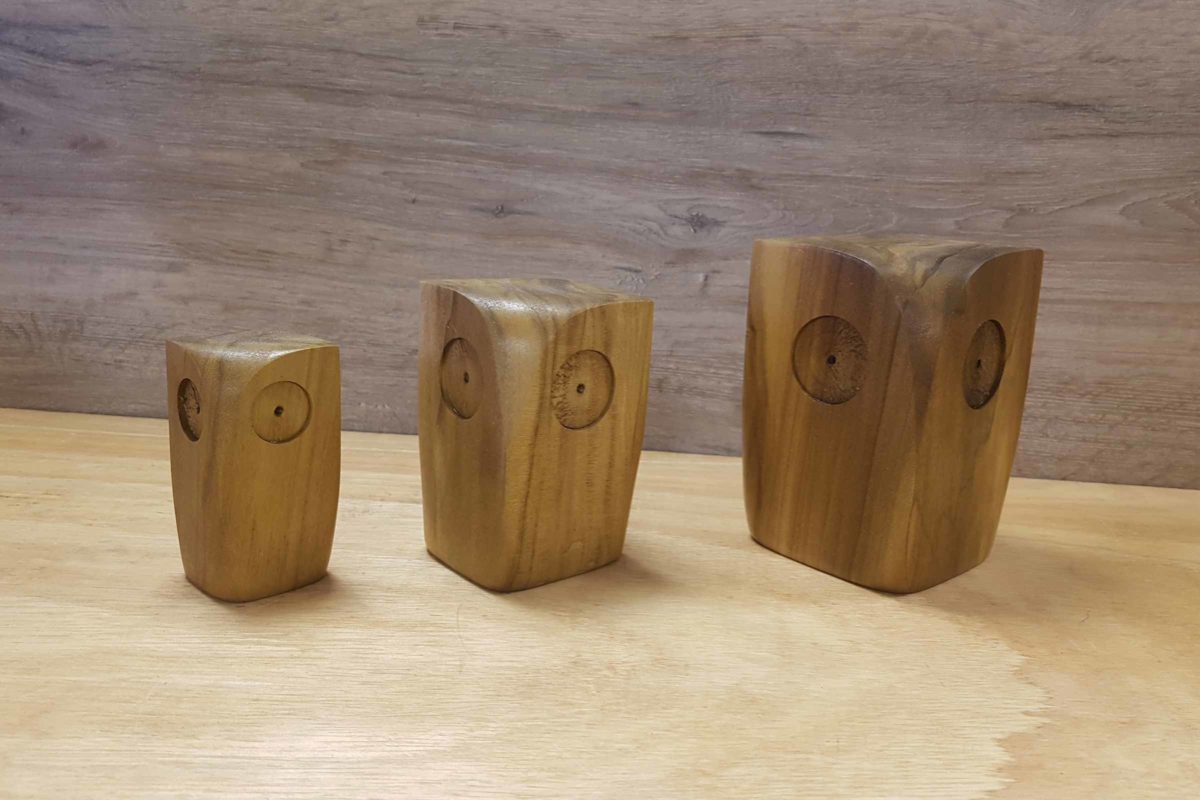
- 100mm x 100mm x 150mm long
- 75mm x 75mm x 125mm long
- 50mm x 50mm x 100mm long
Depending on the finish of the timber, you may need to plane or sand all faces of the timber to a smoother finish using 80g abrasive.
Part 2 - Mark and drill the eyes
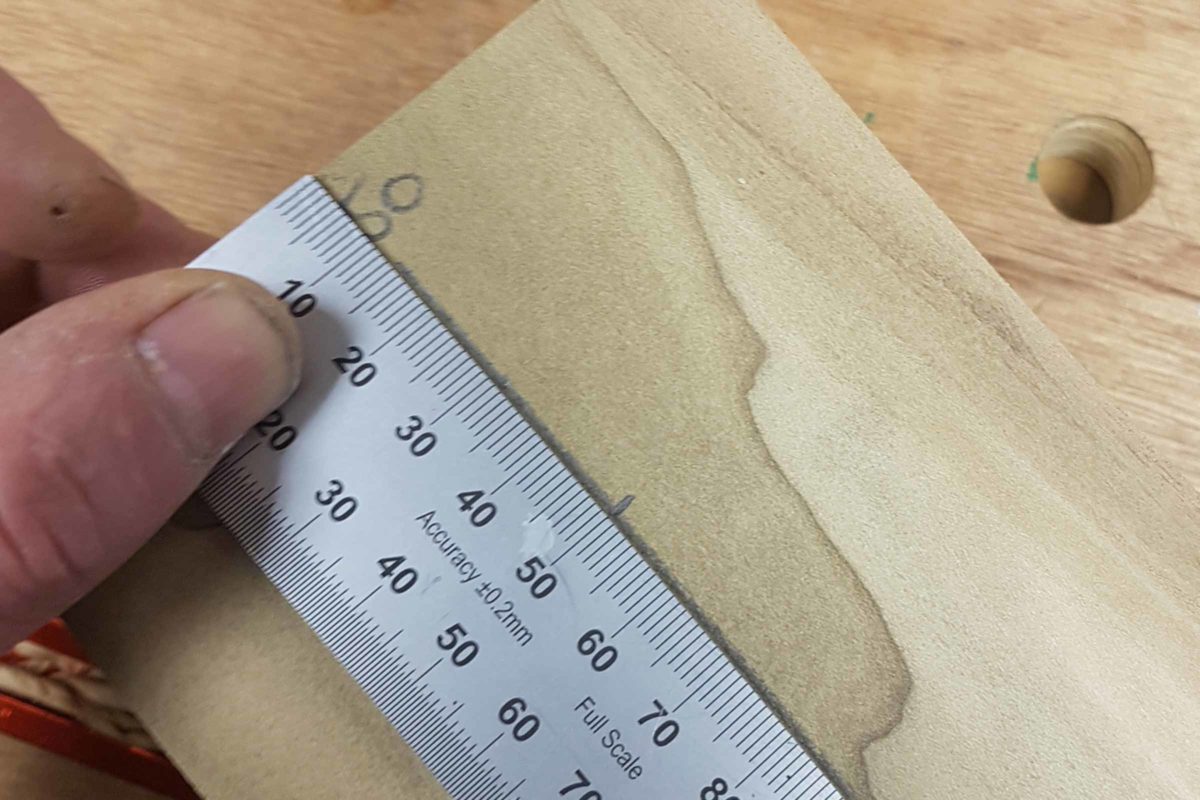
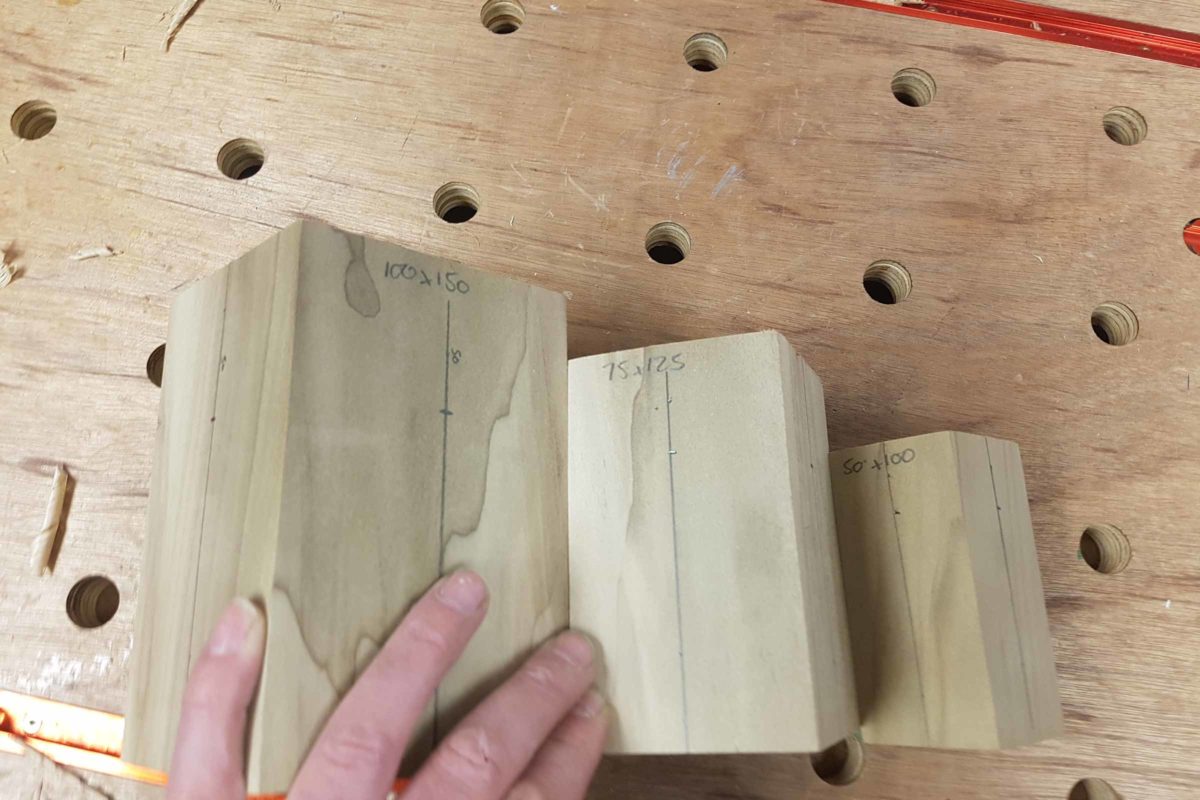
Next, choose the nicest looking sides of the timber; we suggest opting for the best grain pattern. Mark a centre line down the length of two adjoining faces.
Then mark off from what will be the top of timber, down the centre line at half of the timbers square measurement. For example, 100mm - mark off at 50mm. 75mm - mark off at 37mm and 50mm - mark off at 25mm. This will be the mark where the eyes are drilled.
To create the owl's large eyes, we used forstner bits which were perfect for this task. Forstner bits are clean cutting and they make it easy to control the depth. Here, we suggest that you try to choose sizes to match the mark made where the eyes are to be drilled. For example, use 50mm, 37mm and 25mm forstner bits to give a nice balanced look to your wooden block owl project.
Drill at your workbench with a cordless drill, or for more control carry out on a pillar drill.
Part 3 - Shape the head and body of the owl
Finally, with the project gripped securely in a vice or clamped to the bench, plane off the corner between the owl's eyes. This will form an equal V shape with the point level to end just beneath the bottom of the eyes.
Next, at the very bottom of each corner, do the same and remove the corner. Then smooth over all sharp corners. Here, we used a random orbit sander fitted with 80g abrasive; this made light work of the task and was easy to control.
To create a sharp beak on the owl, we left only one corner sharp- the area beneath the eyes.
To leave a smooth surface ready for finishing, do a final sand at 180g.
Lastly, apply a coat of finishing oil. Carry out a very light, fine hand sand before you apply a second coat of oil. This will complete your wooden block owl project!
Win a £25 Gift Card…
For a chance of winning at £25 Axminster Gift Card, simply show us what Beat the Boredom projects you’ve completed by uploading them to Instagram, Facebook or on to our Community Forum.
Snap It
Take a photo of your project.
Tag It
Use the #BeatTheBoredom hashtag and upload it to one of the following;
Win It
Send us your Beat the Boredom creations for a chance to win a £25 Axminster Gift Card- one to be won each month!
Discover more…
If you’ve enjoyed reading this article, keep an eye out for our next woodworking project for kids as part of our Beat The Boredom series. Watch this space for more details!
Also, for all Beat The Boredom projects so far, take a look here.
Stuck at home with the kids? Looking for something fun to do? We have the answer with our online Beat the Boredom Series. A great way to get the children involved in a variety of...
Get connected!
If you’re searching for Beat the Boredom projects, you’ll find them on the Knowledge website. Alternatively, follow us on Instagram and Facebook to stay up to date on all the latest from our Beat the Boredom series. Connect with us using #BeatTheBoredom to @AxminsterTools.