How To Woodturn A Lazy Susan
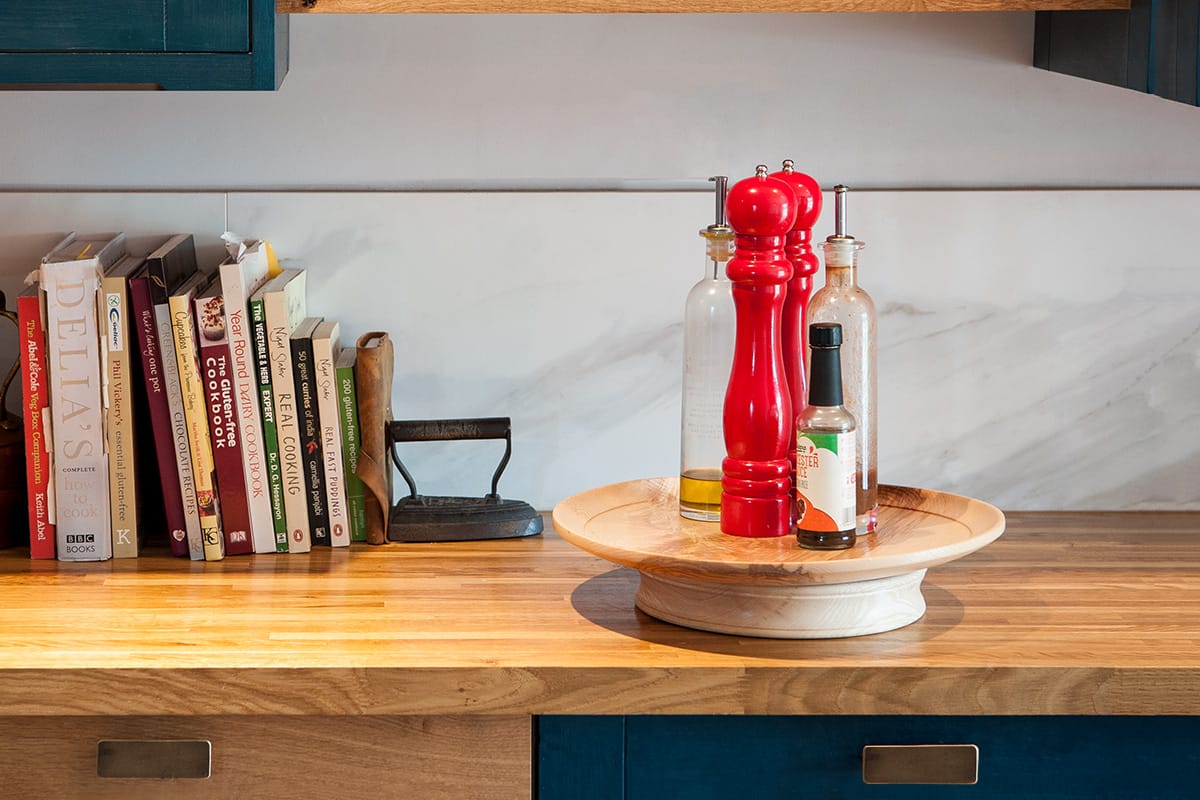
Making a lazy Susan is not only useful but also a rewarding project. They have many uses from food platters, kitchen cabinets, to turntables for modellers or cake decorating, they’re beyond useful for any home organisation.
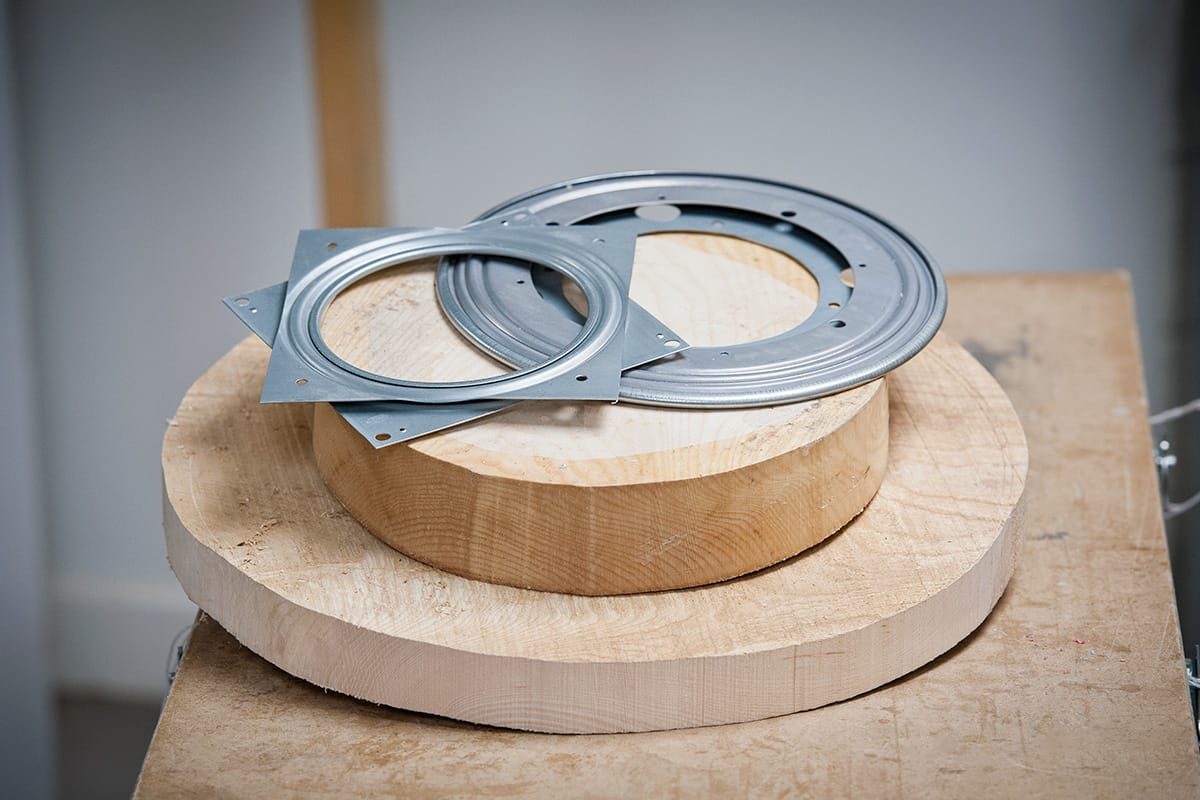
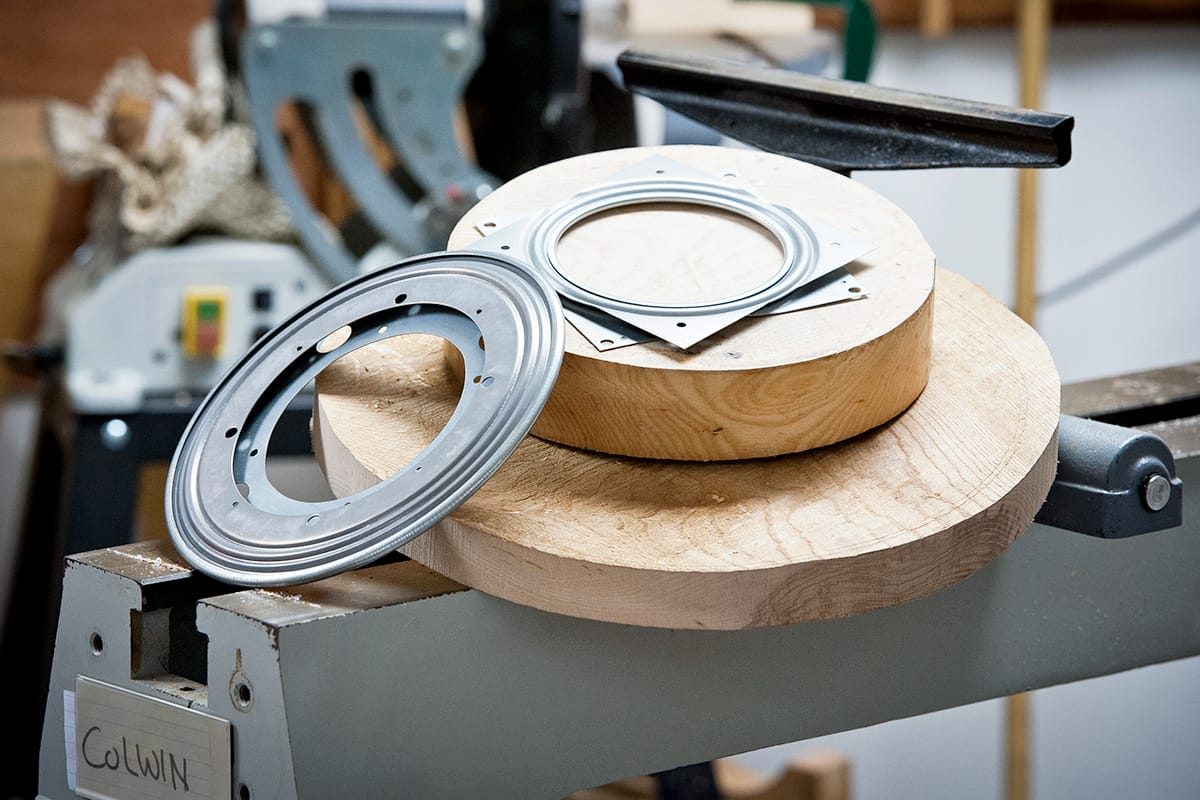
What you'll need
Woodturning your Lazy Susan
Step 1
Select two separate wood blanks a suitable size to your chosen size of Lazy Susan bearings, roughly 20mm bigger than the bearing. The top section will need to be bigger than the base section.
Step 2
Starting with the Lazy Susan base section, screw in a faceplate to one side of the smaller wood blank and attach to the lathe.
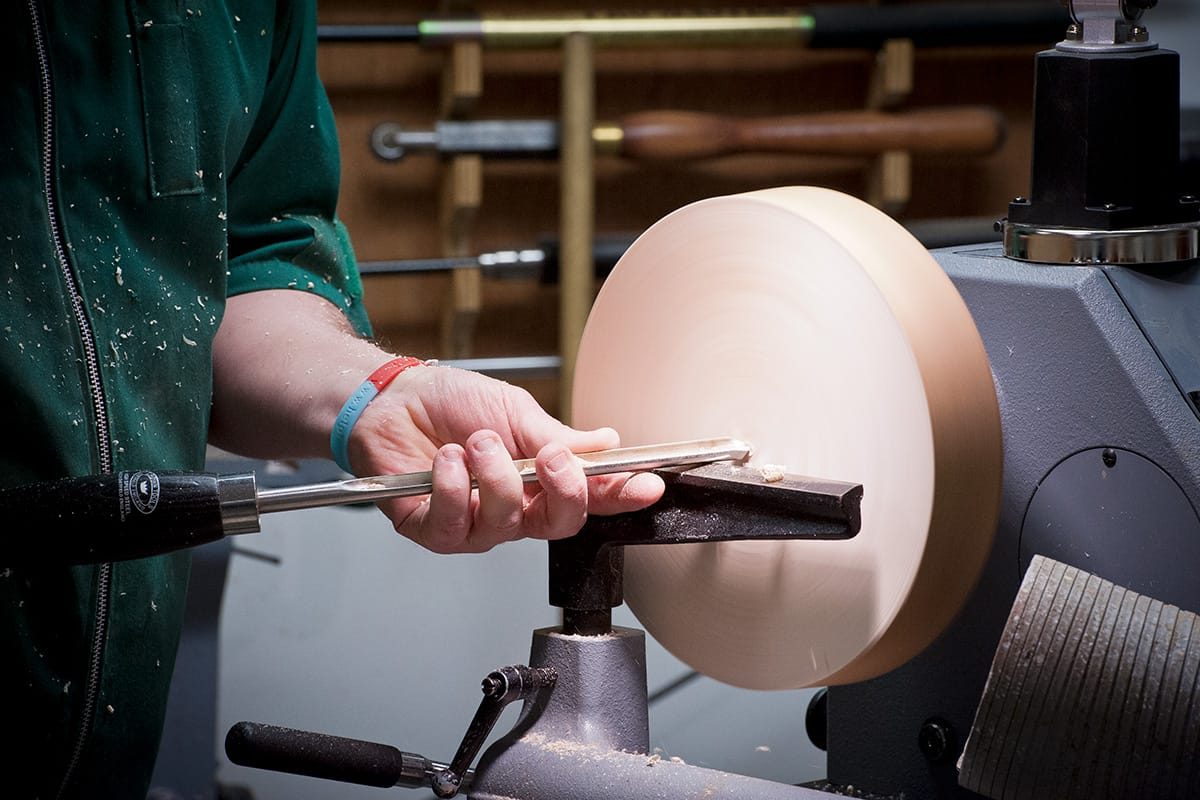
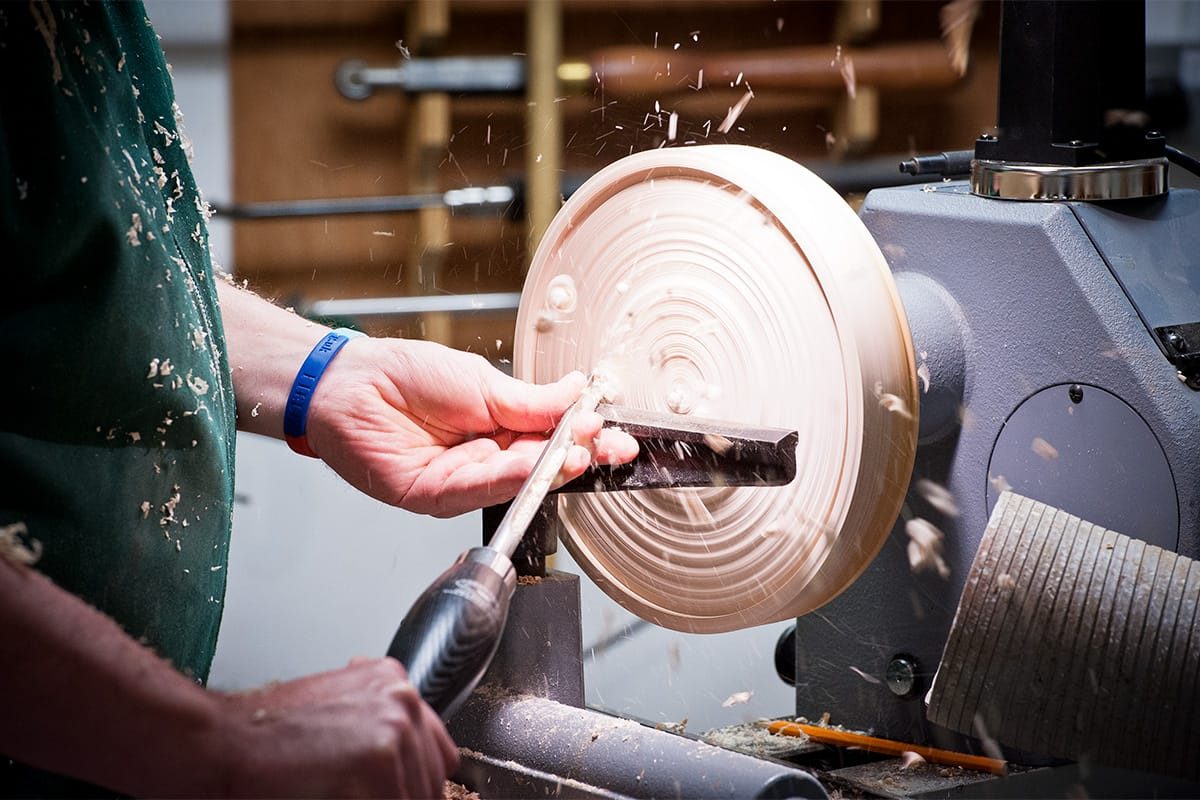
Step 3
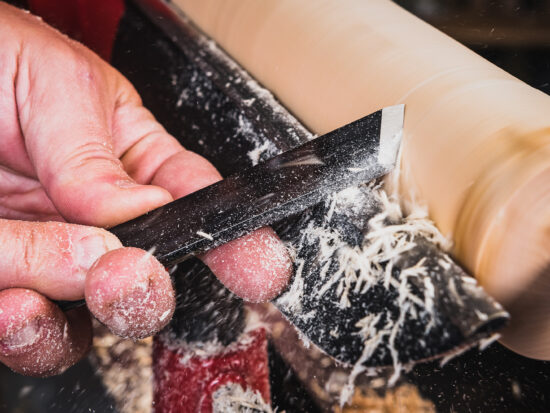
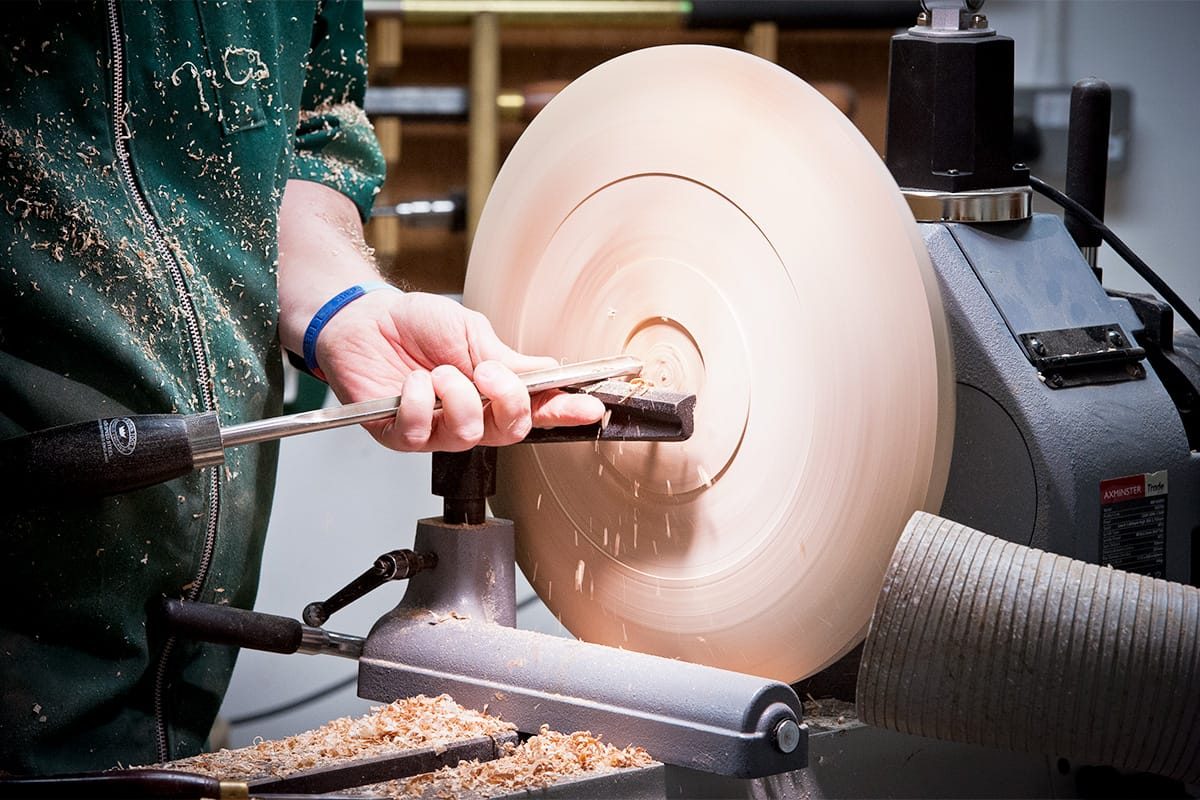
Rough out and turn the base to your desired size.
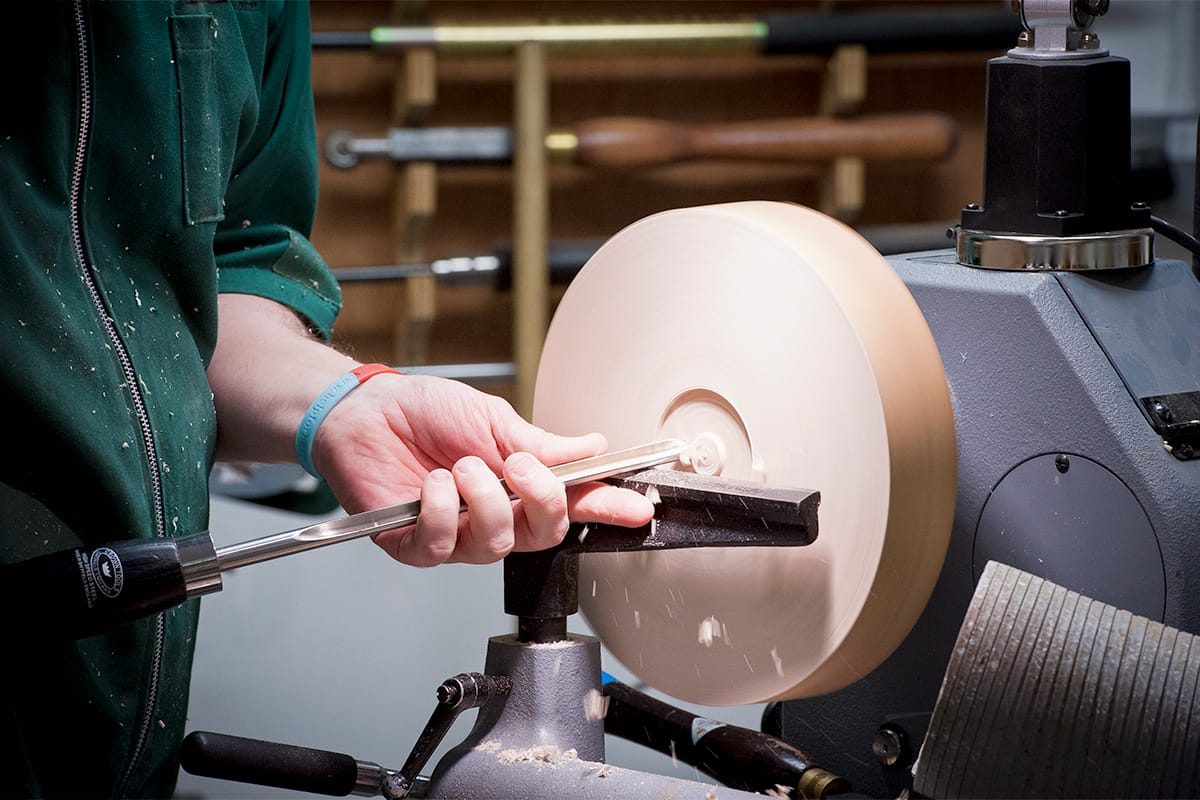
Step 4
Turn a recess into the base to accommodate the C jaws, roughly 3/4mm. This will be the foot of the Lazy Susan.
Step 5
Sand the base using abrasive grits 100/150/240/400, in this order.
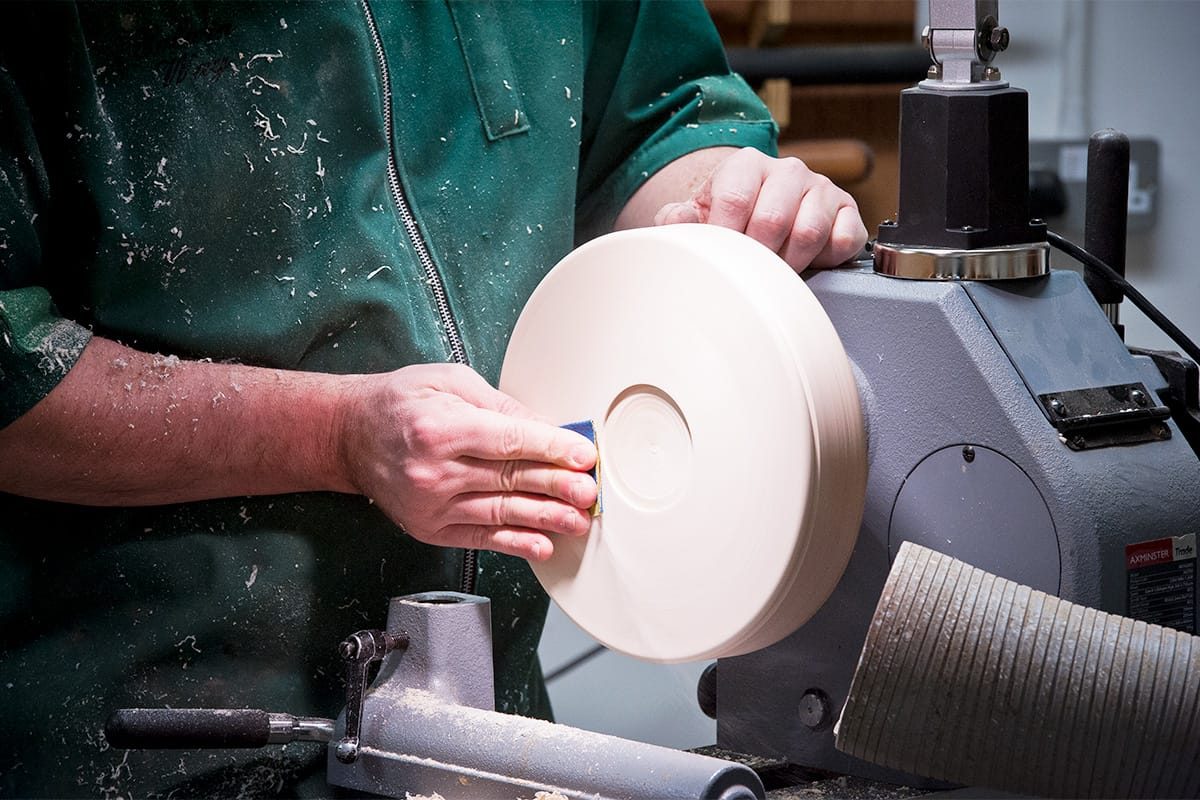
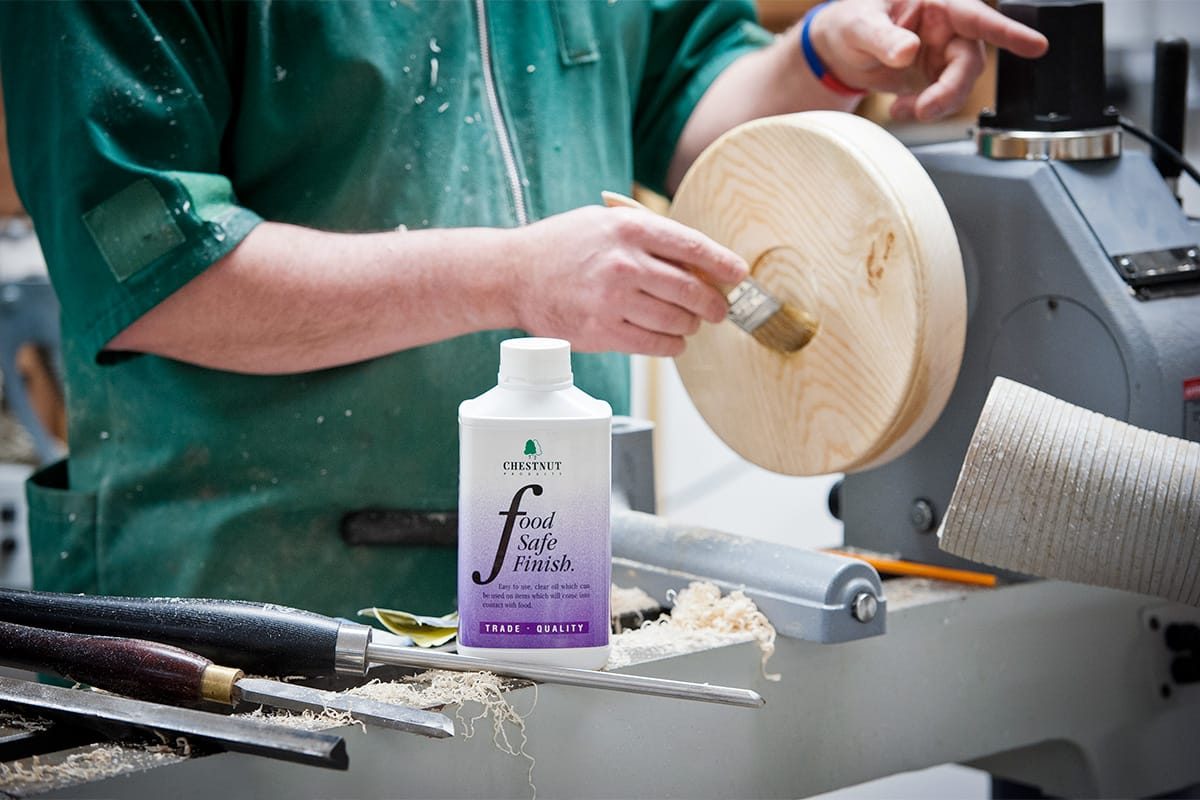
Step 6
Apply toy safe finishing oil.
Step 7
Remove from the lathe turn the base around, fitting the recess into the expanding C jaws.
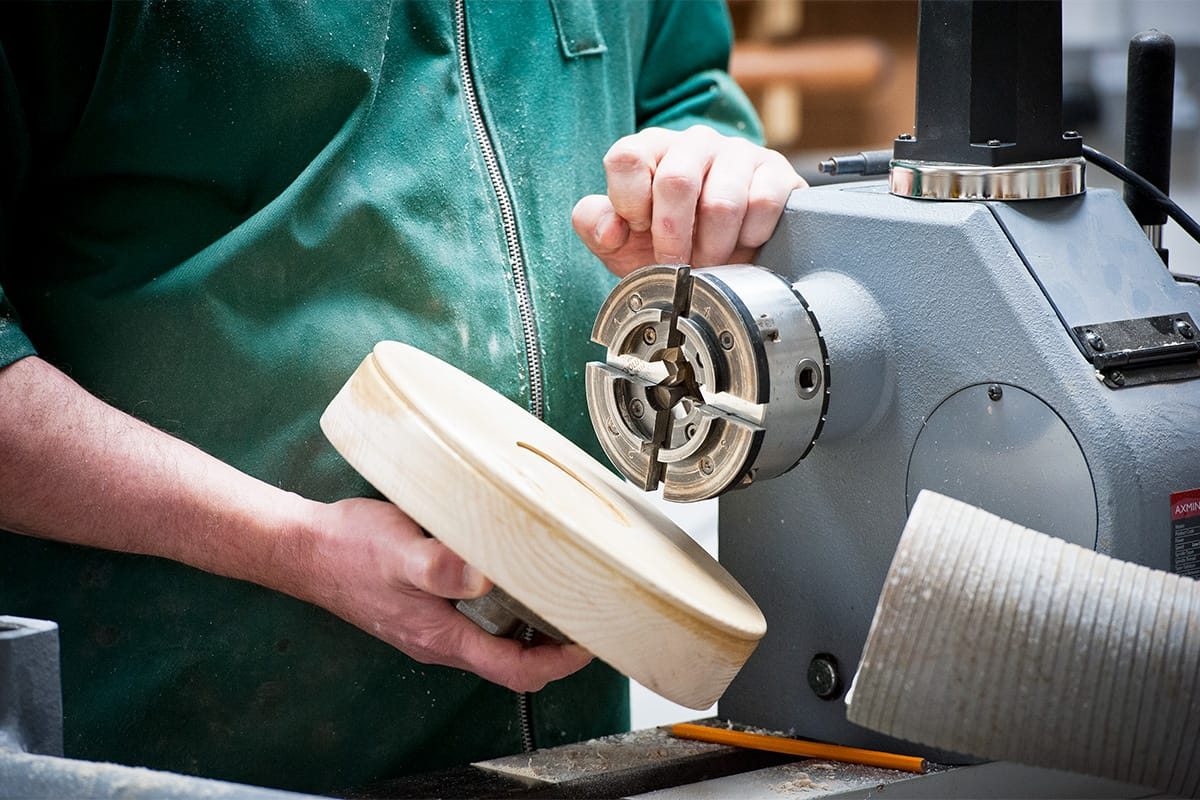
Step 8
Rough out and face up the upper side of the base.
Step 9
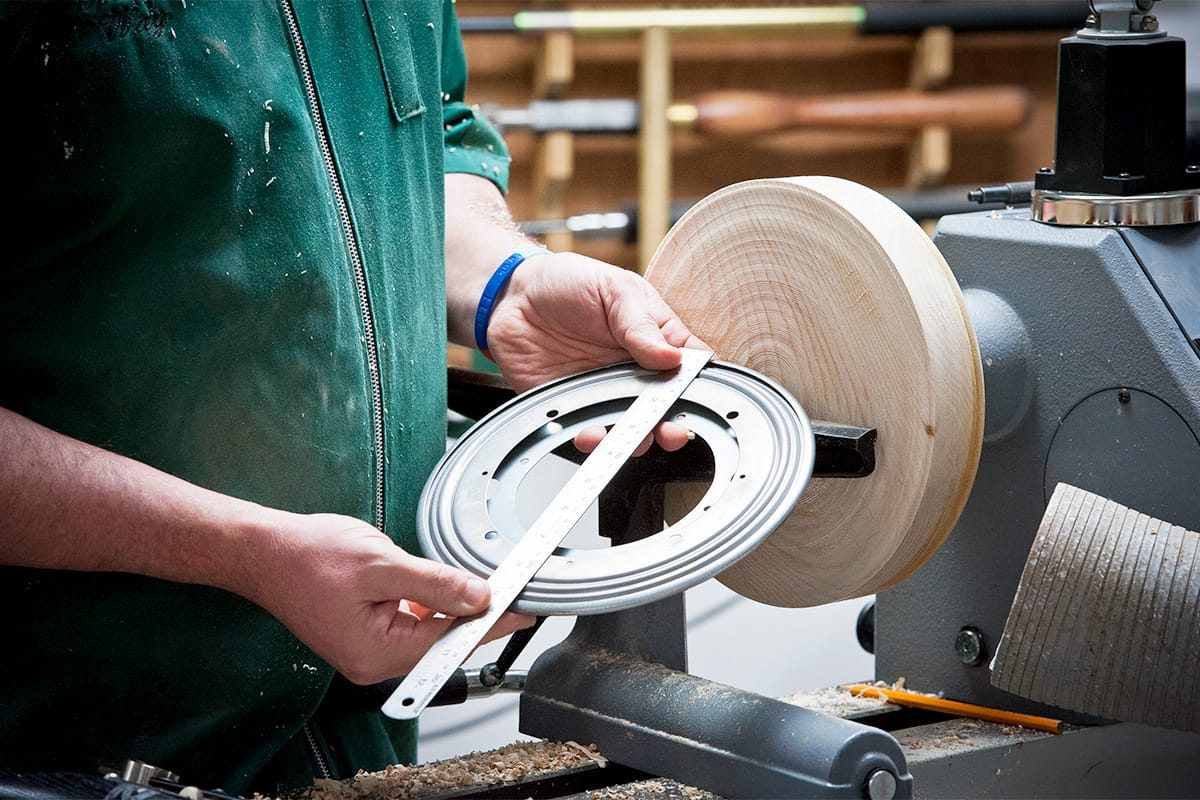
Measure the size of the Lazy Susan bearing, using dividers mark out from the middle of the wood and turn a recess 230mm diameter - 6mm deep to fit the bearing.
Step 10
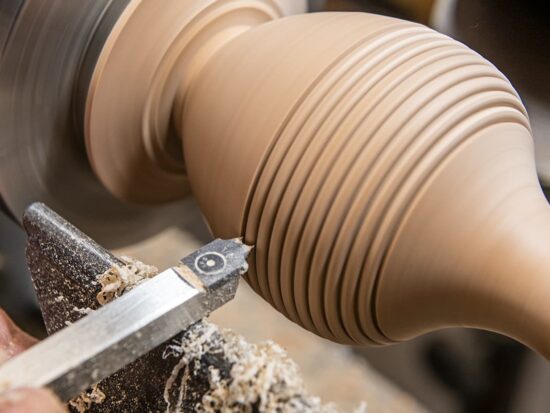
Shape the outside edge of the base, tidying up any edges and create a beaded cove.
Step 11
Sand working through abrasive grits 100/150/240/400, in this order.
Step 12
Apply toy safe finishing oil.
Step 13
Remove from the lathe and set aside the base.


Step 14
Screw a faceplate into what will be the Lazy Susan platter top, turning the underside of the top first.
Step 15
Rough out and turn the underside of the platter.


Step 16
Then measure and mark out to make a flat bigger than the base - 240mm.
Step 17
Turn a round recess collar; 140mm as a solid disc for the base to sit on but not so deep that the timber meets. Double check the top bearing fits in with the base section.
Step 18
Shape the sides with a radius.
Step 19
Mark out and turn a recess to accommodate the C jaws. Making sure not to take too much thickness away from the whole piece and compromise the top.
Step 20
Sand working through abrasive grits 100/150/240/400, in this order; you will only need to sand to the outer rim as you will not be able to see further once put together.
Step 21
Apply toy safe finishing oil.
Step 22
Remove from the lathe, turn over and attach the recess to the C jaws. Remove the faceplate from the upper side.
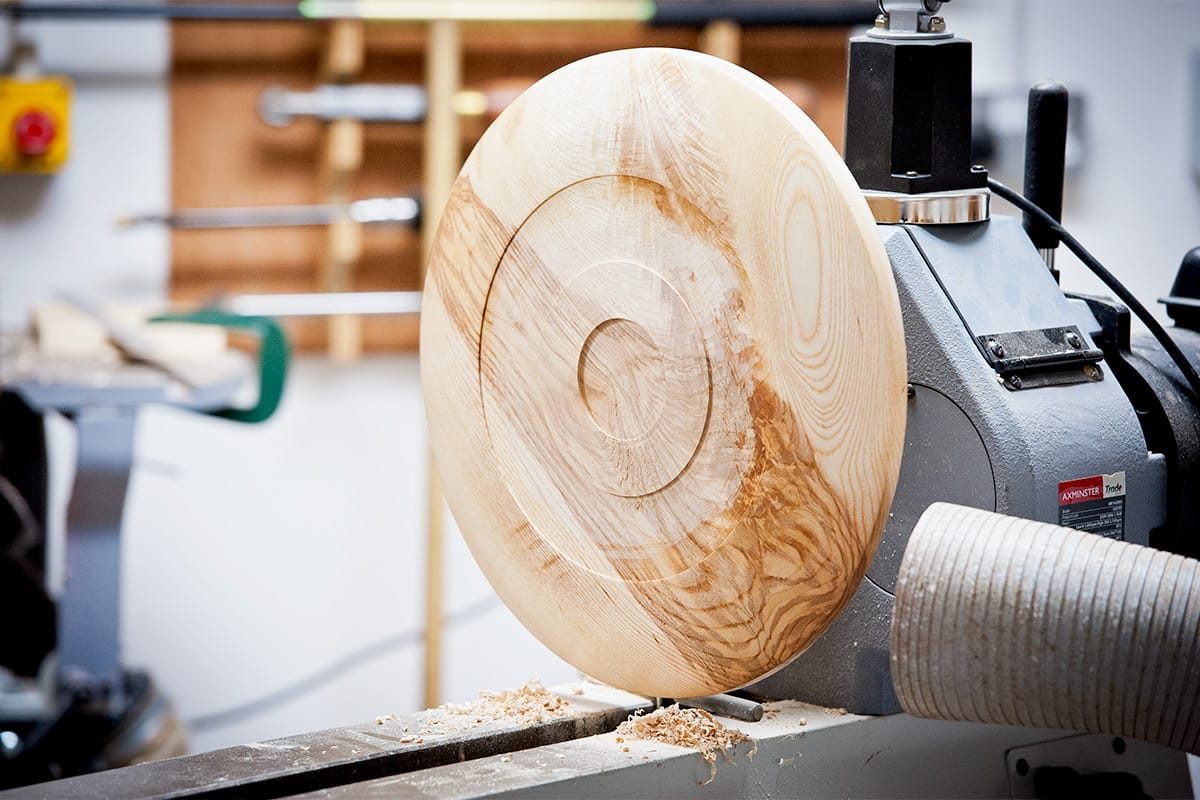
Step 23
Face off and clean up the surface of the lazy Susan platter top, add in a rim to the platter shape.
Step 24
Shape a flat face and get rid of the screw holes from the faceplate.

Step 25
Smooth out and check the platter is level with a ruler or straightedge.
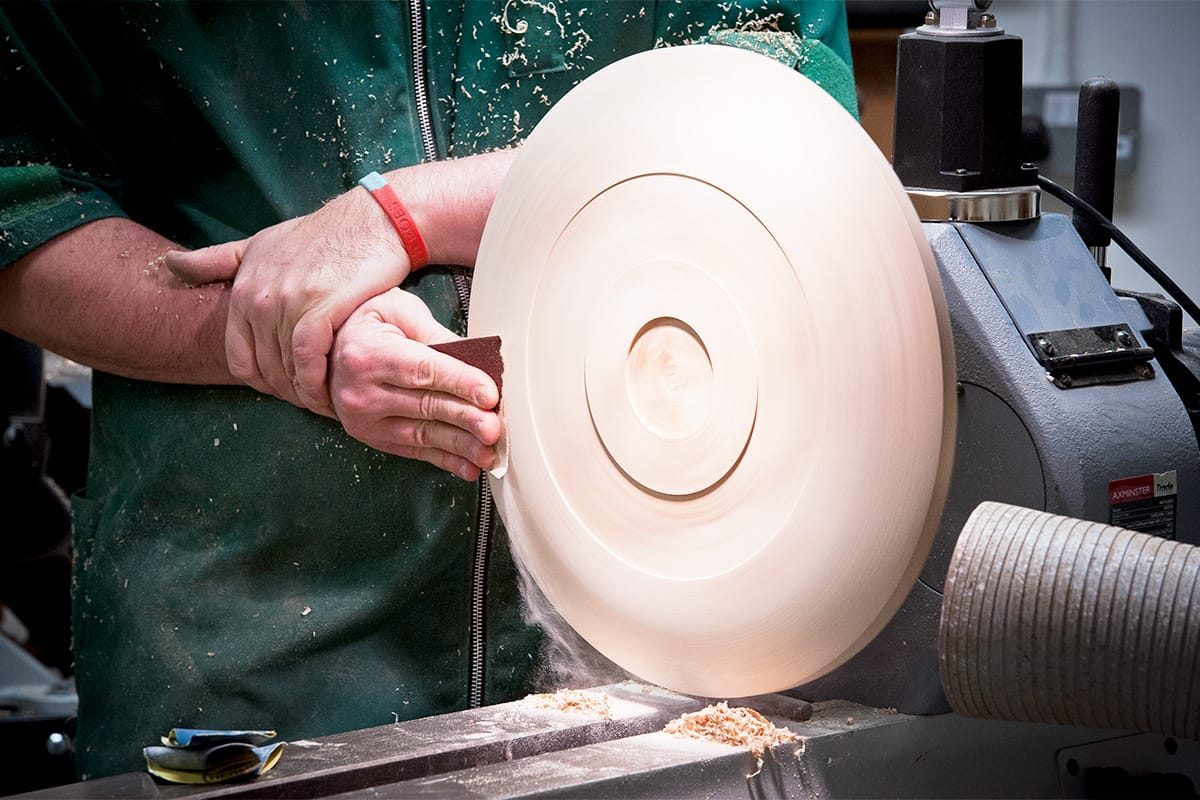
Step 26
Sand working through abrasive grits 100/150/240/400.
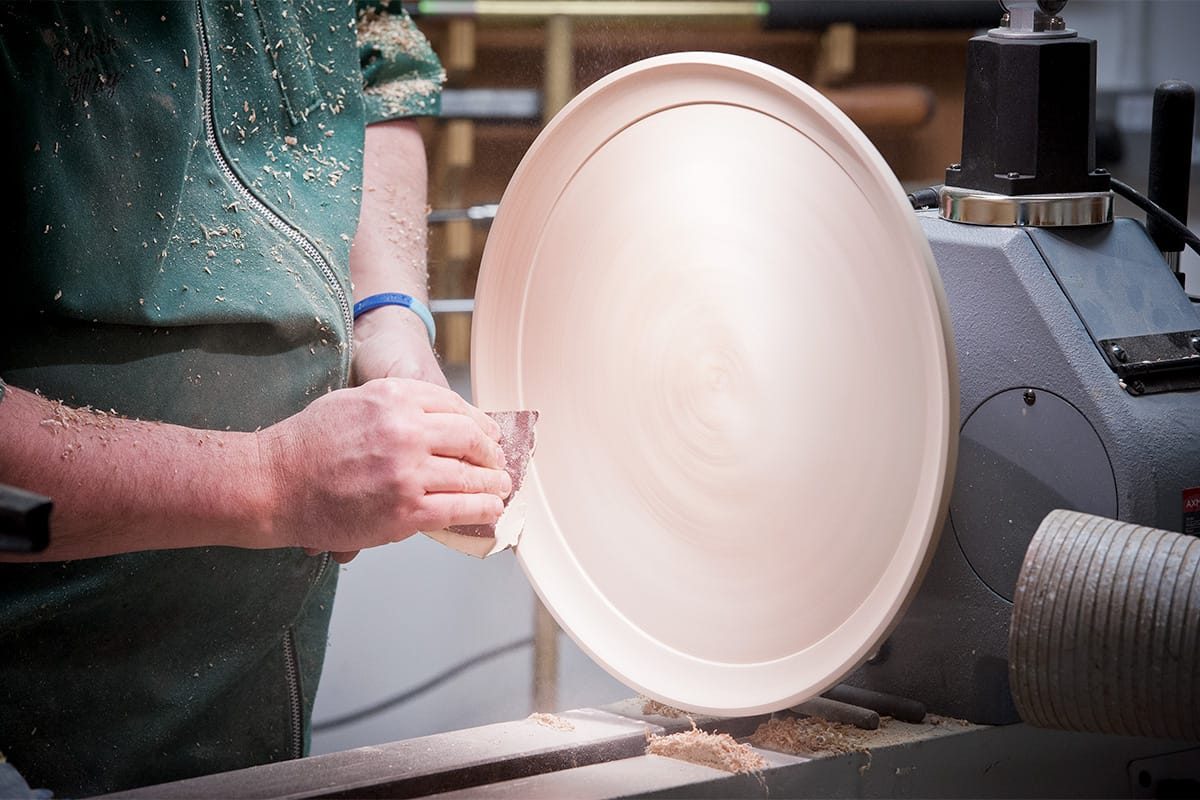
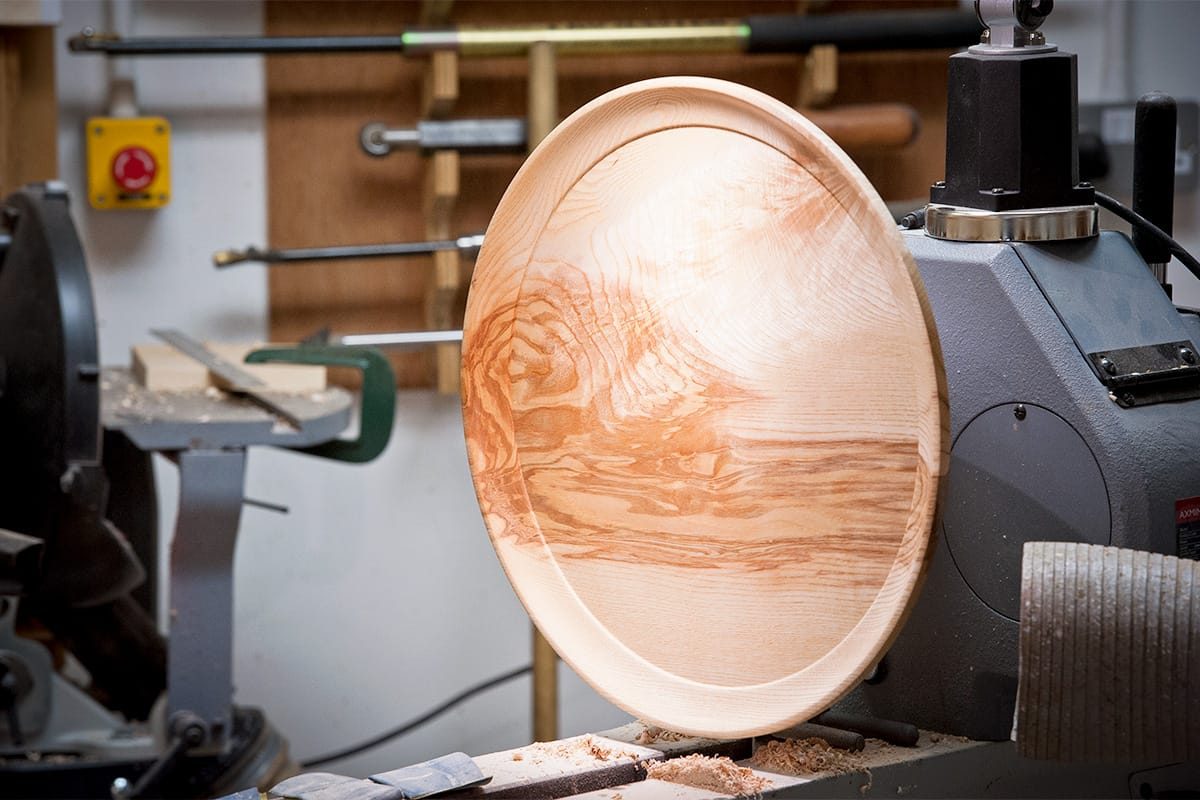
Step 27
Apply toy safe finishing oil and buff.
Lazy Susan bearing assembly
Step 1
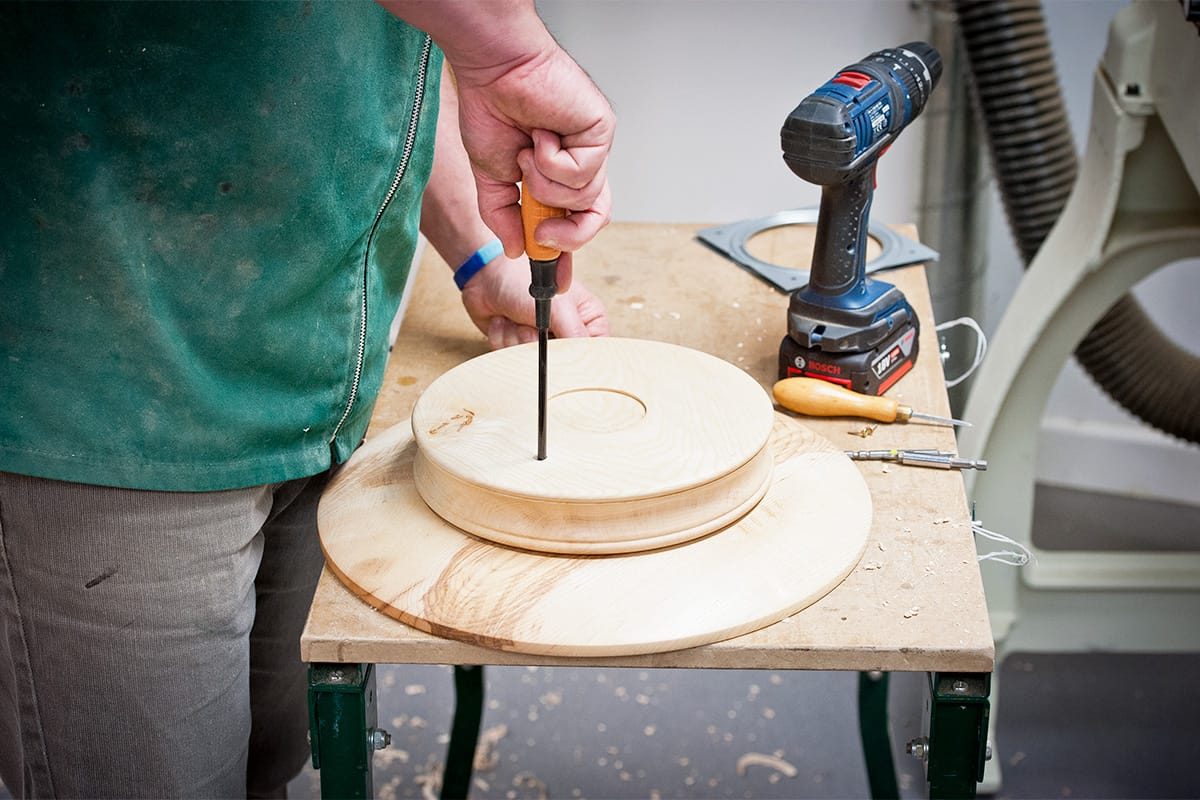
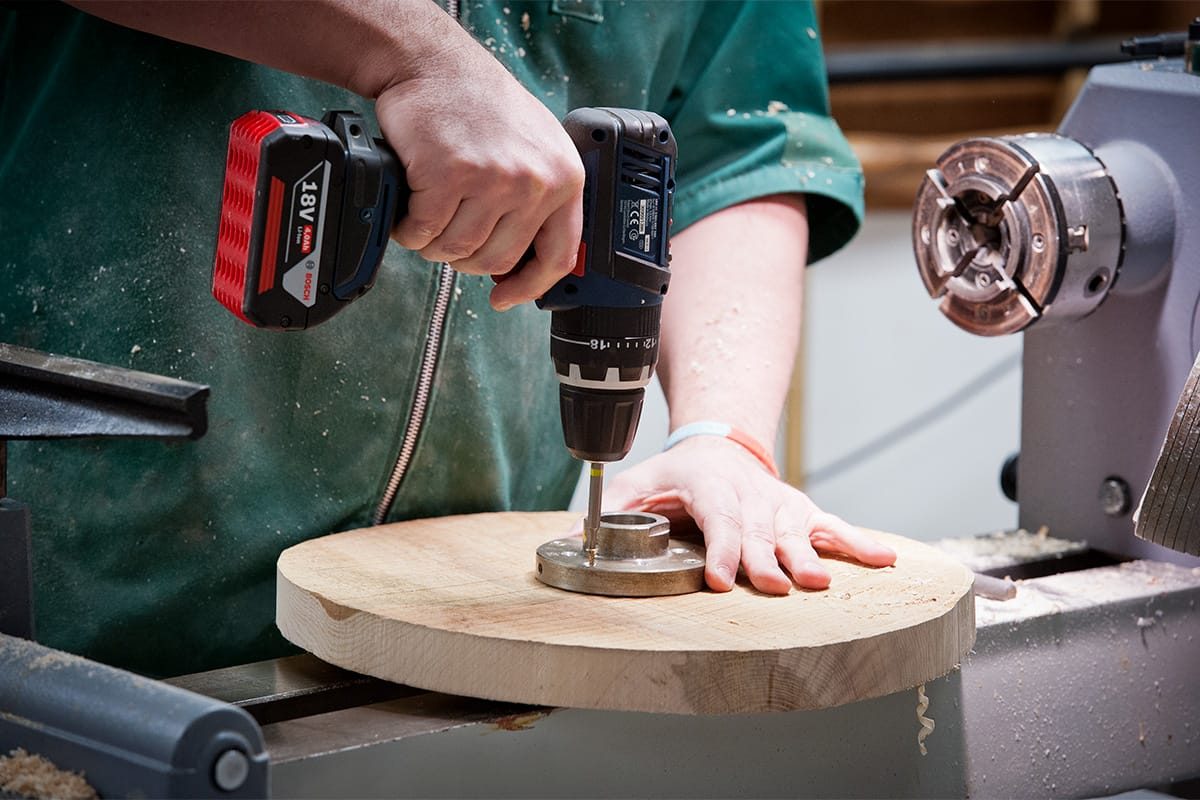
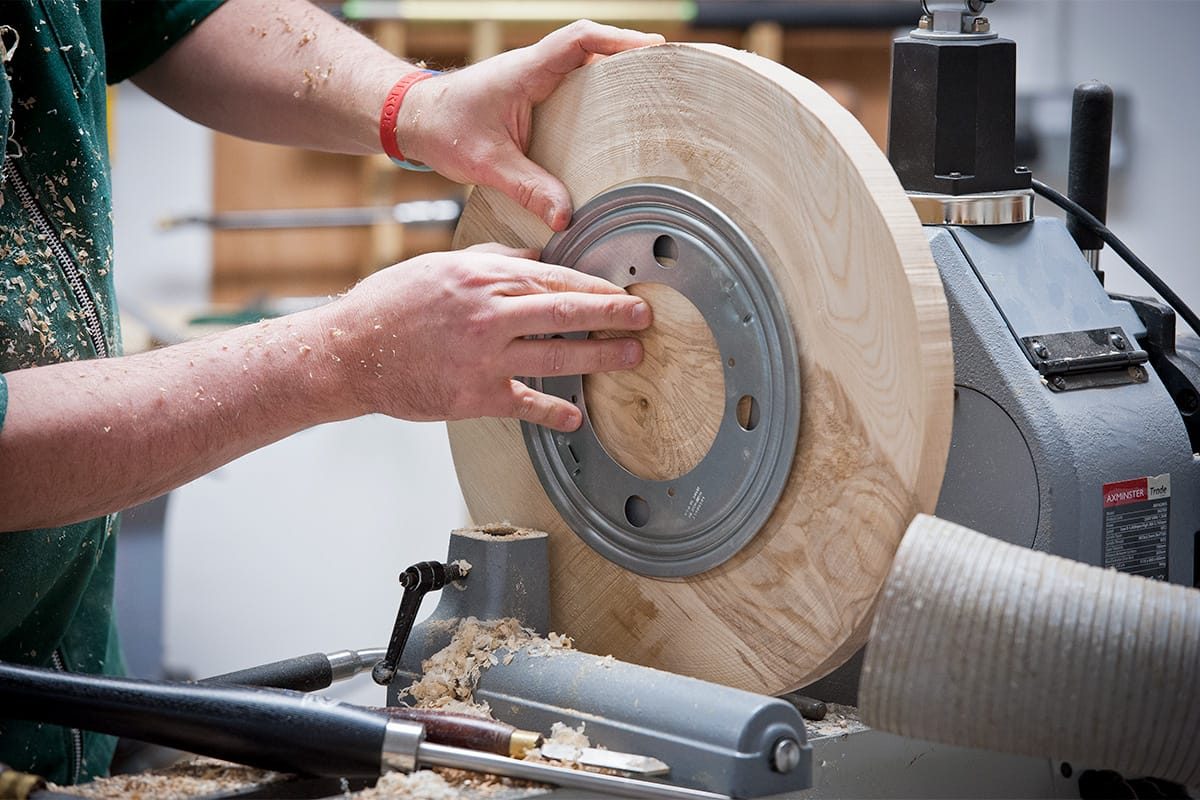
Place the Lazy Susan bearing on the bottom section of the platter, position the bearing where access aligns with a fixing hole. Drill one hole all the way through the base - this will be used as the access hole when attaching the top.

Step 2
Using small screws and the access hole, screw the bearing into the base section.


Step 3
Place the base onto the underside of the platter, using the access hole screw the bearing into the platter, rotate and screw the next hole until all 4 are secured.