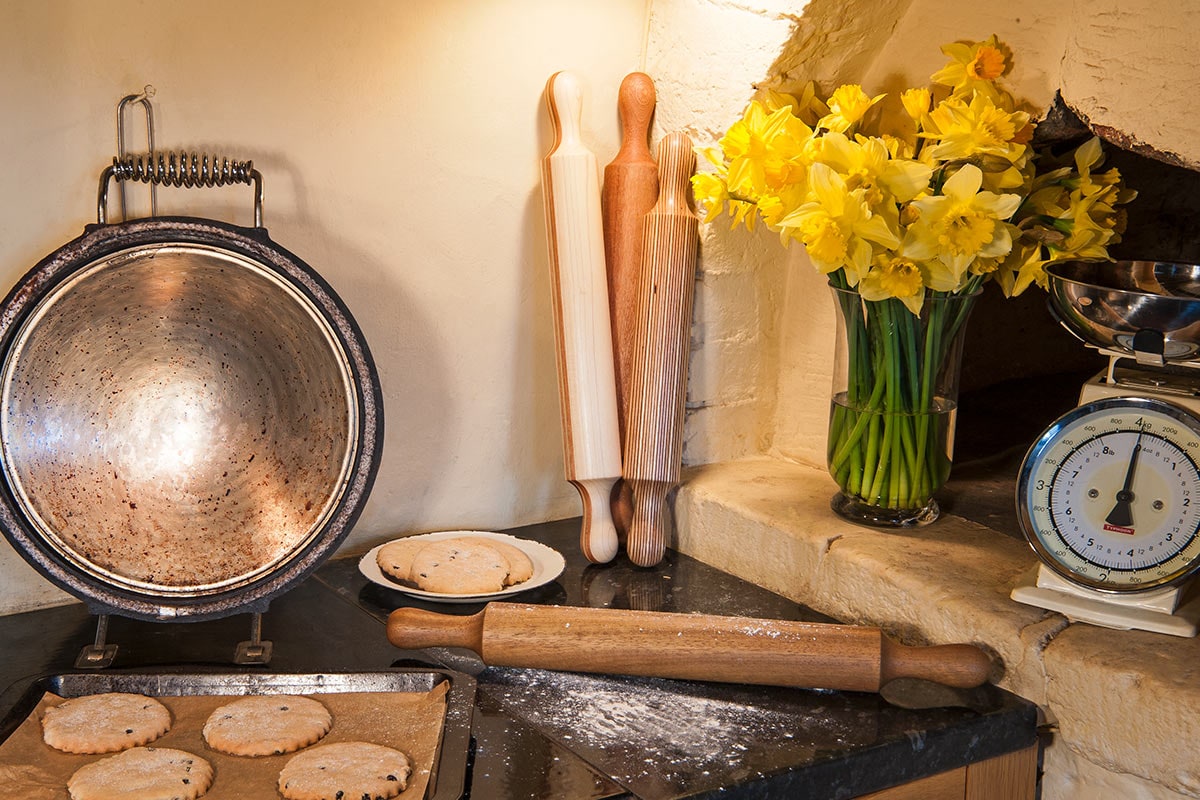
Making a rolling pin is a perfect woodturning project for those starting out in woodturning. Not only does it give you an opportunity to put the skew chisel into practise, you will create a beautiful, bespoke tool for your kitchen. Watch Colwin and follow our simple steps below to learn how to create an essential kitchen tool using your essential woodturning tools.
Step 1
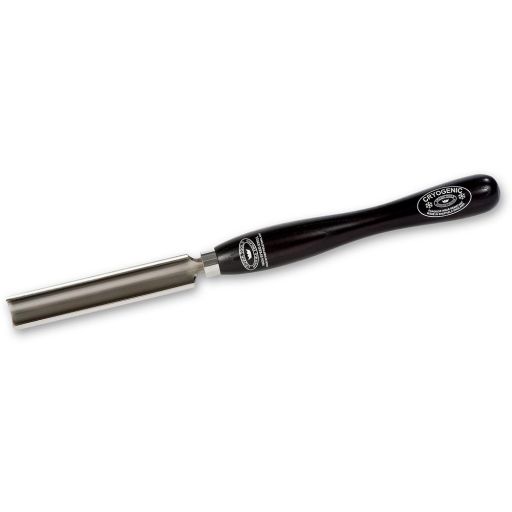
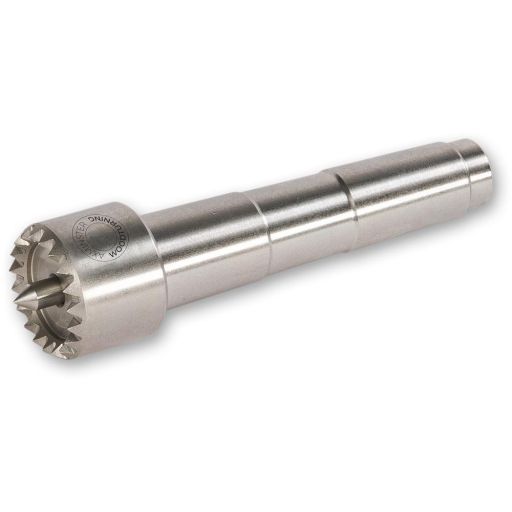
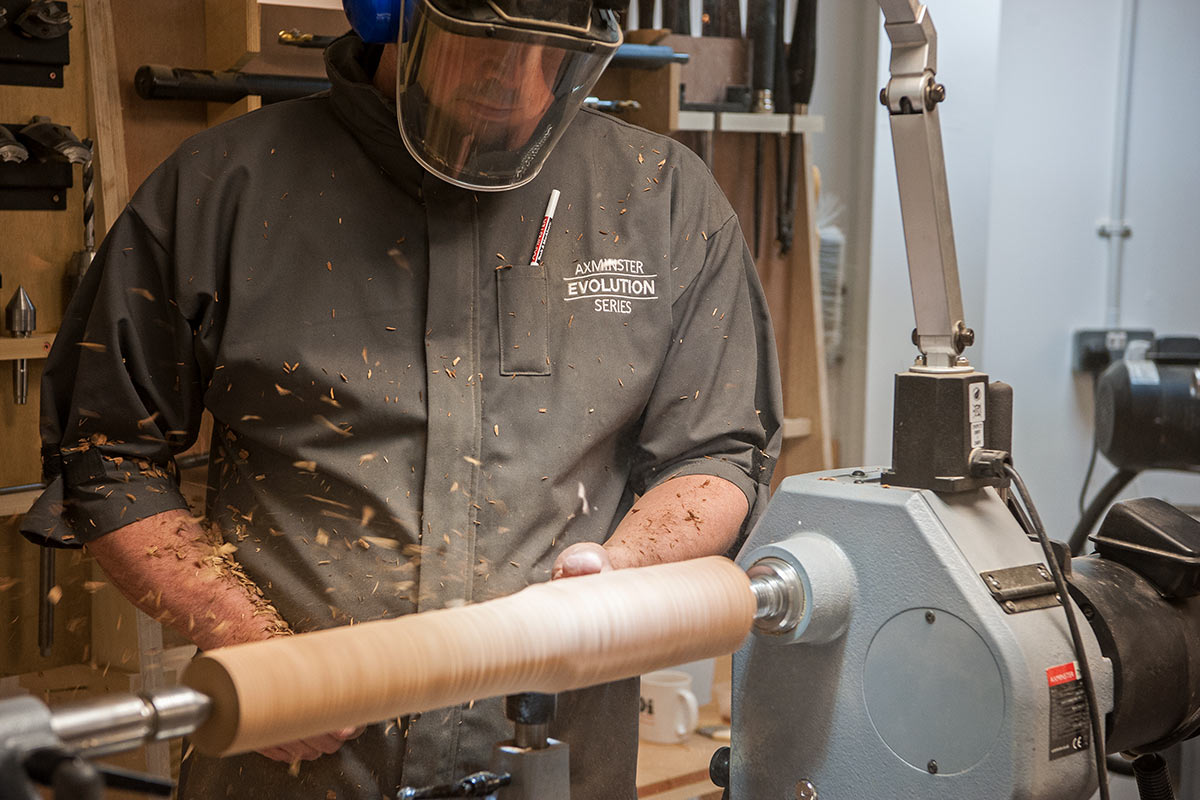
To start rough the piece down using a Roughing Gouge.
Step 2
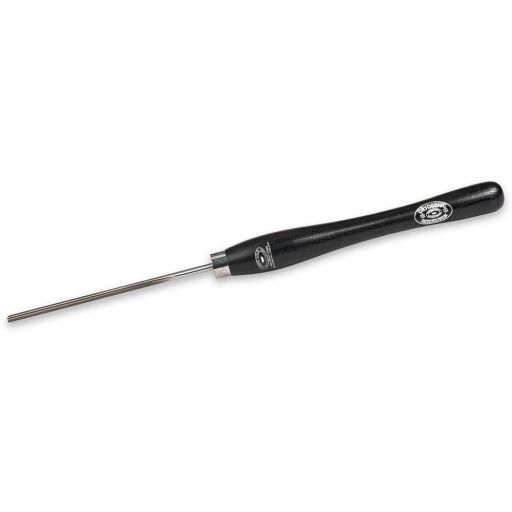
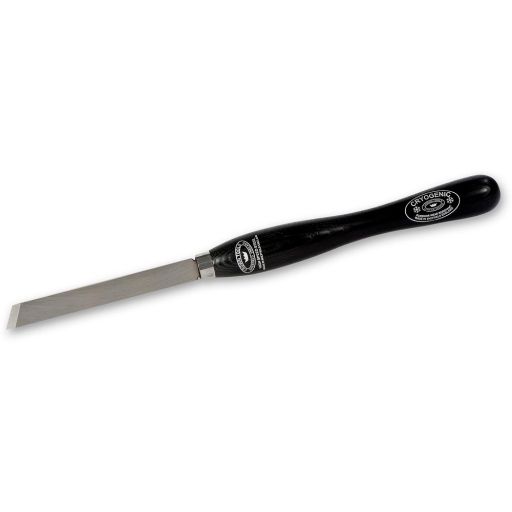
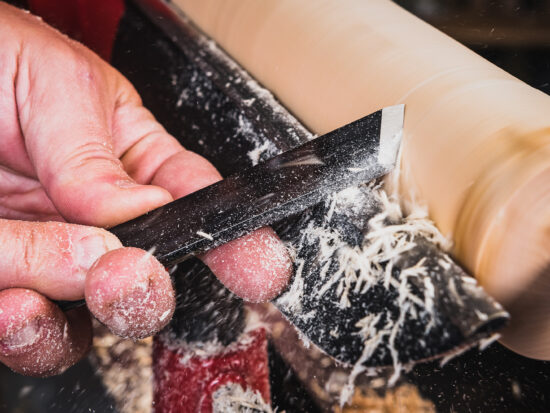
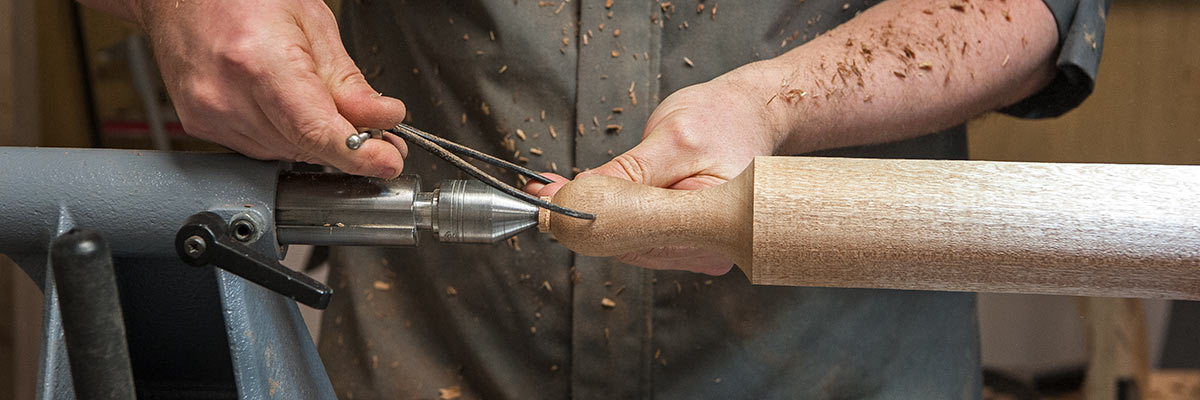
Measure and mark the end of the piece to gauge what length you would like the rolling pin handles to be. Then shape the handles using a Skew Chisel and Bowl Gouge.
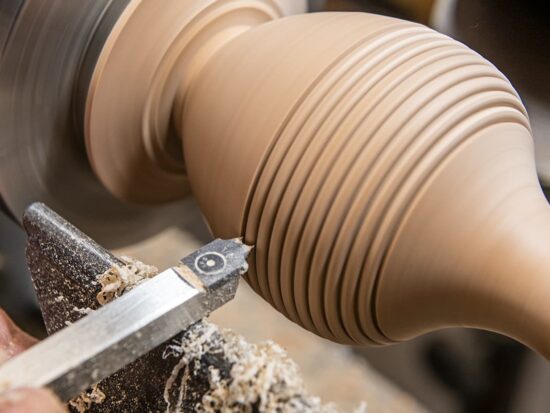
Step 3
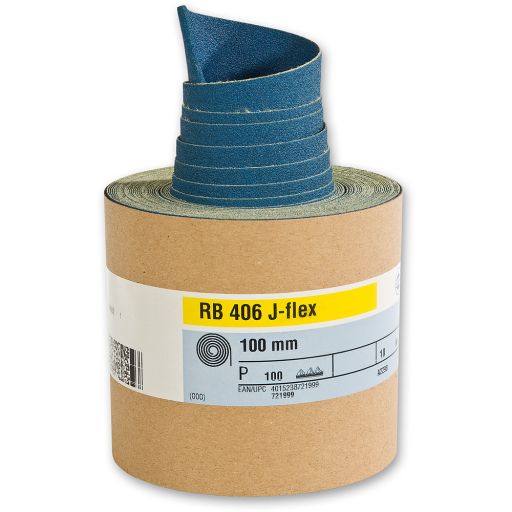
Clean up the surface of the middle section using a Skew Chisel. Then use abrasives to work your way through the grits to achieve a smooth finish on your workpiece.
Step 4
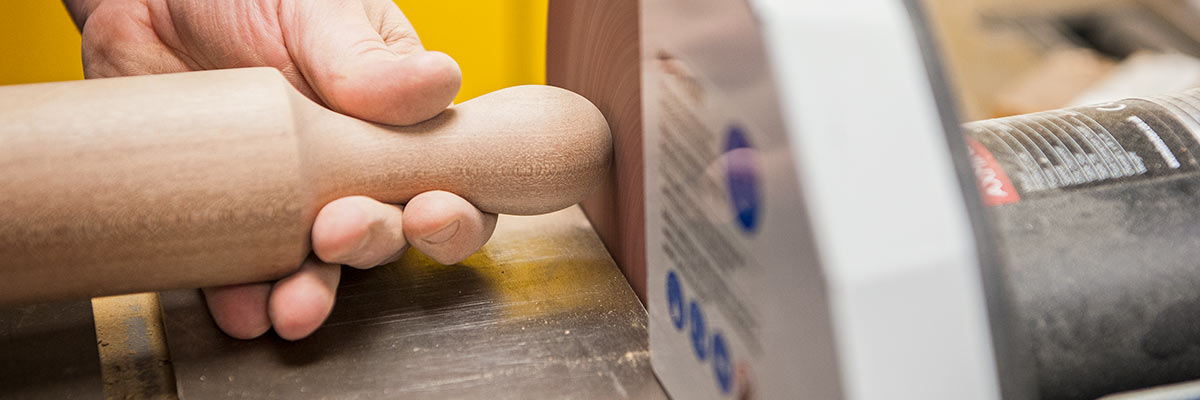
Remove your piece from the lathe and sand the ends using either a Disc Sander or abrasives.
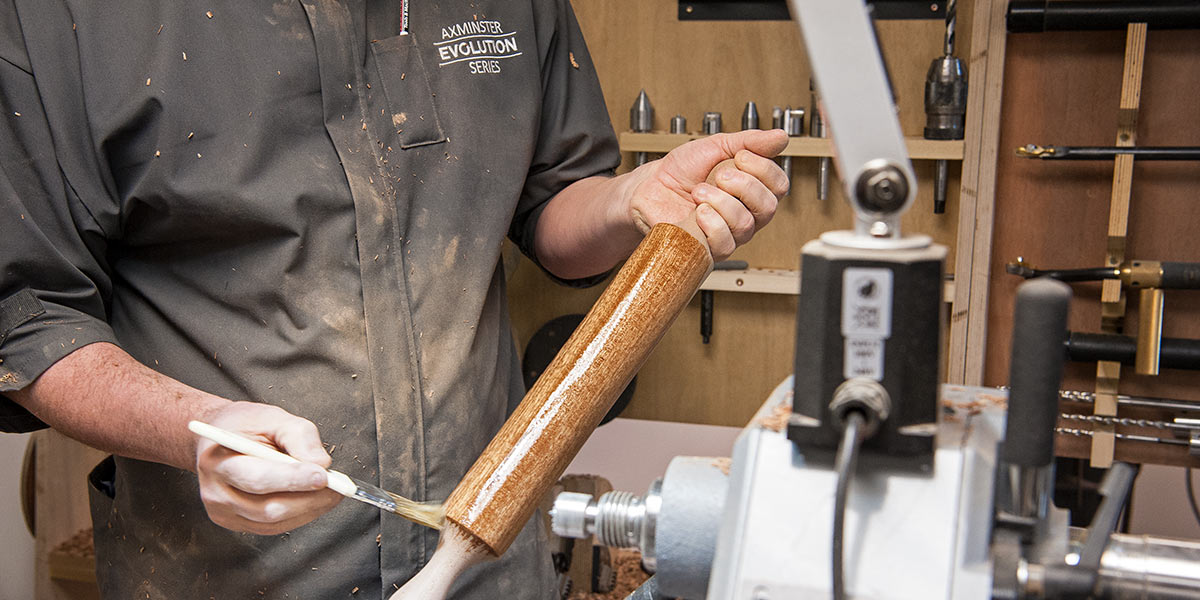
Step 5
Finally, use a Food Safe Oil to finish your piece.
More woodturning project inspiration
Wood is perfect for creating bespoke kitchen tools. It produces beautiful, quality pieces that are lovely to look at and comfortable to hold and use. If you have enjoyed our rolling pin How To guide, why not visit our other How To's for more project inspiration for the kitchen; How To Make A Salt And Pepper Mill and Lazy Suzan.
Make It In March
At Axminster, we're always looking for ways to entice your creativity. This March we're offering you to be in with a chance of winning a tool hamper worth over £600 in our Make it in March competition. We have rolled out this woodturning project to give you creative folk some inspiration!
Win the ultimate tool hamper in our Make it in March competition. Simply upload a picture of a woodworking project or job that you've done this March for your chance of winning the ultimate tool...