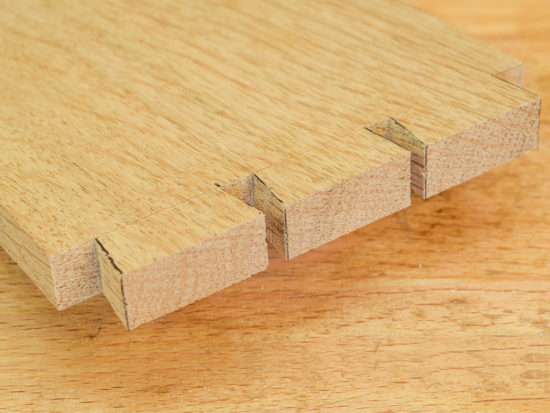
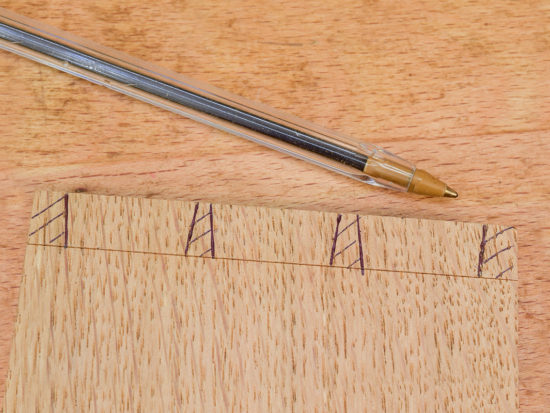
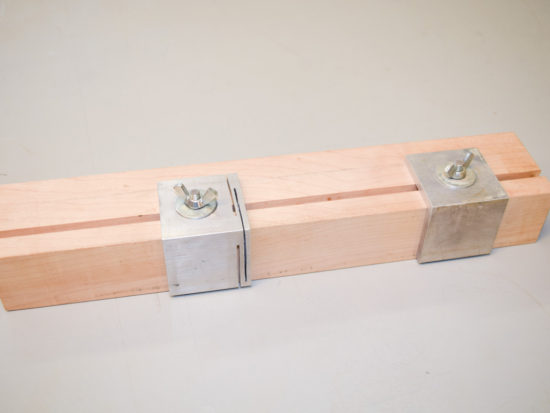
The Through Dovetail Joint: How To Cut The Pins And Complete The Joint
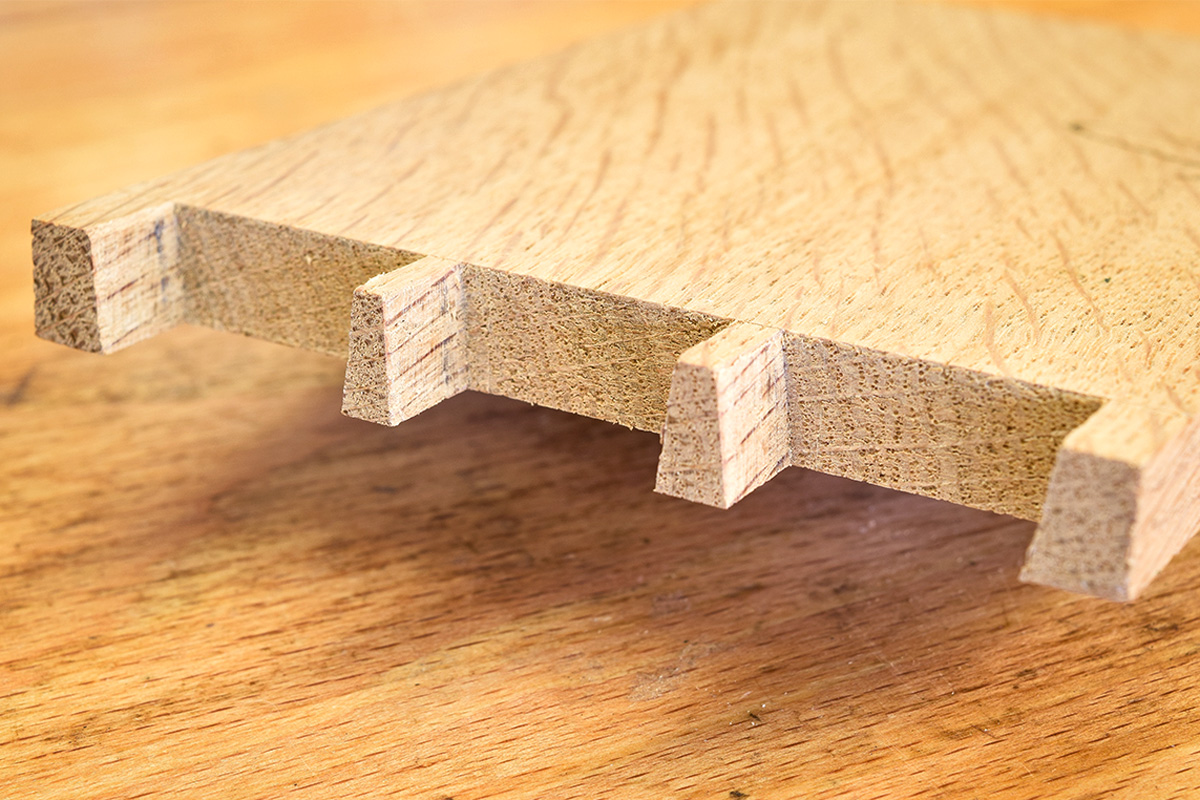
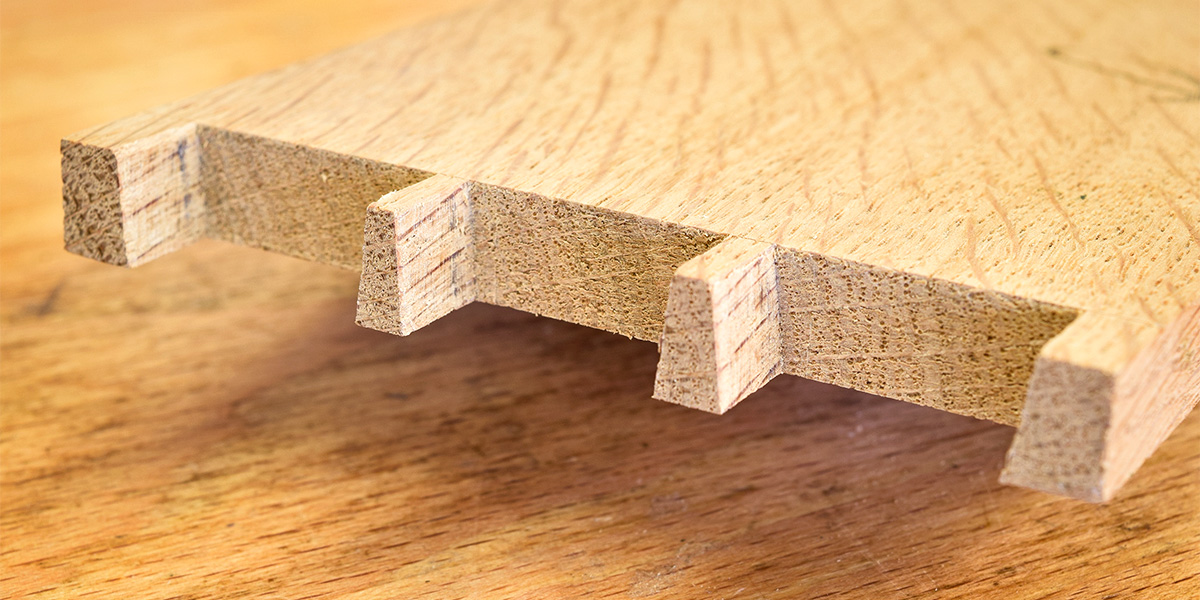
The final section in this series deals with cutting the pin board (or the second half of the through dovetail joint) which is produced in much the same way as the tail board.
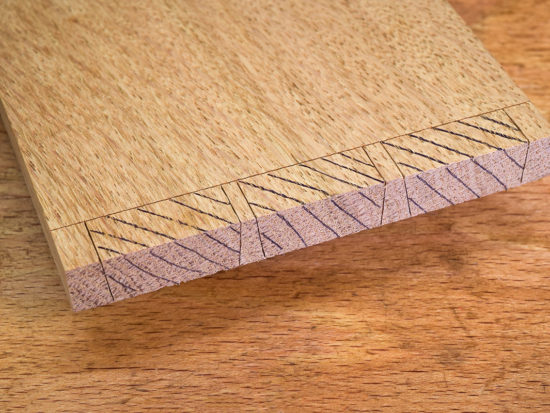
With the pin board marked out, now comes the precision bit…sawing the waste. To cut the pins, it’s necessary to saw accurately on the waste side of the line, stopping on or just short of the shoulder line. With the vertical lines sawn, the waste should be sawn out, leaving around 1mm or less to chisel. Try to cut the pins as accurately as possible, if not, practise on some scrap wood. A Moxon vice is recommended for large,wider boards that may be difficult to otherwise hold.
What you'll need
Step 1
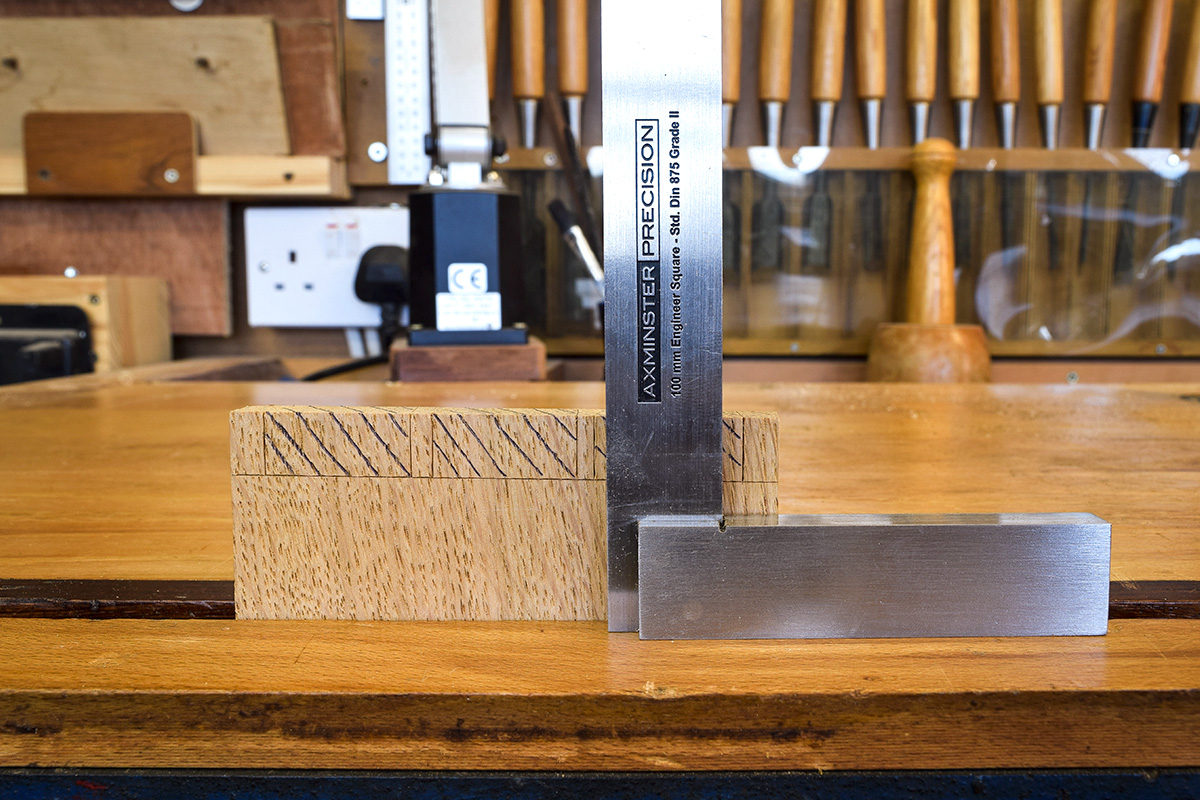
Secure the timber in the vice and use a square to check that the lines to be sawn are vertical.
Step 2
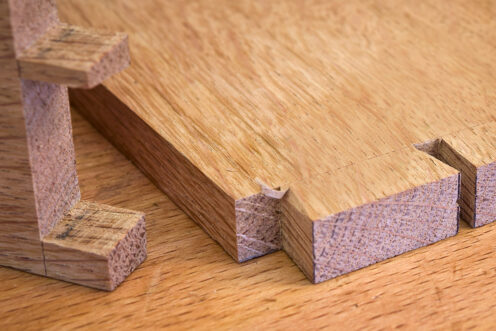
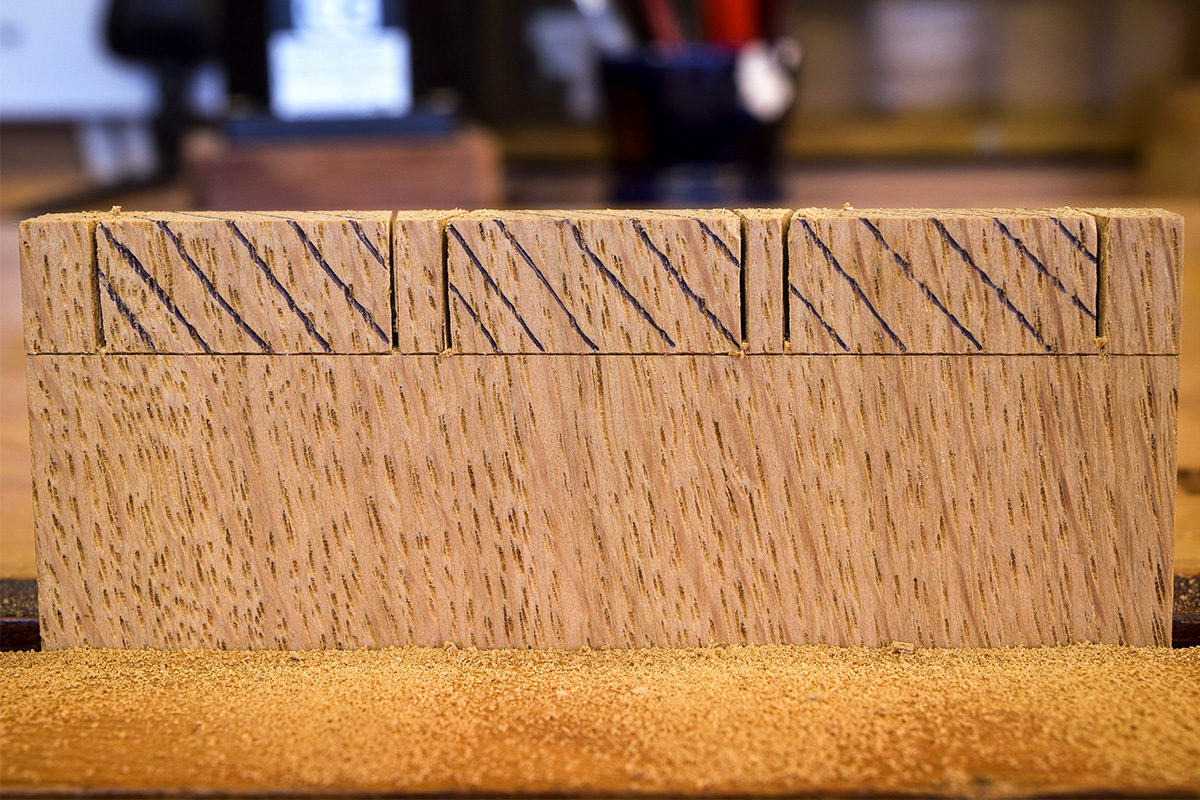
To cut the pins, make a saw cut to the shoulder line or very slightly above it. The saw cut should be touch the vertical lines but should always be on the waste side.
Step 3
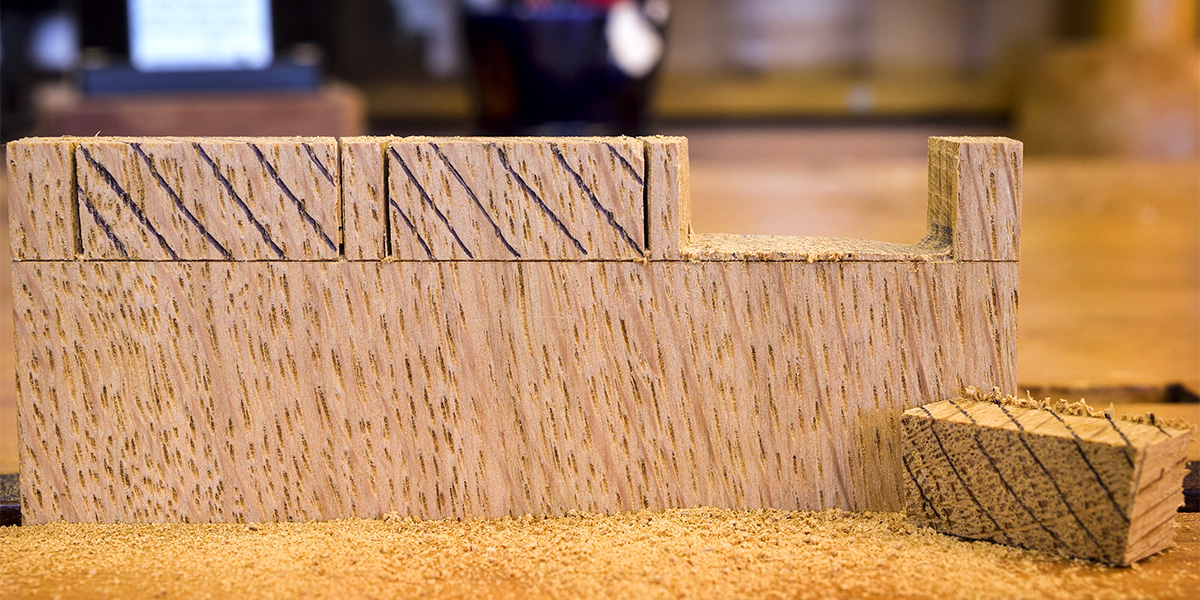
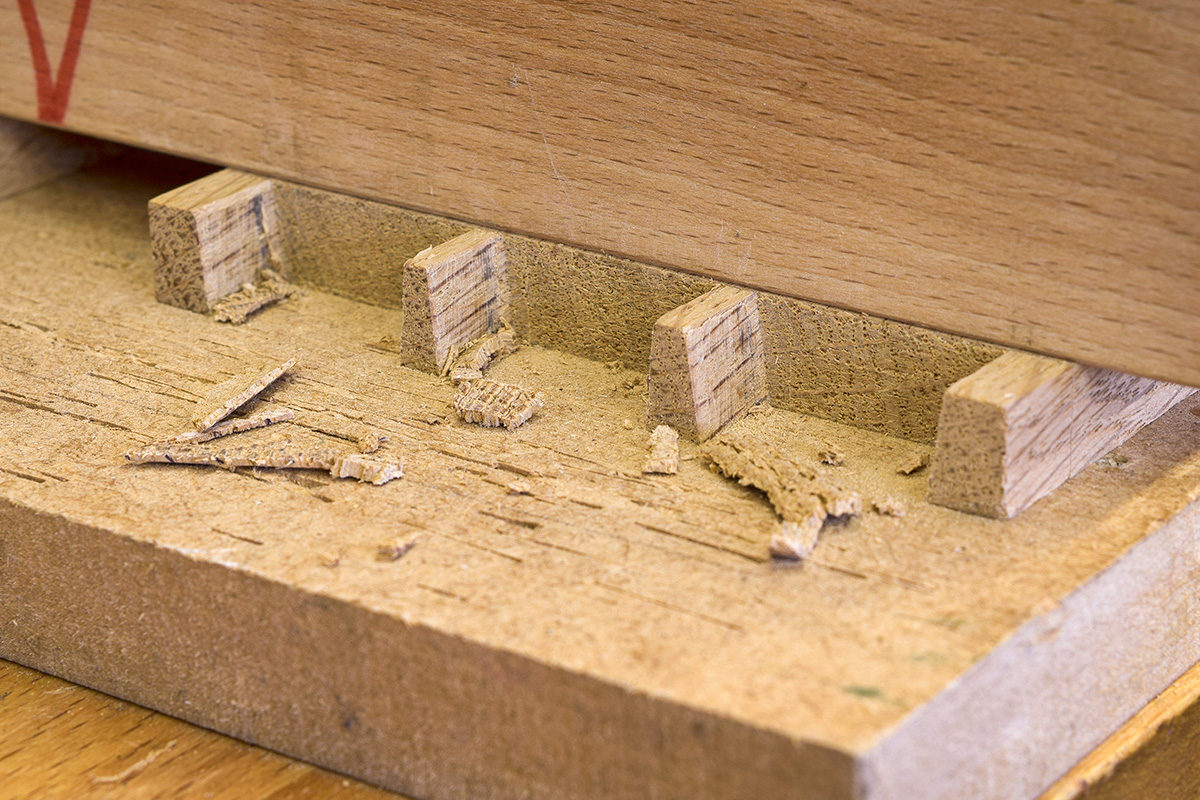
Saw out the waste above the shoulder line with a piercing saw to leave approximately 0.5mm to remove with a sharp chisel.
Step 4
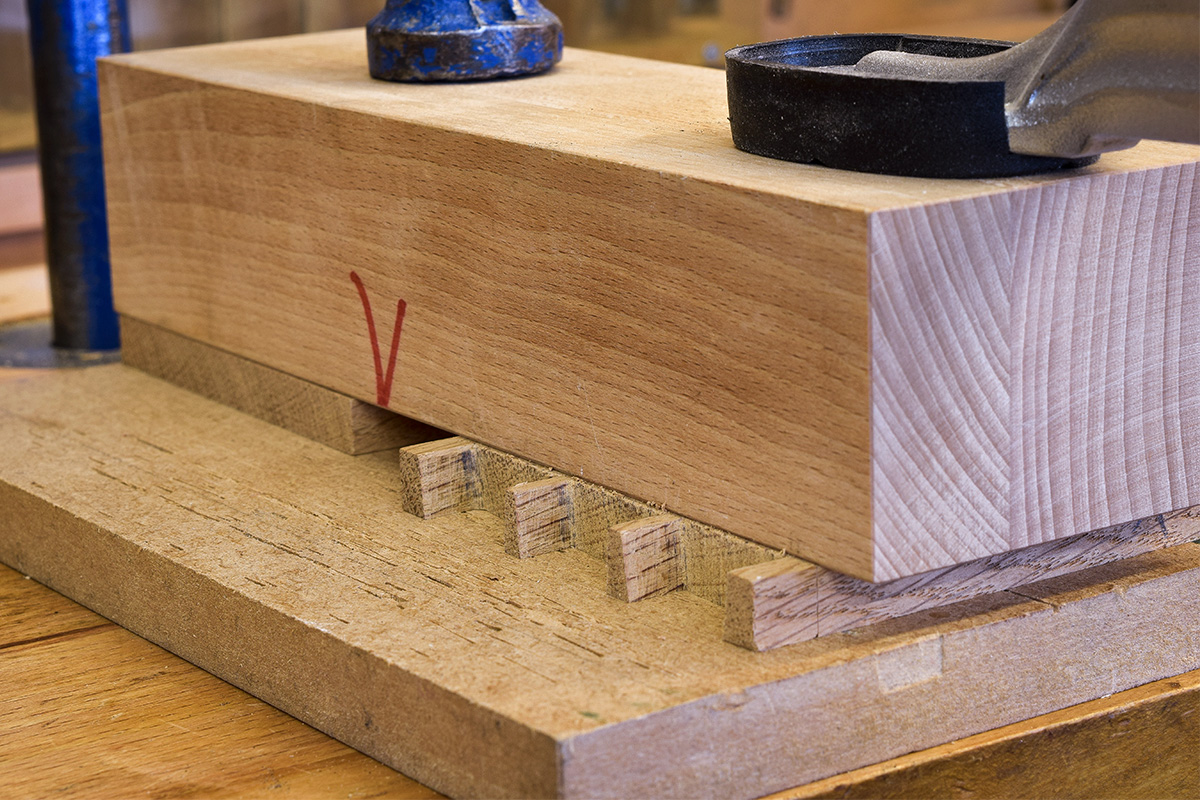
Place the workpiece on some some scrap material with a large chiseling block clamped firmly onto the shoulder line. The board should be clamped with the face side uppermost.
Important!
The chiselling block should be dead square.
Step 5
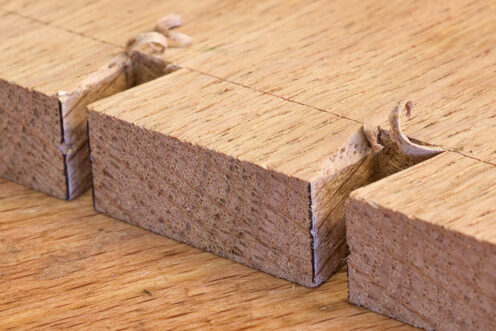
Use a very sharp chisel and mallet to remove the waste so leaving a dead flat shoulder line.
Top Tip!
The back of the chisel should be held firmly against the chiselling block.
Step 6
Before trying the joint, remove the arris on the inside edge of each tail. This makes it easier to fit the tails into the pin board.
Step 7
Tap the joint together using a soft faced mallet or hammer and a block of wood.
Top Tip!
The joint should fit directly from the saw cut, but If there’s any ‘adjustment’ required, always remove material from the pins; never the tails.
Step 8
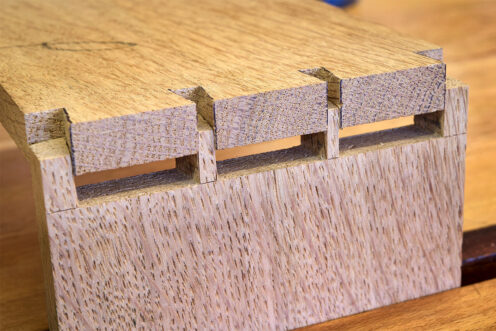
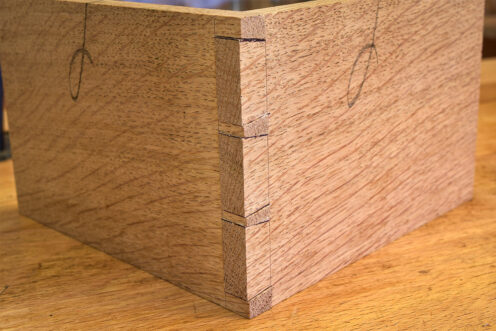
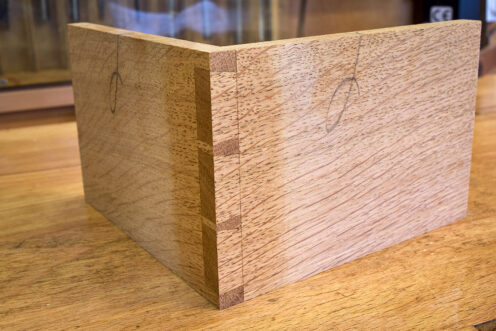
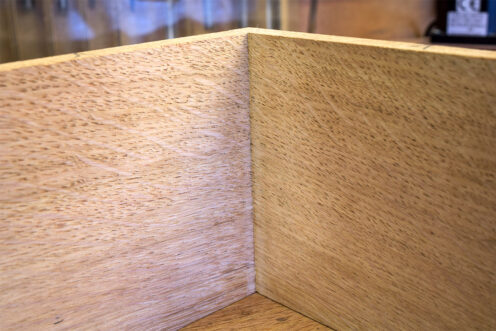
Glue the joint and when it’s set, carefully clean up with a finely set No.4 plane. The finished joint is shown with a coat of clear polish. If the shoulder line has been chiselled correctly and is square, there should be no gaps on the inside.
Top Tip!
Plane off the shoulder line if it's to be a ‘show’ joint. Where this is not so important, the line can be left.


