Make a Wine Rack Using a Bandsaw

What you'll need
A simple but useful project, this wooden wine rack uses minimal tools and is easy to make. All you need is a creative flair, a pencil, bandsaw and sander to create this unique and attractive centrepiece to stack and store your wine bottles.
Watch Colwin in our Woodworking Wisdom demo as he shows you how to make a wine rack or follow our step by step guide below.
Mark out your design
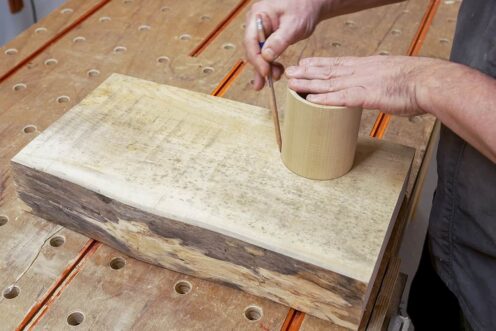
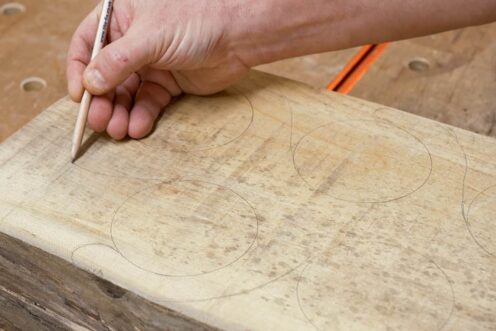
Take your prepped timber, which has been squared, either by hand or by machine, and cut to size and begin marking out your design. We have opted for a tree like design with branches that hold the wine bottles. Use a 100mm template to mark the holes for the bottles and freehand draw the design.
Cut your design
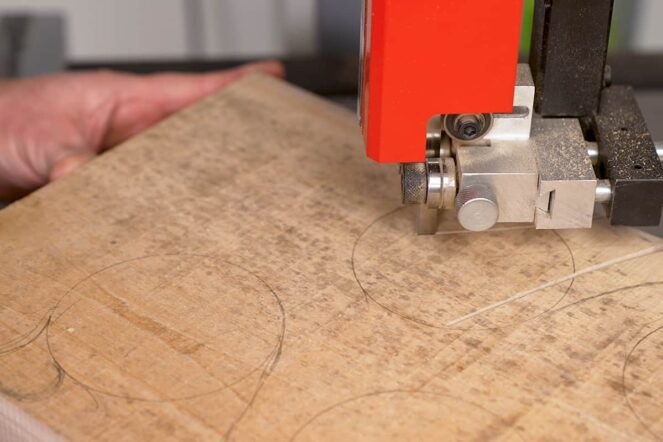
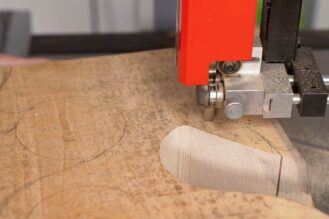
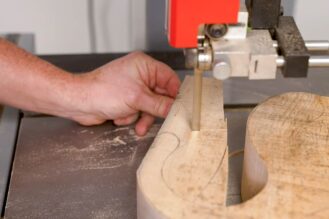
Next, using a narrow blade, cut out your design on a bandsaw. Cutting curves on a bandsaw can be tricky so take care.
Sand and finish
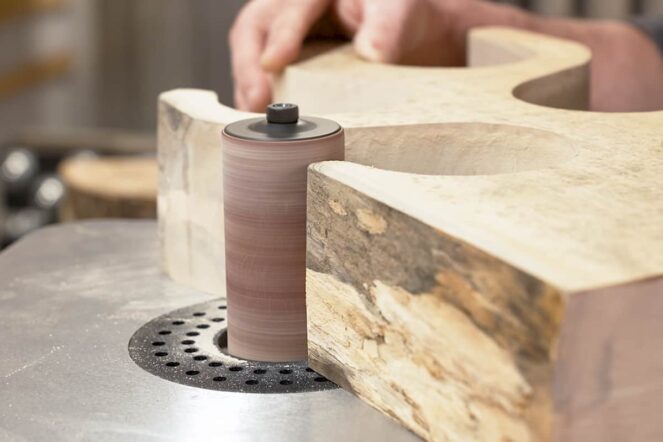
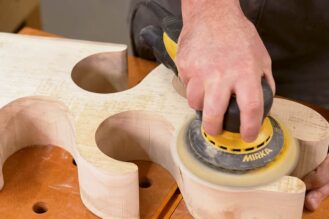
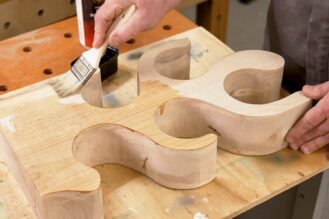
Remove from the bandsaw and sand the internal curves. We have used a bobbin sander but you could do this by hand sanding. Then, using a random orbital sander, sand all over, paying attention to the edges, to sand the overall shape to a good, smooth finish. Once smooth and the edges rounded, apply a finishing oil.


