How to Make a Corn Cob Pen Blank
Corn cob cores. Not the first thing you think of when talking about woodturning. However, these cores, when dried, are a great alternative turning material for small projects.
In this Woodworking Wisdom demo, Colwin shows you how to stain and prep a dried corn cob ready to turn into a unique and beautiful pen.
Watch our Woodworking Wisdom Demo below, or follow or step by step guide.
Prep your corn cob
Begin by drying your corn cob cores in the sun for a couple of days. Once dry, hold them in a set of pen jaws to drill. Don’t tighten too hard at this stage as the corn is still fairly soft. Start with a 7mm hole and be prepared to ream out when the stabilizing has been completed, as this will fill or expand the fibres.


Add the cob cores to a plastic dish ready for the wood stain. It's important you use a spirit stain and not a water-based stain, as you will need the extra penetration of a spirit to ensure the colour holds.
Leave to soak for a couple of hours before leaving in the sun to dry fully. A couple of hours at least will be needed.
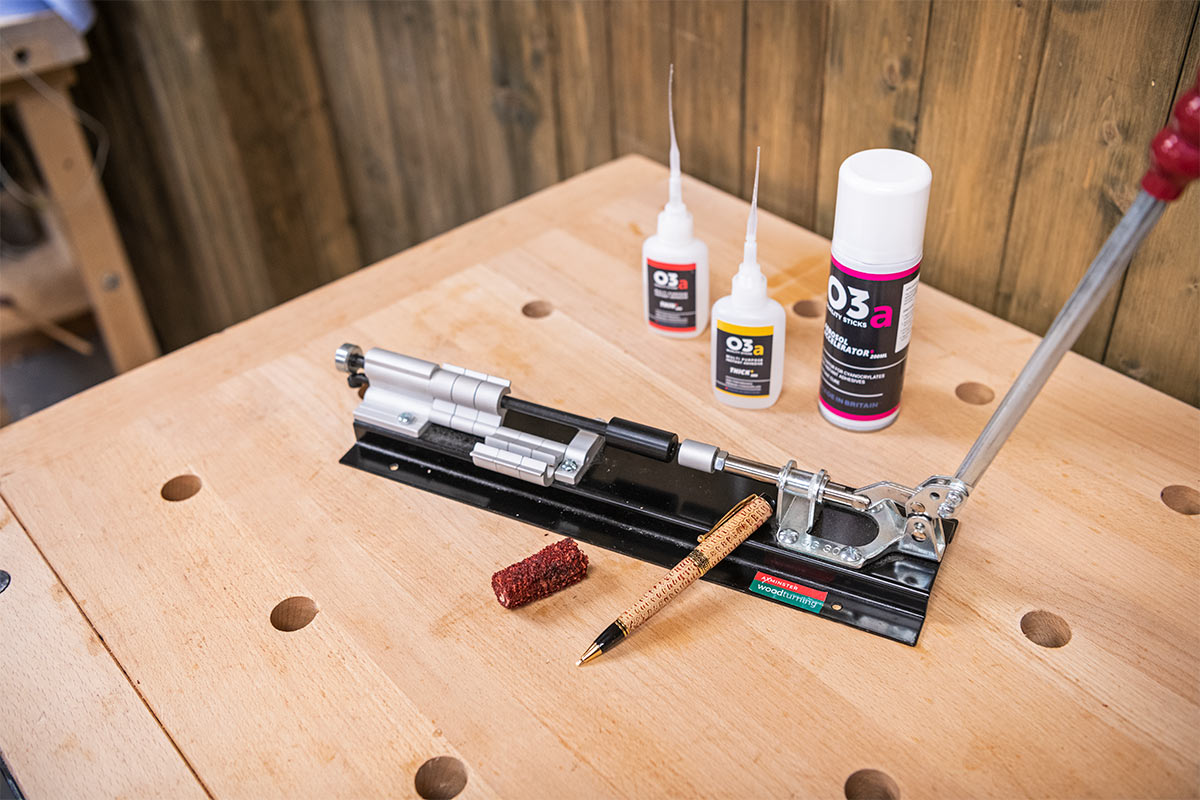
Next, add super glue to the corn cob. Start by soaking the centre first before adding more glue to the outside. This ensures the coverage is good.


Prep the blank for turning
Once the glue has thoroughly dried, hold the blanks back in the pen jaws and ream the centre hole to suit the pen kits you're making.
Now, using the slow CA glue, insert your tubes. You can use an accelerator to speed the process up, but only after the tube has been pushed all the way into the blank.
Once the glue has dried, trim the ends clean with a barrel trimmer.


Turn your corn cob blank
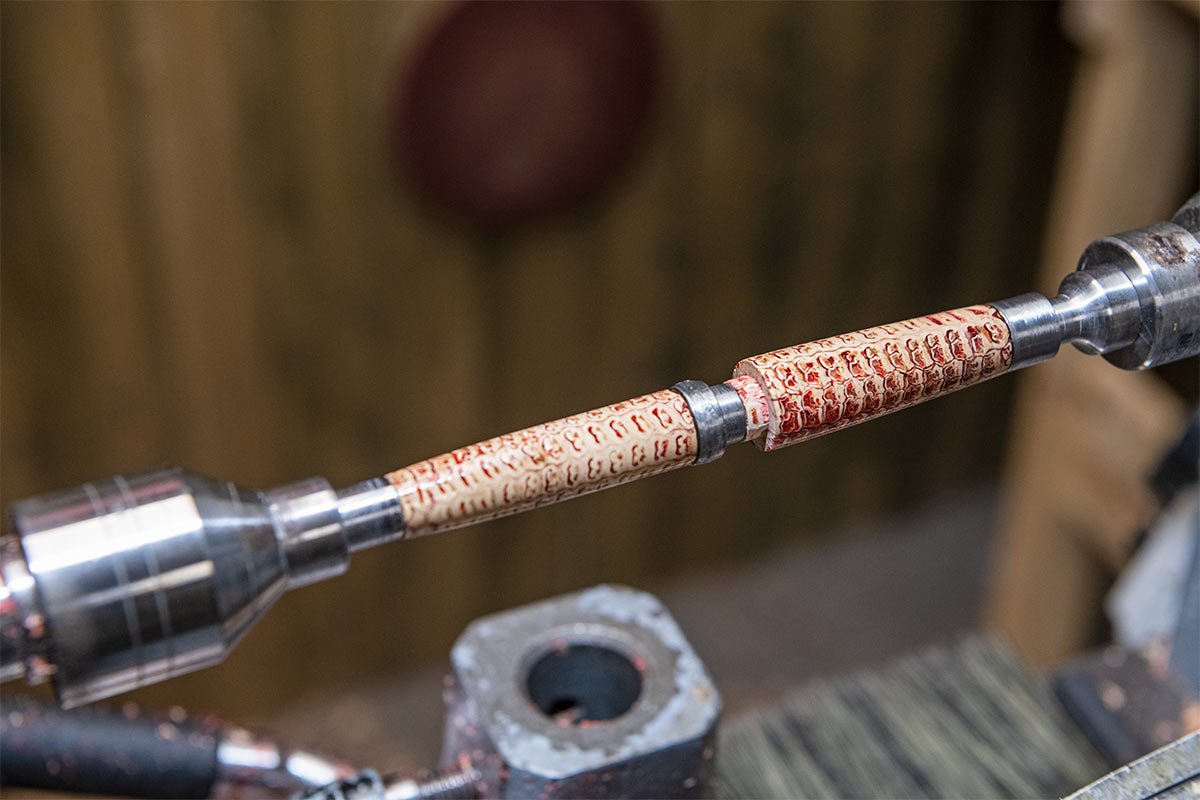
Use the bushing to match your pen kit and add the blanks and bushing to the pen mandrel.
Rough the blank down with a small bowl gouge and then add any decoration or detail the pen requires. In this case, a small tenon is needed to attach the centre band.
Turn to a good finish and diameter of the pen bushings and sand to a good finish.


Finish the pen
Finish the pen with CA glue. First fill any remaining voids with a thick CA and allow to dry before sanding back. While the lathe is running at 800rpm, add some thin CA to a piece of tissue, and run along the pen blank (do not overload the glue) little and often with the glue. The more coats you put on, the higher the gloss will become.
Use accelerator from time to time and remember not to add too much glue at once.
You can add as many coats as you want, and once dry polish with fine true grit or acrylic polish.
Assemble your pen using a pen press.