How To Make A Wooden Advent Calendar
What you'll need
Looking for ways to countdown the days until Christmas? We have just the project for you, with this simple scroll saw advent calendar project.
This project is a great way to use up some workshop offcuts and is a fun and decorative way to countdown the days to Christmas. This is also a great project to make to sell online or at craft fairs.
Simply watch our Woodworking Wisdom Demo with Ben Beddows or follow the steps below.
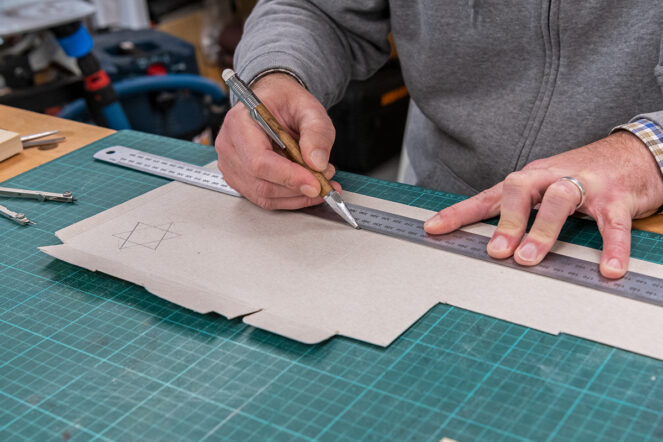
Creating the star template
Start by making a cardboard template. Keep in mind that you may want to scale this project up, but with our measurements your advent calendar will end up approximately 450mm long.
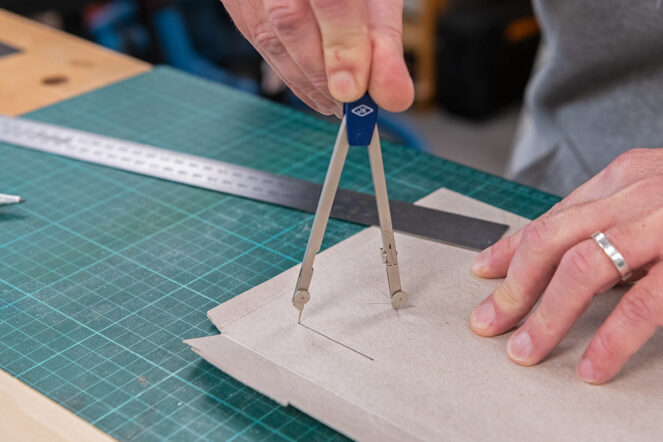
Start by drawing out an equilateral triangle. Using your rule and a pencil, draw a line 45mm long. Set your compass to the line, 45mm in this case.
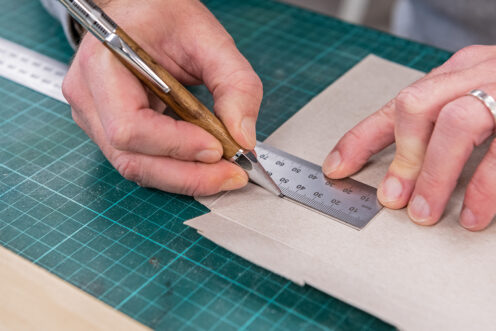
Turn the compass on both ends of the line to mark out an 'X'. Using the rule, draw a straight line from both ends of the line to the centre of the 'X'. This will give you a triangle with equal length sides and 60° angles.
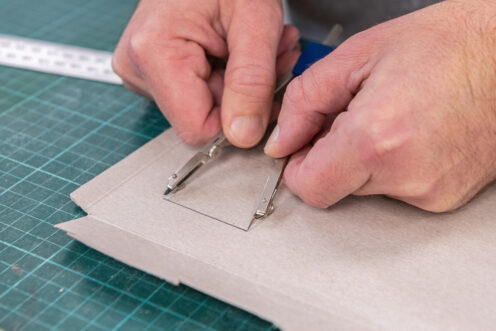
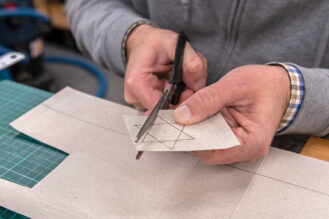
Repeat these steps to draw another one upside down to create your six sided star.
Cut out your star with a pair of scissors.

Marking out the counting line
Using a rule or straight edge, draw a line so that you have a (roughly) 50mm wide, 450mm long strip of card. Using the star you have just made as a template, mark out the triangles by presenting the star up to the line so that two of the star’s edges are parallel to the line and you have one 'tooth' overhanging.
You will need 24 'V' shapes. Mark out with a pencil.

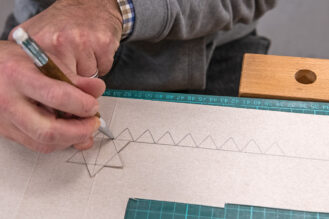
Cut off the strip of card and cut out the marked triangles. You now have a template that can be reused if you want to make more than one.
Lay your template on to your chosen piece of timber. Ours is 450mm long 50mm wide and 18mm thick. Using the pencil follow the template to mark out the zig-zag pattern.
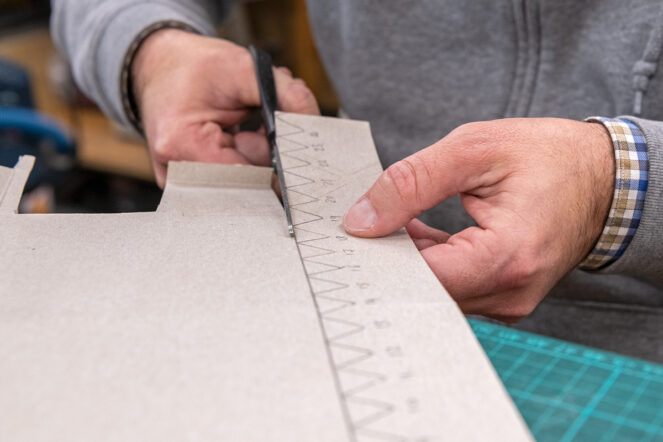
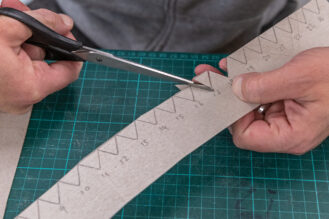
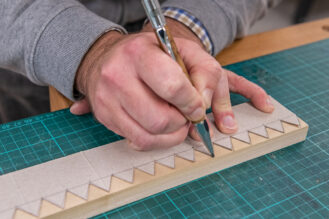
Cutting out
Take the marked out project to the scroll saw or bandsaw. We have used a scroll saw as it leaves a cleaner finish and reduces the need for sanding.
Cut all the 'V' shapes out.


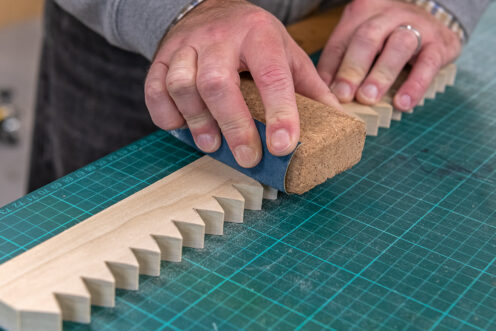
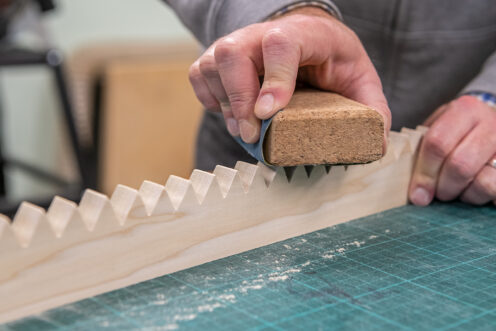
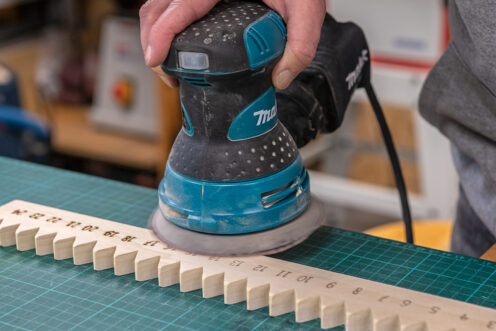
Sand all around to knock off any sharp edges and remove pencil marks.
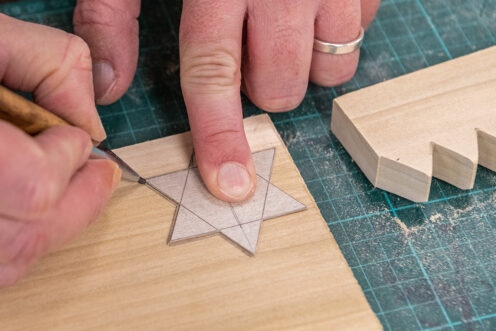
Use your star template to markout a star onto another piece of timber. Try using a different species, or the same timber but of a different thickness, to make the star stand out from the base.

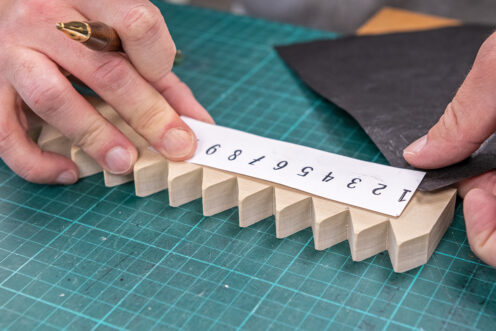
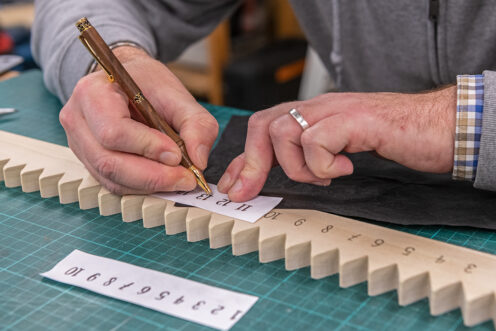
Adding the dates
Either freehand or by using a printed font and carbon paper, mark out the numbers 1-24 along the line at the bottom of each 'V' shape.
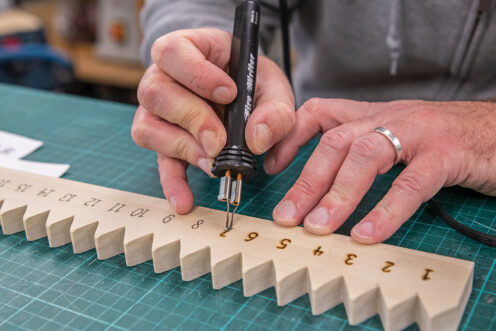
Burn in the numbers using a pyrography unit. Sand off any carbon or pencil marks that remain on the surface. This will also take back any scorch marks left by the burning process and tidy up the whole project.
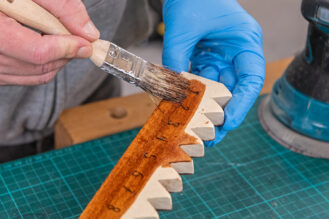
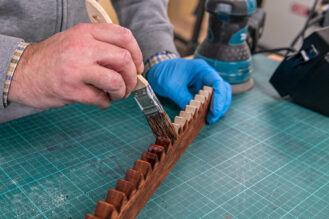
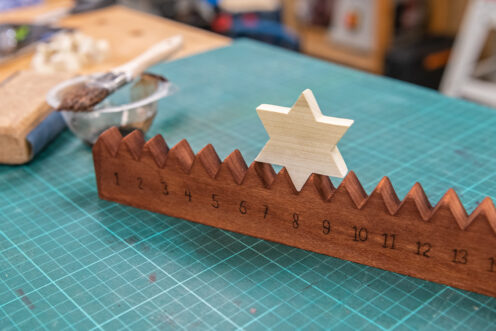
Finishing your advent calendar
We have used a spirit stain to colour the bottom part of this project and left the star the natural colour of the timber. Why not use a gilt cream to make a golden star? Use a brush to apply the spirit stain, be cautious not to overload the brush as spirit stains can be a bit messy!
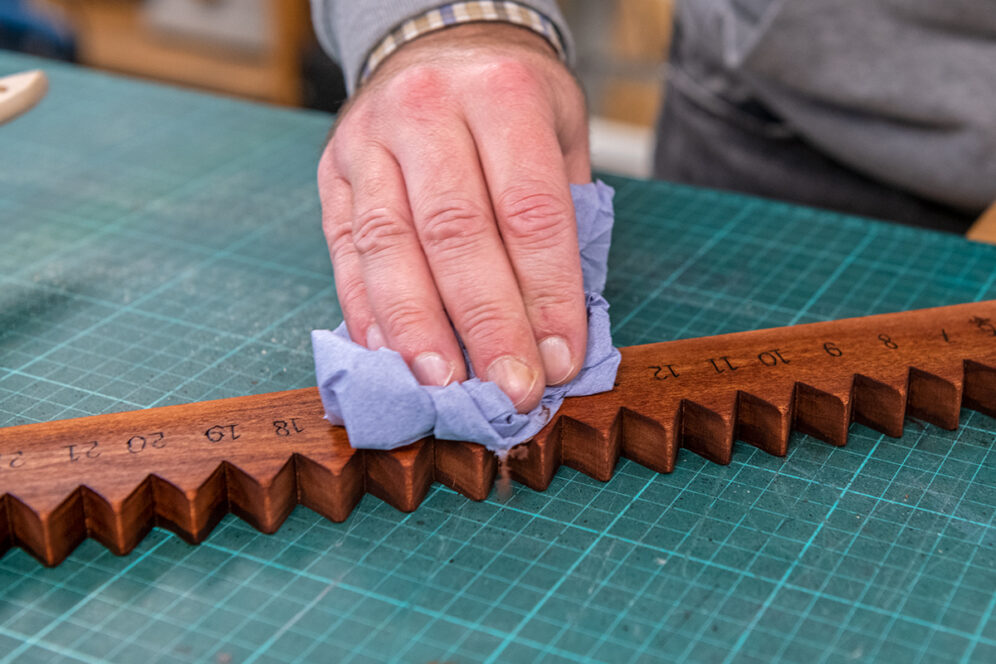
Make sure to apply the stain between the 'V' shapes then wipe back any excess with a clean rag or cloth.

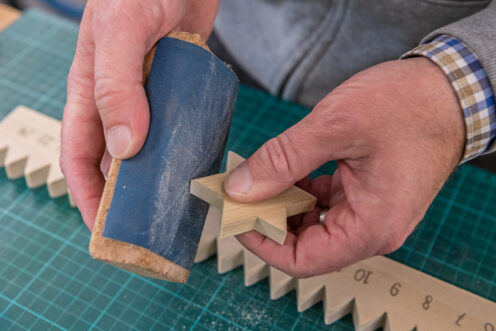
Tidy up the star. You may want to use an abrasive to sand off sharp corners. Wait for any stains or paint to dry.
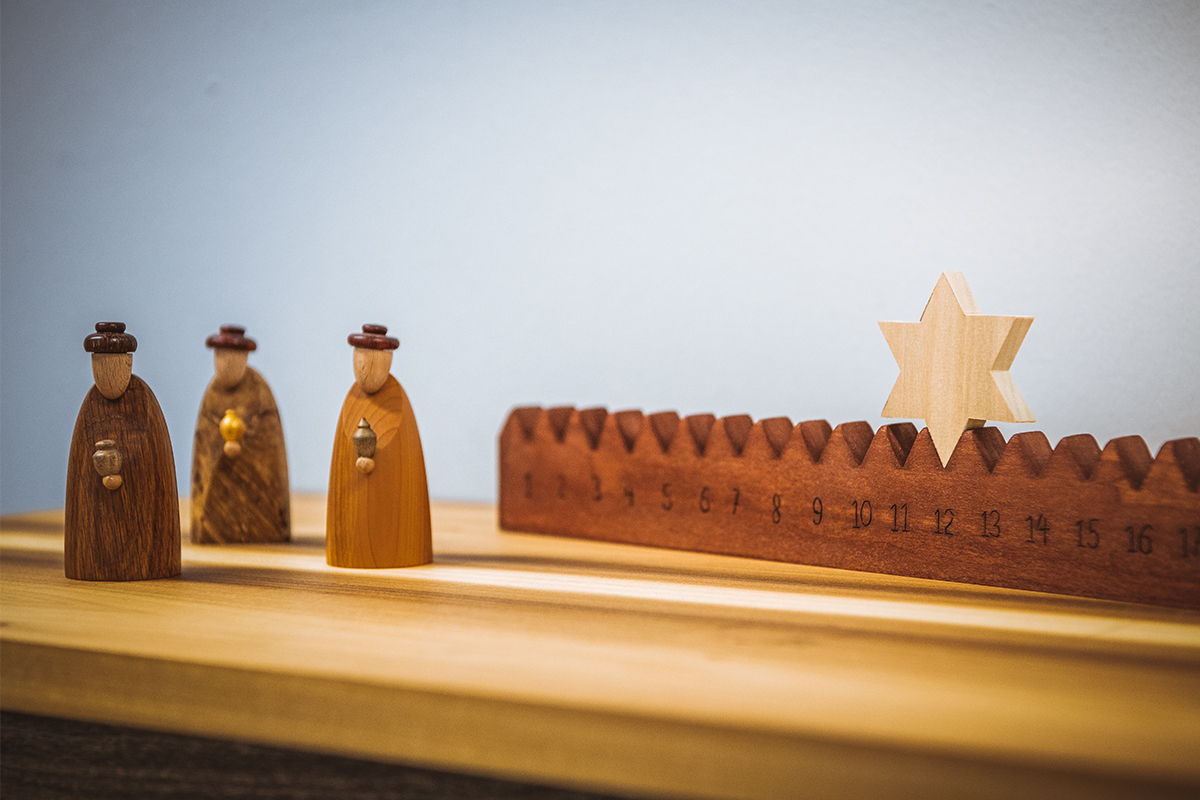
The star can now sit on top of the calendar ready to mark off the days until Christmas.
Get creative!
Why not go one step further and create an entire festive scene to wow this yuletide. Follow our Woodworking Wisdom Christmas Centrepiece Project part 1 and part 2 to create a fabulous festive decoration complete with nativity scene.
If you have made our advent calendar project, share your pictures with us! Tag us in your photos on social media with @axminstertools and show us what you've made.
For other festive decoration inspiration, why not make our branch snowmen and reindeer, also great little sellers at Christmas craft fairs!