How to Make a Skateboard
What you'll need
Learning how to make a skateboard might sound tricky, but it is actually is pretty simple. This project involves lamination techniques to glue together multiple thin layers of timber, or veneers, to form a plywood, which can be pressed and moulded together to form the curved skateboard shape.
Watch our Woodworking Wisdom demo or read our article below for our tips on making a skateboard.
Make a skateboard jig
First you will need to make a simple jig that will help you to form the curved skateboard shape. We made a simple jig using some insulation foam board, some scrap OSB board, and some bolts and wing nuts.
First measure and mark your centre lines. Then measure and mark where the trucks will go.
You then need to mark a series of lines which will form the curved skateboard shape. There are lots of useful resources online that show you how to mark and cut the board mould. We used this video to make our mould.
Prep for the glue up
To prepare for gluing, choose your top and bottom facing veneers (to form the visible top and bottom of your skateboard) and sand the surface faces so they are smooth.
Your veneers will be layered with a mix of long grain and cross grain. The top two layers will be long grain, followed by cross grain, long grain, cross grain, before the final two layers being long grain, totalling seven layers.
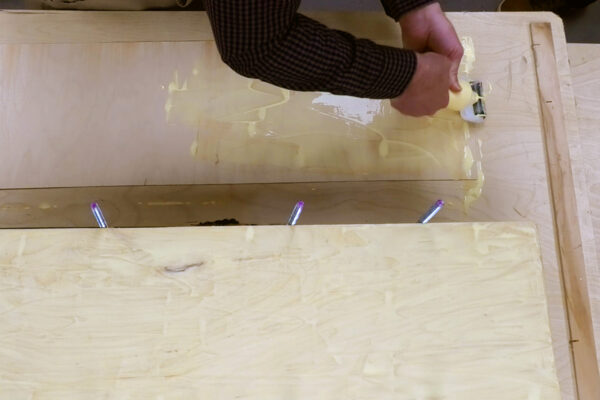
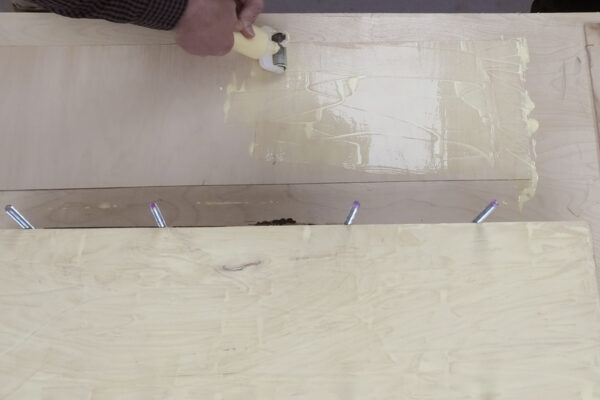
Start by placing your bottom layer, face side down. Using a glue roller, apply a generous and even layer of glue right to the edges. We're using Titebond III which, when cured, gives good water resistance.
Carefully place in the mould and leave an equal overhang at each end. Then, prepare the next layer in the same way, laying on top of the previous layer in the mould each time.
Continue the process until you reach the final layer. For the top layer, ensure you place the veneer face side down, turn the veneer over as you place into the mould so your smooth top is facing up.
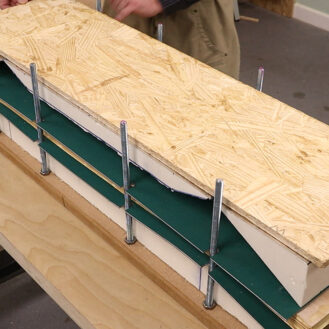
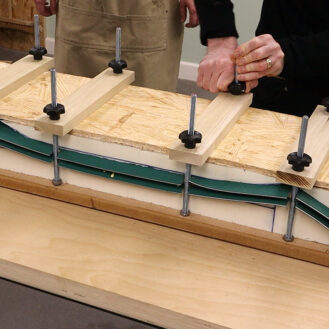
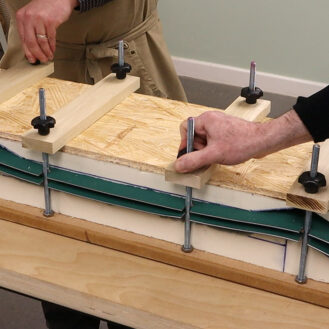
Push the layered veneers down and place an additional layer as an interface to protect your board and ensure your board is smooth. We used a cutting mat. Then place the other part of your mould on top, lining up the two sections of the mould.
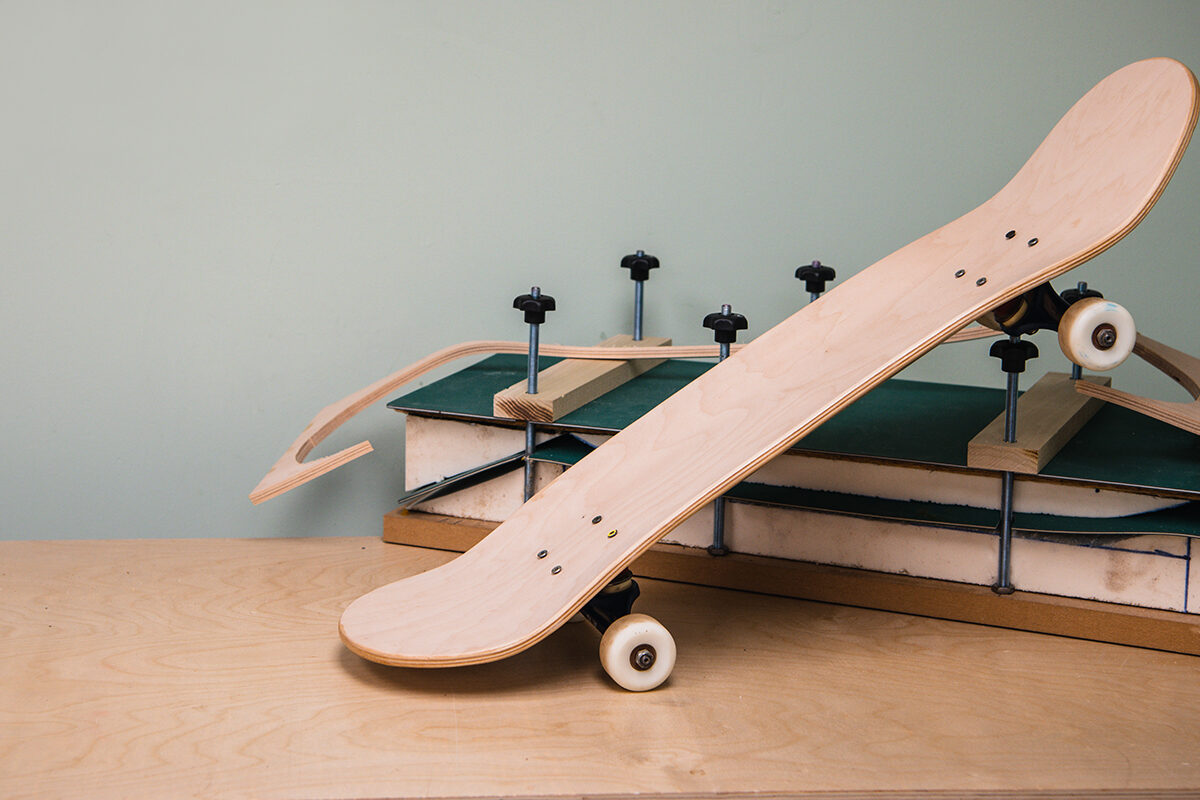
Add the supports and wing nuts and tighten to bring your veneers together tightly to take on the shape of the skateboard as it dries.
Shape your board
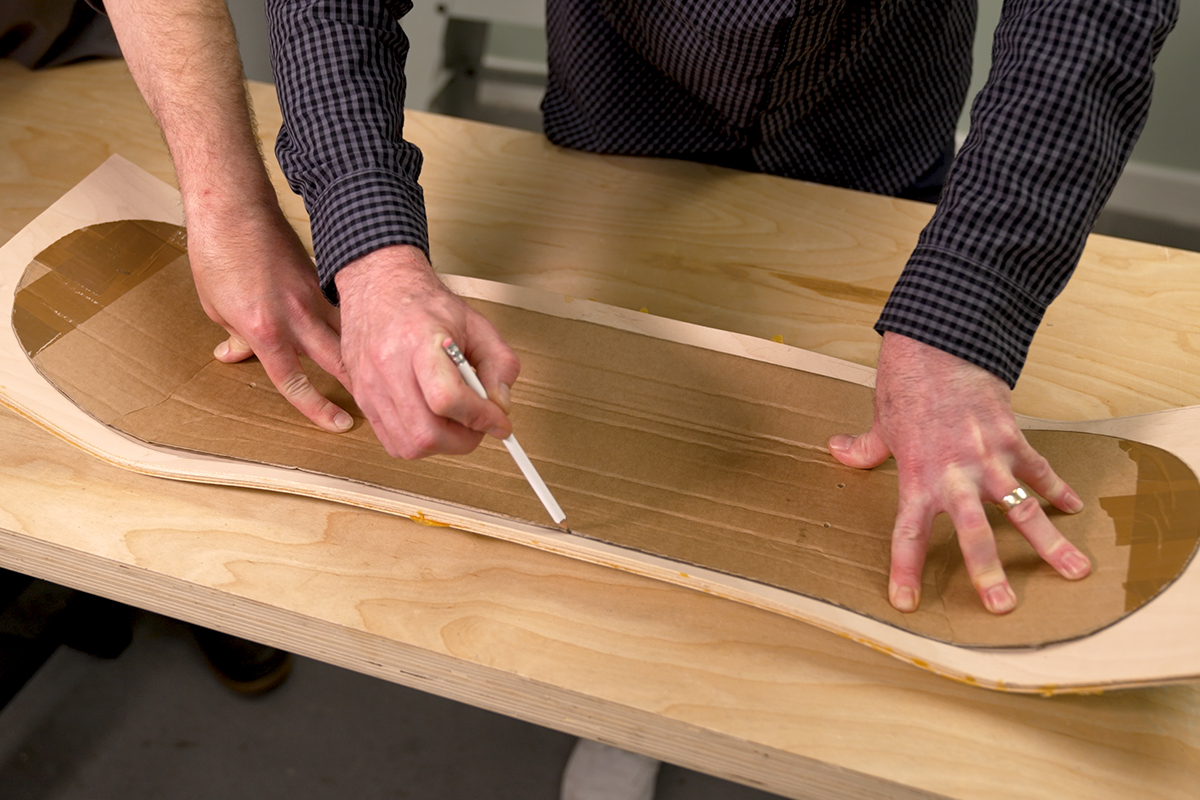
Once fully cured, remove the board from your mould. Make a template for your board using cardboard and use an existing board to help draw the shape, ensuring you mark off where the trucks will go.
Using the template, transfer the shape on to your laminated board and mark your drill holes for the trucks.
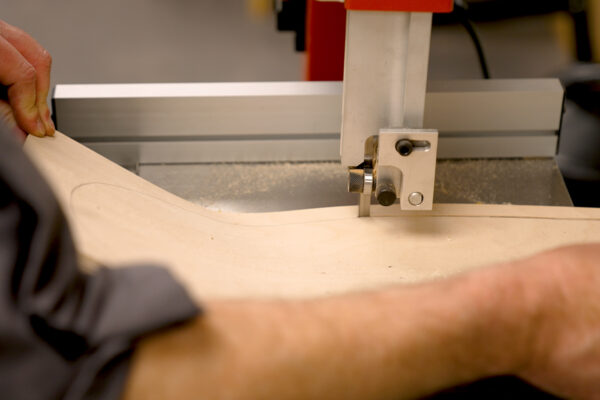
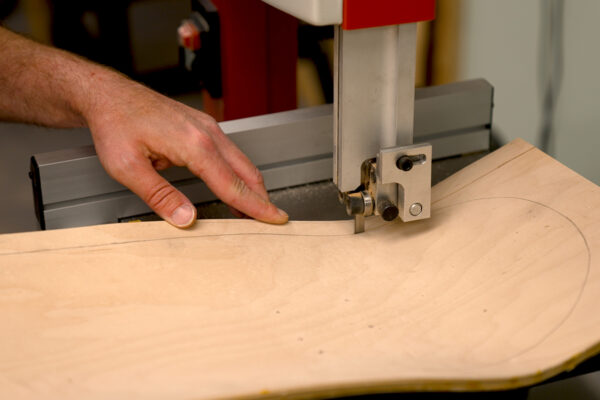
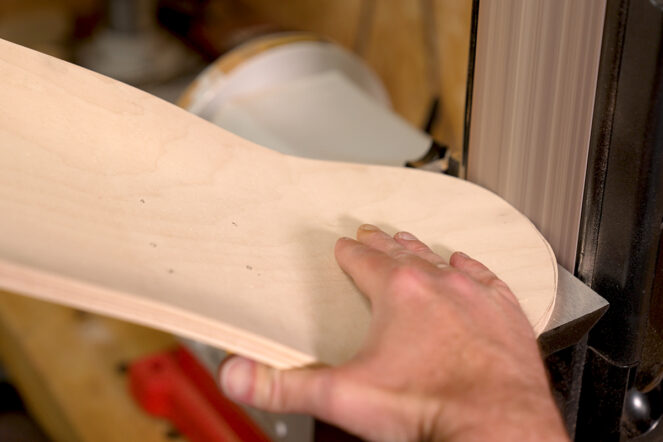
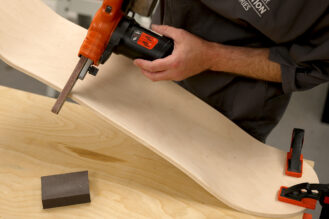
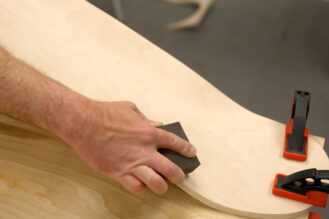
Trim the waste on a bandsaw and then sand the edges on a belt sander. Add a radius to soften the edges using power file and finish with a hand sanding block.
Next, drill the truck holes using a 5mm drill bit.
Finish using an orbital sander to remove any marks or glue. You can add an oil to the bottom, paint, spray or add a lacquer to give some added water resistance. Top tip: Do not add an oil to the top as you will need to add grip tape and this may prevent the adhesive from taking.
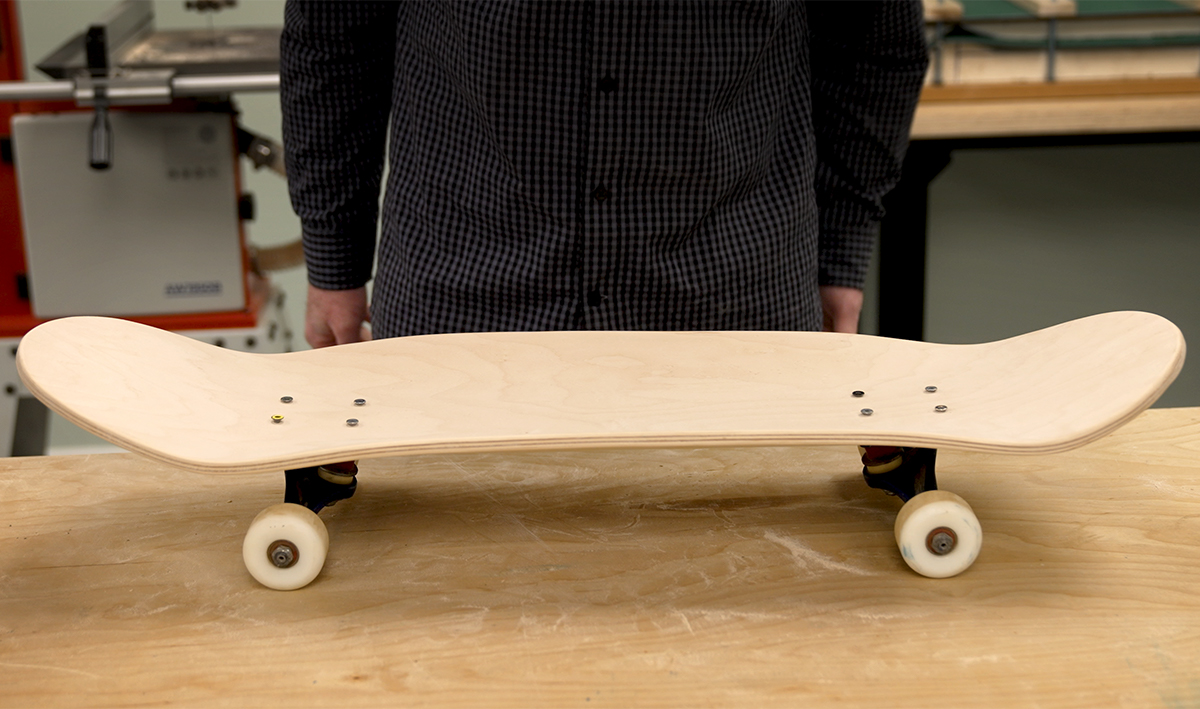
Add the trucks and grip tape and there you have your finished skateboard.
Love this? Try our mini skateboard
If you have enjoyed making this skateboard project, then why not have a go at making our mini finger skateboard project? Perfect for small hands and budding young woodworkers, this project is not only simple to complete, but will create hours of fun after.