Simple DIY Wood Panelling | Woodworking projects for Beginners
Turn your house into a home with this simple DIY wood panelling effect. Easy to do and with minimal tools, this is a cost effective way to transform your home on a budget, add character and begin to build your basic woodworking skills.
In this Woodworking Wisdom video we share with you tips on measuring and cutting to ensure your MDF strips fit perfectly to your wall. A great little project for beginners to test their measuring and marking skills, which is vital for successful woodworking.
Measure and cut your wood panelling
Measure your wall length and cut an MDF strip to the correct length with a hand or circular saw. Once cut, hand sand the edges to soften your MDF panel. This is much easier to do before they are fixed to the wall and will ensure you leave a smooth finish.

Glue the bottom panels
To fix to the wall consider your skirting board - check it's level as this could effect your overall effect. We have used 6mm MDF which sits above the skirting. Use a construction adhesive to attach the panels to the wall.


Start at the bottom of the wall. Apply the glue along the length of the panel working towards you. Attach to the wall and use a roller to help push and smooth the panel to the wall, checking for gaps along the top. Also check the panel is level.
If you are panelling on a wall with a corner or adjacent wall at an angle, measure the angle and set on a sliding bevel. Transfer the angle to the end of your panel and mark off the waste, matching the angle. Depending on the amount of waste to remove you could use a saw or a hand plane.


Once you have attached the bottom panel and checked everything is level, you can measure where you want the top panel to sit. Consider the finish - you will want to include a top decorative rail. Ensure you factor this in, particularly if you are panelling up to a feature like a window.

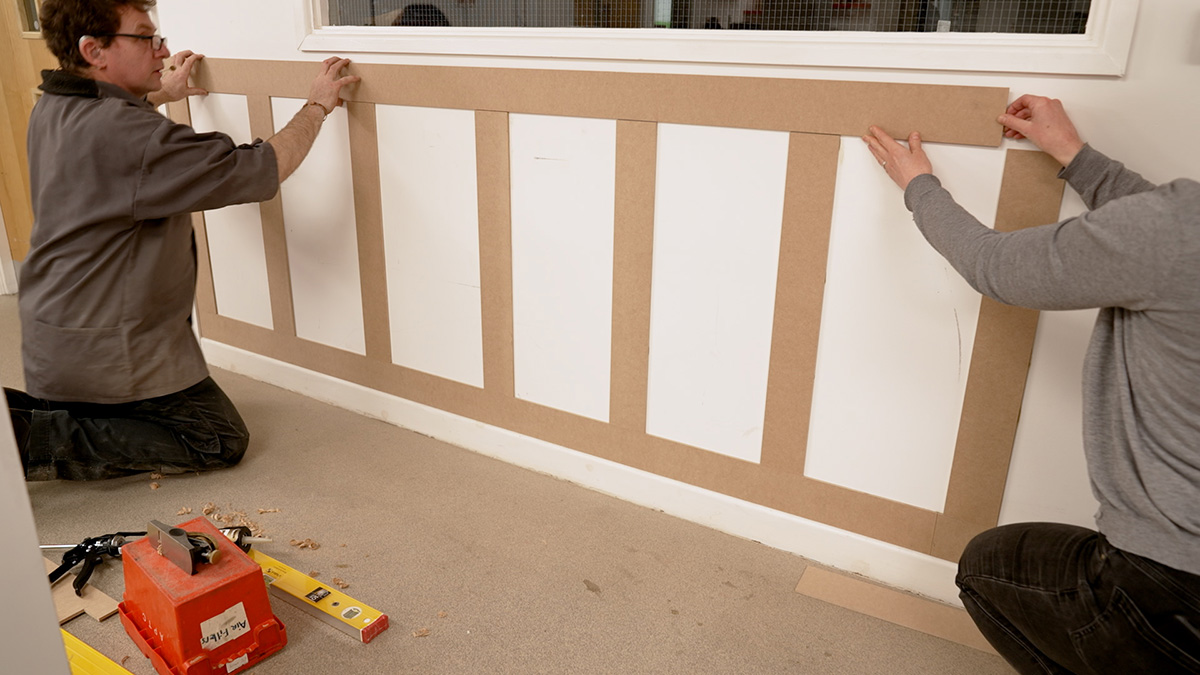
Measure the spacing for the upright panels
Cut your first upright panels to the correct length based on your measurements. Begin with a panel at either end. You can then measure and work out how many panels to fit in between. When cutting your panels, repeat the sanding process and check they are level as you go.

To work out your spacing first measure your wall. Then, count up the number of panels you want to include. We have 7 panels that are 100mm each. Next, deduct the total width of your panels from your wall length (in our case 700mm). Then divide this by the number of panels.
Example: Our wall was 2775mm - 700mm = 2075mm / 7 panels = 296mm spacing.
To help with your internal panel placements create a spacer to the size of your gap (ours is 296mm). We also cut another one which included edge pieces to sit on top your panels to keep it in place and keep your internal panels square as you fix to the wall.


Glue internal and top panels
Once all internal panels are glued in place, attach the top panel repeating the same process and the bottom panel.
Leave to dry overnight.
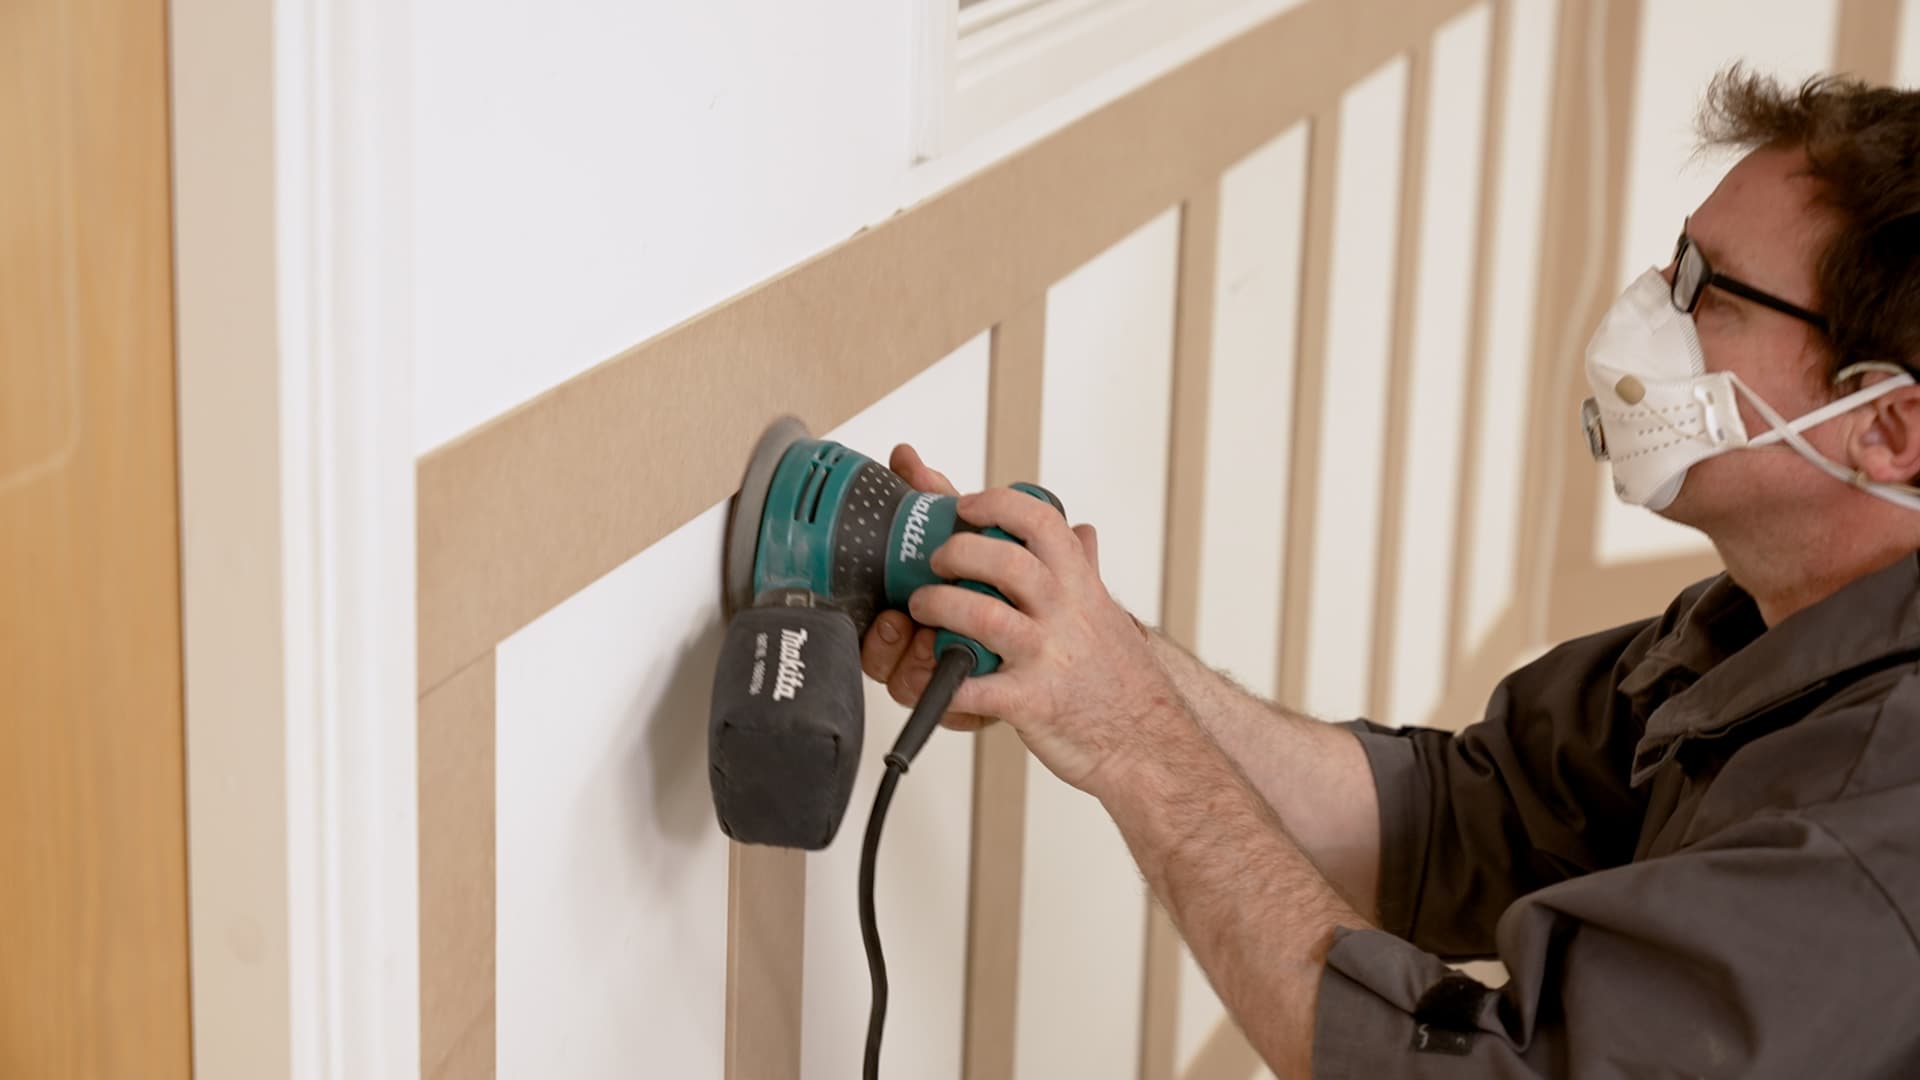
Sand and finish the wood panelling
Once dry you will need to sand over the join areas to ensure they are flush. Next you will need to fill any hairline gaps using a wood filler. Smooth on and scrape back the access with a silicone glue scraper for a nice smooth finish on your wood panelling.
Add the decorative moulding
Finally add a top rail with a shop bought moulding. Again, if panelling a corner or angled wall, you will need to work out where to cut your moulding to make a neat join. To do this, overlap one on top of the other into the angle of the wall and mark on the bottom piece where they meet and on the top piece, where they cross over.


Then switch their positions so the bottom piece is now on top and do the same. Then follow the pencil lines down the side, aligning the cross over centre point. Mark and cut this.
Fix your moulding with adhesive ensuring it is spread evenly across the surface before fixing in place. Once dry you can fill in the gaps as before using decorator's chaulk or wood filler.
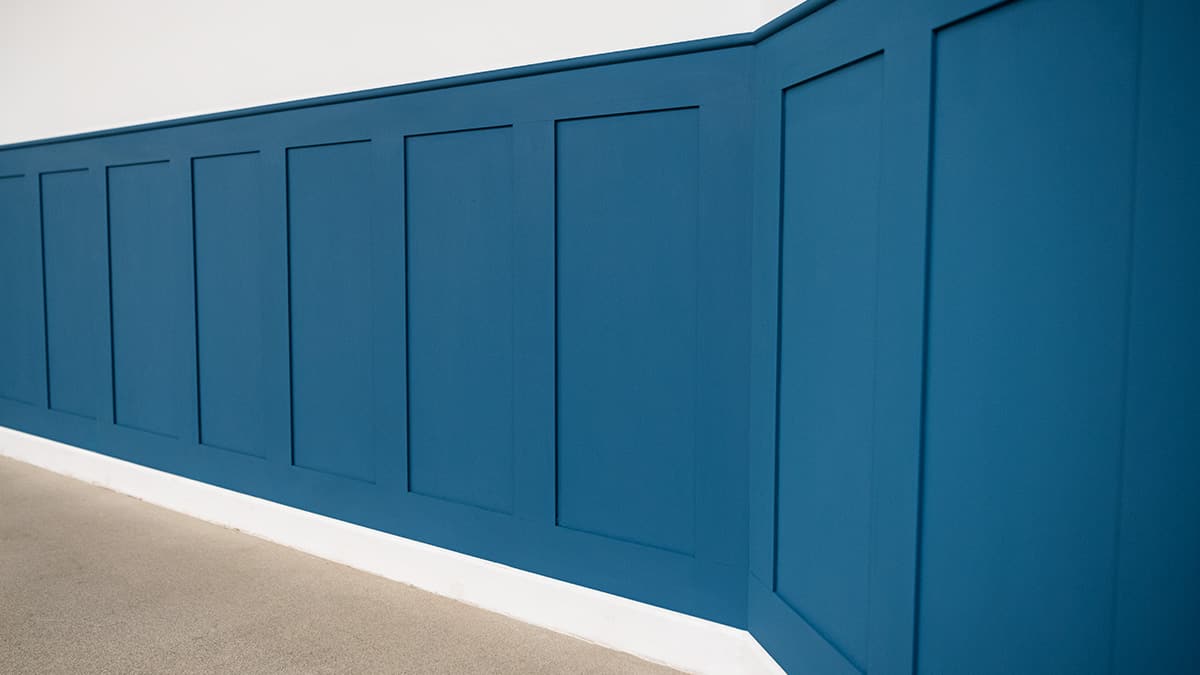
When fully dry you can paint. Use a primer as a base and then paint for your desired finished look.
Made it? Share it!
If you have made any of our projects we would love to see them. Share your photos with us on social media. Search and tag @axminstertools on Facebook and Instagram. Or upload to our online gallery.