Turn a Wooden Bird | How To
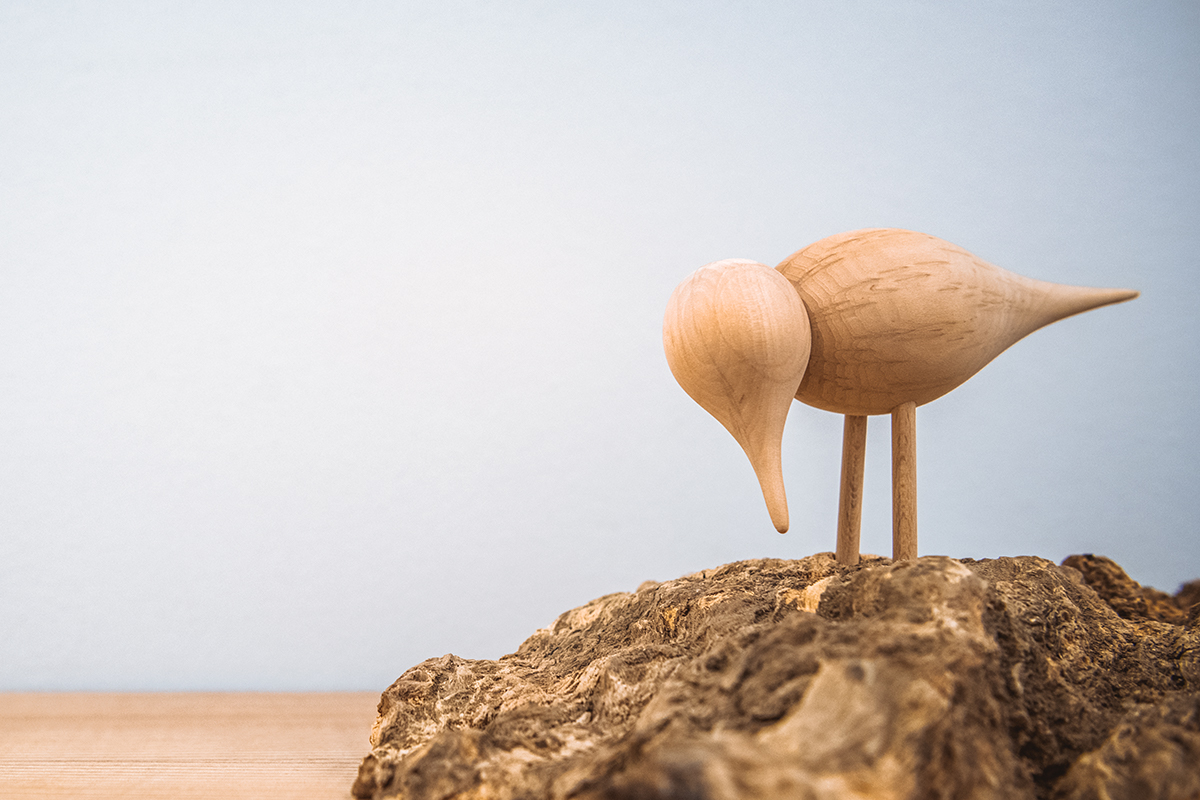
A fun project, this wooden bird is not only charming, but is easy to make.
Great to practice simple woodturning and shaping techniques, this simple wooden bird is the perfect project to sell at craft fairs or make as a gift.
Watch Colwin in our Woodworking Wisdom demo or follow our step by step guide below to make yours.
Turn the body
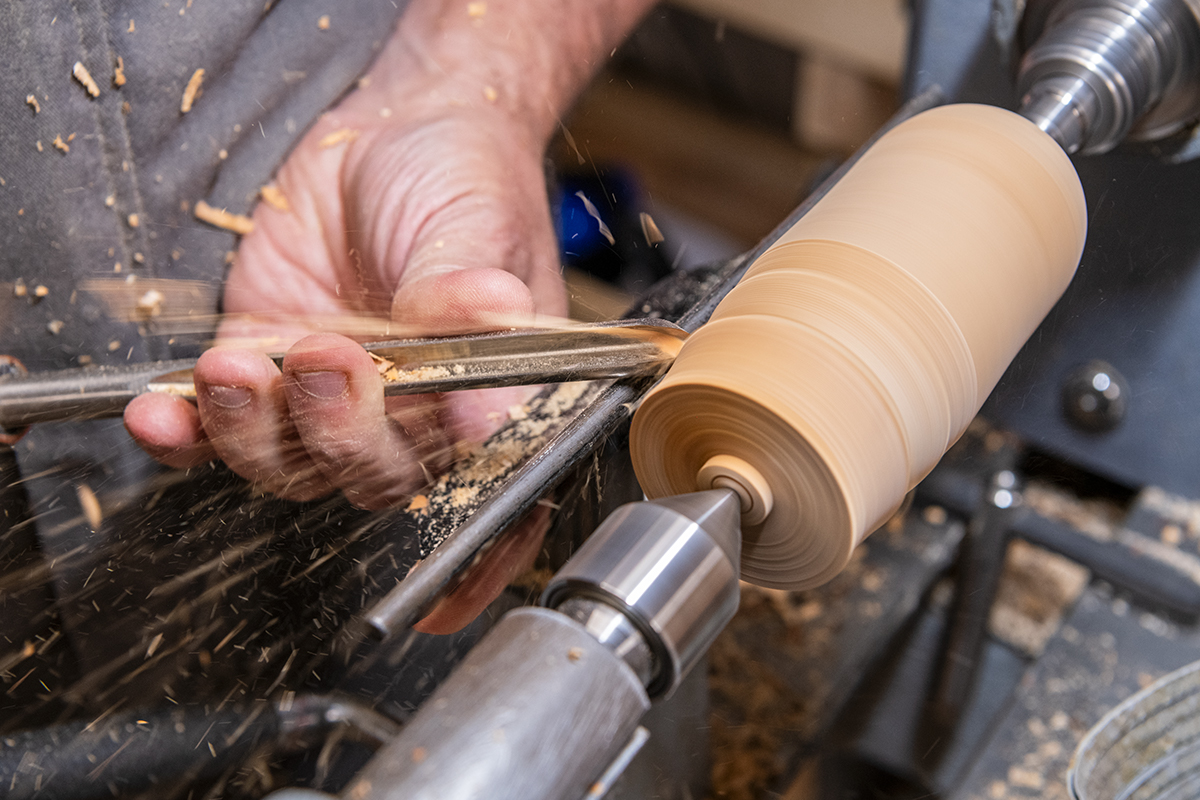
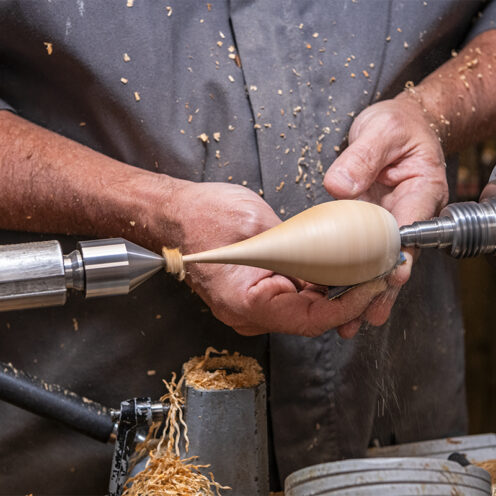
Rough your blank down to a cylinder then trim and tidy up each end and remove from the lathe before adding your chuck to hold the blank.
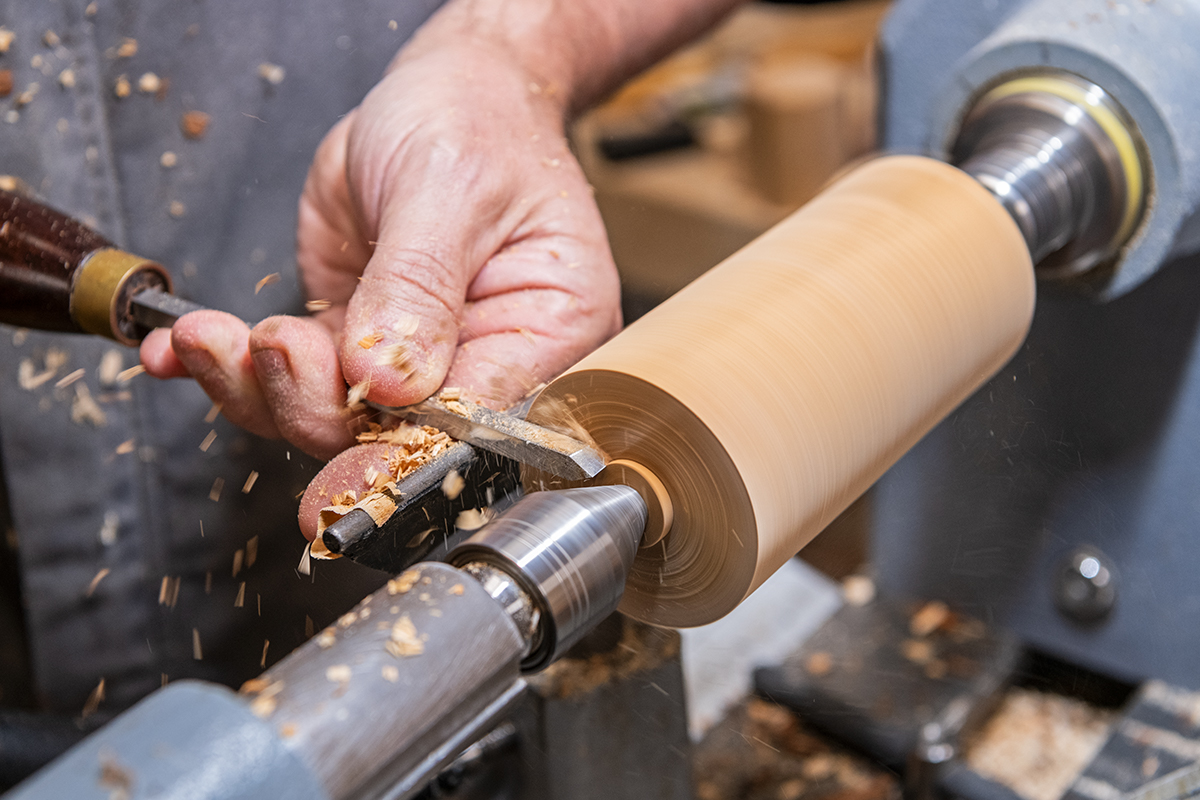
Using a bowl of spindle gouge, round over the exposed face then create a small 25mm cove to the end using a 6mm bowl gouge.
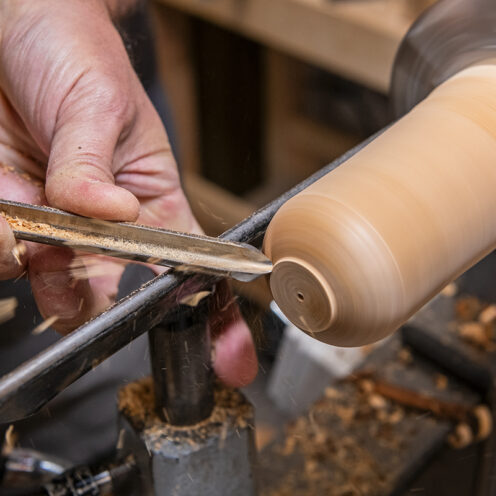
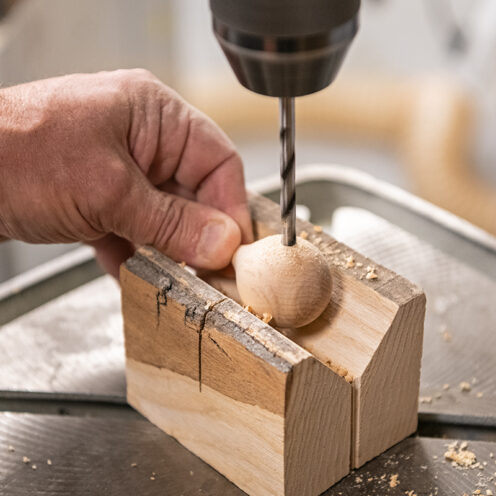
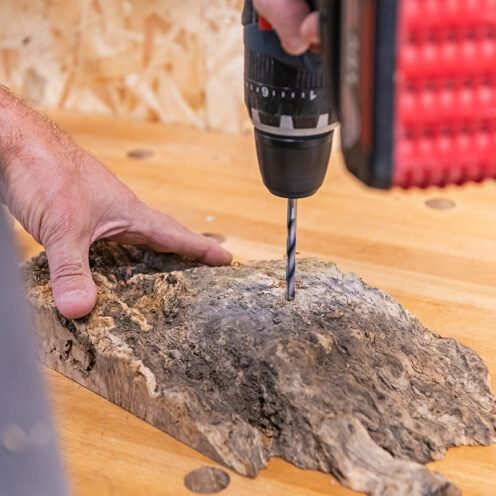
Use a 6mm drill bit to drill a hole 10mm deep then start to rough down the tail of the bird.
Once almost down to size, use the bevel rubbing push cut to blend in the curves and leave a good finish. Then sand the basic shape.
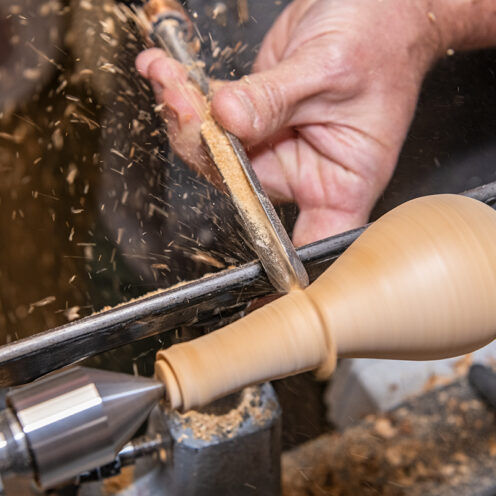
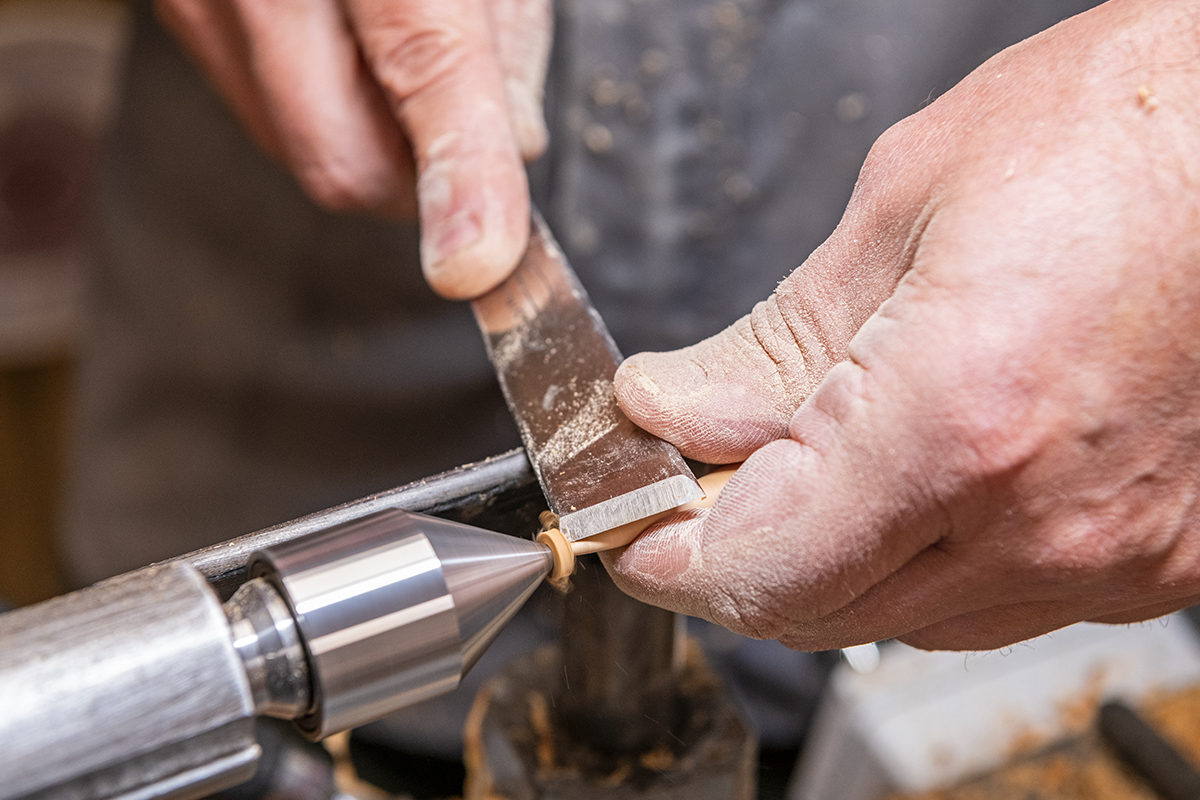
Finish the end of the tail after sanding, remove the last piece of waste wood by stopping the lathe and pairing of with a carving chisel.
Turn the head
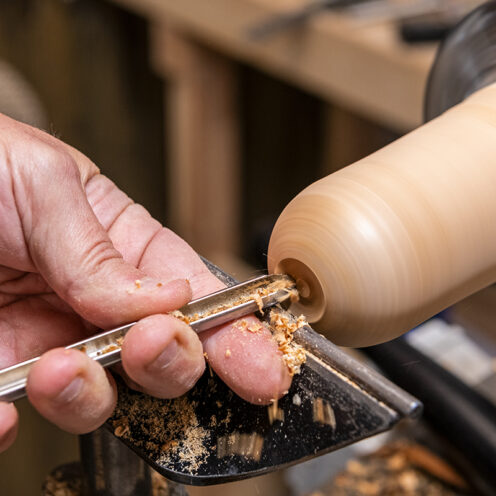
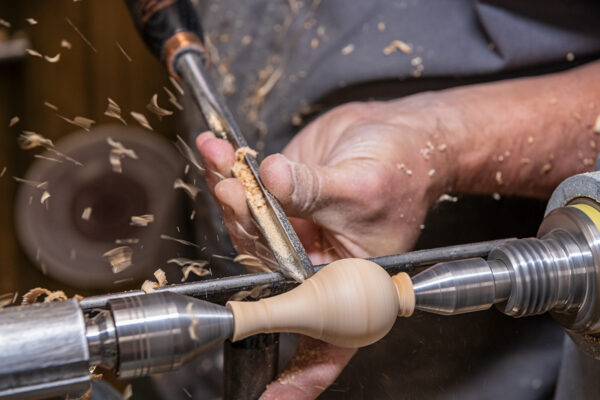
Repeat the above steps on the smaller blank to create the head, firstly by rounding over the back of the head then by shaping the beak.
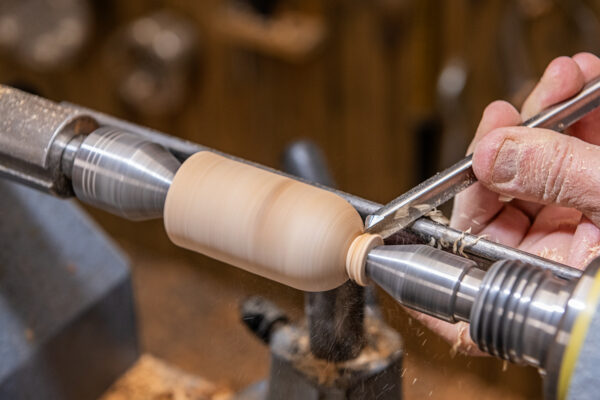
Remove the piece from the lathe and sand away the waste wood left by the lathe centres.
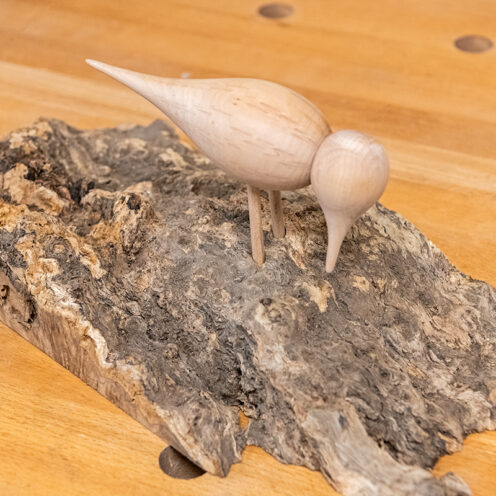
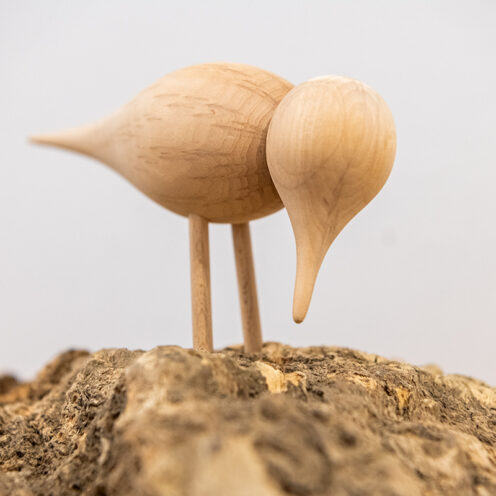
Assemble your wooden bird
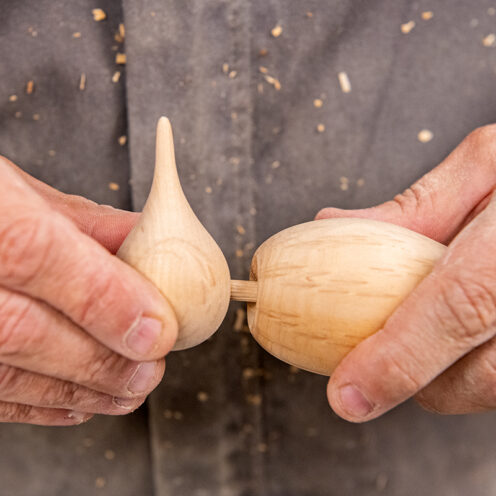
Using a v block, drill a 6mm hole in the head where it will attach to the body. Then using a piece of 6mm dowel, fit the head and body together.
Drill a further two holes into the bottom of the body for the legs to slot into. It’s a good idea to place the figure into position on the base block before drilling to give you an idea of angles you will need to drill to.
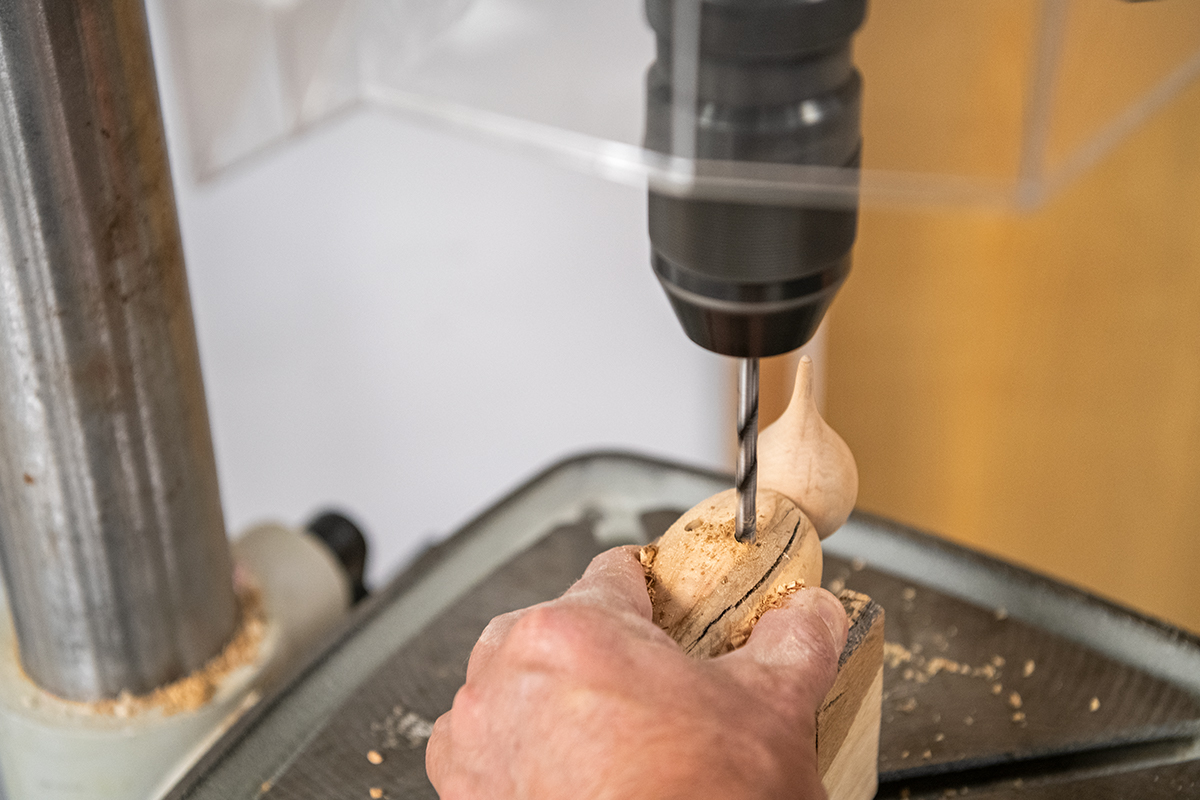
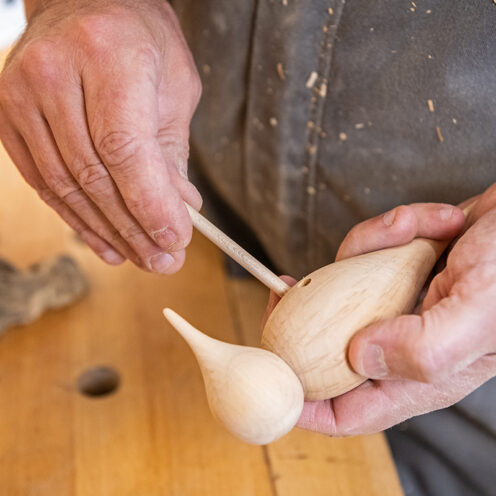
Using 6mm dowel, cut two pieces to use as legs and insert into the body and then offer the figure up to your base block and mark the placement before drilling.
Add the bird to the base wood to finish your wooden bird.
Wooden duck alternative
If you liked this bird project, then why not try this duck variation too. This project follows a similar process with some alternative shaping to the head and tail section.
Watch the video demonstration, or follow the alternative steps below.
The project differs only in the shaping of the head of tail. Follow the steps below for preparing the head and body pieces as you did before. Rough down and shape the body section and sand. Then do the same with the head section, rounding one end and tapering the other to form the beak.


Shaping the tail
Mount the body section into a jam chuck to finish the rounded breast of the duck, and sand to finish. Do the same with the head section. You can also refine your beak shape by sanding in the jam chuck.
To shape the other end of the tail, use a disc sanding pad on the lathe and simply sand away end to form a flick, rotating through 90degrees left to right, turning slightly to remove the edges. Also sand the bottom flat and a small flat area on the top of the body foe the head.


Once happy with the shaping, hand sand to finish. You can now assemble your duck, simply, glue the head and body together and spray with an acrylic spray lacquer.
Made it? Share it!
If you have made these wooden bird projects then we would love to see your pictures! Share your projects with us by searching and tagging @axminstertools on social media. Upload your images on Instagram or Facebook or upload to our online gallery.