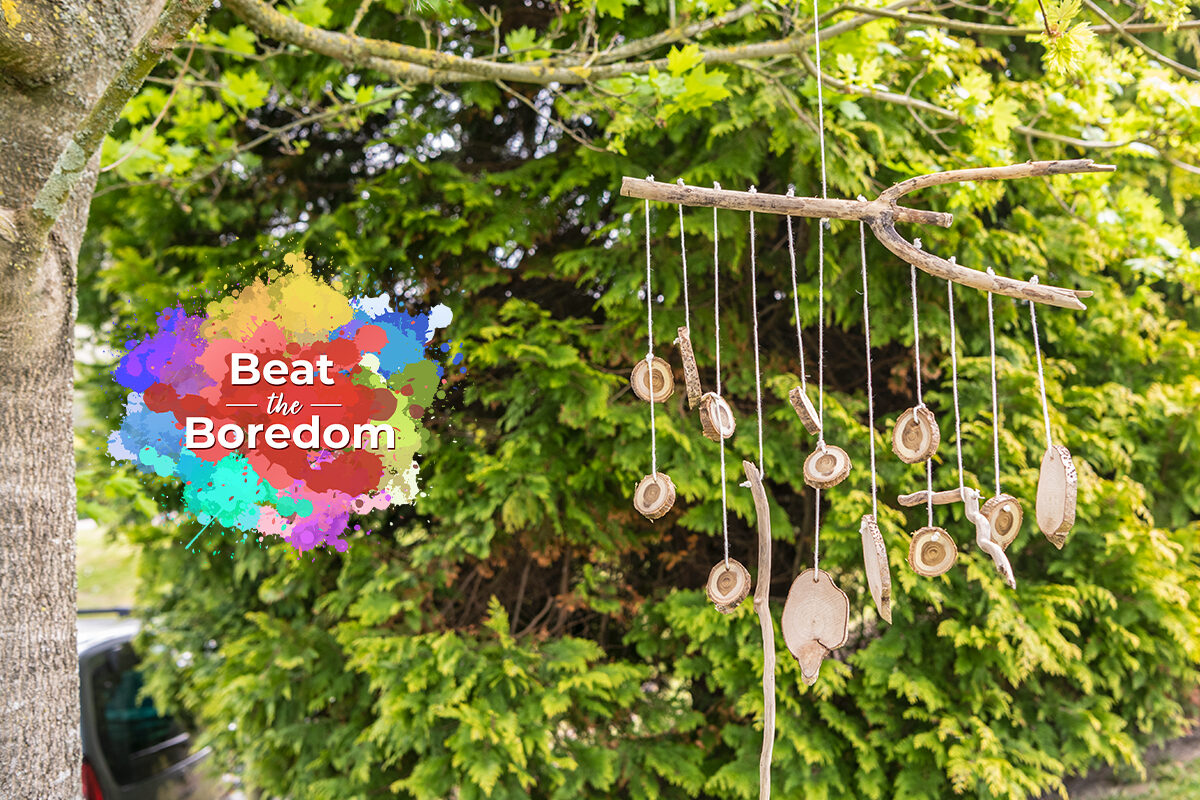
Wooden Wind Chime
Our rustic wooden wind chime is a great way to entertain the children over the upcoming weekend. Get outside and get creative!
Part 1 – Get organised
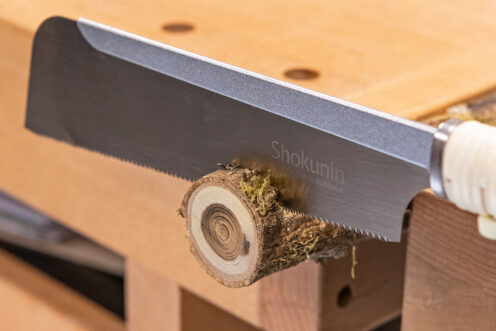
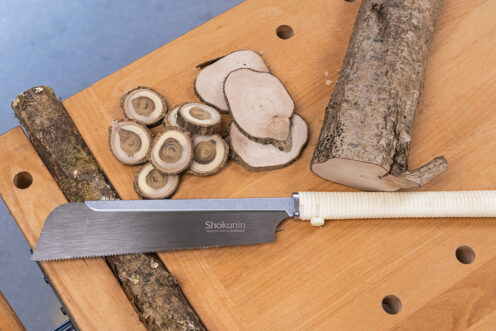
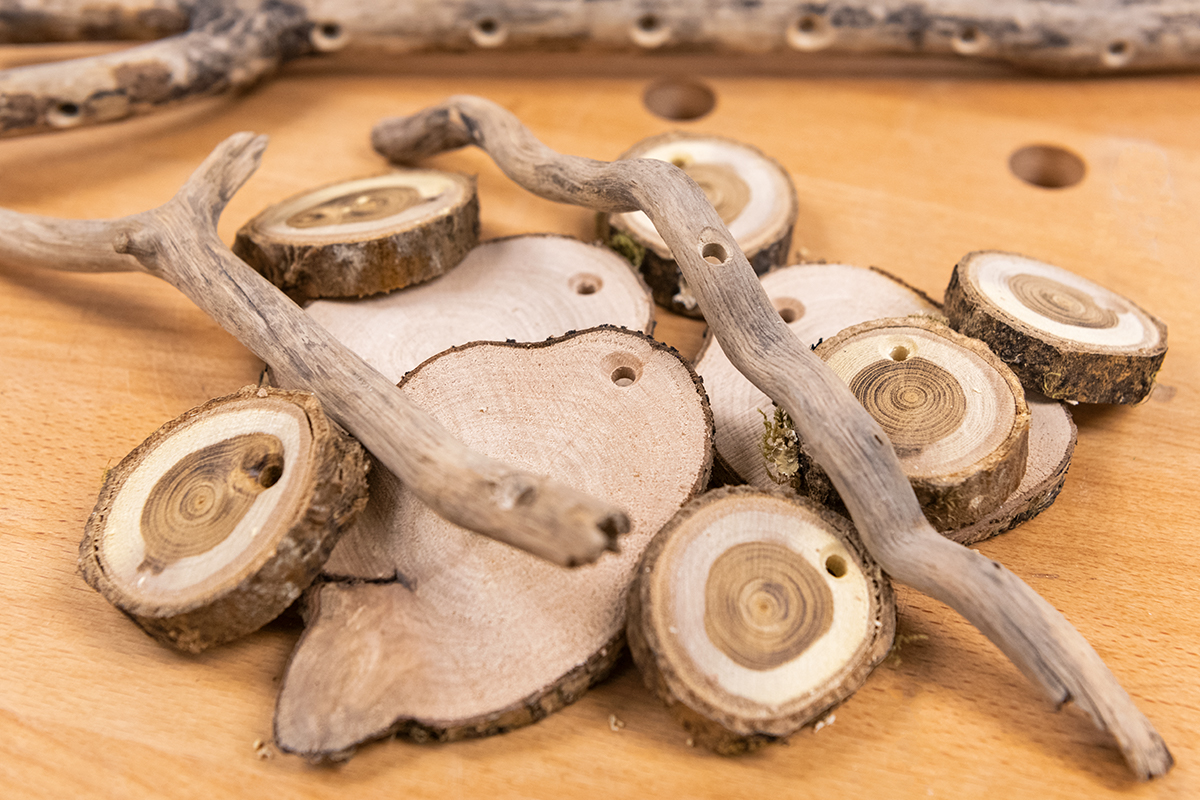
Choose your branch material. Cut into slices roughly 10mm thick to give each slice a bit of weight. This will help prevent the pieces tangling.
Part 2 – Plan the look of your wind chime
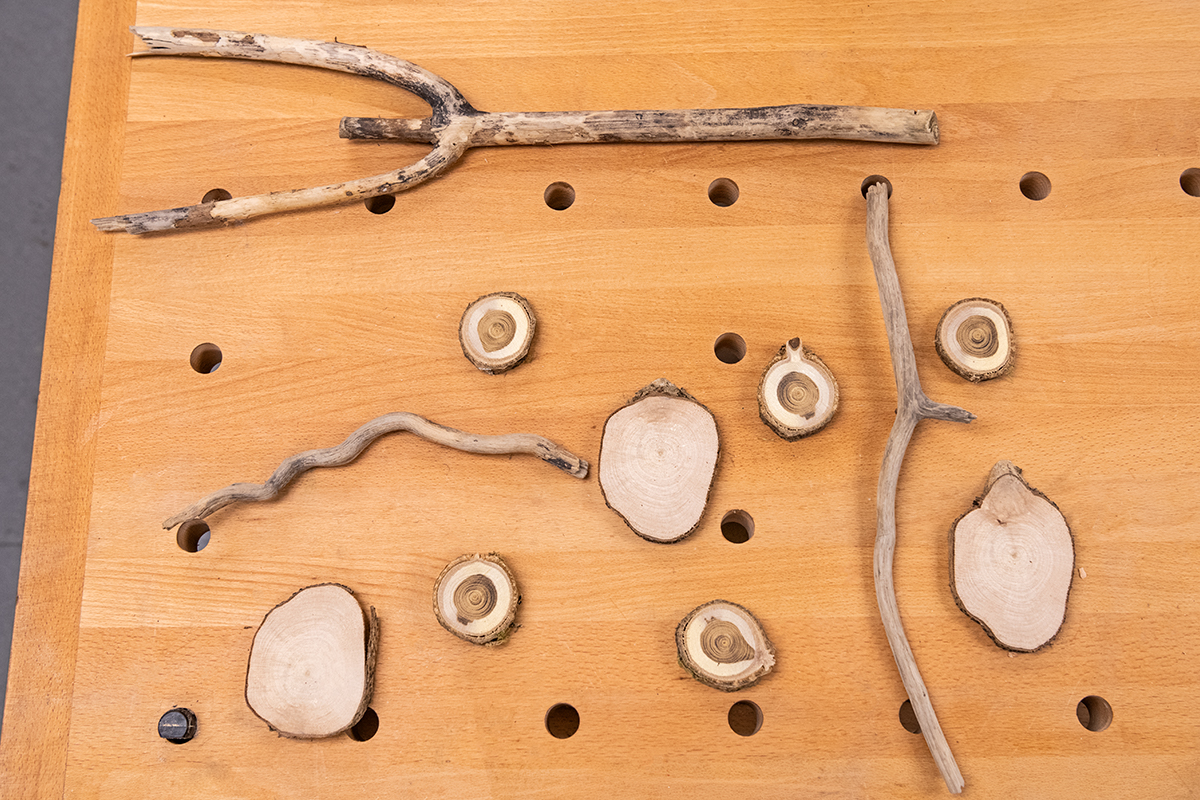
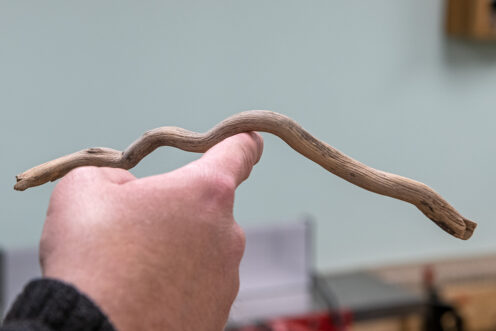
Choose a branch or stick from which you would like your project to hang from. Roughly lay out how you would like the wooden wind chime to look.
Part 3 – Mark out and drill
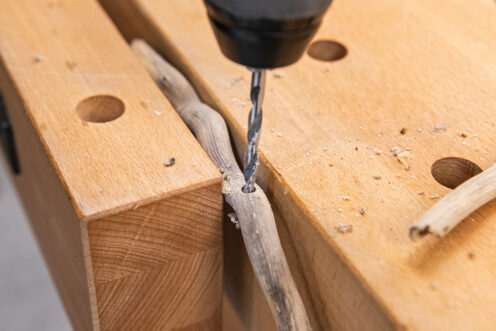
Mark with a pencil the spacings for your drill holes. In our example, we marked out every 40mm. Drill the holes with equal spacing making sure to hold your branch in a vice.
Part 4 – Tidy up
Clean all the drill holes using a Countersink
Part 5 – Drill and countersink
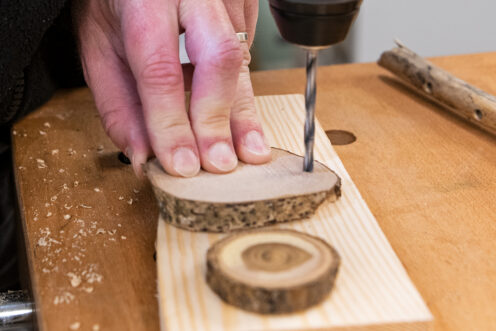
Using a scrap backing board for support, drill a hole through each of the slices, close to the top of each piece. Countersink all the drill holes.
Part 6 – Find balance point and drill
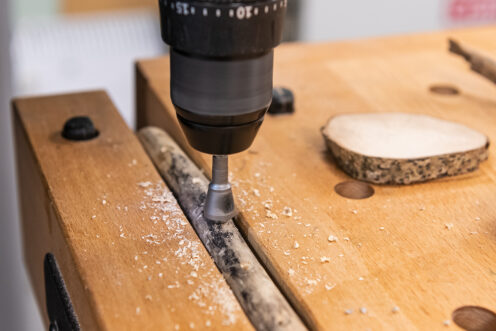
If you would like to hang any horizontal branches/twigs, find the balance point and mark with a pencil. Drill through. Again, hold the twig safely in a vice before drilling.
Part 7 – Sand, if desired
If you would like to sand the pieces, now’s the time to do it. In our example, we left ours rough sawn.

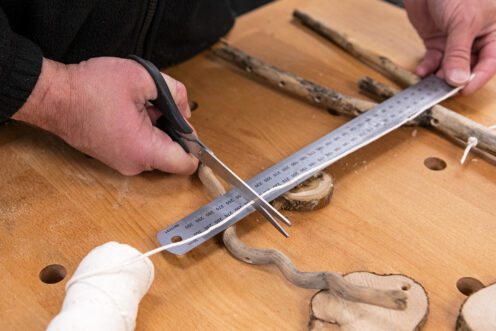
Part 8 – Sort string
Cut your pieces of string to length and tie a knot at one end. Pull through the long stick from which everything hangs and tie to the cut piece.
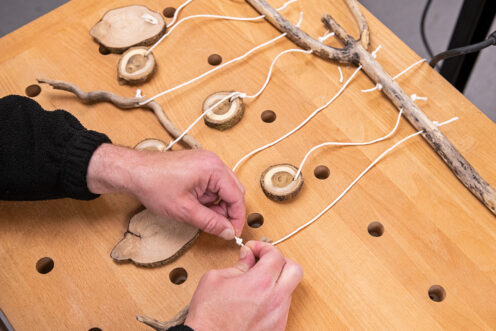
Part 9 – Check the balance
When all the pieces are tied on, lift your wooden wind chime up and check its balance. You may need to add or remove some pieces.
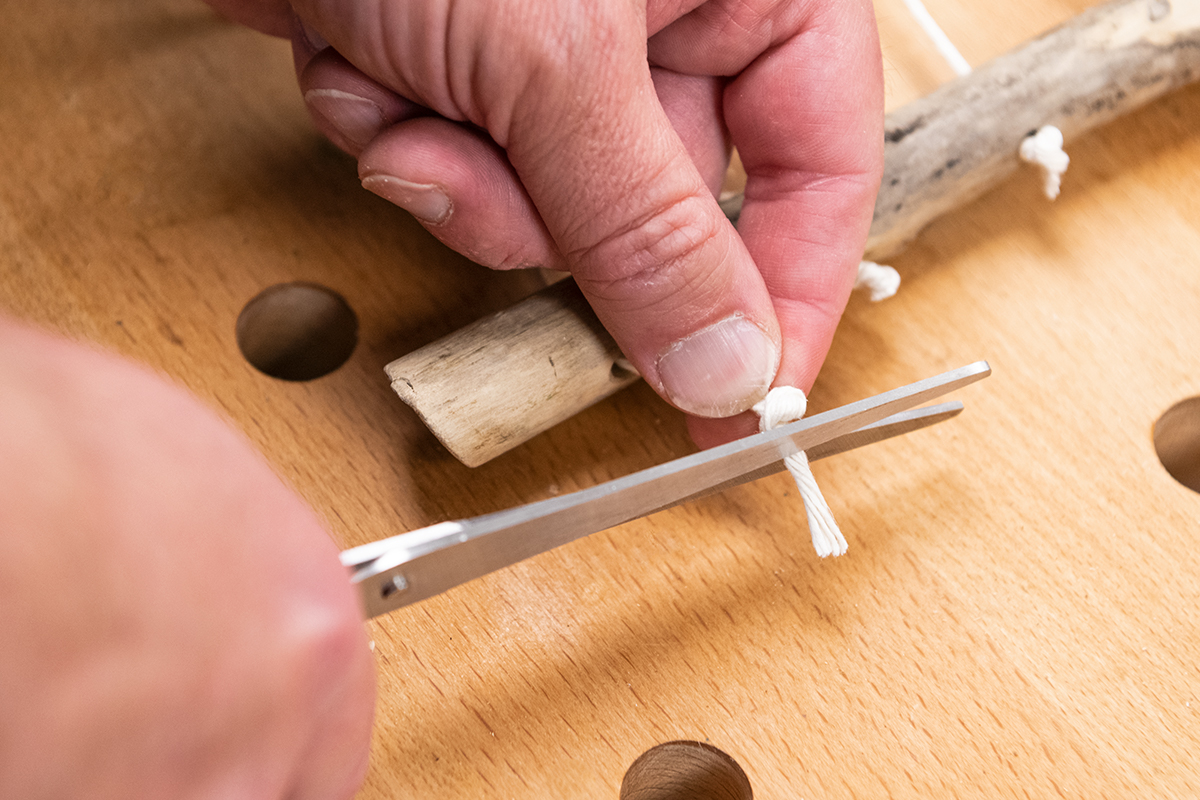
Part 10 – Trim
Trim all of the excess string to tidy up the project.
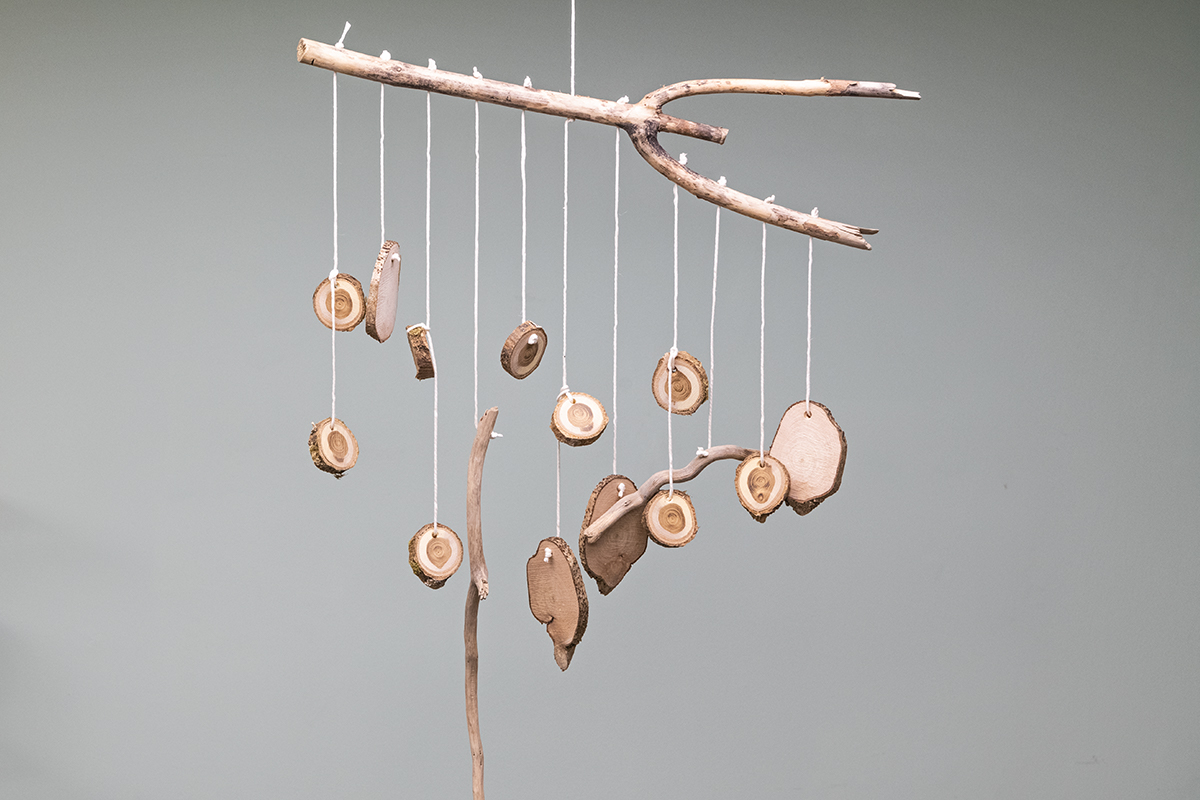
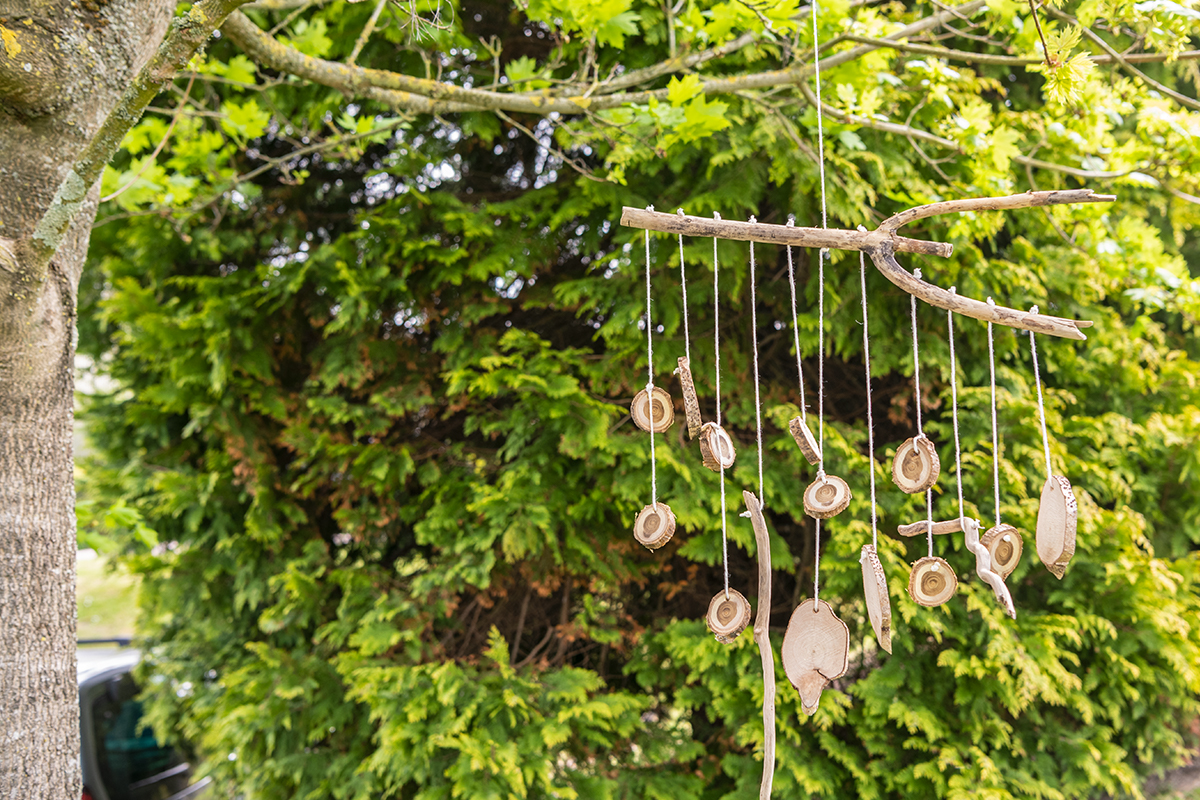
Part 10 – Complete
Your rustic wind chime is now complete! Hang in a windy area and enjoy its relaxing sounds.

Win a £25 Gift Card…
For a chance of winning at £25 Axminster Gift Card, simply show us what Beat The Boredom projects you’ve completed by uploading them to Instagram, Facebook or on to our Community Forum.
Snap It
Take a photo of your project.
Tag It
Use the #BeatTheBoredom hashtag and upload it to one of the following;
Discover more…
If you’ve enjoyed reading this article, keep an eye out for our next woodworking project for kids as part of our online Beat The Boredom series. Watch this space for more details! Furthermore, why not take a look at all of our previous projects below?
Stuck at home with the kids? Looking for something fun to do? We have the answer with our online Beat the Boredom Series. A great way to get the children involved in a variety of...
Get connected!
Follow us on Instagram and Facebook to stay up to date on all the latest from our Beat the Boredom series. Connect with us using #BeatTheBoredom to @AxminsterTools.