How To Make A Table Lamp | Woodturning Project
Woodturn a table lamp for your home
Highlight your living space and learn how to woodturn your very own table lamp. Watch our video or follow our step-by-step guide to creating an eye-catching, bespoke table lamp for your home. This great project for the intermediate woodturner enables you to brush up on your turning techniques using your chisels and the long hole boring system. In addition, we’ll also give you a brief overview of the light fittings we have available; leaving just the bulb and lampshade to source!
What you'll need
Making your lamp base...
To start your project you'll first need to decide what timber you want to use and select an appropriate size blank for your lamp. For our lamp base, we've decided to use a 100x100x300mm chestnut timber.
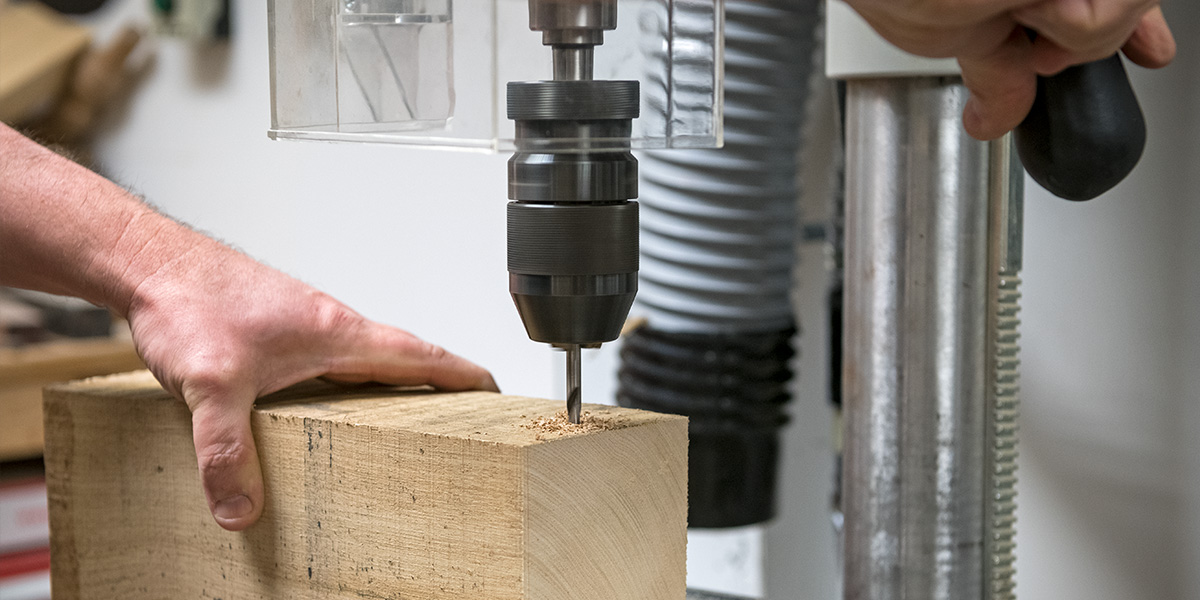
Step 1 - Make the side hole for your light cable
Start by making a small hole at the side of your timber, which will later be used to thread your light cable through. Do this using a 6mm drill bit and drill a hole that's 20mm up from the bottom, making sure to only drill to the centre of the diameter.
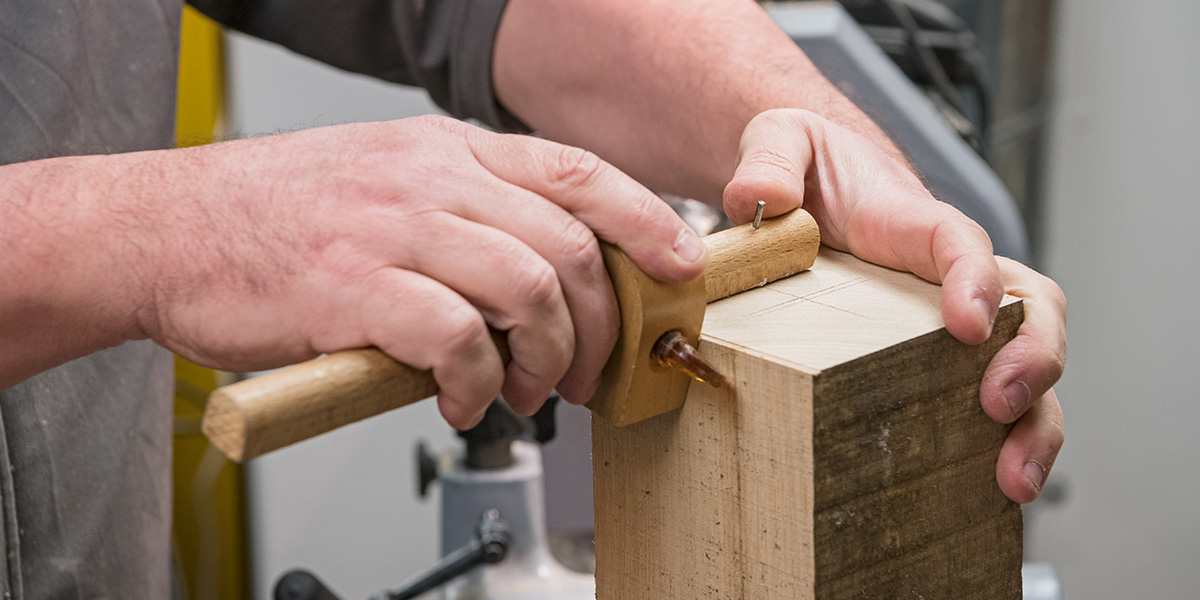
Step 2 - Find your centre point
With a marking gauge, score the top of your timber to mark your centre point.
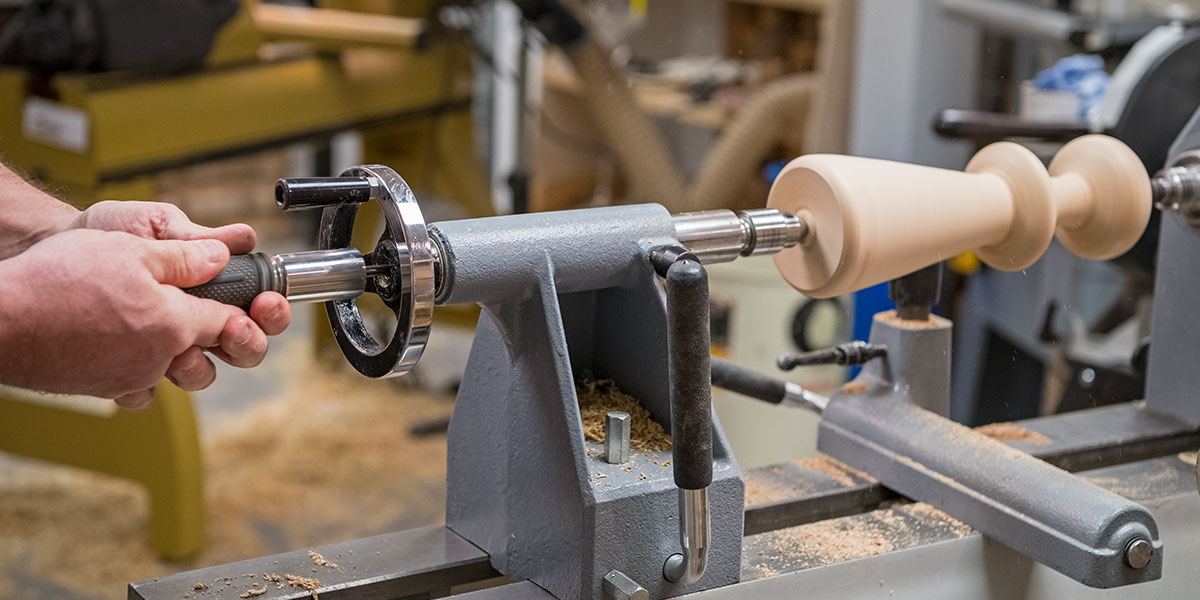
Step 3 - Mount your timber onto the lathe
To do this we’ve used a 25mm 4 prong drive in the headstock and a hollow live centre with chip ejection, starting with its short centring pin in.
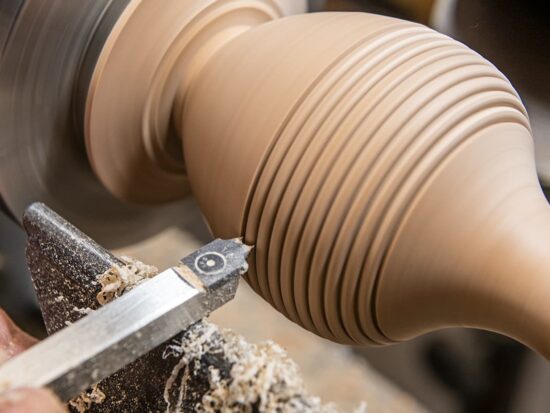
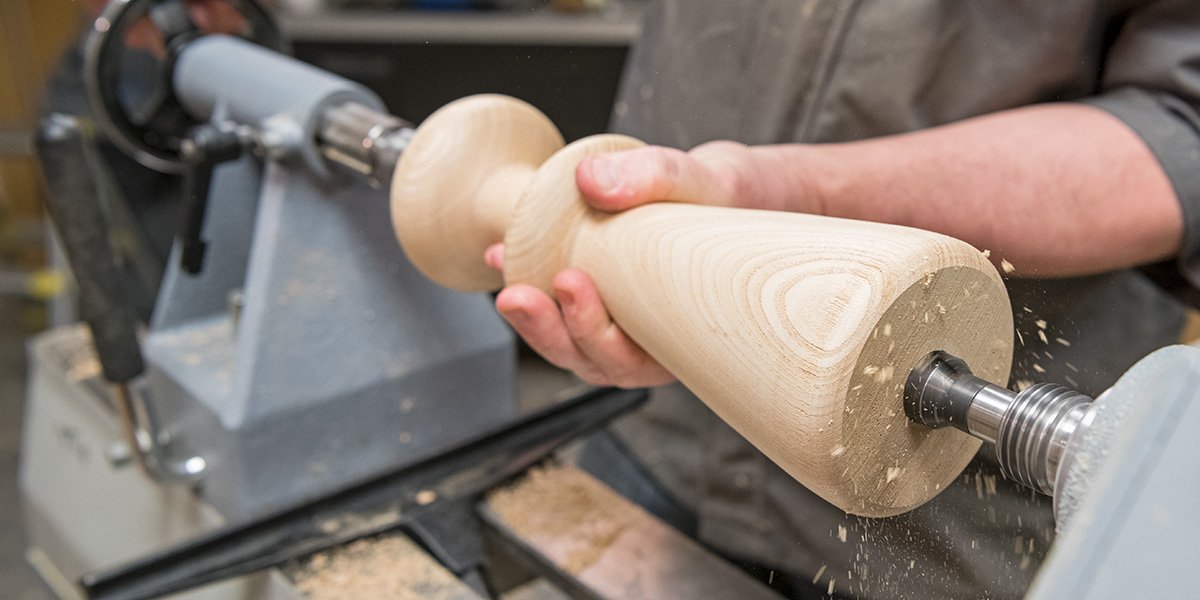
Step 4 - It's time woodturn your lamp!
Set your tool rest to below centre point, up to 6mm and using the roughing gouge rough down the sides and the bottom of the timber to create a cylinder shape. Then start shaping your timber to your preferred design using a bowl gouge.


Step 5 - Mark the main hole for the light cable
Inject the hollow live centre and tap out the small centring pin. Put the tailstock centre back in and locate using the now scored ring.


Step 6 - Bore the main hole for the light cable
Pass the long hole boring auger through the tailstock centre and into your lamp, boring two thirds the depth of your lamp. If screeching occurs due to dry timber, we recommend adding some polishing wax to the auger. You can find further information on how to use the Axminster Woodturning Long Hole Boring Kit by watching this video.


Step 7 - Reverse the timber & mount back on
Undo tailstock, remove the 4 prong drive from the headstock and insert the counterbore drive. Now, reverse the lamp onto the counterbore, locating the hole on the counterbore locating pin.


Step 8 - Final boring
Complete the boring of the final third (see step 5), until you break through into the hole you’ve already drilled down the middle.
Step 9 - Make the bottom hole for your light cable
Make a hole through the bottom of the lamp to later help when feeding the light cable through. To do this, remove the 4 prong drive from the counterbore and replace with the boring head. Advance lamp onto the boring head to drill a 25mm hole.
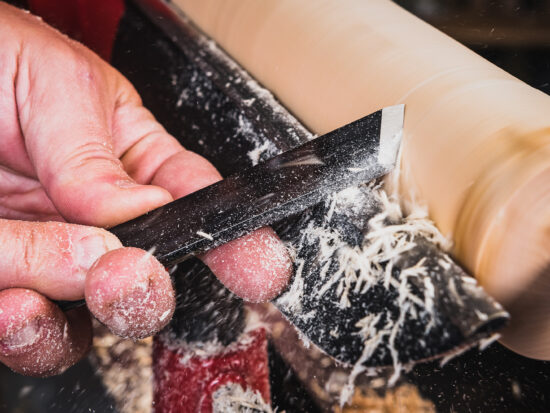
Step 10 - Tidy up and sand
Once you’ve finished drilling your hole, it’s time to tidy up the ends of your lamp using the skew chisel. Next, sand the whole of the lamp to prepare the surface ready for the next stage. To do this, work your way up through the abrasives from 100g, 150g, 240g and 400g.


Step 11 - Personalise and protect
Make the lamp your own with a coloured dye - we’ve used Chestnut Brown Mahogany Wood Dye to darken the colour and Hampshire Sheen Original Paste Wax to add a protective finish but there are plenty of different shades to choose so it's time to give your lamp some personality


Step 12 - Fit the hardware
Thread a 3 Core Brassed Flex through the base, to the top of the lamp. Then attach to a brass lamp fitting, for ours we’ve used a brass nippleand tapped it into the top of our lamp base using a nylon hammer. But, if your lamp features a flat top you can use a brass mounting plate and secure this to the top of the lamp with brass screws. For the rest of the lamp fittings, we’ve also used a brass lamp holder, cord clamp and 13A plug - don't forget to ask an experienced electrician to carry out the wiring on your lamp.
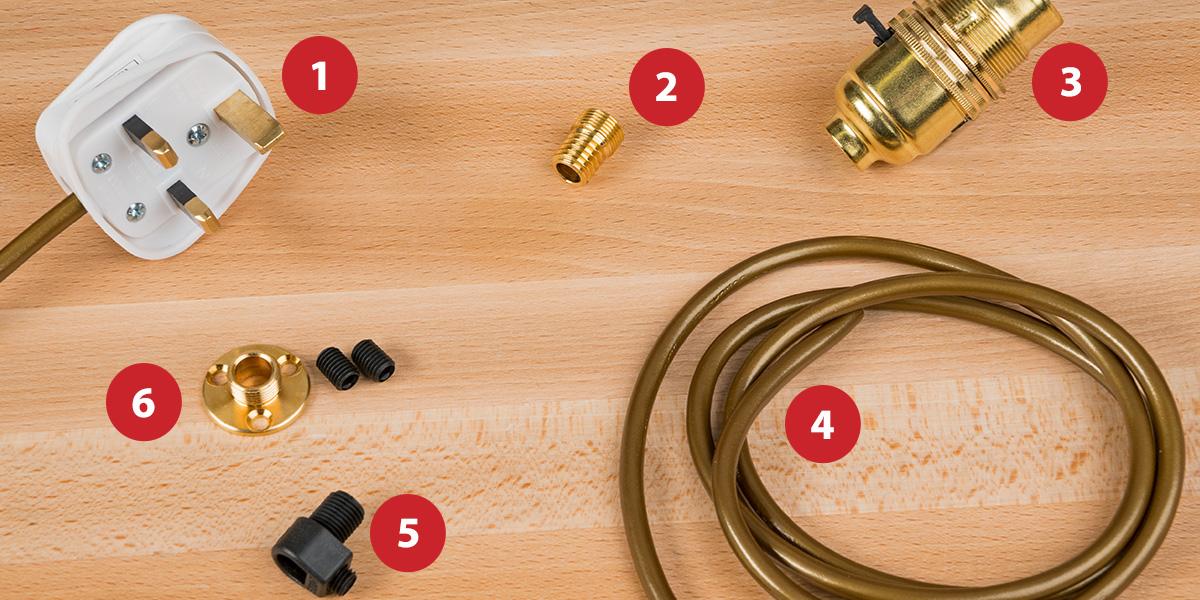
- Standard White 13A Plug
- Brass Nipple
- Brass Lamp Holder
- 3 Core Brassed Flex
- Cord Clamp
- Brass Mounting Plate
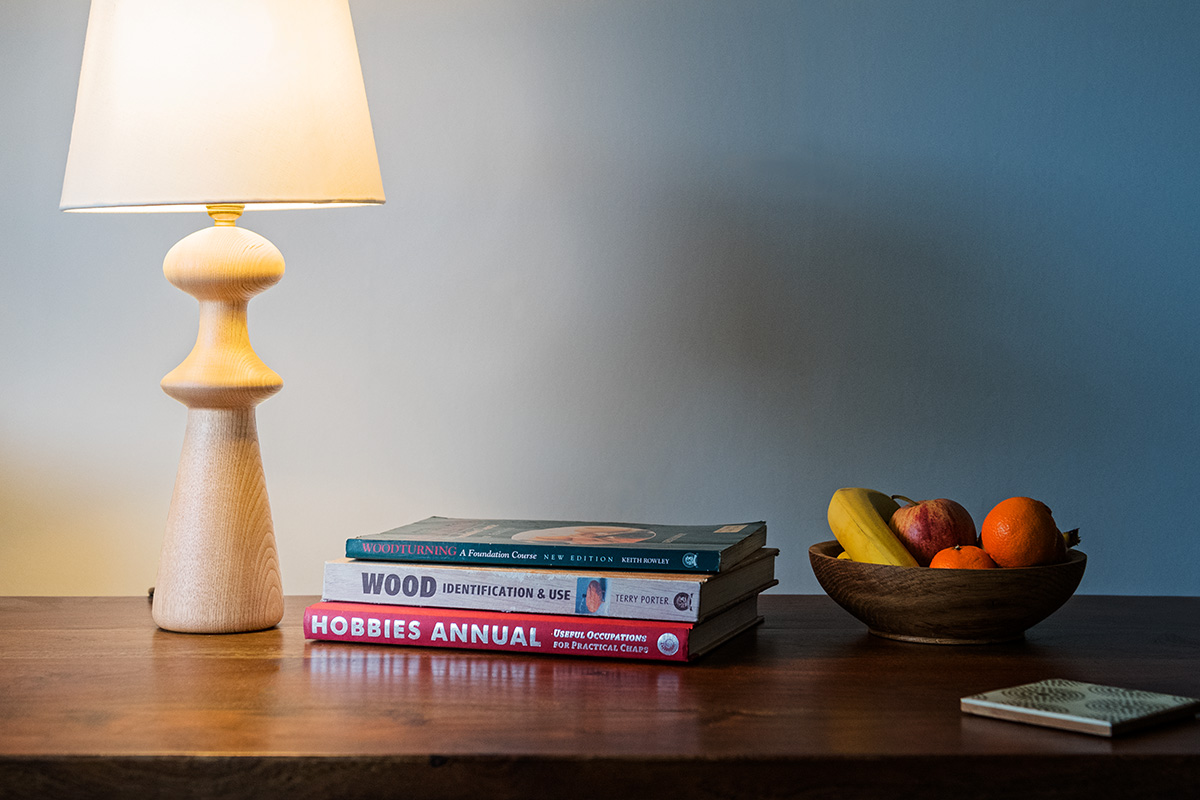
Show us your lamp in situ!
We hope you've enjoyed learning how to create your own bespoke lamp. If you've had a go at making your own, we'd love to see them in situ! Why not comment below or send us a photograph to show us your new bright space.
Alternatively, find us on Facebook, send us a tweet or tag us on Instagram using #makealamp to @AxminsterTools.
More woodturning project inspiration
Whatever your woodturning skill set we have a project for you! If you’re just starting out in woodturning, then our How To Make A Rolling Pin is a great project that’ll put your skew chisel into practice! Or if you’re a more advanced turner, our How To Make A Salt And Pepper Mill or Lazy Susan will not only improve your turning technique but will also make a great addition to your home!