How to Make a Baseball Cap Rack | Beat the Boredom
What you'll need
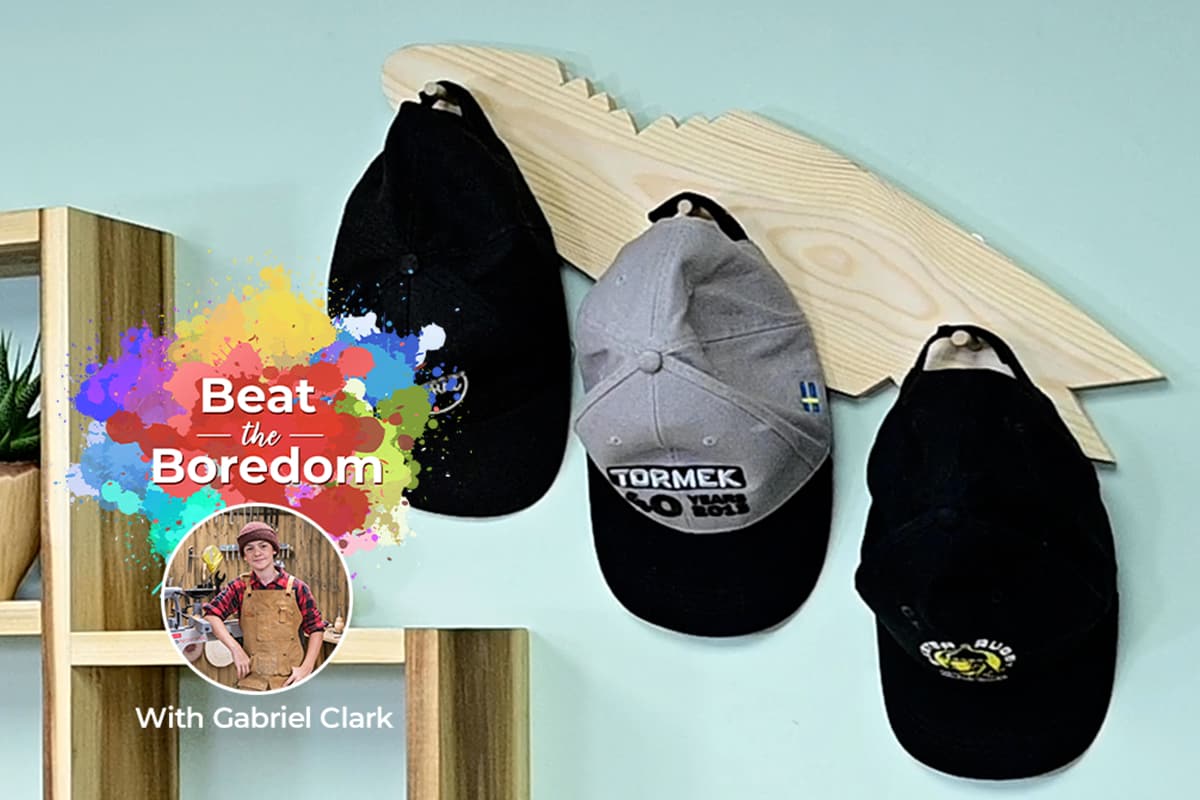
Join Gabriel Clark in this Beat the Boredom video, as he makes a cool baseball cap rack, an excellent project to try with kids.
In this video, Gabriel is joined by our very own Colwin Way, where together they make a simple cap rack which can be made using a selection of simple hand tools.
This cap rack can be made to any design and would look great on a bedroom wall, office or playroom.
How to make your cap rack
To make this project you need a few simple hand tools.
Take your timber and mark out your chosen design. Let your imagination run wild! Then, using a hand saw (or scroll saw if you have one) cut out your design. Finish the rough edges with a sander or hand abrasive.
Next, drill the holes for your dowel hangers. You can use a hand drill or pillar drill.
Cut your dowel to length, tidy the edges with abrasive and glue into the holes using PVA wood glue.
You can add whatever finish you like - you can paint your cap rack or use a protective oil for a more natural finish.


More projects to try
If you enjoyed this project, then why not Join Gabriel, as he makes a wooden smartphone speaker or a mini finger skateboard. Or have a look through our other Beat the Boredom projects for more project inspiration.
Made it? Then share it!
If you made this project, or any of our other Beat the Boredom Projects, then we would love to see them. Tag us in your photos on social media with @axminstertools and show us what you’ve made. Find us on Facebook and Instagram.