How To Make A Barbeque Grill Scraper
Summer is now in full swing; what better way to enjoy the nicer weather and longer evenings than by inviting your family and friends over for some al fresco dining in the garden? With this handy barbeque utensil, you can make sure your barby stays clean and grilling for longer! Easy to make and better than metal, this wooden scraper has no bristles making it safer to use but also sturdy enough to do the job well without damaging your grill.
What you'll need
Make your very own bespoke BBQ grill scraper
Perfect for using up scrap pieces of hardwood, a barbecue scraper or grill scraper is the ideal tool to clean your barbecue rack after grilling. This easy-to-make utensil can be adapted to any size suitable for you and can also be engraved to add a personal touch for the BBQ pit master (AKA head chef!).

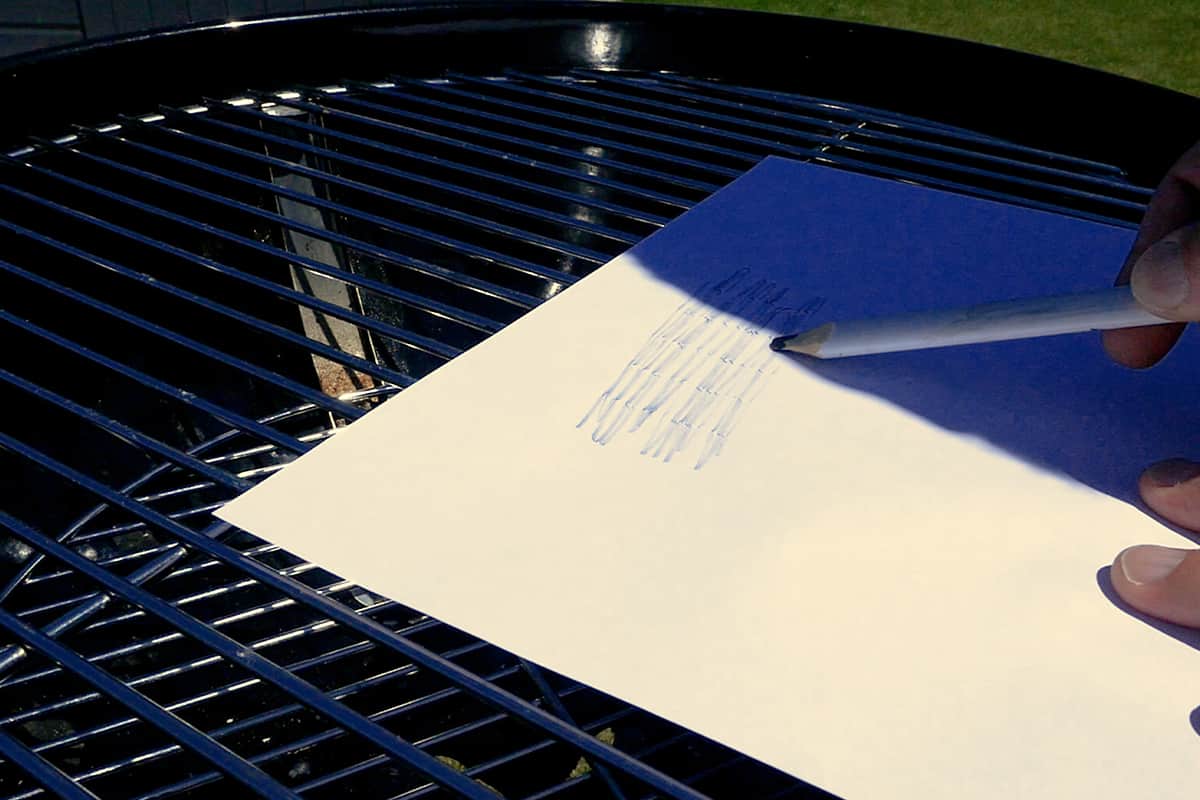
Part 1 – Pinpoint the grill rack
Do a pencil rubbing of the BBQ grill.
Part 3 - Mark out your scraper shape
Start by marking the centre line. Measure the bottom width (100mm in this instance) of the scraper and on the other end mark out the width of the scraper handle (35mm). You can make your shape as curved or as straight as you would like. Here we have gone for a gentle curve to keep strength in the handle. You only need to mark out the shape on one half of your design as we will mirror the shape further into the project.


Part 4 - Mark the grooves
Using the pencil rubbing mark out the gaps in the grill and using a pencil work out where you will drill to make the grooves to perfectly fit the BBQ grill.


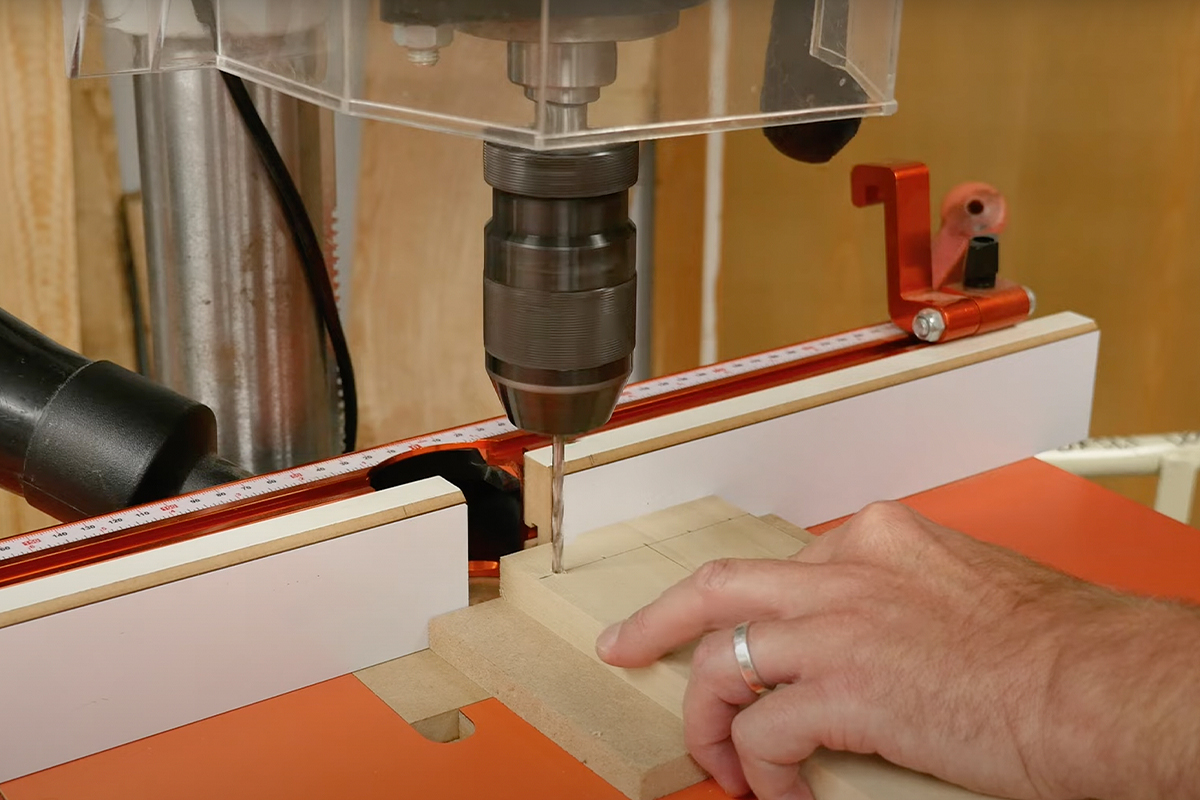
Part 5 - Drill your scraper
Use a 4 or 5mm drill bit to make the grooves that you have just marked out. We've used a pillar drill but you can also use power tools.
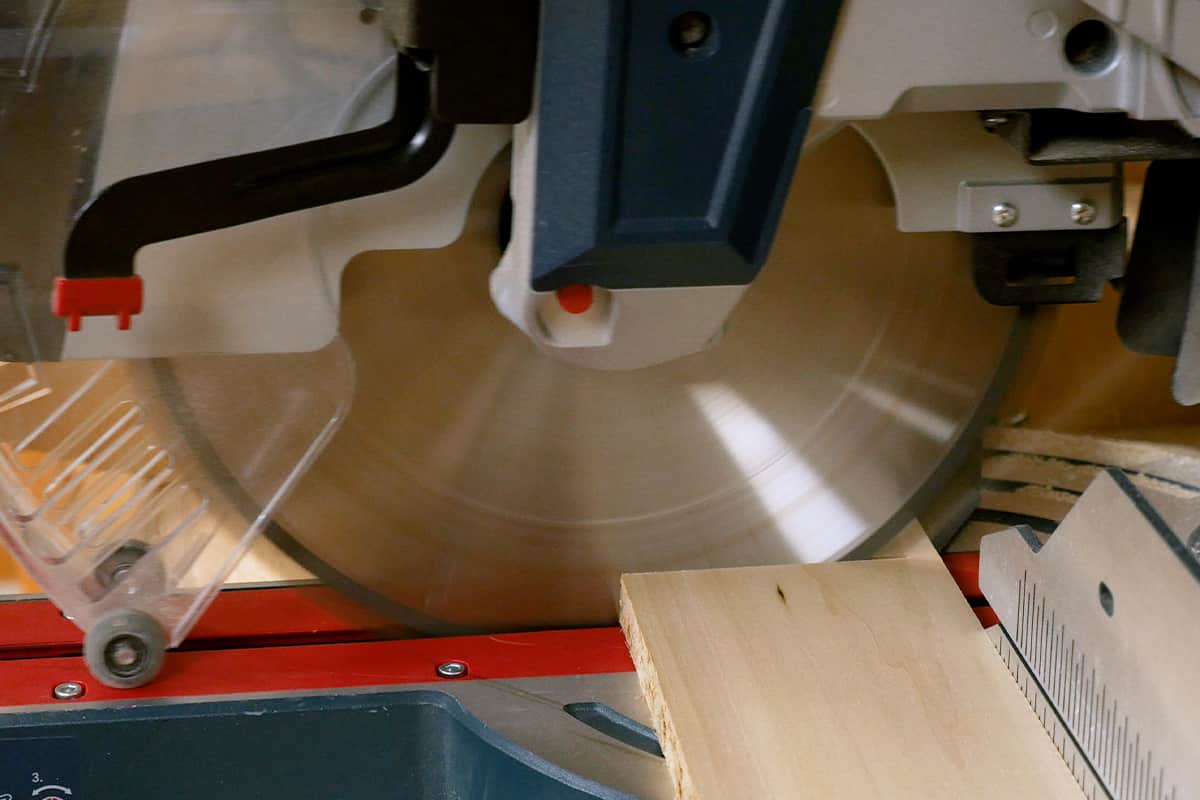
Part 6 - Cut out the shape of your scraper
Use the shape that you have just cut out to place on top of your project aligning it to the opposite side of the timber to mirror the shape. Cut out the other side of your scraper, not forgetting the top and the bottom also.


Part 7 - Sand your piece
Sand the project all over including using a belt sander, sanding paper, and block finishing off with a scraper to get a lovely finish. Use a rasp to make deeper grooves for the grill if you want.


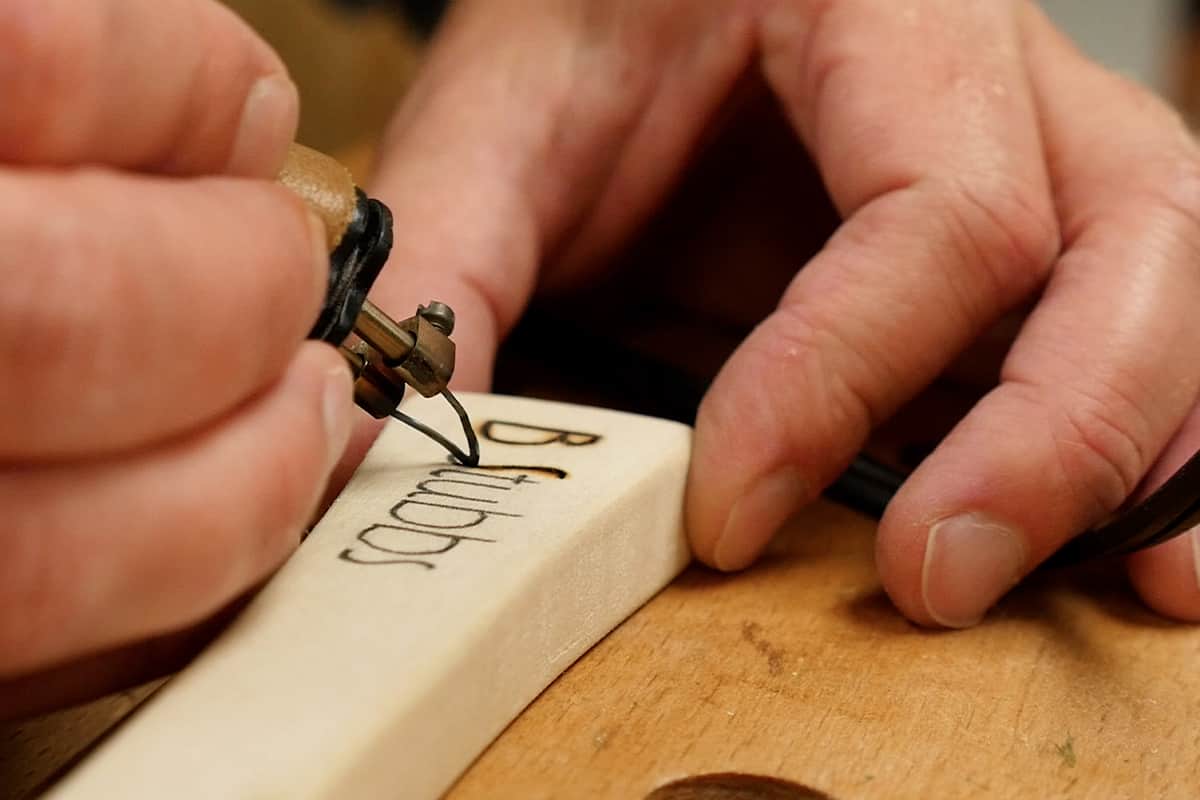
Part 8 - Add a personal touch
Customise your scraper with pyrography if you fancy.
Part 9 - Finish it!
Apply a couple of layers of food safe finishing oil and get ready to grill!


Discover more…
Looking for more project or gift inspiration? Browse our How To projects and see what sparks your woodworking interest.
Get Connected!
Follow us on Instagram and Facebook to stay up to date on all the latest projects.