Step-by-Step: Pyrography Techniques
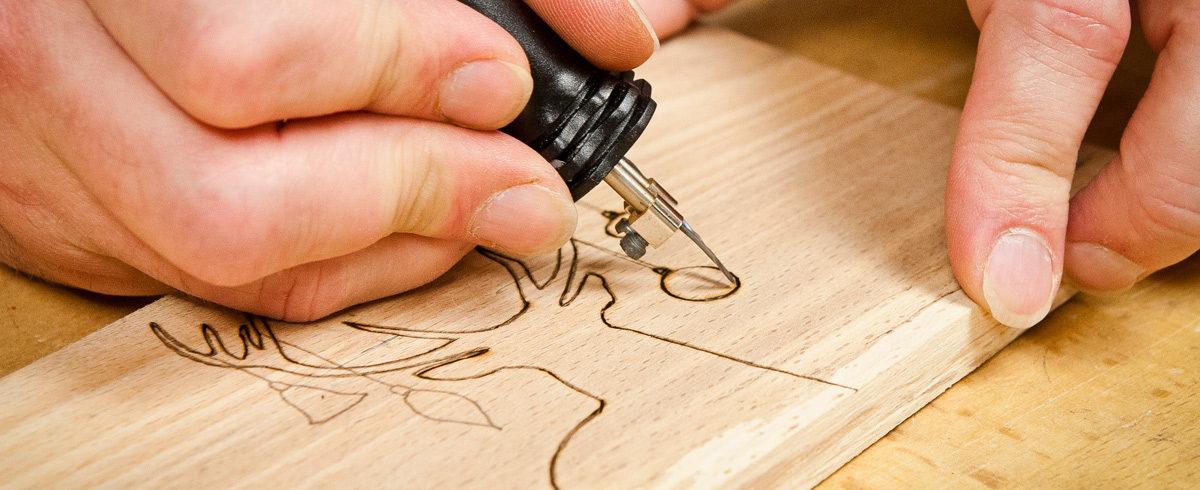
In this article you can learn some basic pyrography techniques and have a go following our step-by-step guide from Woodworking Wisdom presenter and craft expert, Ben Beddows.
We offer an extensive range of wood burning tools and accessories to get you started! Develop your pyrography techniques with our professional tutors!
Tool Checklist
Step 1 - Prepare your blank
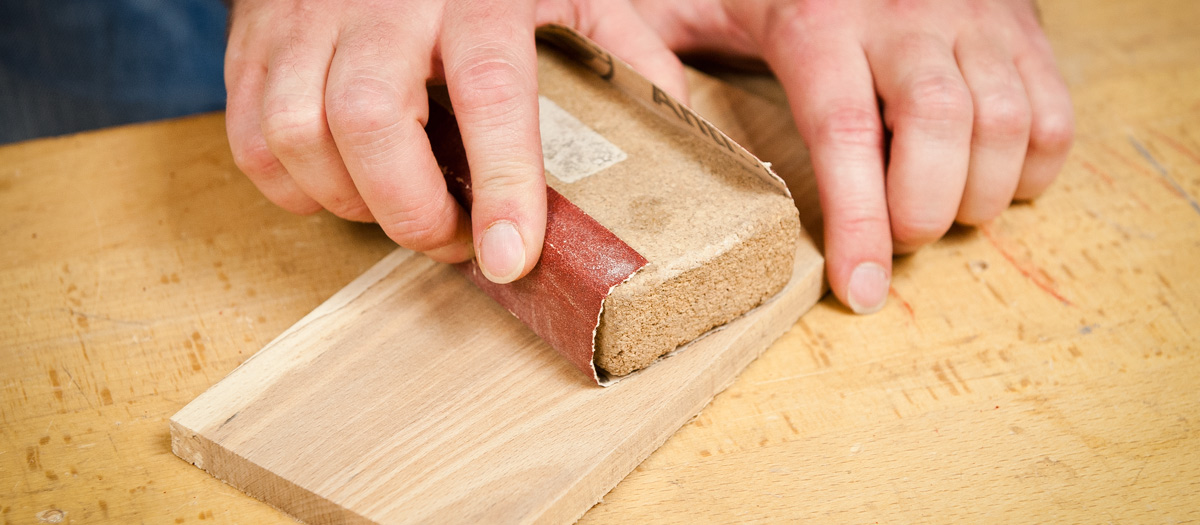
Choose your preferred wood blank. Sycamore or beech is best but birch ply will do. Sand using a sanding block and go through the grades up to 400 Grit.
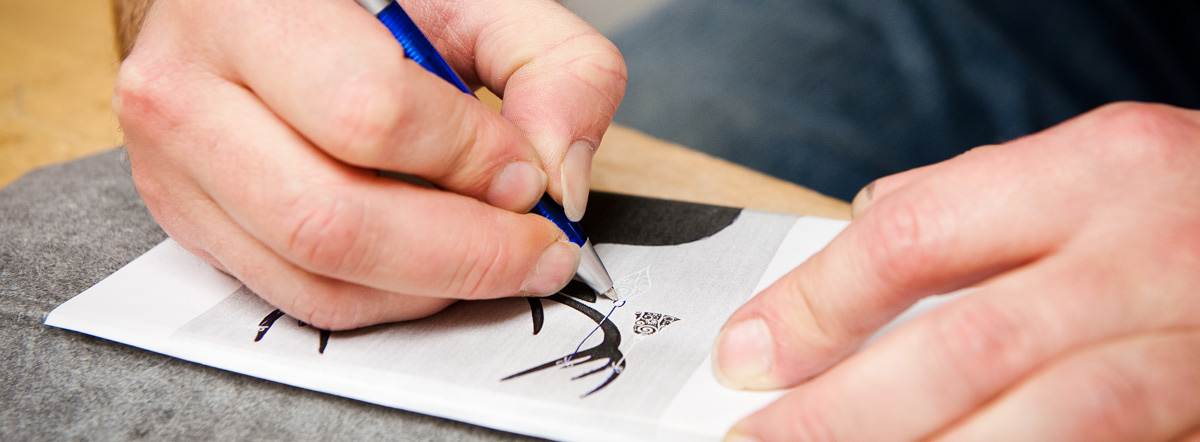
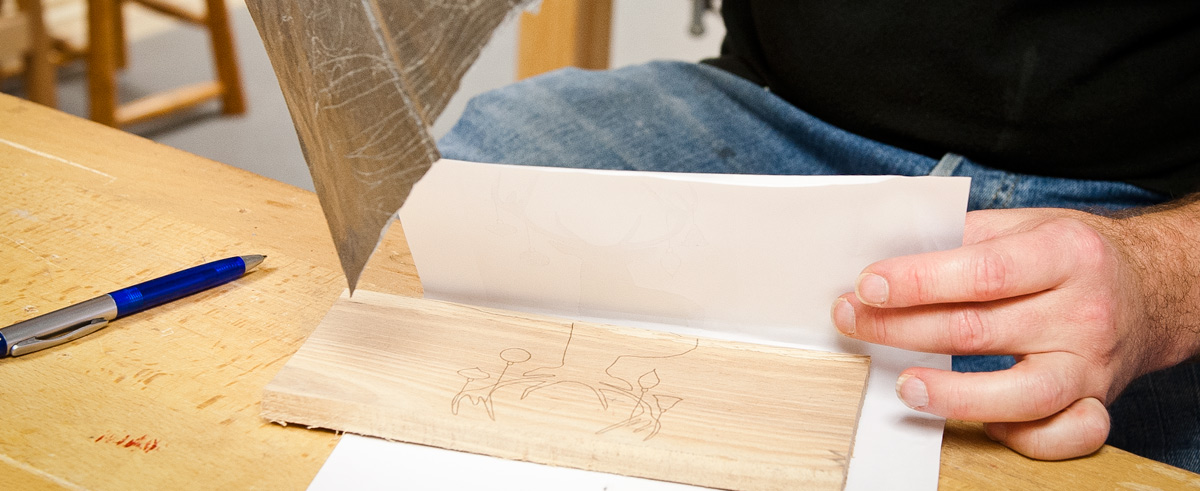
Step 2 - Transfer your design
I use carbon paper to transfer the design, but you can trace, cut out, draw around or draw freehand straight onto the prepared blank to leave an image of what you want to burn.
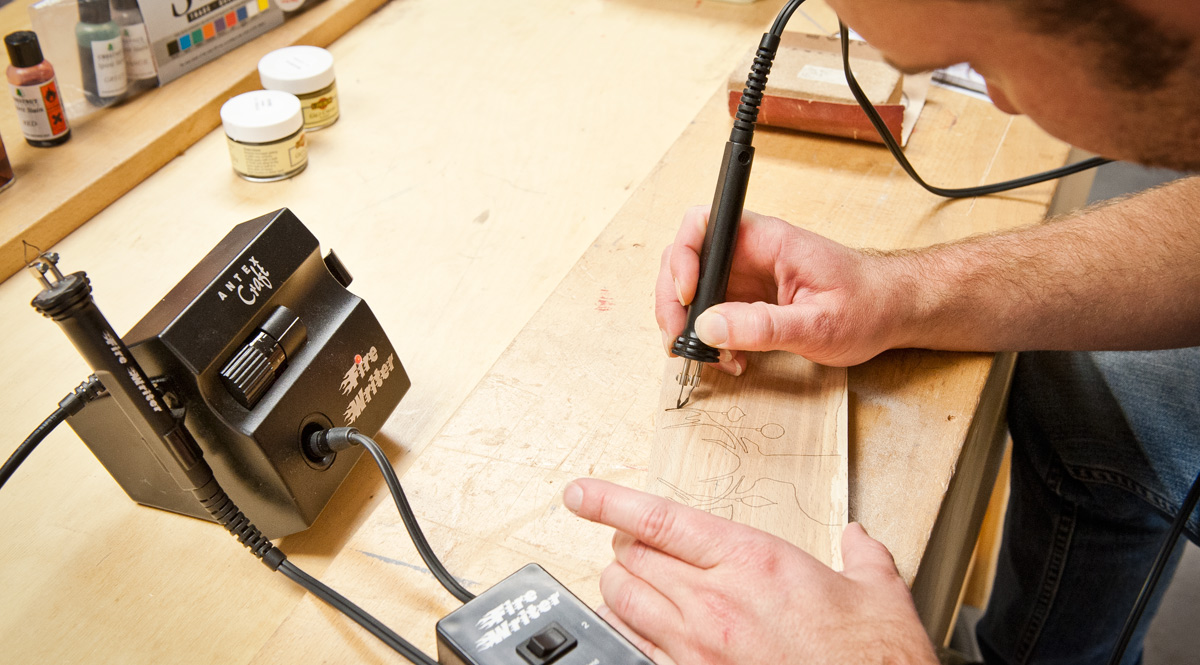
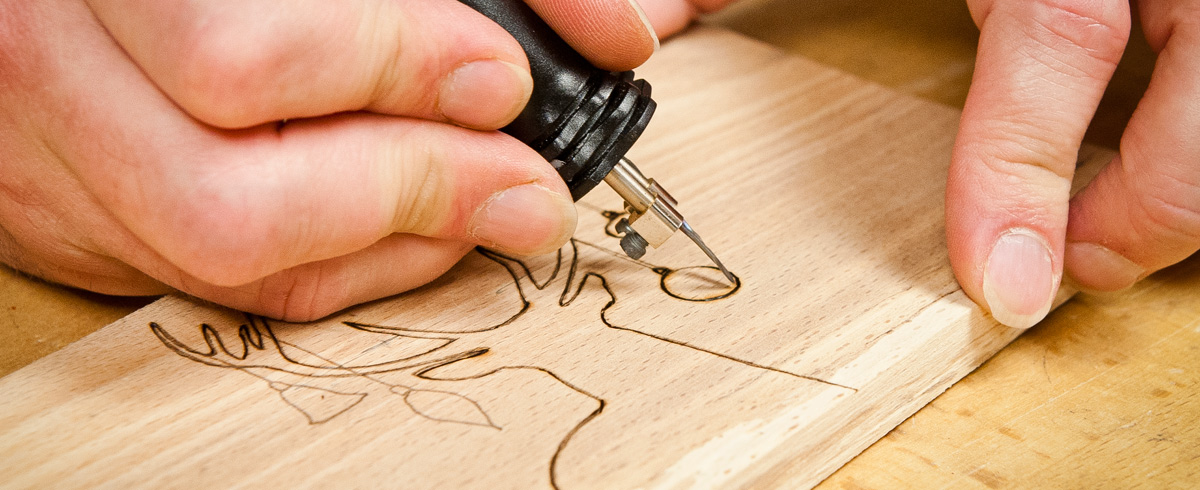
Step 3 - Burn the outline
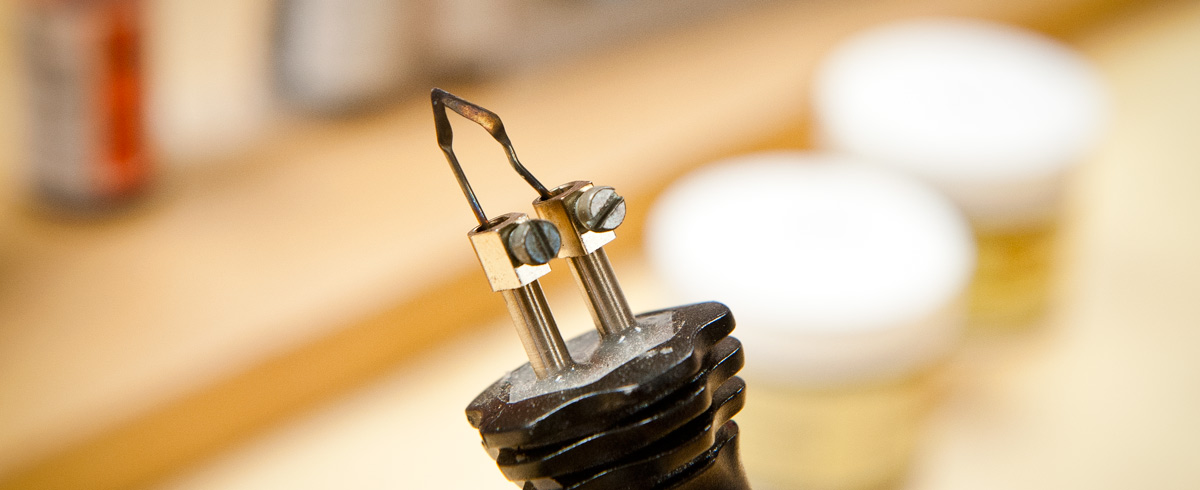
Use a skew tip to burn the outline onto your project, using the skew as you would a craft knife. The skew tip is sharp and will cut into the timber leaving a very clean line. Heat settings: Antex use 6-7 Axminster Burny Star 600-700.
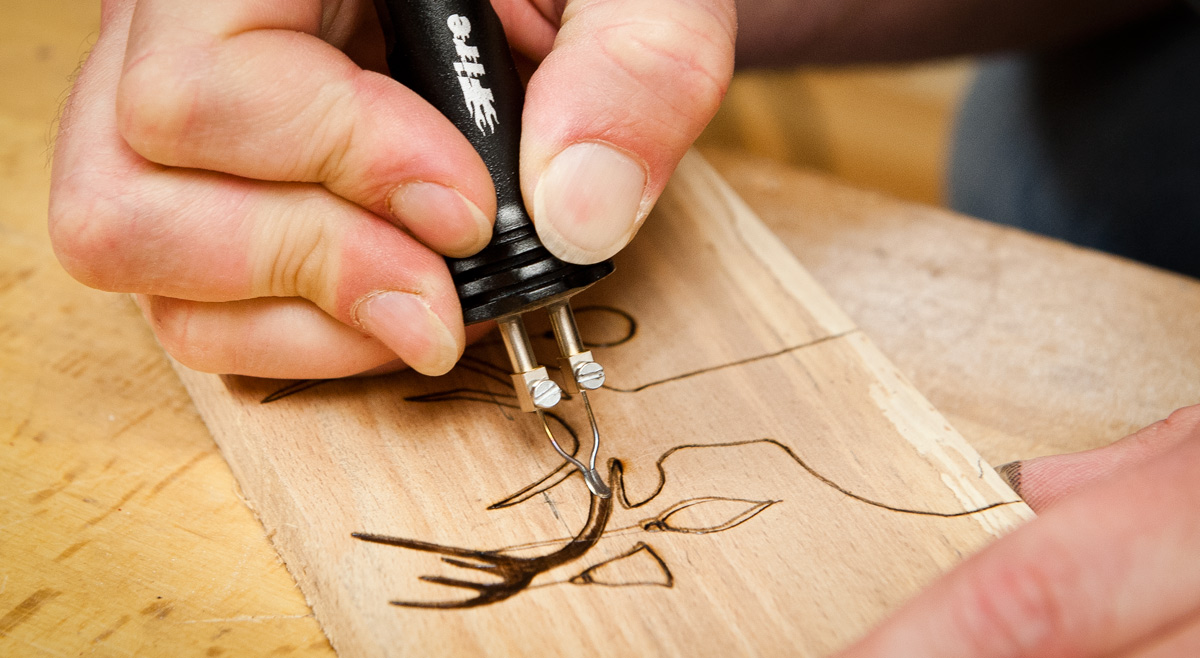
Step 4 - Filling/Blocking in burnt areas
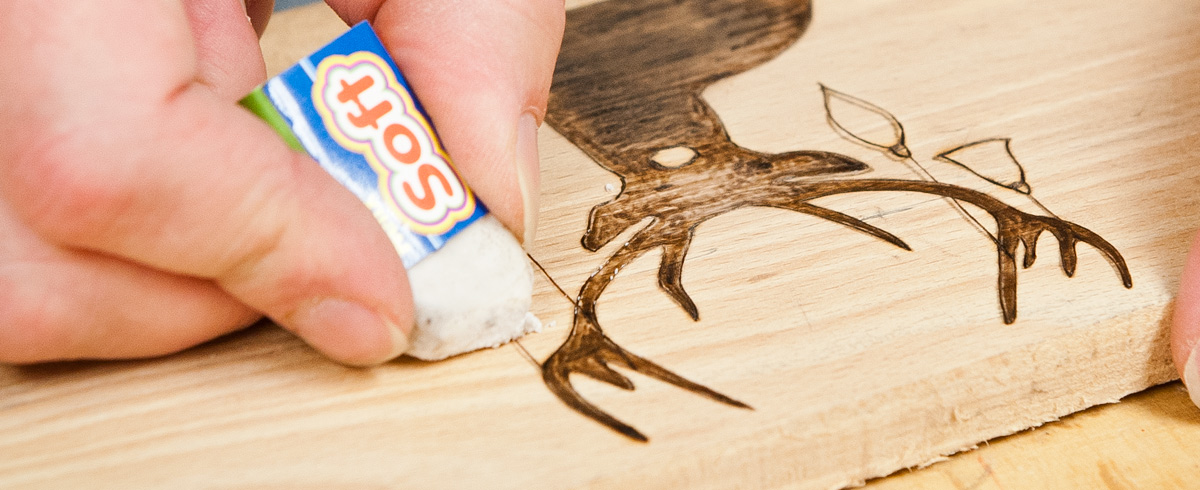
Change the tip to a shading or spoon tip and bring the temperature up to 7-8 using Antex, 700-800 using Axminster Burny Star. The broad foot on these tips will allow for quicker shading. If you find the burn is fading it could be a build-up of carbon, clean this off with a brass brush or a fine abrasive (600g).
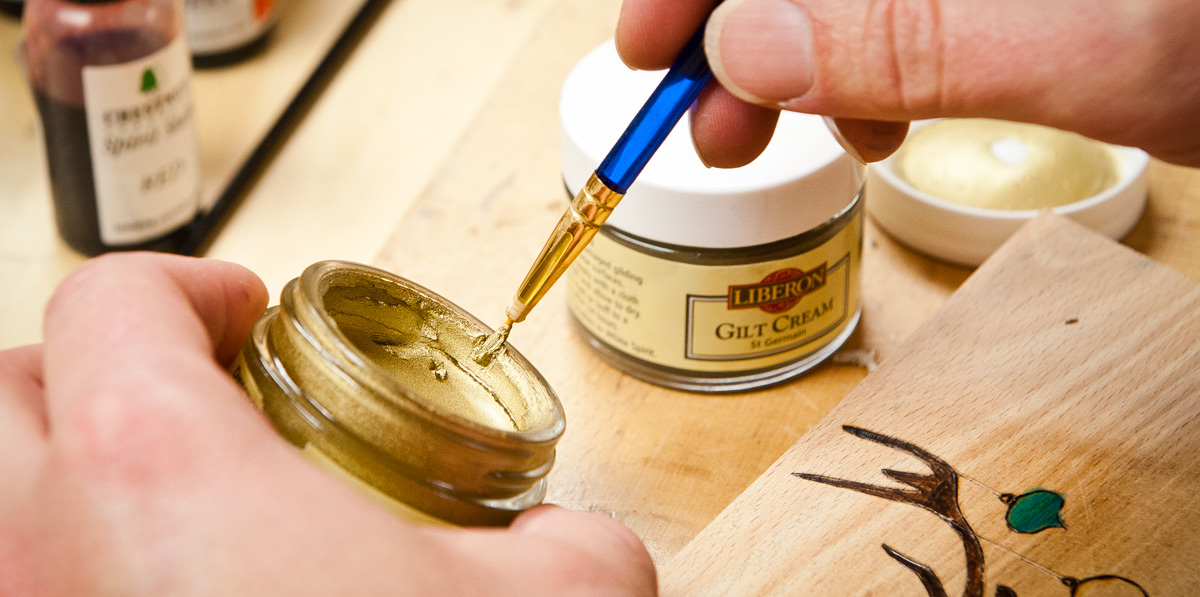
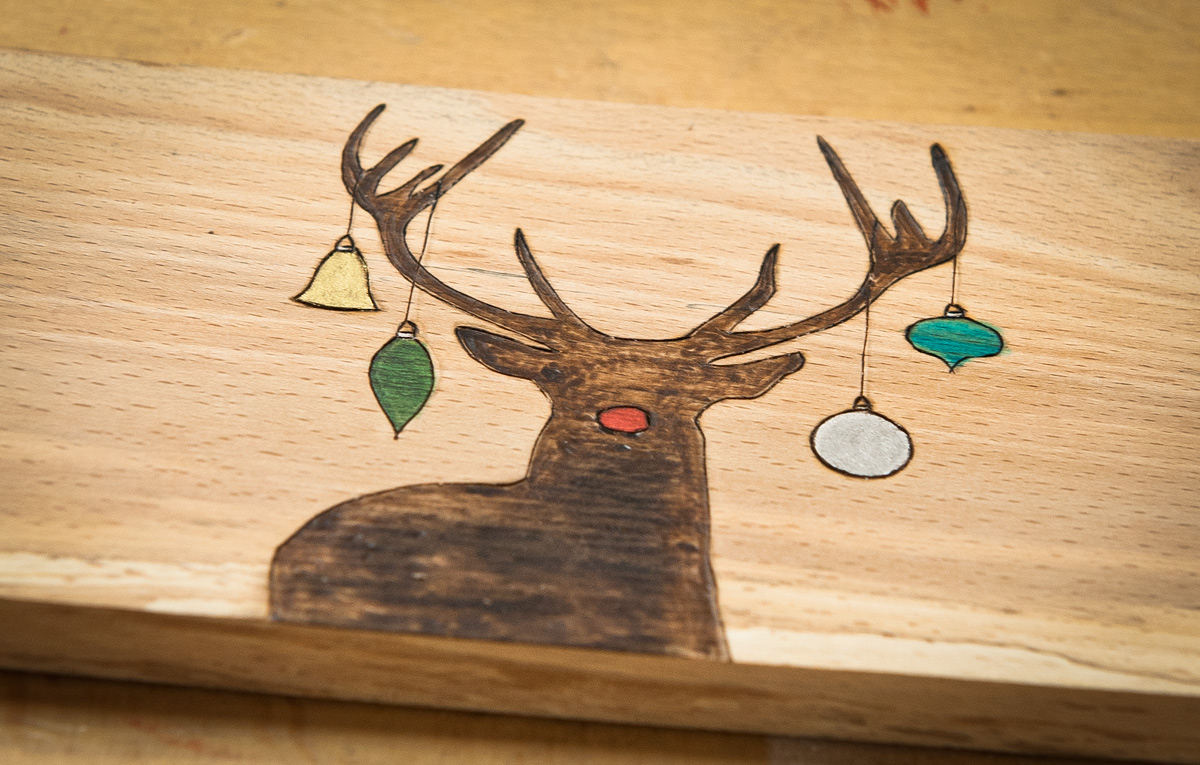
Step 5 - Colouring & finishing using stains, creams & oils
We have used Chestnut Spirit Stains and Liberon Gold / Silver Gilt Creams to add a bit of colour. Use Liberon Finishing Oil to bring out some of the character in your chosen wood blank. This will also darken the burns you have made with your pyrography tool.


