The Resourceful Woodworker takes a first look at shooting boards
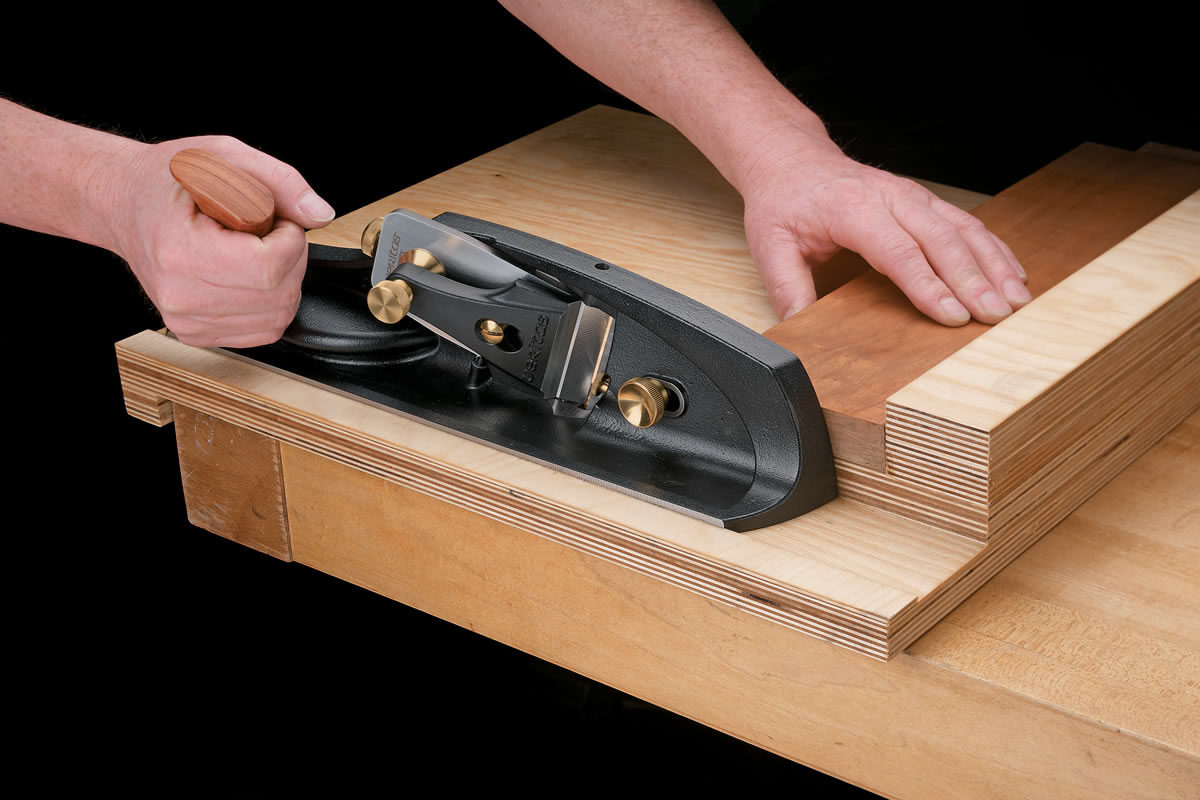
A natural extension of my blog post about the Bench Hook is the Shooting Board, or ‘Shute, used primarily to plane end grain. Extending the wood sideways, so it overhangs the long edge of a bench hook and then running a plane on its side, will enable the end of a piece of wood to be planed more or less squarely.
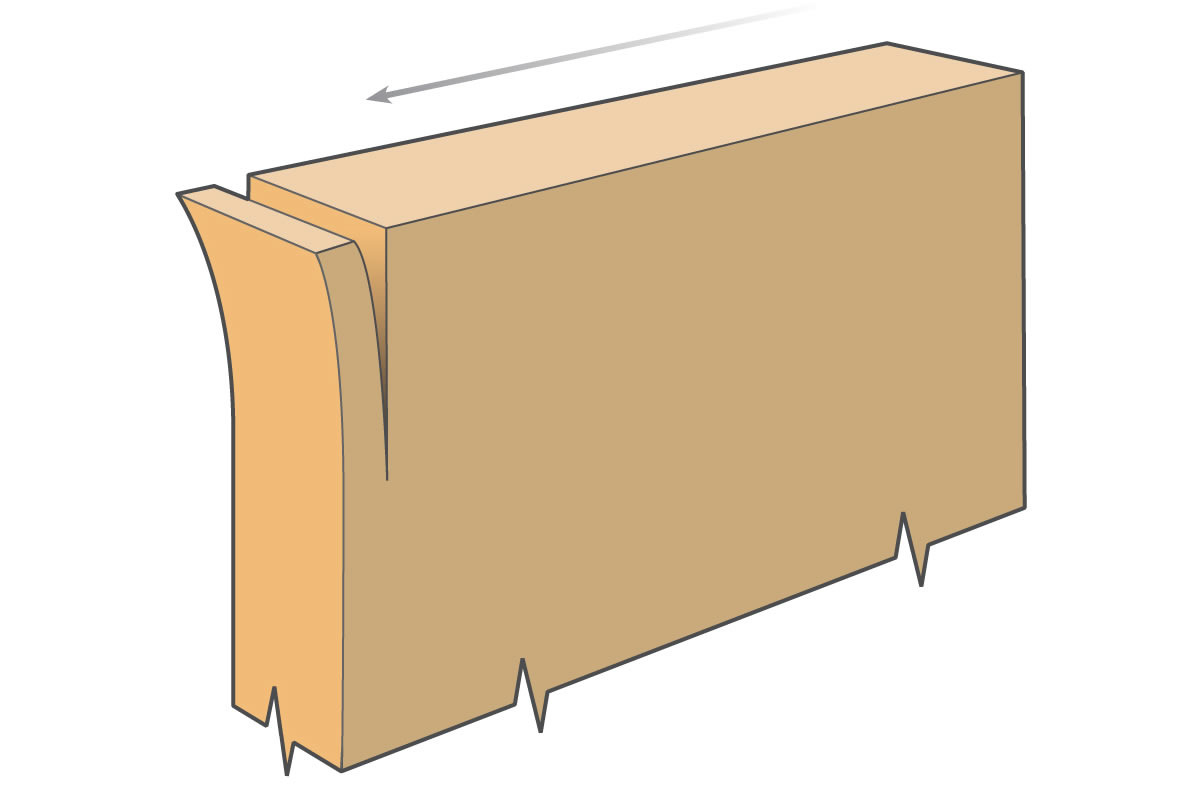
But it’s not as easy as that, because planing end grain is fraught with difficulty and will often catch out the unwary. End grain, unless adequately supported, will splinter and break, so any device such as a shooting board, which makes this seemingly simple process easy, is to be welcomed. There are many different variations on the theme that have been developed over the decades and one of the most comprehensive online resources is the shooting board page on Alice Frampton’s Cornish Workshop. Although the site is no longer updated, it remains a treasure trove of all things hand tool related. Just click on the pictures on the page to see a huge array of detailed information.
At its simplest, the shooting board is one of the most useful workshop devices and, more often than not, made from solid wood, which is not ideal as it’s essential for accuracy that both the top board and the lower board are completely stable. In this particular instance, 18mm plywood or lipped MDF is a much better alternative as they can simply be glued and screwed together. The tapered ‘stop’ is located into a wedge-shaped housing at precisely 90° to the top board. To use the shooting board, the plane is moved on its side on the ‘runway’ and passed across the end of the wood, which is held firmly against the tapered ‘stop’. As any wear takes place on the end, it’s easily tapped forward by a millimetre or so and then trimmed off with the plane.
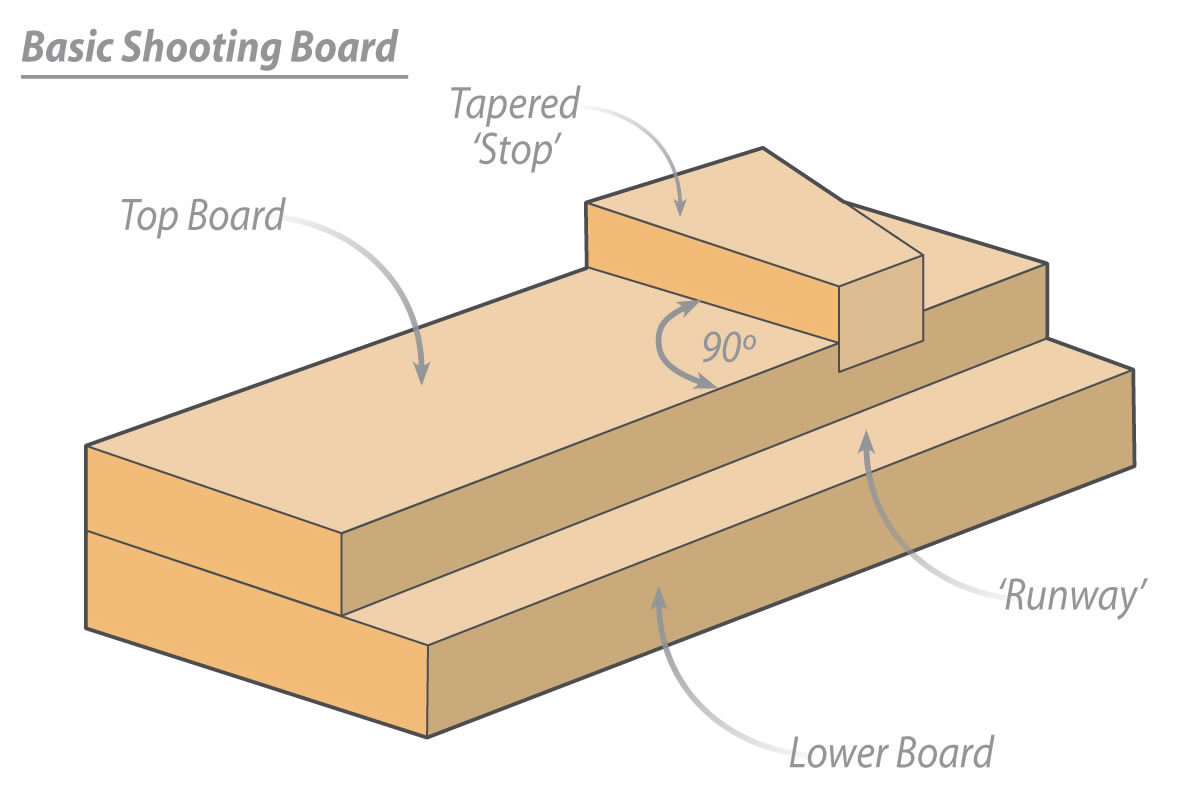
In theory, being a devout follower of the KISS principle (Keep It Simple, Stupid), this basic shooting board ought to work very well and indeed is the type of thing I used way back in the early 1960s during my woodwork lessons. The trouble is it doesn’t!
The issue of movement has already been mentioned and the way round that particular problem, but of more concern is locating the tapered ‘stop’ at exactly 90° to the top board. Over the years, I’ve tried to make several shooting boards like the one shown and try as I might, no matter how carefully I marked out, sawed, chiselled, routed or gnawed away the wood I was never able to achieve precisely the required 90°!
The way to check is with an accurate try square placed against the top board and the tapered stop. Although it appeared to be dead square, as soon as a piece of wood was planed and checked it wasn’t true, which infuriatingly meant that the stop wasn’t square to the top board by the tiniest margin. The only solution was to re-cut the housing and try again, with the same predictable result.
Tapping the stop forward also had the dubious effect of knocking it out of square so I reluctantly decided that there must be a way to design and make a better shooting board. Although nothing in this world is ever perfect, the modifications that I developed have produced a shooting board which is guaranteed to be 100% accurate every time it’s used.


