Woodturning Abrasives Explained
Whether it's hand sanding or power sanding, wet sanding or dry, we are here to help you decide what woodturning abrasives and techniques are best for your woodturning projects.
We explore essential abrasives and sanding techniques useful for any woodturner. Different types of projects will require different techniques and using a mixture of different products will help you achieve the perfect finish for your project.
Hand sanding
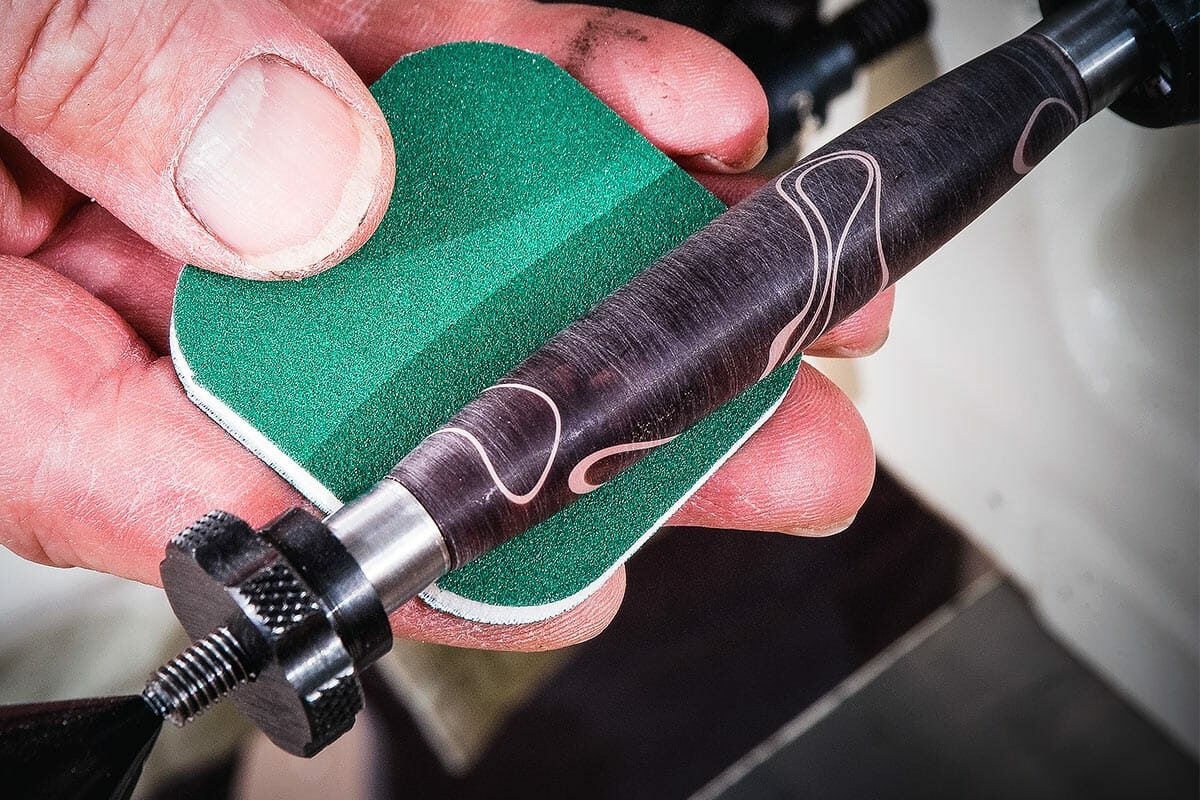
We stock a range of woodturning abrasives for hand sanding, which are ideal for turners. However, none can compare to the Hermes RB cloth backed paper, which is an essential part of any woodturner’s kit.
It’s long lasting qualities have earned it the name of the ‘ultimate abrasive’ among turners. Its tough, J weight cloth backing has great resistance to high temperatures from friction generated from the timber during turning.
Grits available range from 80 through to 400 grit. There is also a 600 grit version, giving you a range of sanding options for different applications.
Not only is RB J cloth pliable, so easy to use in hard to reach areas, it can also be used with oil or water, making it a versatile option. Paper backed alternatives will break when bent and with the pressure applied in turning, the grit will come off, therefore the cloth backed RB paper is an attractive option.
Another highly rated hand sanding option, is our own Axminster Abrasive Strip Kit, available in two options. The single sided option ranges from 150 to 400 grit. It is also available in a double sided, perforated strip, with five grades ranging from 150 to 600 grit. Buy as a double pack for excellent value for money. The strip kit is especially great for pen turners and smaller project work.

Nylon abrasives
An excellent alternative to paper or cloth backed abrasive, is a nylon abrasive. Hermes Webrax features a mix of abrasive grit bonded to non-woven nylon web. Available in five grades, which are coloured coded, this nylon alternative is safer than using wire wool for example.
They are also useful for applying finishes. Webrax 0 is a non abrasive pad which can act as a carrier for your chosen finish. Use the 1,500 grit for applying waxes over a sanding sealer for a bright finish.
For the pen turner
Micro Mesh Soft Touch Abrasive Pads are a must for pen turners. Available from 1,500 to 12,000 grit, they are perfect for polyester or acrylics, giving your plastic pens a scratch free and glass like finish.
They are reusable and long lasting, particularly when used with water for wet sanding, although they can be used dry too. Use with an acrylic polish or burnishing paste to achieve a glass like shine.

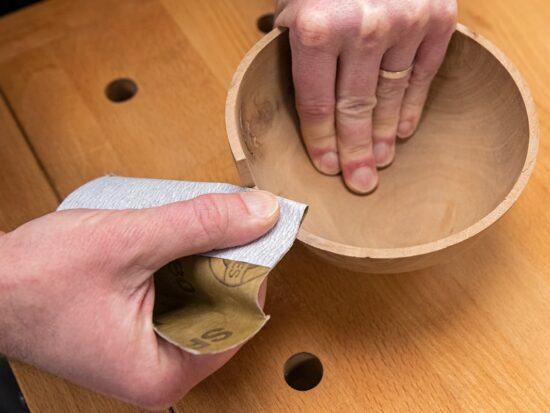
For the bowl turner
An essential piece of kit for any turner looking to start out in bowl turning is the hand rotary sander. We recommend the Axminster Woodturning Deluxe Bowl Sanding Kit. This handheld rotary sander works with the momentum of the lathe and the pad rotates with the turning bowl. Our deluxe bowl sanding kit comes with two 75mm heads and two 50mm heads. A great technique is to alternate the rotary power sander with some hand sanding to criss-cross the grain to rid your bowl of sanding marks for a smooth finish.
If turning a lot of bowls, or bigger bowls, then maybe consider a power sander.
Flexipads offer a square edge and tapered edge 50mm head, and also a smaller 25mm power sander head for box making. They simply fit into a power drill and rotate with force, at a different speed to your bowl. It is a quicker, more aggressive technique for quicker sanding.

Working through the grades
One of the basic principles to master with sanding, is the concept of working through the grades. Essentially, the higher the grit number, the finer the abrasive is and the smoother your finished surface will be. The lower grit numbers represent coarser abrasives that scrape off materials much quicker.
The idea behind moving through the grit grades is to remove the marks from the previous grade. So you begin by removing the marks made by your turning tools, and then work through the grits to remove the scratches as you go.
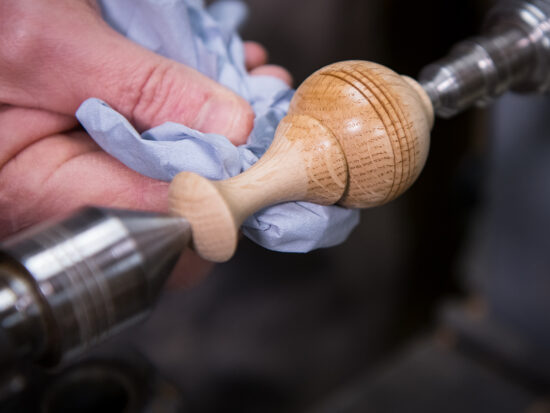
Turning tips for acrylic
-
Start with a finer grade of RB paper - we suggest a 400 grit.
-
Ensure your lathe speed is low so not to melt the acrylic. Tip: Using a bit of water will stop clogging on the paper.
-
Use the 600 grit which is traditionally a finishing grade. Then introduce the 1,500 grit micro mesh and turn the lathe speed up.
-
Repeat the process working through the wet micro mesh grades.
-
Apply the Axminster Acrylic Polish burnishing cream, an abrasive suspended in a solution, using tissue or a soft cloth. Be careful upon initial application that it does not spray up. The burnishing cream is not applying a surface finish, it is actually making it shine by abrading the surface finely.
-
Remove the excess cream and see the shine! One of the best results you can get for acrylic pen turning.

Tips for bowl turning
-
Get your bowl turning at around 1,000 revs on the lathe.
-
Start with 100 grit RB paper. Support the wrist and move your hand smoothly from the centre out towards the edge and back to remove the turning marks. Move on to the 150 grit.
-
Next, introduce the rotary sander using the same grit.
-
Working through the grits, alternate between your rotary sander and hand sanding, applying the same techniques outlined and using the same grits for each as you go. This ‘criss-crossing’ technique allows you to remove the previous sanding marks before moving on to the next.
-
Once reaching 400 grit, finish up on hand sanding with a 600 grit (the brown RB paper). This will leave a bright finish.
-
Next, apply a sanding sealer. Wipe off the excess before it dries and use the Webrax 1,500 grit to get down the risen grain from the sanding sealer. This will create the ‘canvas’ for your wax finish.
-
Apply a generous coat of wood wax. We recommend Axminster Clear Paste Wood Wax, and use the same 1,500 grit Webrax to work it into the timber on a slow speed.
-
Finish with a soft tissue or cloth to buff the piece and achieve the final polish.

Dust extraction is a must
One key element to pay particular attention to, is ensuring your workshop is set up with the correct dust extraction required and appropriate PPE where needed.
Summary
We have introduced you to some of the essential woodturning abrasives for any woodturner’s tool kit. Using these abrasives alongside the suggested techniques can only lead you to sanding perfection.
Given it a go? Then let us know!
If you have tried any of these products or techniques to finish your woodturning projects, then let us know. We would love to see the finished results! Comment below or send us a photograph. Alternatively, get in touch via our social media platforms and share photographs of your pieces. Find us on Facebook or connect with us on Instagram – search @Axminstertools.