Woodturning Finishes: Finding The Right Finish
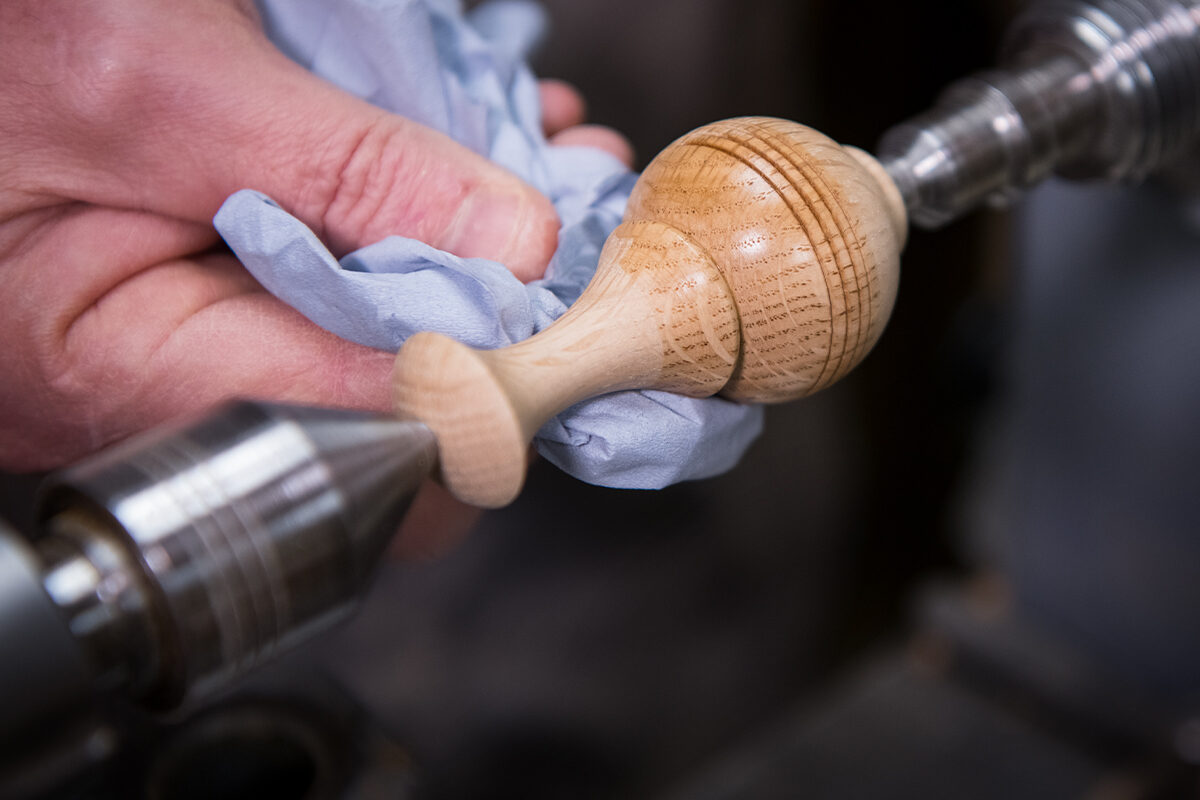
With many woodturning finishes available, there are many factors you may want to consider when choosing the perfect finish for your projects. For example what protection you need, what your project will be used for and how you want your final item to look or feel.
Here, we will walk you through some of the woodturner’s ‘go to’ finishing products that will help give your projects lasting shine and hard wearing protection.
Functional finish
To start with, considering your project’s use may help you decide which woodturning finishes may be required. If your project is functional, for example a fruit bowl or chopping board, you may require a finish that will not taint food or cause harm to allergy sufferers. And an item that is likely to be handled a lot, such as pens, will need a hard wearing finish.
But first, before you finish, you must prepare!
Seal the deal
First thing’s first, when it comes to finishing a project, you must first apply a sealer to provide a solid foundation for your finish.
A sealer essentially closes up the pores of the timber and catches loose fibres, ensuring your top coat is top notch.
A sealer can be applied to any wood and any project, big or small. Using bare timber, let it soak and set into the wood, before lightly sanding back using a fine abrasive. The sealer will lock the grain into position ready for a polish or other finishes.
The only time where you may not use a sealer first would be when finishing using an oil.
Which sealer?
There are many types of sanding sealer available, including shellac, acrylic and cellulose.
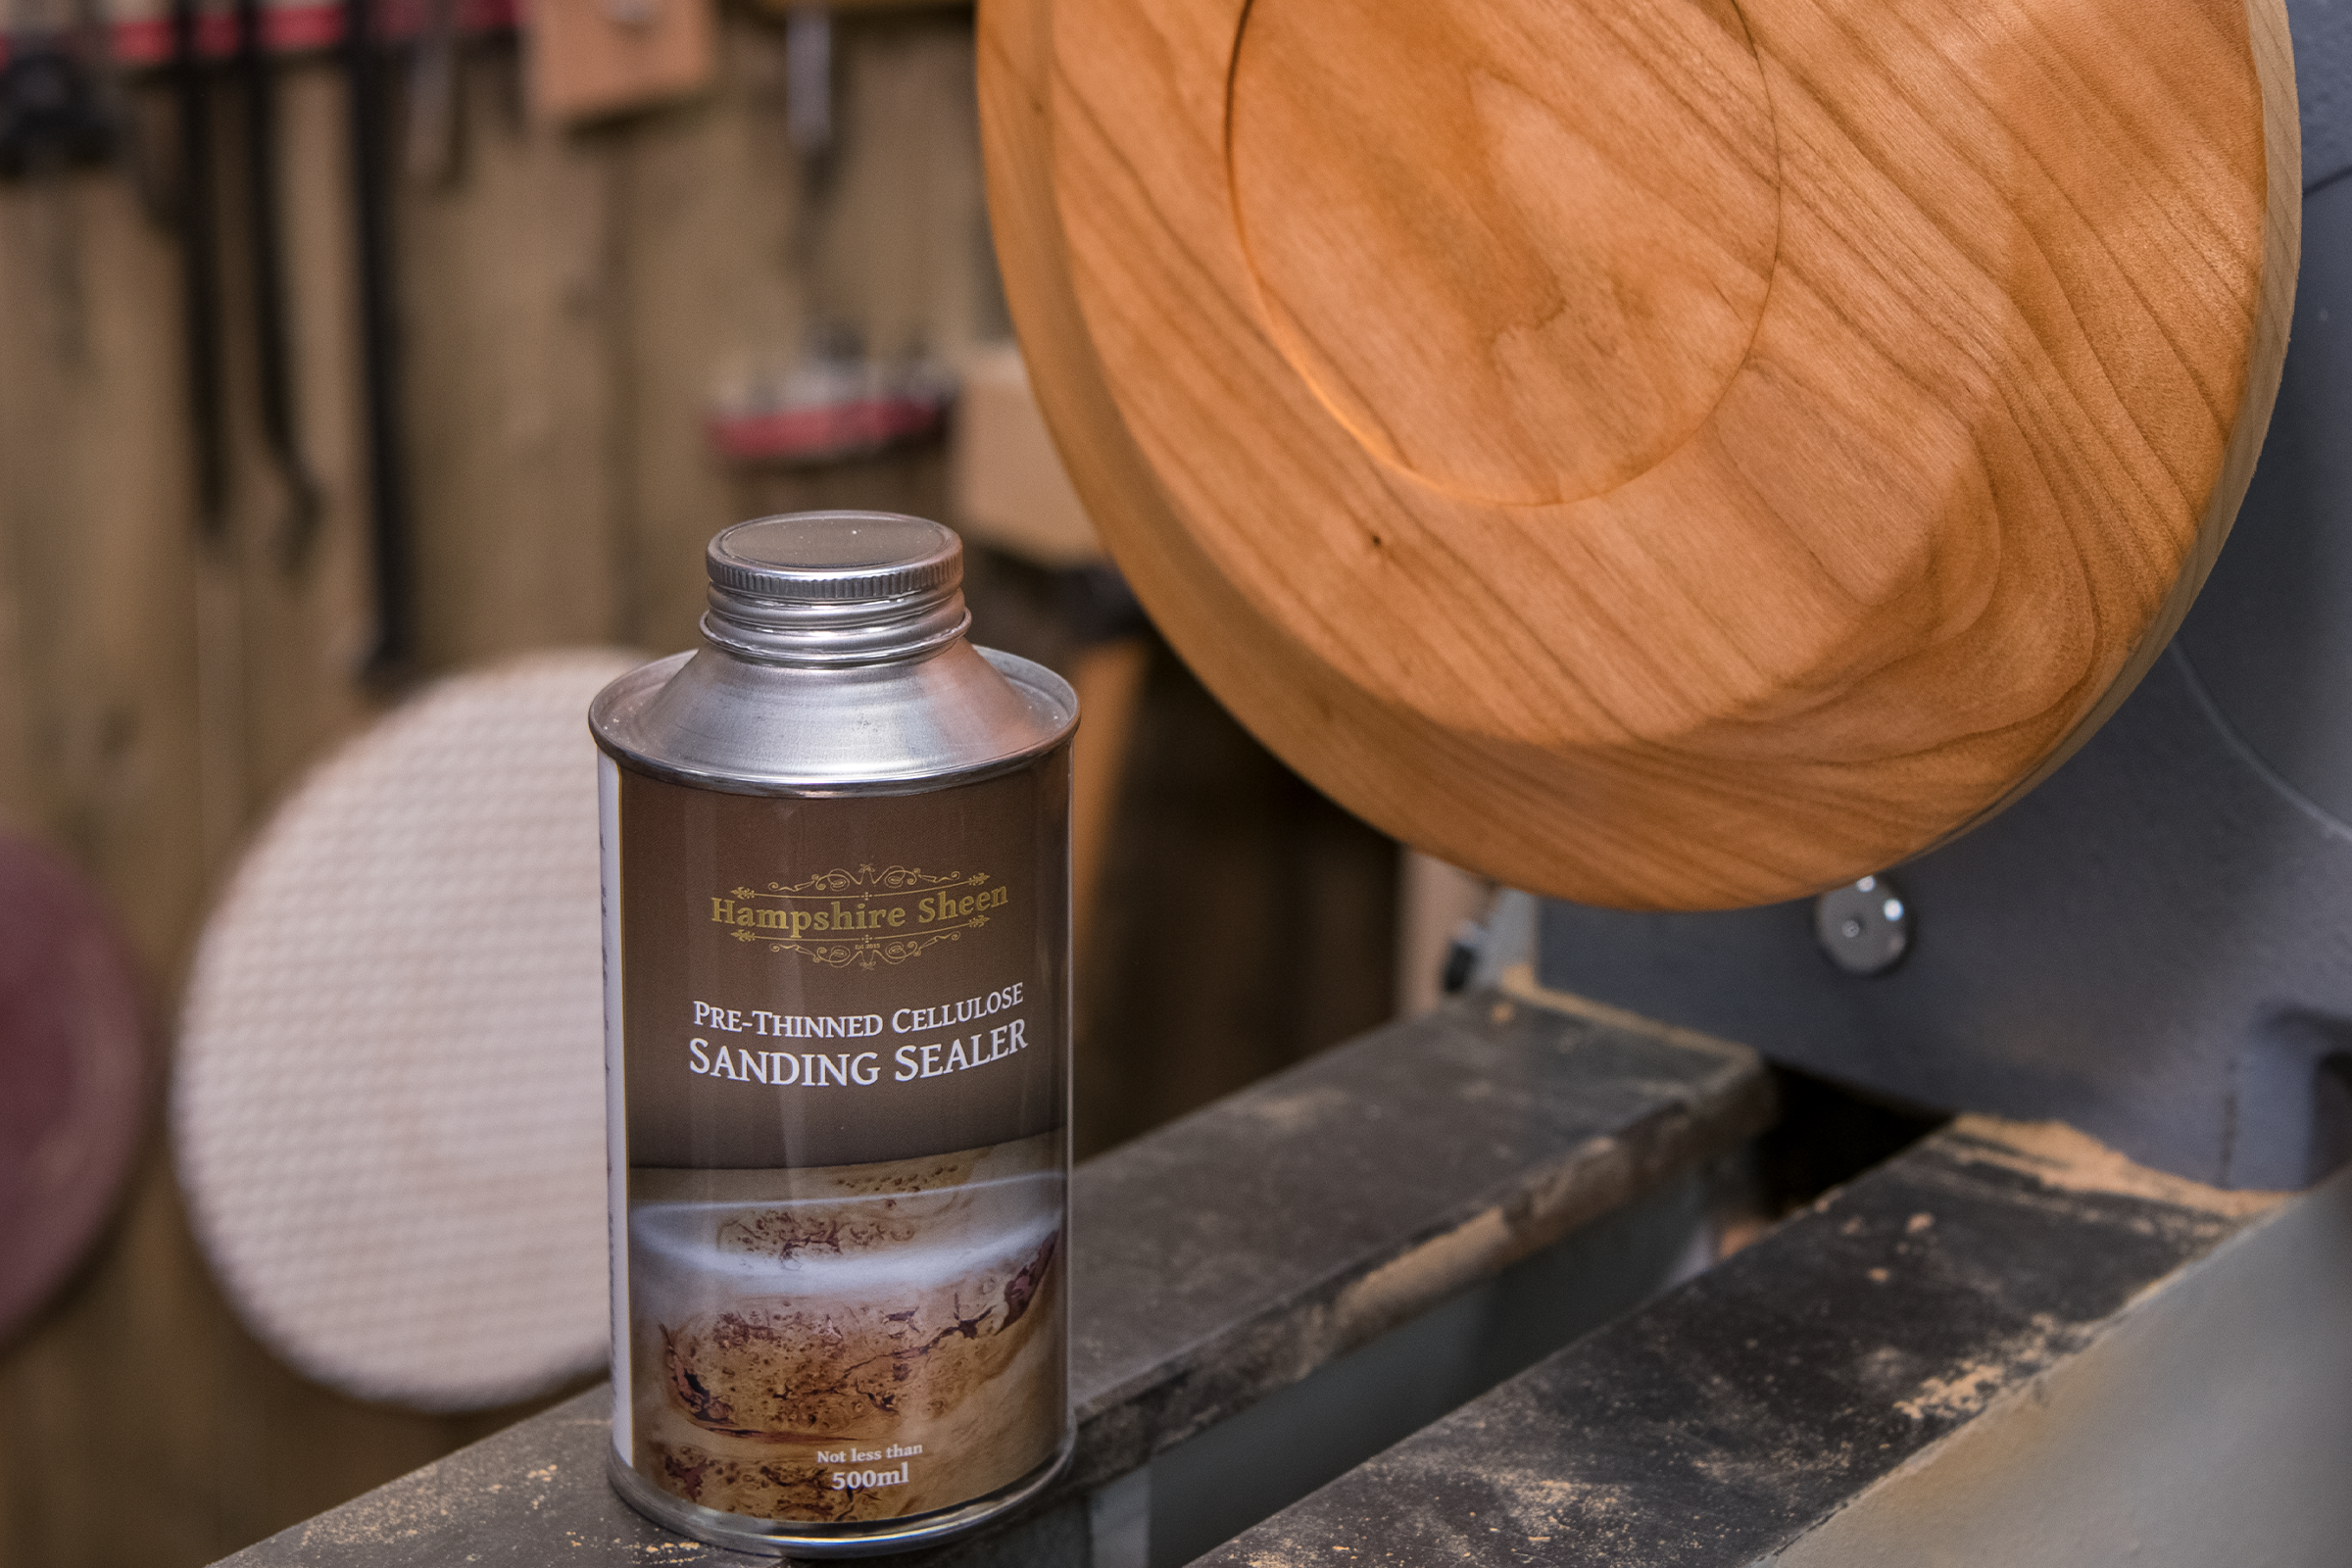
We recommend using a pre-thinned sealer such as Hampshire Sheen’s Pre-thinned Cellulose Sealer. This will save you the time, as well as the mess, that can often be involved with thinning other cellulose sealers.
Its versatility means it is suitable for all sealing jobs and can be used with a variety of finishing products, achieving a smoother surface. This particular sealer is also great for use over coloured woods or water based wood stains. It is quick to dry, making it an obvious choice for woodworkers.
Primed and prepped
Once your project is primed and prepped, it's time to apply your finish. This article explores a small range of finishes available from Axminster Tools. Visit our website to view our full range of woodturning finishes.
Get stuck in with glue
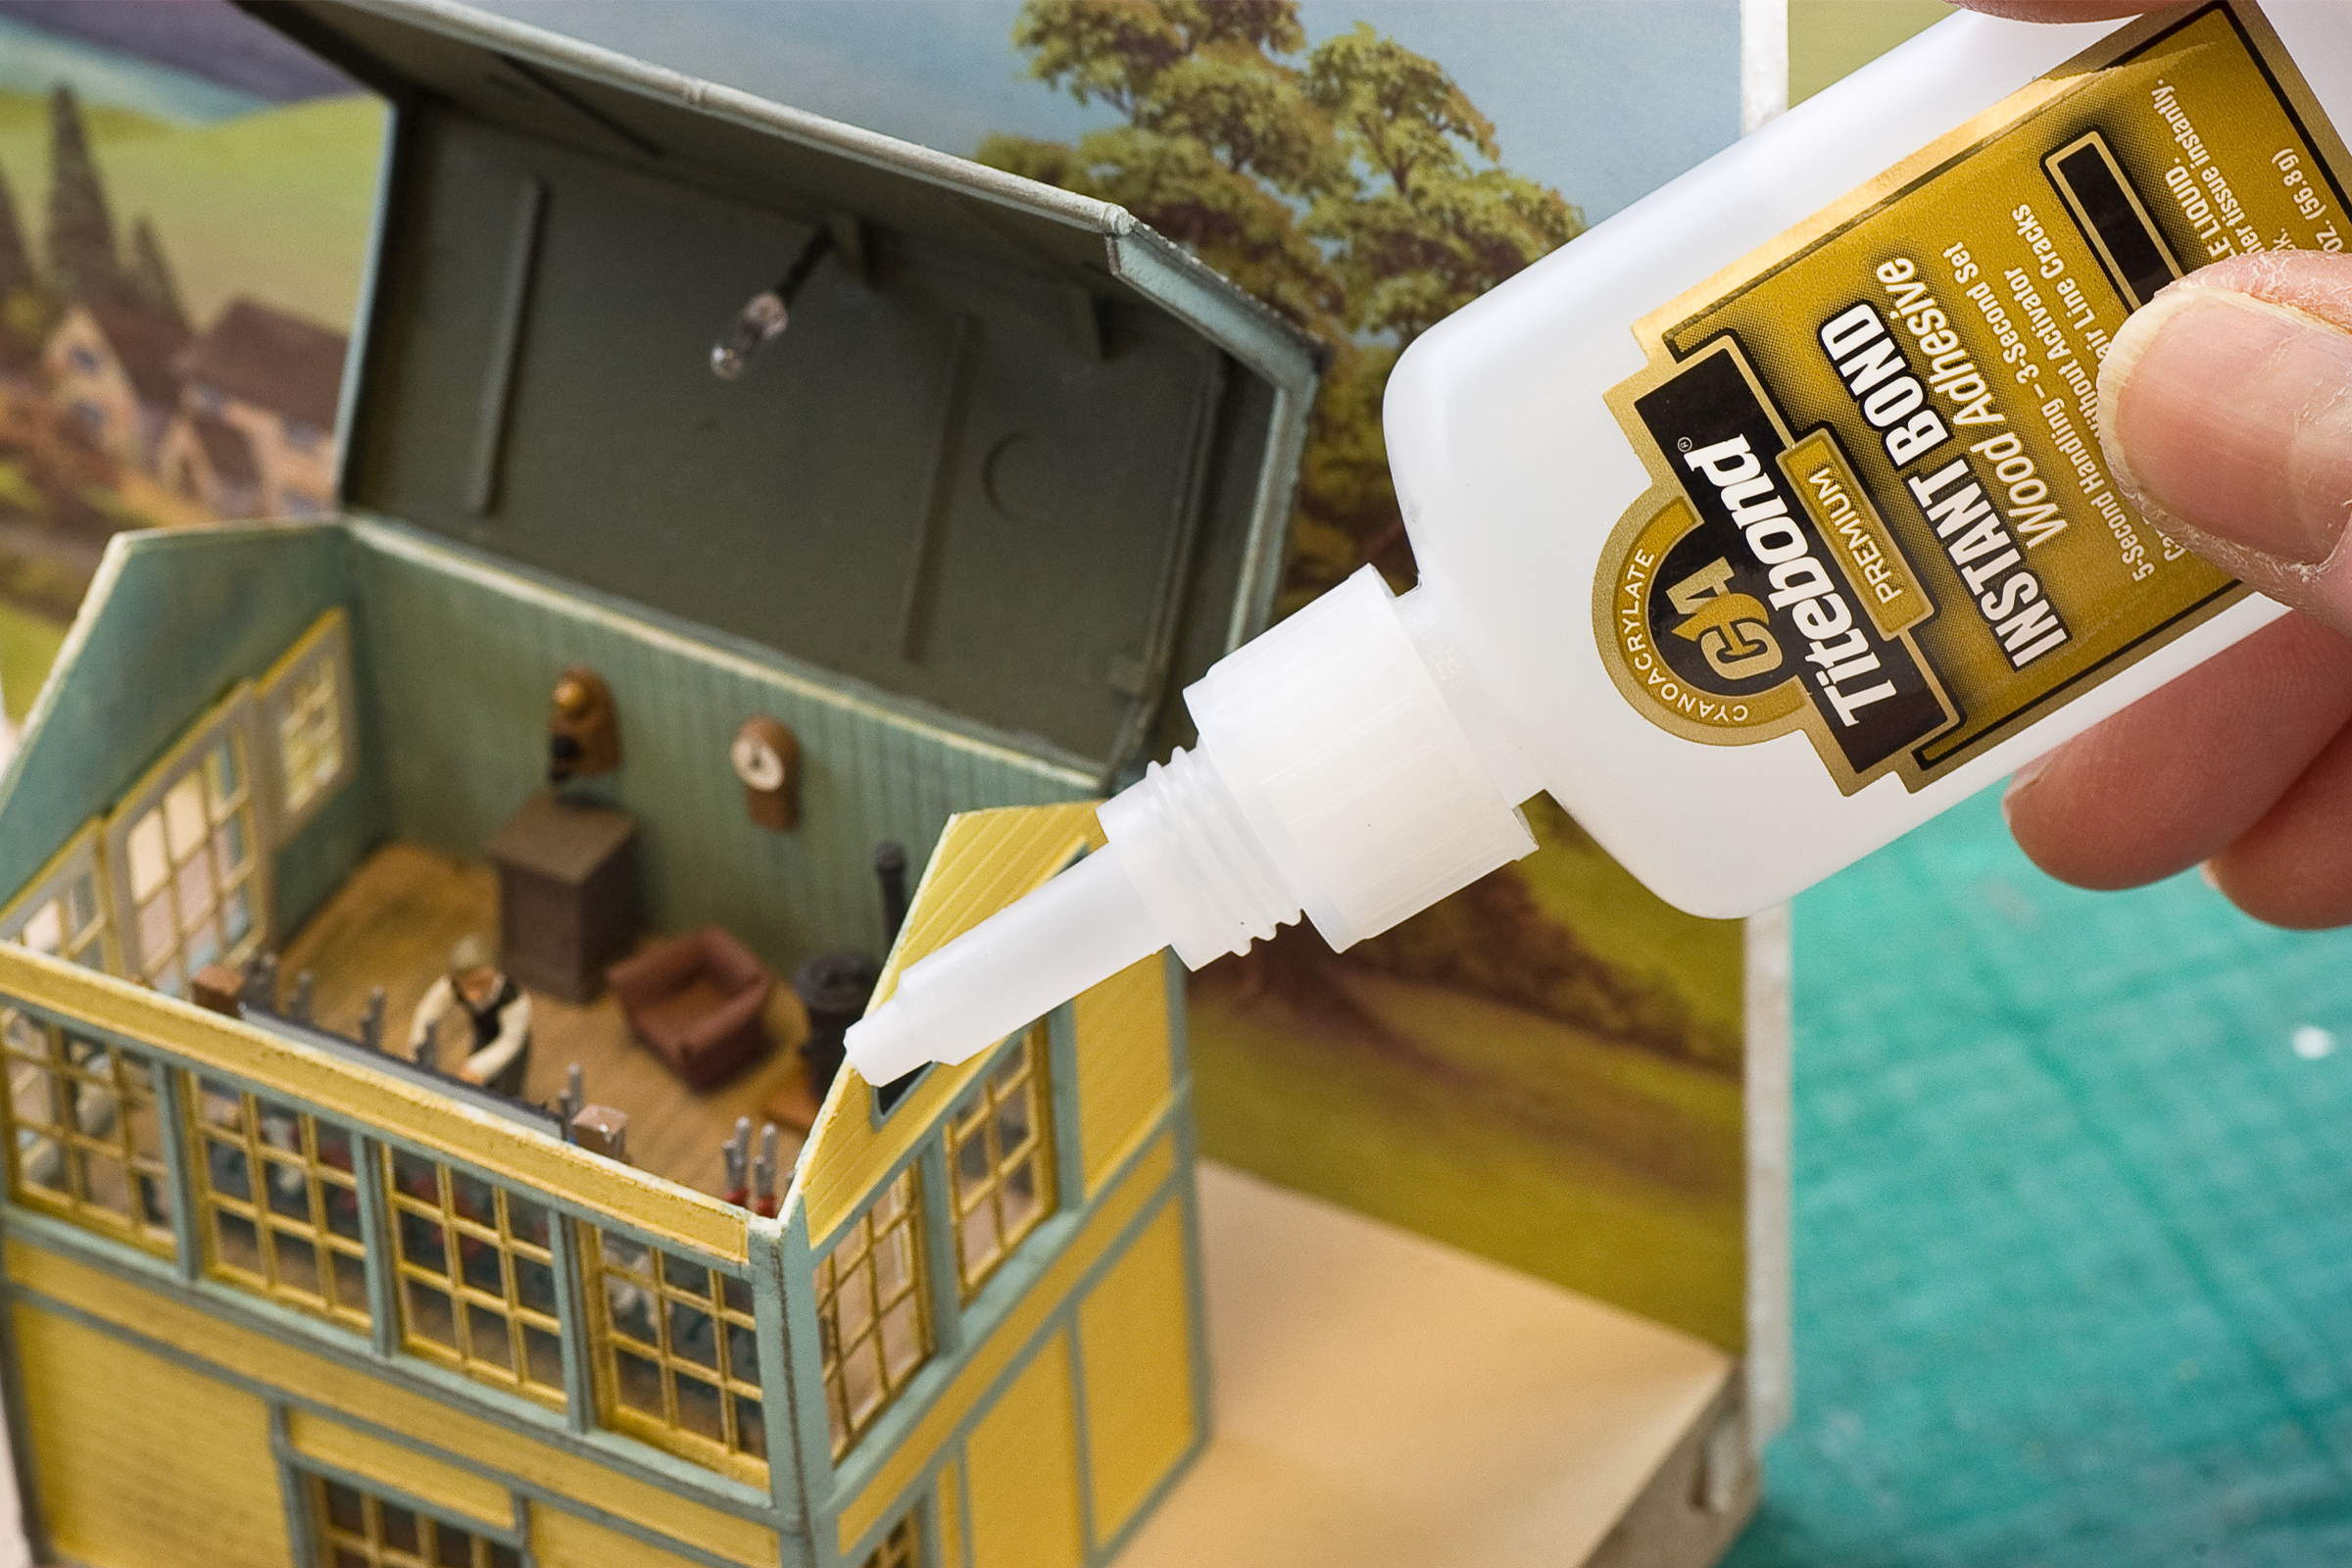
Yes that’s right, glue! Woodturners have developed a technique for using CA or Cyanoacrylates glue as a hard finish, perfect for small and miniature projects with a small diameter. It provides a particularly good finish for items that are handled a lot, such as rings, pens and other small projects.
For best results use a thin CA glue and apply several coats on a moving workpiece, remembering to take care during application to avoid mess. Several thin coats are required in order to build up a strong, hard wearing protection, to provide longevity to your workpiece.
Try the popular Titebond’s Instant CA Glue - Thin for tough results.
The ‘woodturner’s finish’
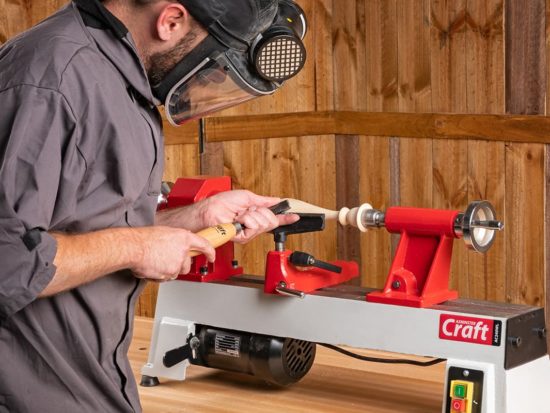
Often referred to as a woodturner’s finish, friction polish is often the go to finish of choice for the woodturner, depending on the project of course.
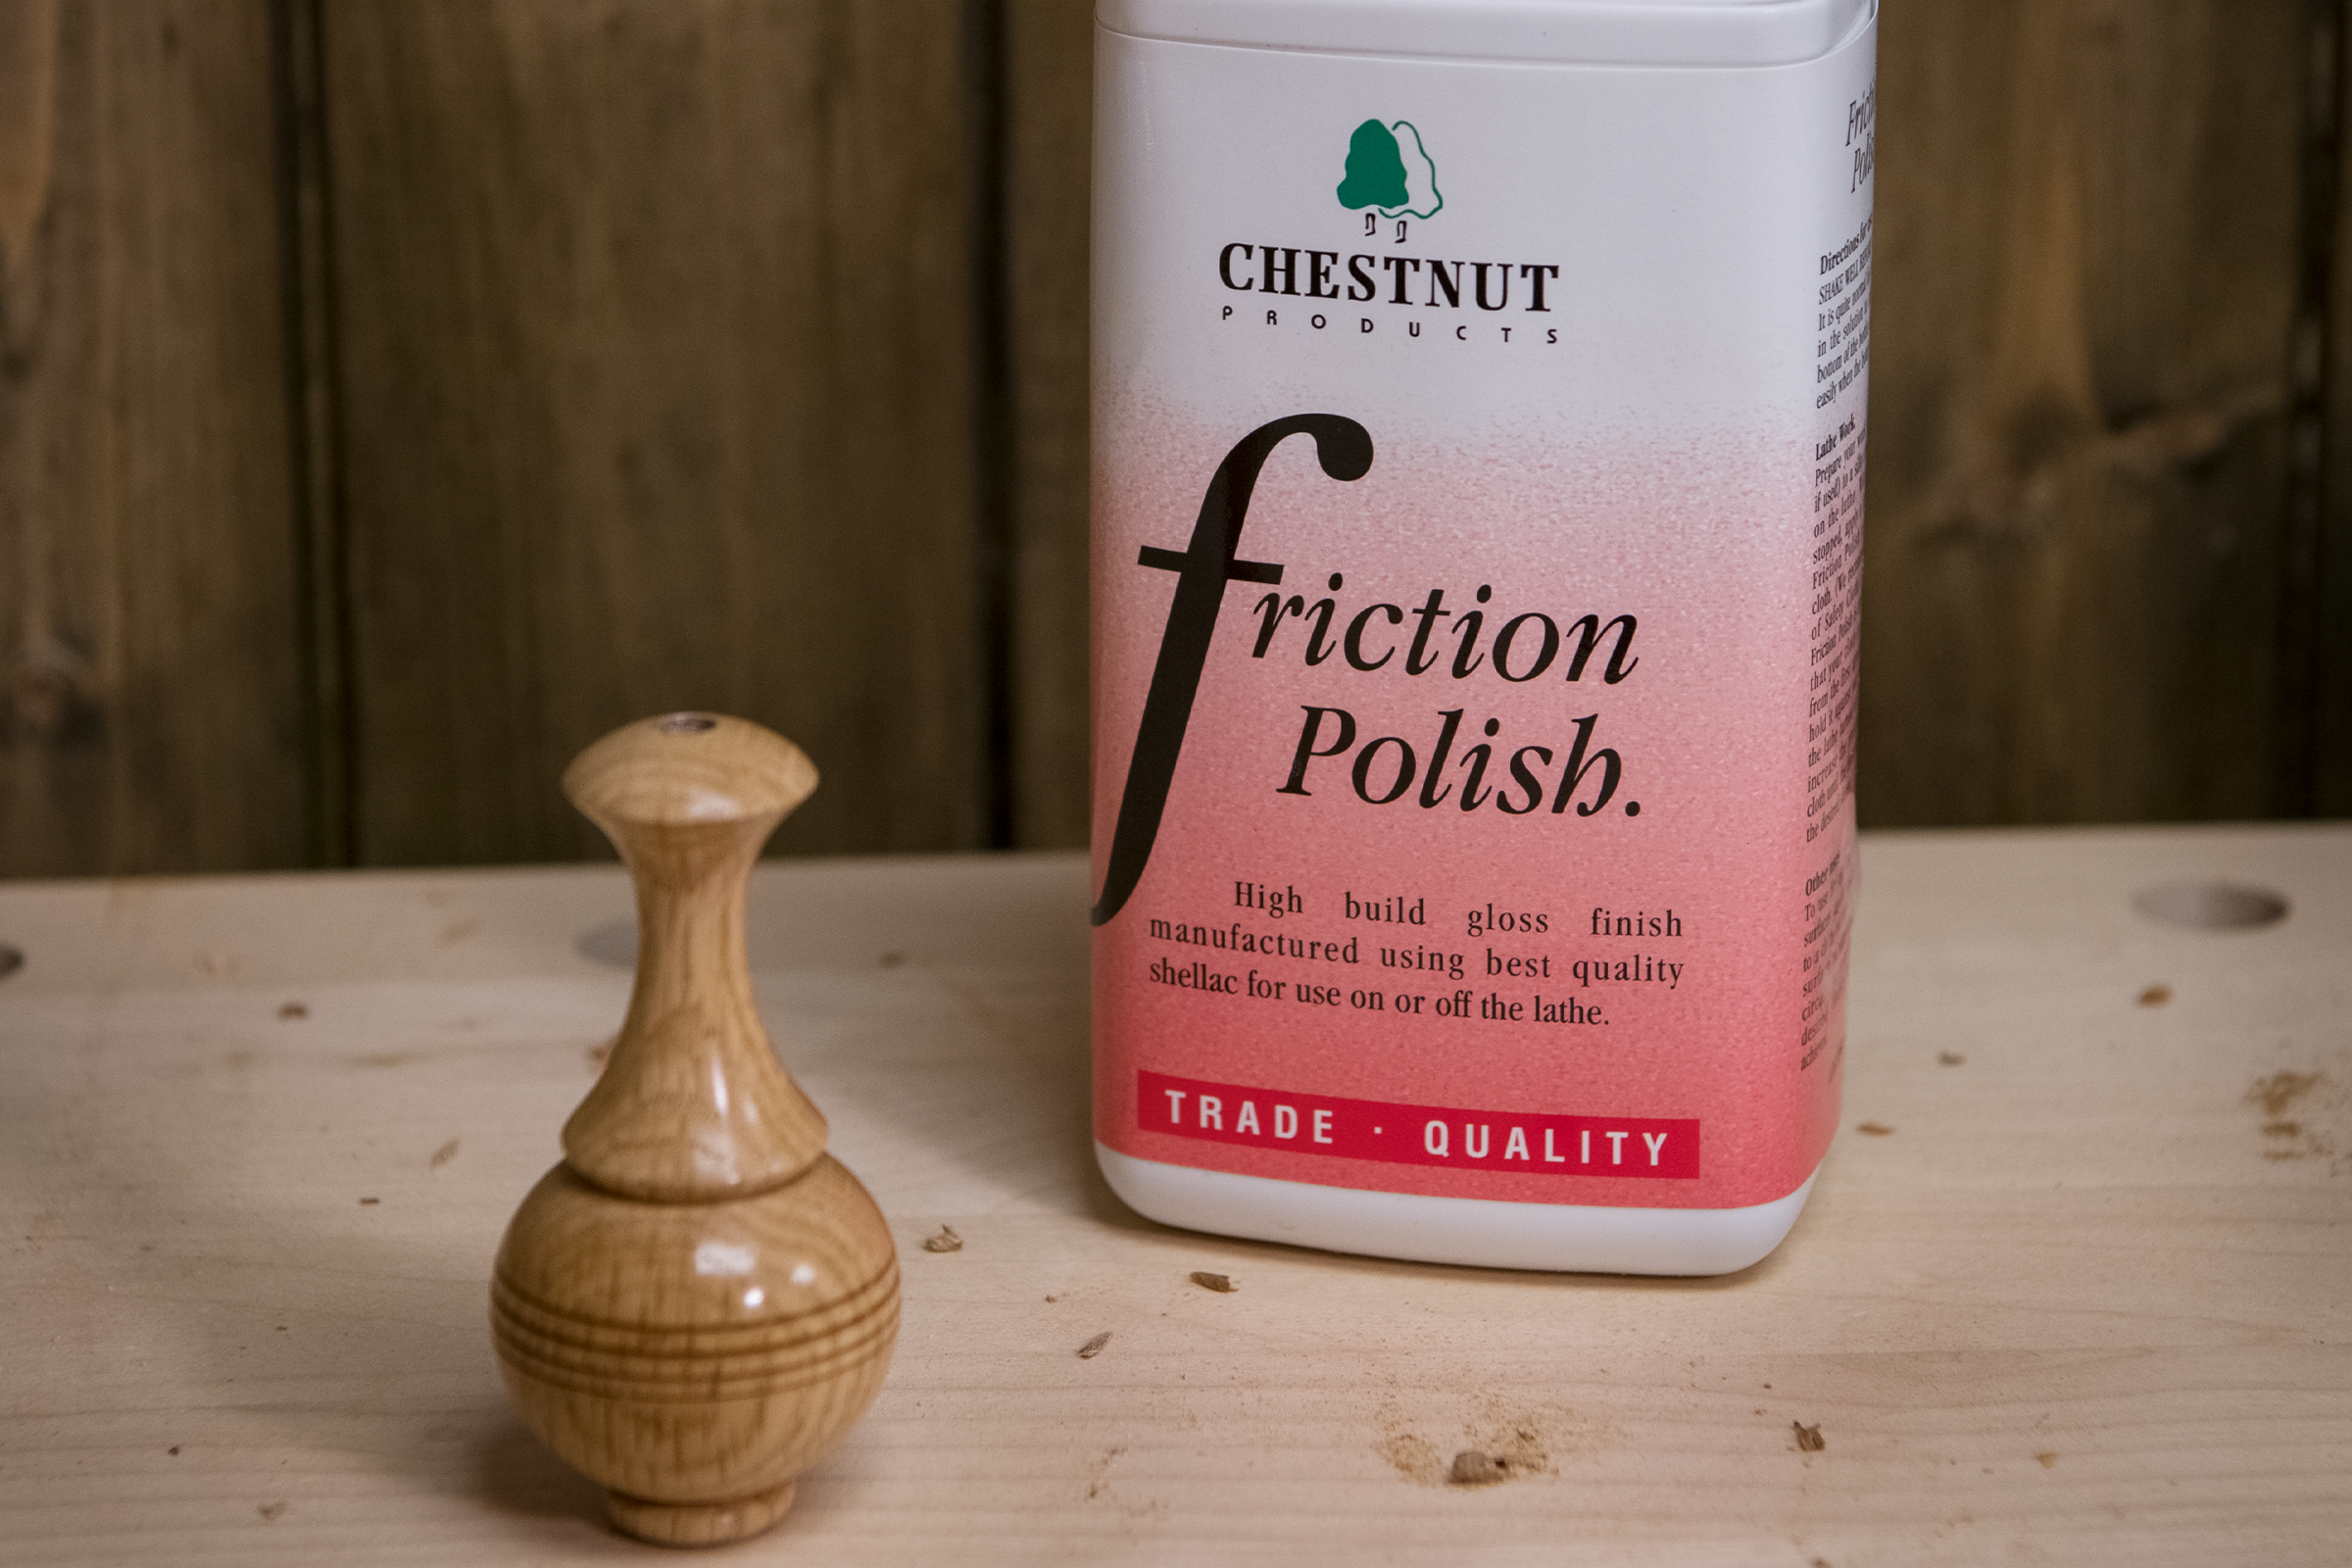
Friction polish is a craft finish, ideal for small craft items turned on a lathe. It’s not a hard wearing finish, but provides a high shine. It offers a quick and easy application and can be burnished to a high gloss finish.
Try Chestnut Friction Polish. Applied with a cloth on a moving workpiece, it imparts a high gloss finish which dries almost instantaneously.
High shine finish
The reason friction polish gives a high shine, is down to the high levels of carnauba wax it contains, which is also often found in French Polish.
It is good for all types of wood and can be used without a sealer, although it won’t last as long, making it a versatile finish for those looking for high shine.
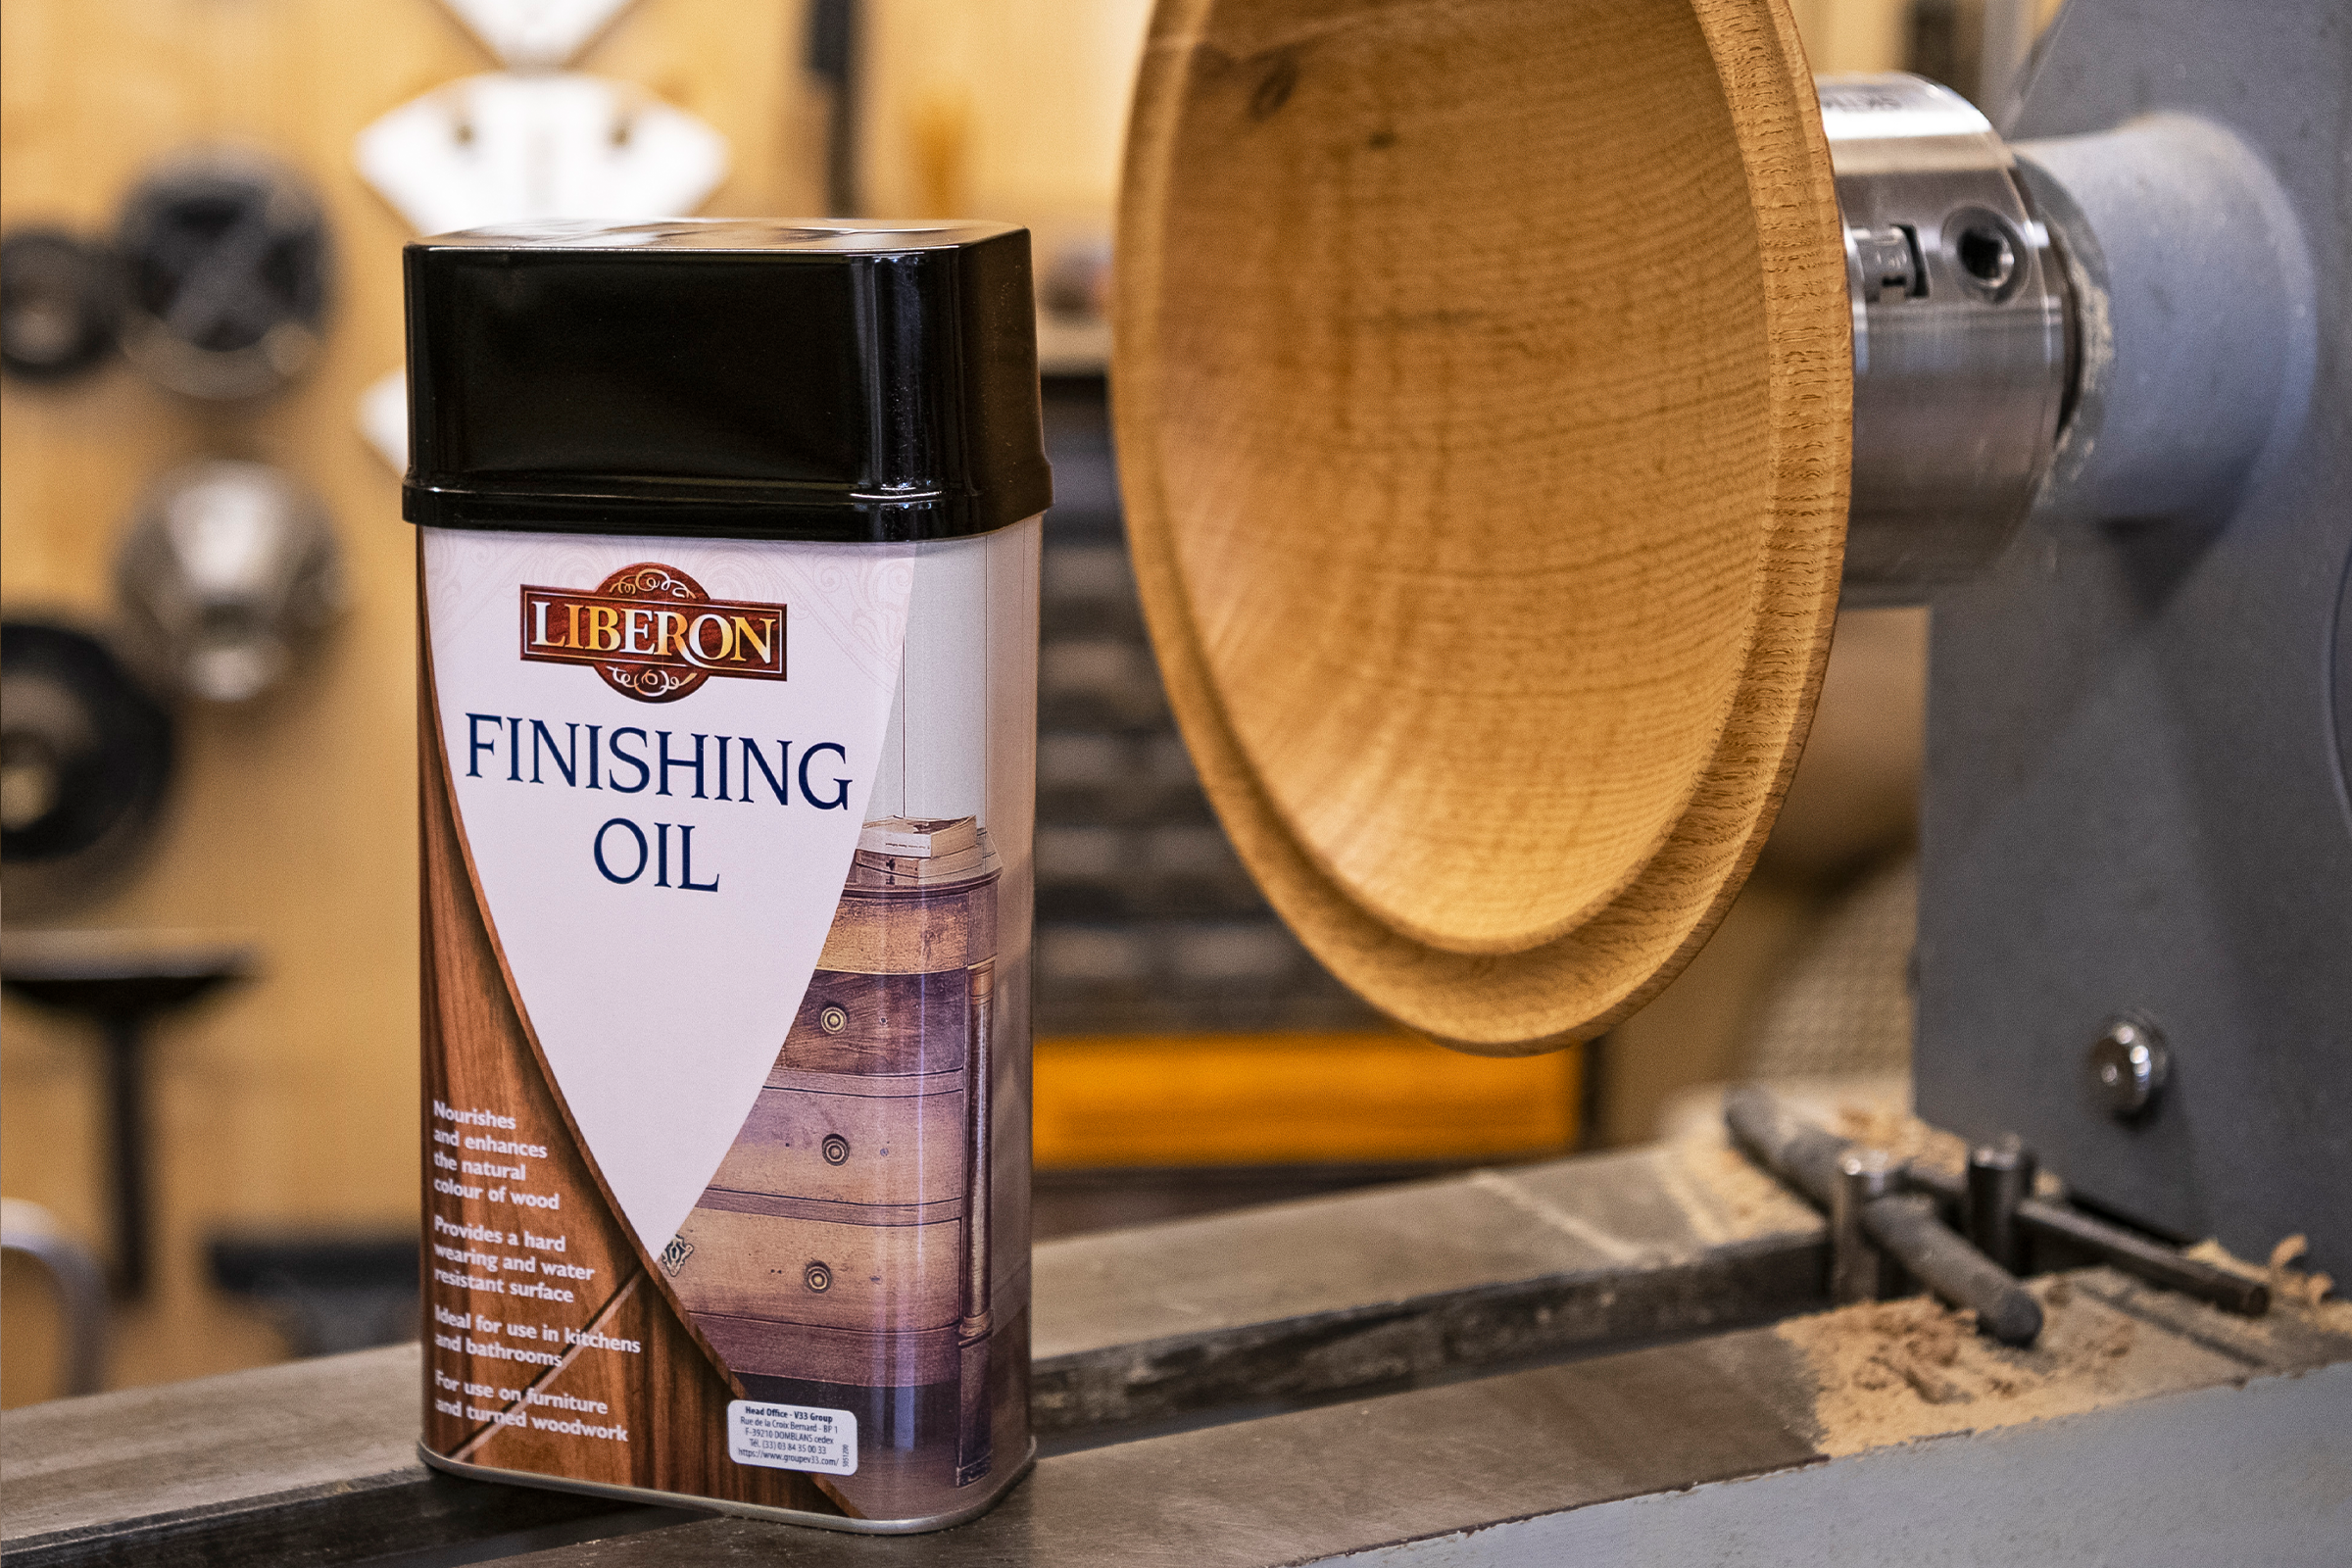
Finishing Oil
Finishing oil is a popular choice and can be used on a wide variety of projects. It is best suited on medium to large projects, giving a lovely satin finish to your work.
Finishing oil is often used when turning bowls. However, choosing the right oil is important.There are numerous natural oils offering benefits in certain applications. For example, lemon oil is great for use in finishing chopping boards, due to its resilience to mould. However, both tung oil and walnut should be considered carefully when used in practical applications, such as fruit bowls, for example, as they could have an impact on those that suffer nut allergies. It is worth noting that purpose made, food safe oils are available.
Traditional techniques
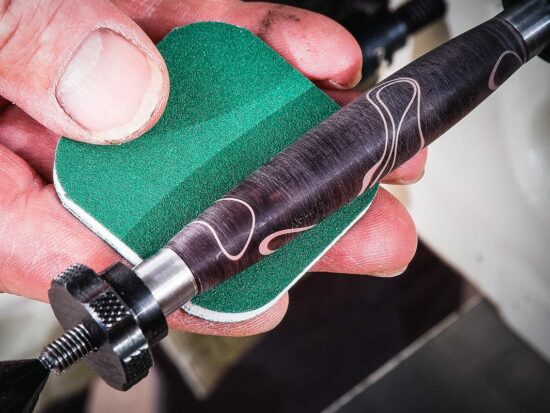
Finishing oil can be applied using old fashioned techniques that are still used by modern turners today. Apply the oil, and while still wet, turn on the lathe at a low speed. Then finely sand using a 600 grit sandpaper. This will create a slurry mix. The oil is absorbed and dries before being burnished off. This method acts like a sanding sealer - it raises the fine fibres and sands them off, giving a fine satin finish to the piece.
Finishing oils have good UV protection, but can take some time to dry, from 1 hour to harden and 5-6 hours to set.
Liberon Finishing Oil contains a blend of high quality oils, resins and dryers. This oil will give good resistance against water, alcohol and food acid marks, and will give a matt to satin finish. A gloss can be achieved by applying a paste wax. This finishing oil nourishes and enhances the natural colour of wood. It is ideal for furniture, as well as turned work. It is also safe for use in toy making.
Finish straight from the can
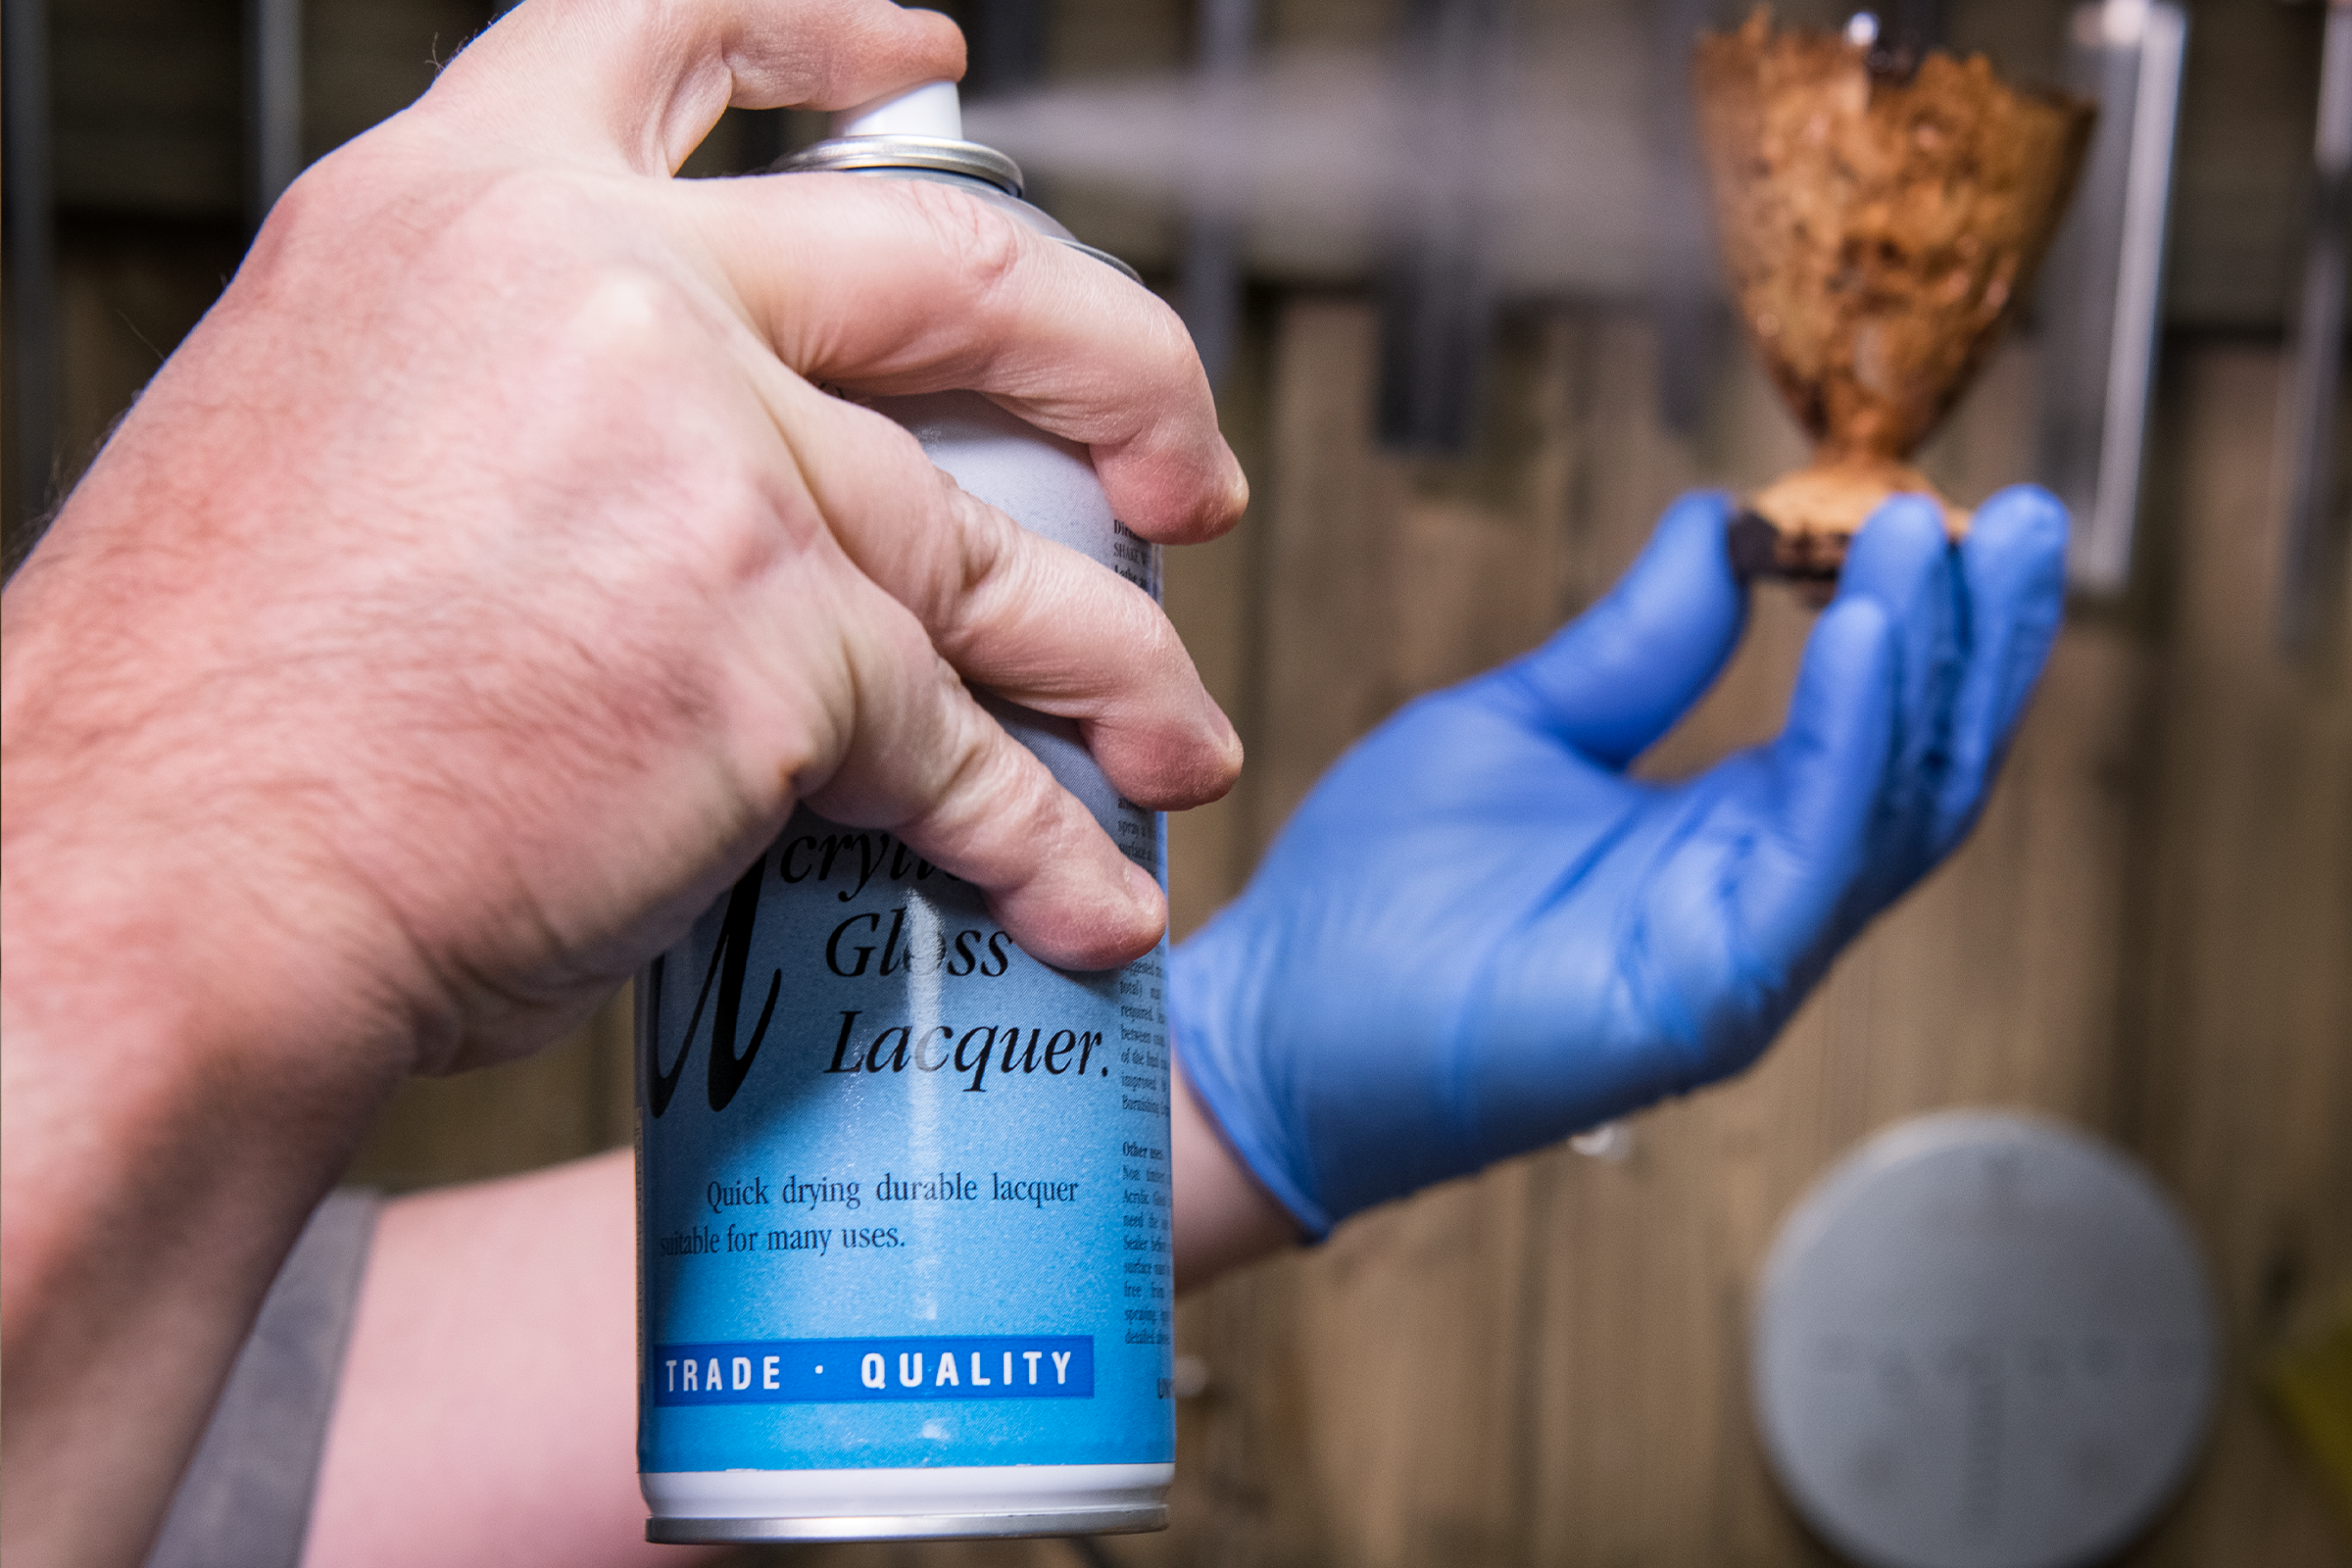
If it’s a high gloss, glass-like finish you’re after that's super quick to achieve, then opt for a spray lacquer.
This has to be applied over a sealer otherwise it would require heavy sanding. Let the sealer dry and use the lacquer. Up to three coats may be required depending on the timber.
The aerosol spray makes the application really easy and even. It gives a high gloss finish, which is almost glass like, and is hard wearing and durable.
The acrylic lacquer dries to a hard, resistant finish and is touch dry in five minutes and hard dry in approximately 20 minutes, making this a super easy and quick finish that gives effective results.
We recommend Chestnut’s Spray Acrylic Gloss Lacquer, also available in a satin finish, to achieve a consistent finish quickly.
Wax on
The final finish to explore is wax. Wax can be used on small projects, but are best suited to medium and large projects.
Again, waxes should be used over a sealer. If they aren’t then the finish will only last for 24 hours before it begins to dull. The timber will become rough and you will be left with a streaky finish.
Which wax?
Waxes come in a wide variety of makes and types, similar to oils. Their versatility allows them to be used over another finish, such as oil, to build shine.
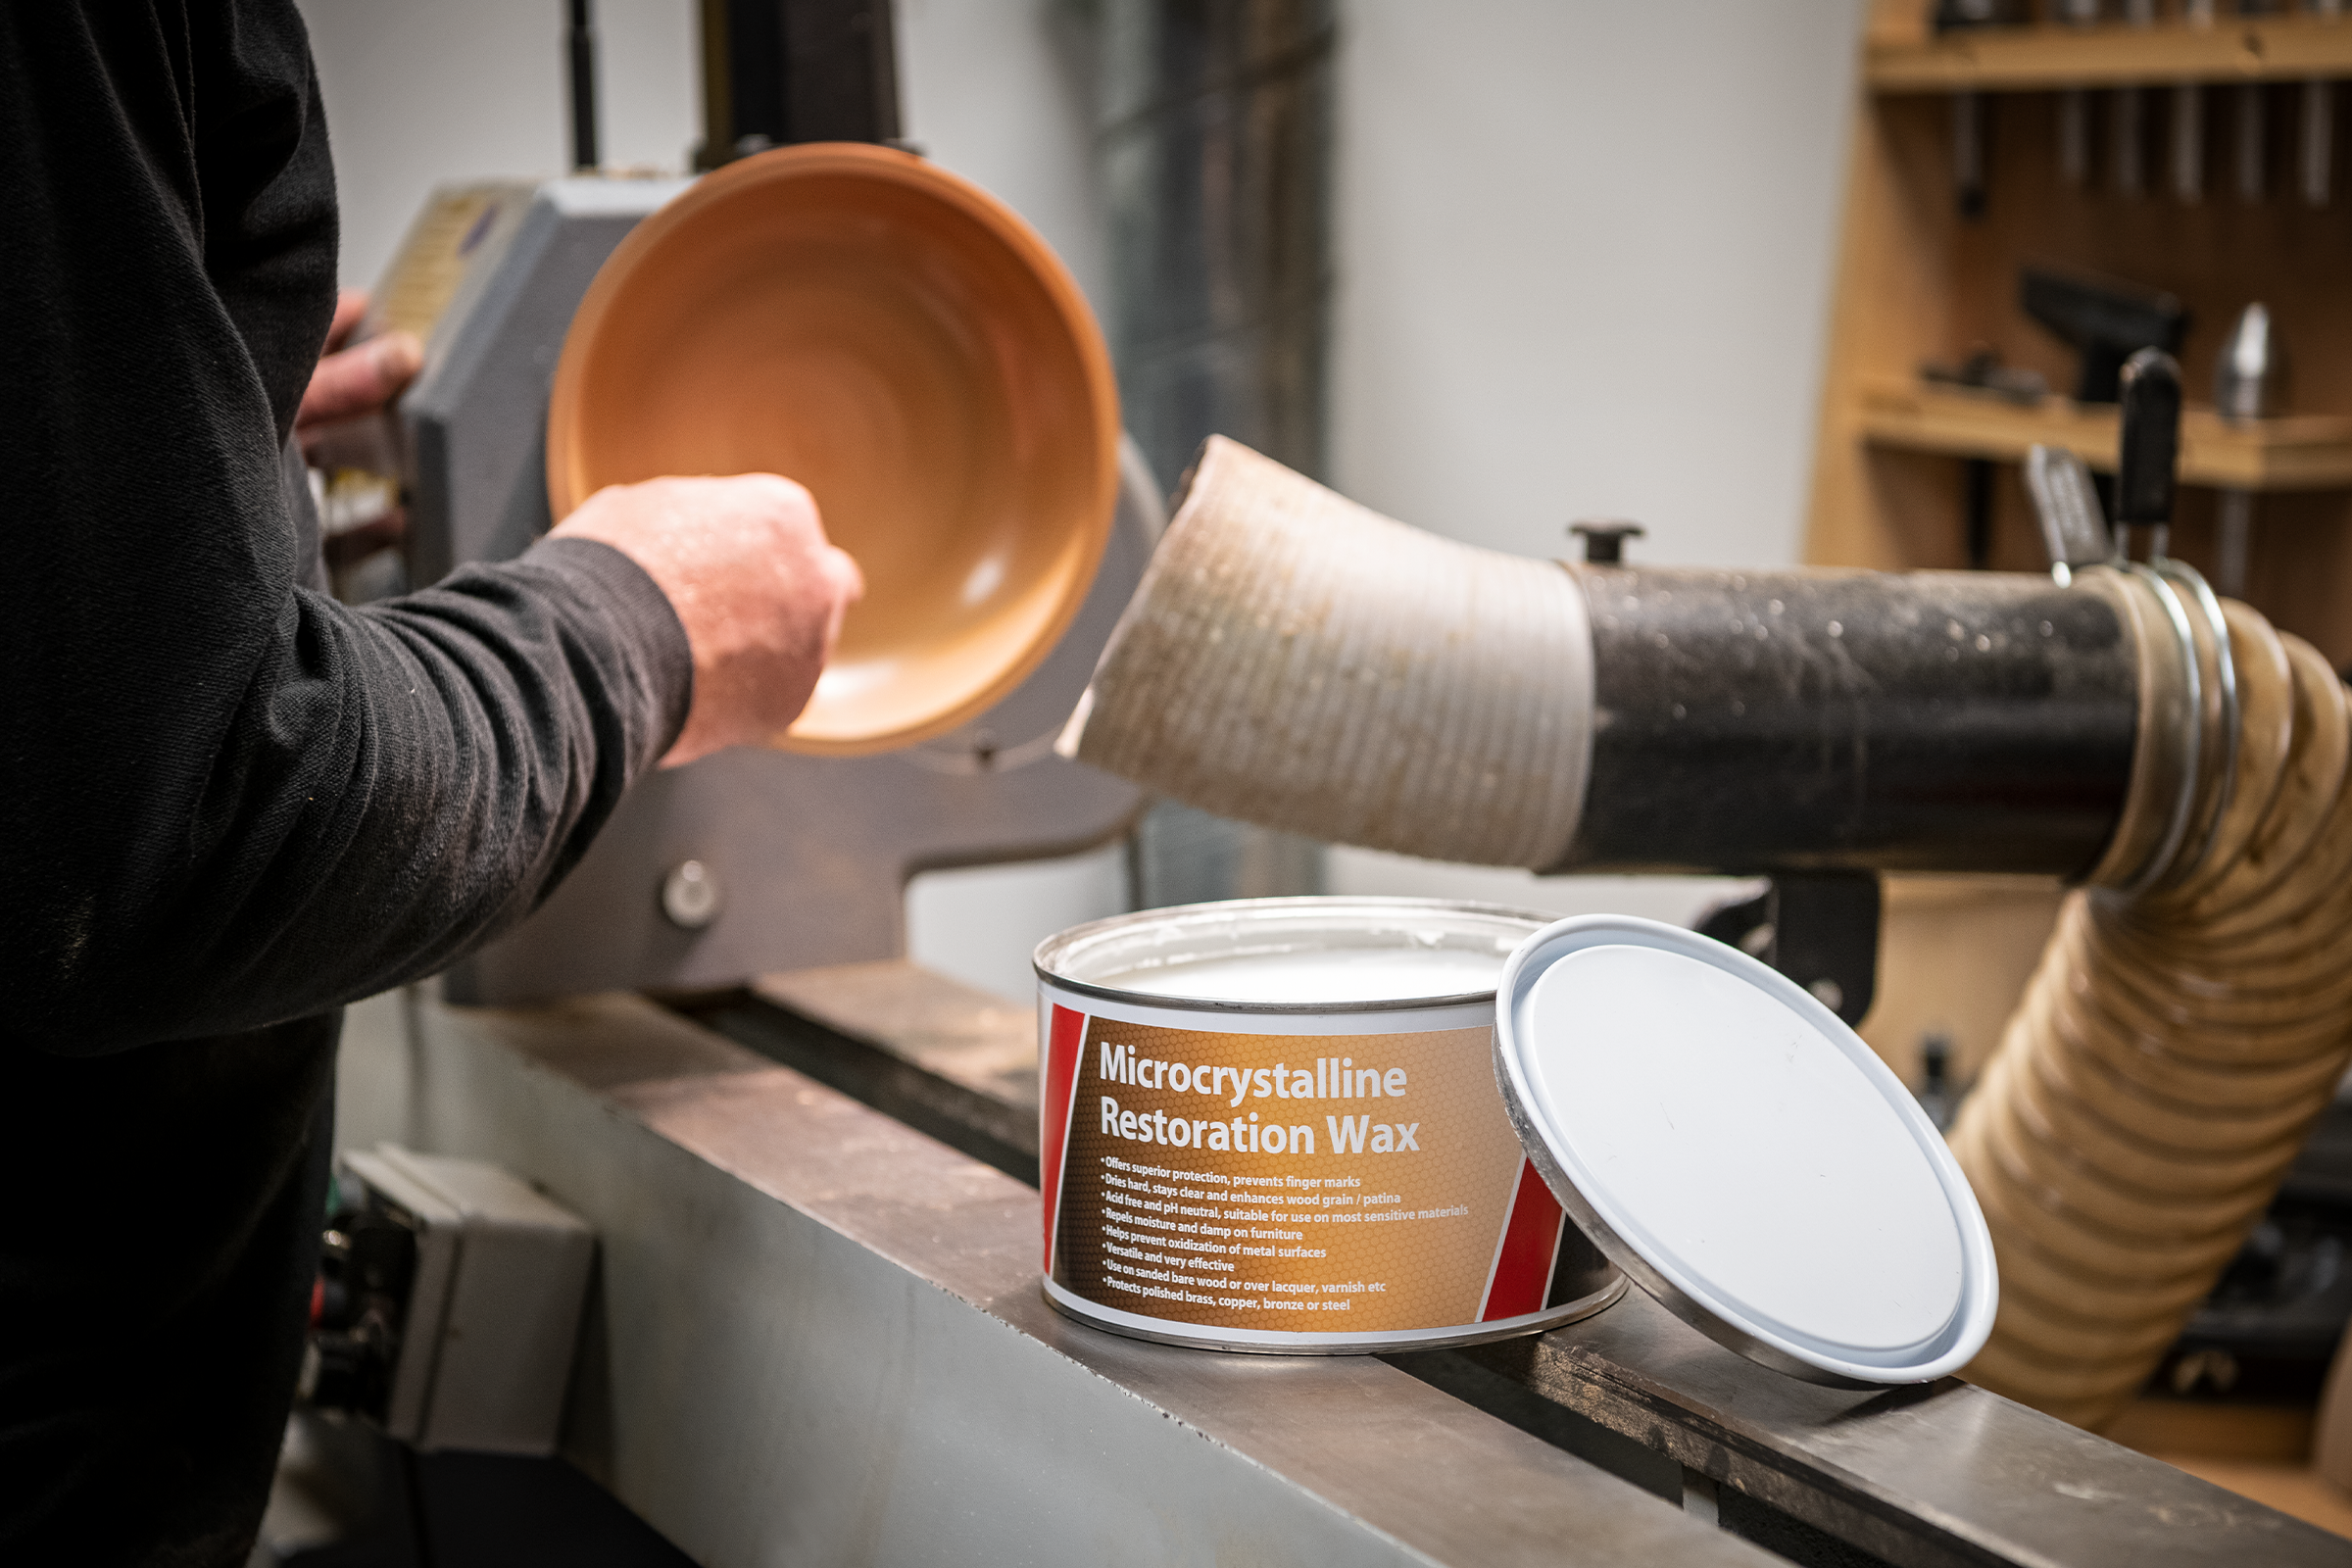
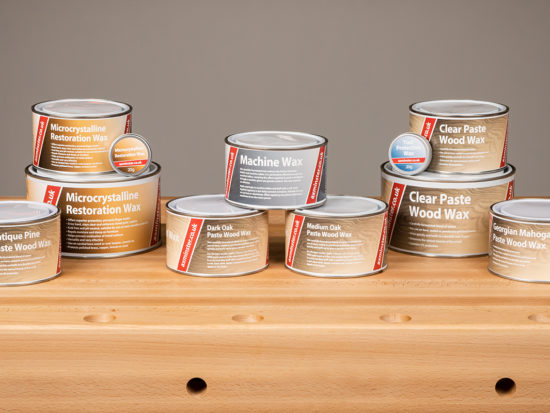
Our own Axminster Microcrystalline Waxes are an excellent choice of finishing wax. It is particularly great for objects that will be handled a lot, such as pens, as it is resistant to fingerprints and provides water resistance.
Microcrystalline Wax is ideal for delicate artefacts due to its pH neutral and acid-free qualities. The wax stays clear and forms a hard layer when applied that, once buffed, gives a gentle sheen and will repel moisture on furniture. Its properties also help prevent oxidation of metal surfaces.
Woodturning finishes summary
So remember these top tips when selecting one of our woodturning finishes for your project. Prep your work piece, use a sealer (unless using finishing oil), match your project to the protection levels you require, and consider what polished look you want to achieve; we guarantee that Axminster Tools has the woodturning finish for you.
Get in touch!
If you've used any of our woodturning finishes and want to show us what you've been making, Comment below. Alternatively, get in touch via our social media platforms. Find us on Facebook or connect with us on Instagram using @AxminsterTools.


Do you really mean 60 grit after finishing oil ??
Hi Keith, Thank you for your comment. This was a typing error and should have read 600 grit. This has now been corrected. Kind regards, Lisa
Not 60 grit. 600 grit is correct. Then grab a handful of shavings and burnish the surface. Gives a great finish.