How to make a Windsor Chair step-by-step: Part 1
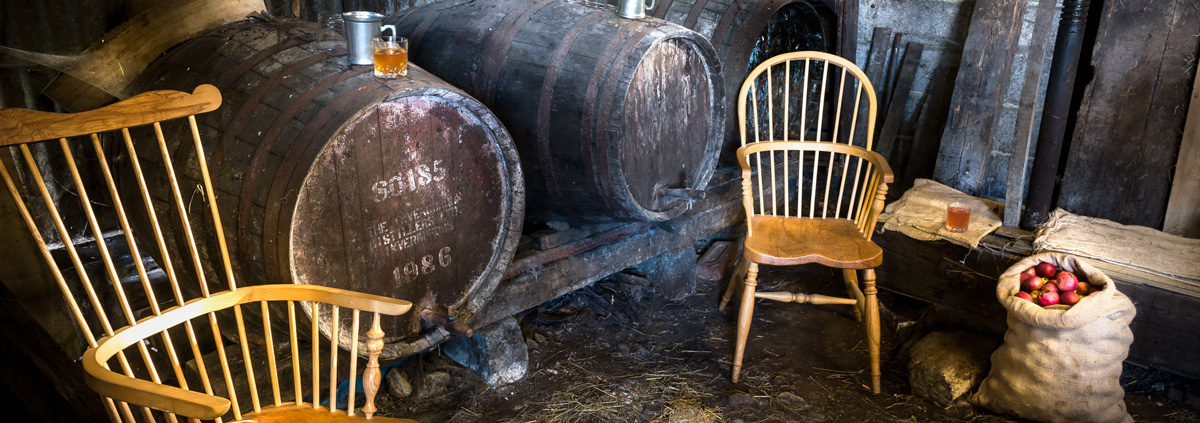
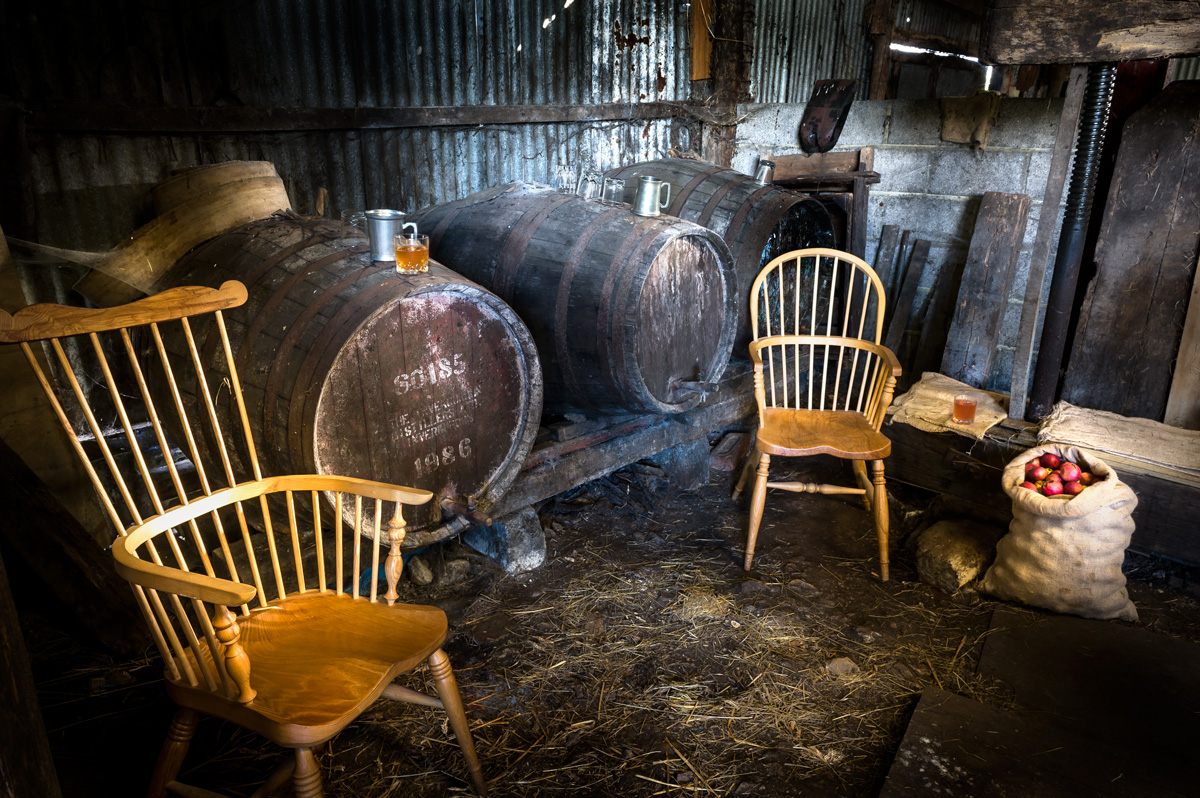
There are very few things in life that are more satisfying than making your own chair. From the design to the making, the fruits of your labour are truly rewarded.
About this project
This four part project will give you step-by-step instructions on how to make a traditional Windsor chair. It will list all tools and materials you will need at the beginning of each part. Good luck and happy making!
Before we get started
Undertaking the construction of a Windsor chair is no mean feat and having some experience of woodturning and working with hand tools is essential. At our Skill Centre, we not only offer a complete 5 day Windsor chair course, where you take home a chair at the end of the week, we also offer courses on Woodturning so you can hone your skills in advance.
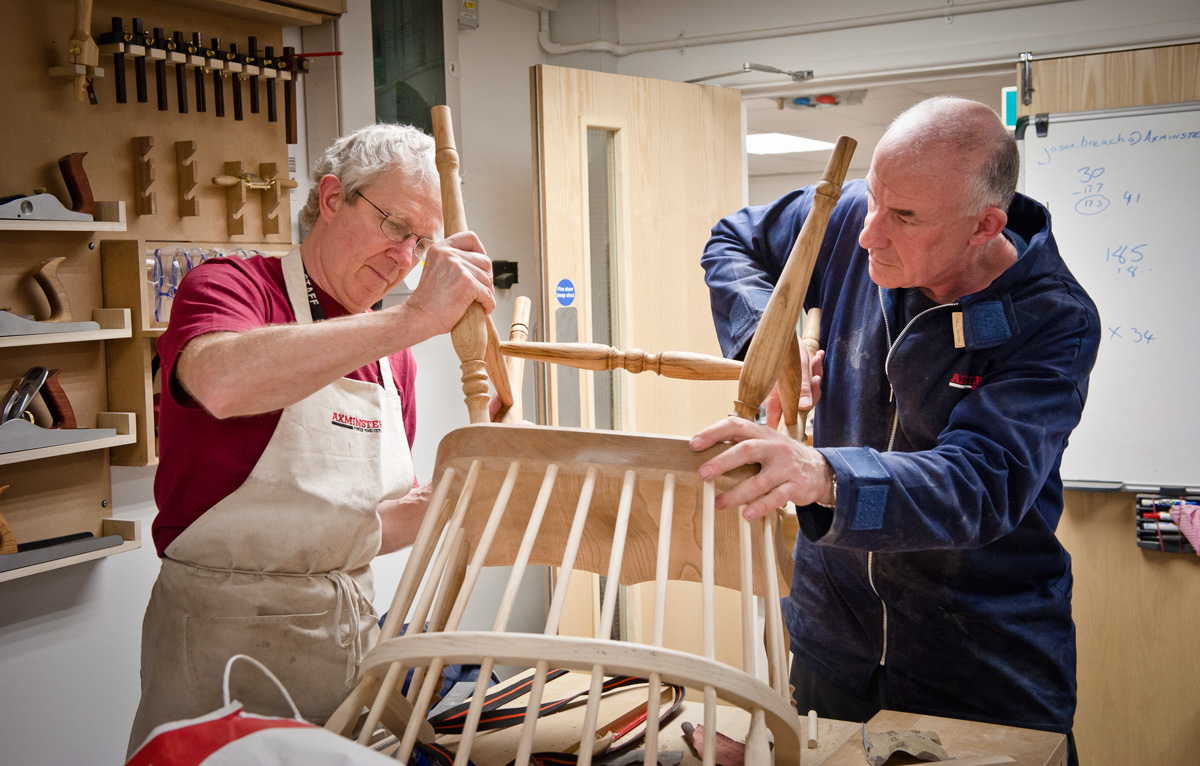
Why we call it a ‘Windsor’
Like Axminster Tools & Machinery, the Windsor chair has its roots firmly set in High Wycombe. During the 18th and 19th Centuries, High Wycombe was the chair making capital of the world with orders coming from everywhere from Southampton to Shanghai. So, why call it a Windsor and not a Wycombe? It is, in fact, that export market that gives the chair its name. The canal ways at Windsor were the best way to get the chairs to the ports and the rest of the world and as such the ‘Windsor’ chair was born.
Why we use dry wood
Unlike the original Windsor chair, our chair is made from dried cut wood and not the wet split wood the ‘bodgers’ of High Wycombe would have used. The main reason we do this is so that our students from our five day chair course can take them away with them at the end of the week and we recommend dry wood as it’s easier to work with and gives you a faster project result. If you’d rather use wet wood, you will need to set aside a lot more time!

Tool menu - Turning the legs, arms and stretchers
You will need the following tools to complete Part 1:
- Woodturning Lathe
- Four Prong Drive Centre
- Revolving Centre
- ¾" Roughing Gouge
- ¾" Standard Skew Chisel
- ¼" Beading & Parting Tool
- ⅛" Parting Tool
- Woodturning Abrasive
- Spring Calipers
- Pencil
- Safety Visor
Optional extras that we suggest:
You will also need:
- 9 x Ash Spindles 50mm Square 457mm Long
Step 1 - Setting up and roughing out
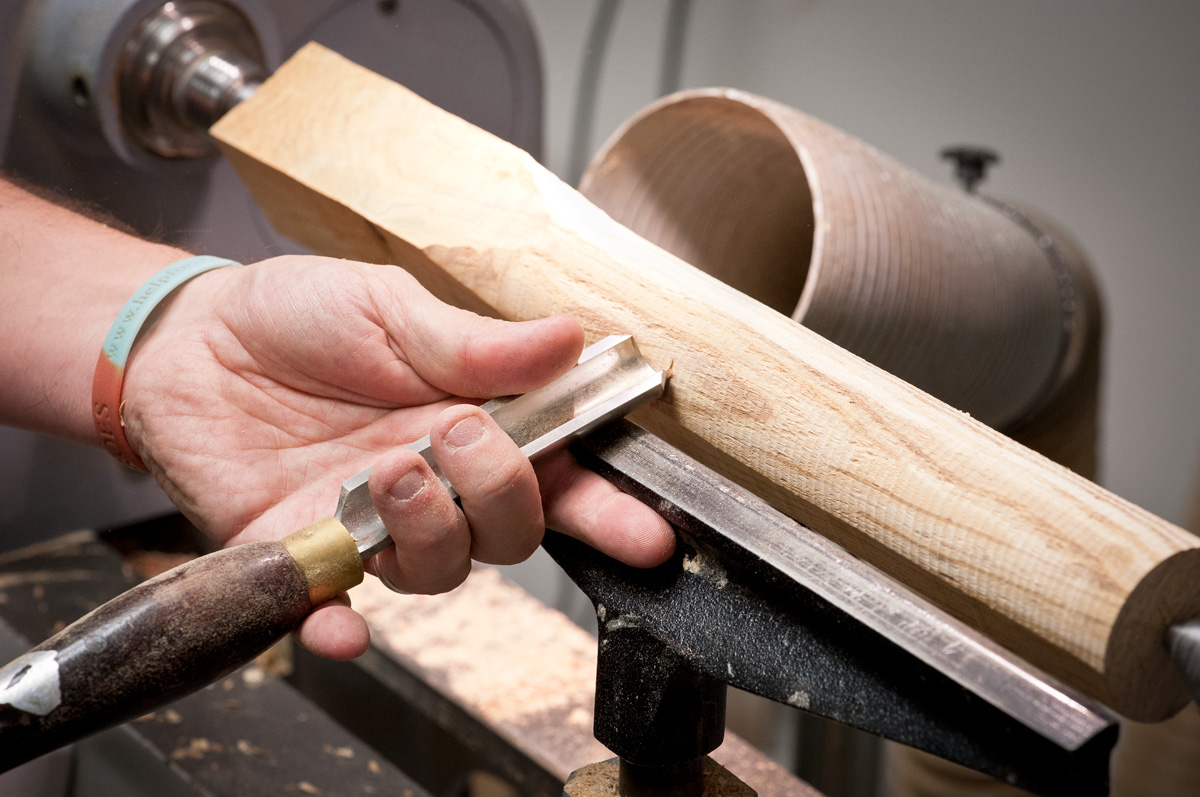
Mount a spindle on the lathe. Using a ¾" Roughing Gouge, rough down to a cylindrical form and rough widths. Repeat this process a further eight times - four legs, three stretchers and two arm supports.
Step 2 - Plane surface and marking out
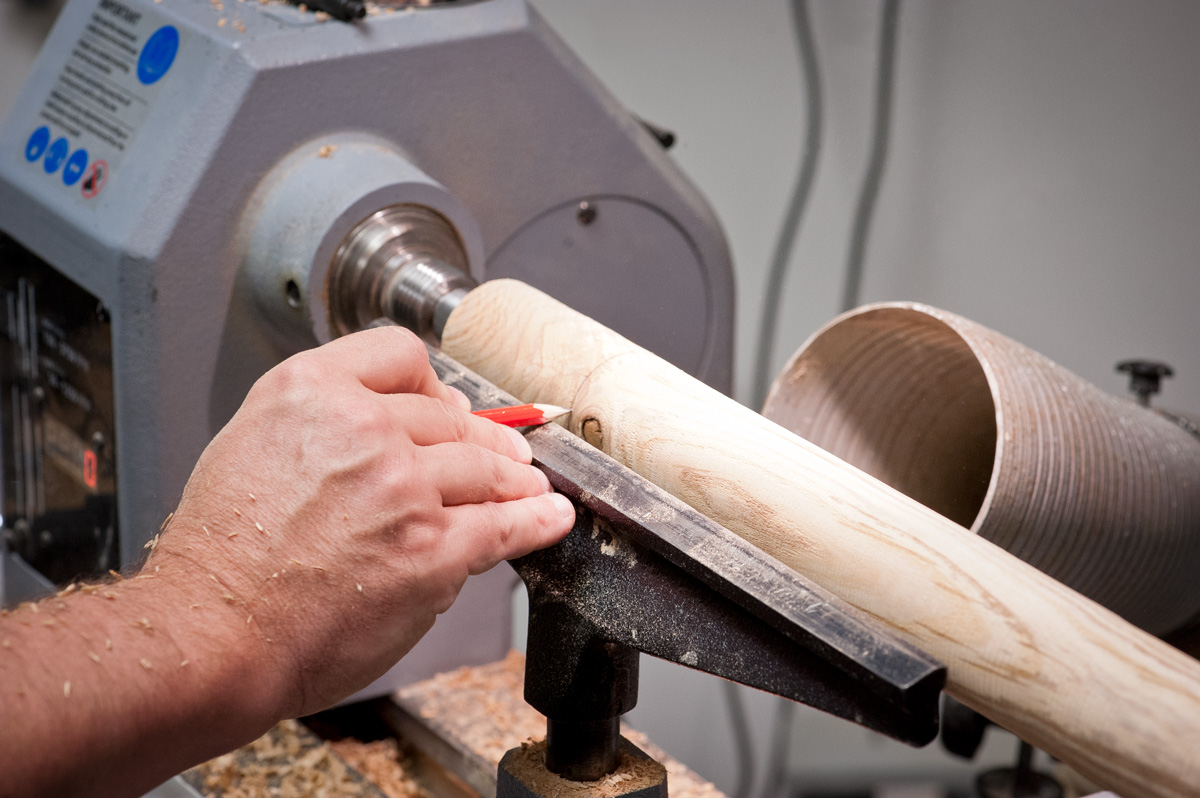
With a pencil mark out your design for the legs. This time, with the ¾" Standard Skew Chisel tip facing down (V cutting) mark out on your pencil lines. This is in preparation for rolling the beads.
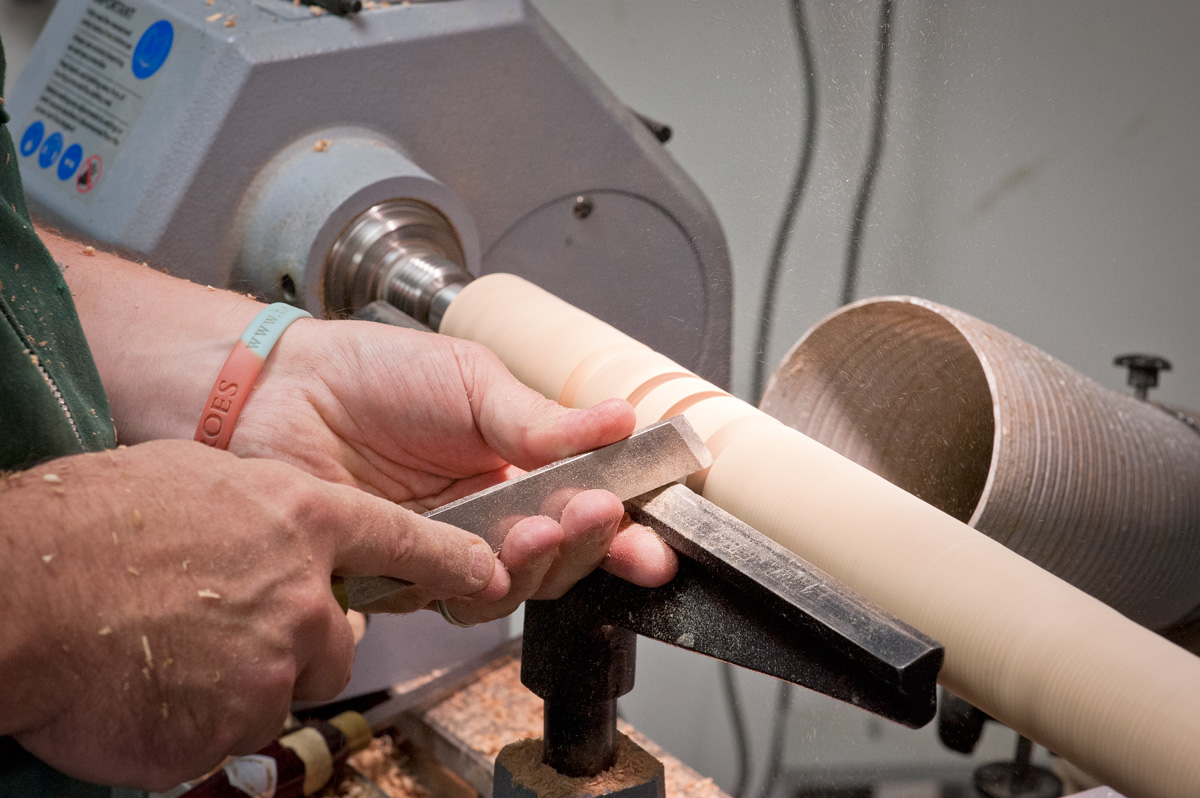
Step 3 - Rolling the beads
Roll the beads with a ¼” Beading & Parting Tool to create your design.
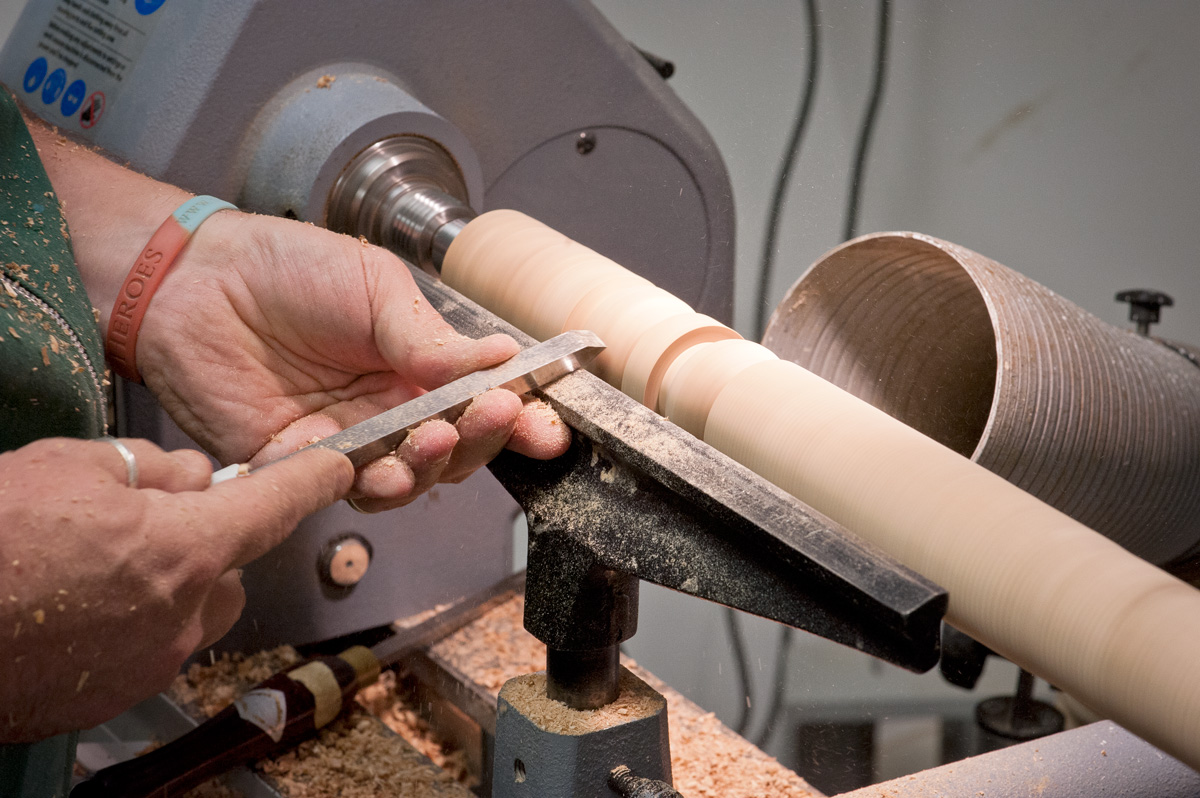
Step 4 - Sizing our tenon
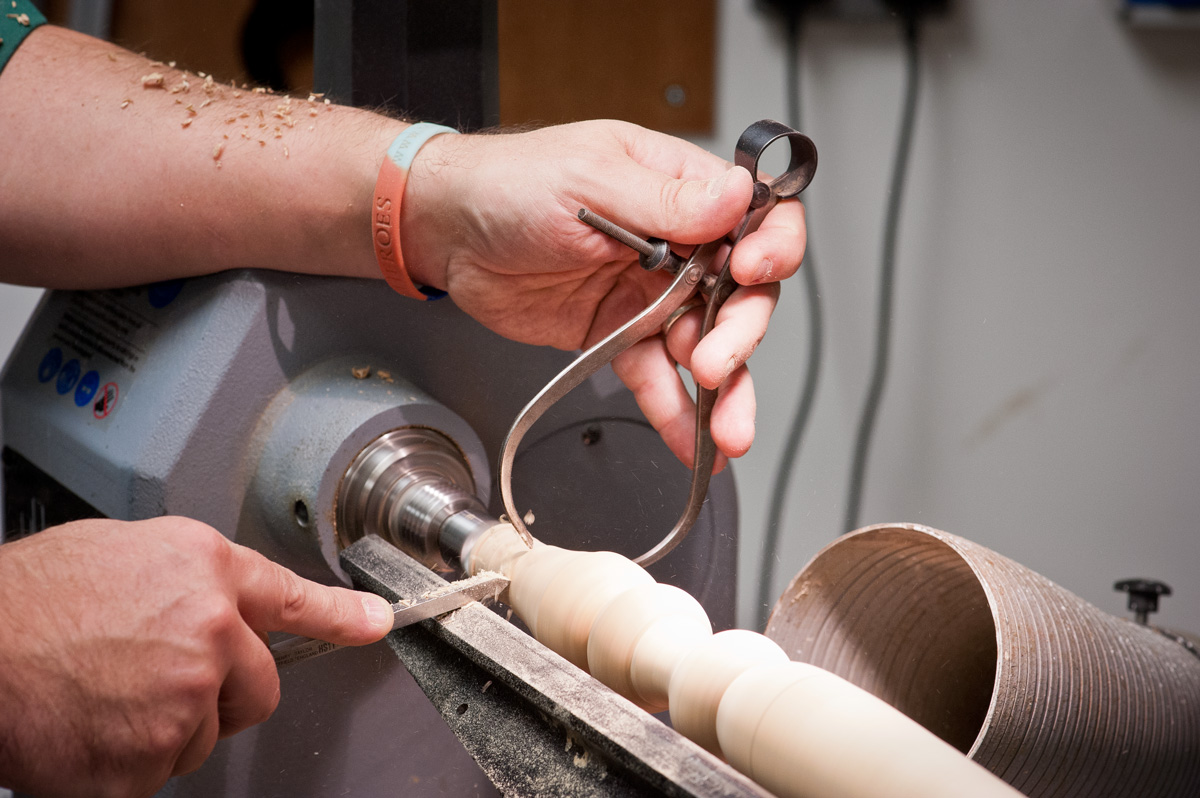
Size each tenon of the arms, legs and stretchers by using the ⅛" Parting Tool. We use 25mm tenons for the legs, 20mm for the stretchers and 12.7mm for the arms.
Step 5 - Sanding turned spindles
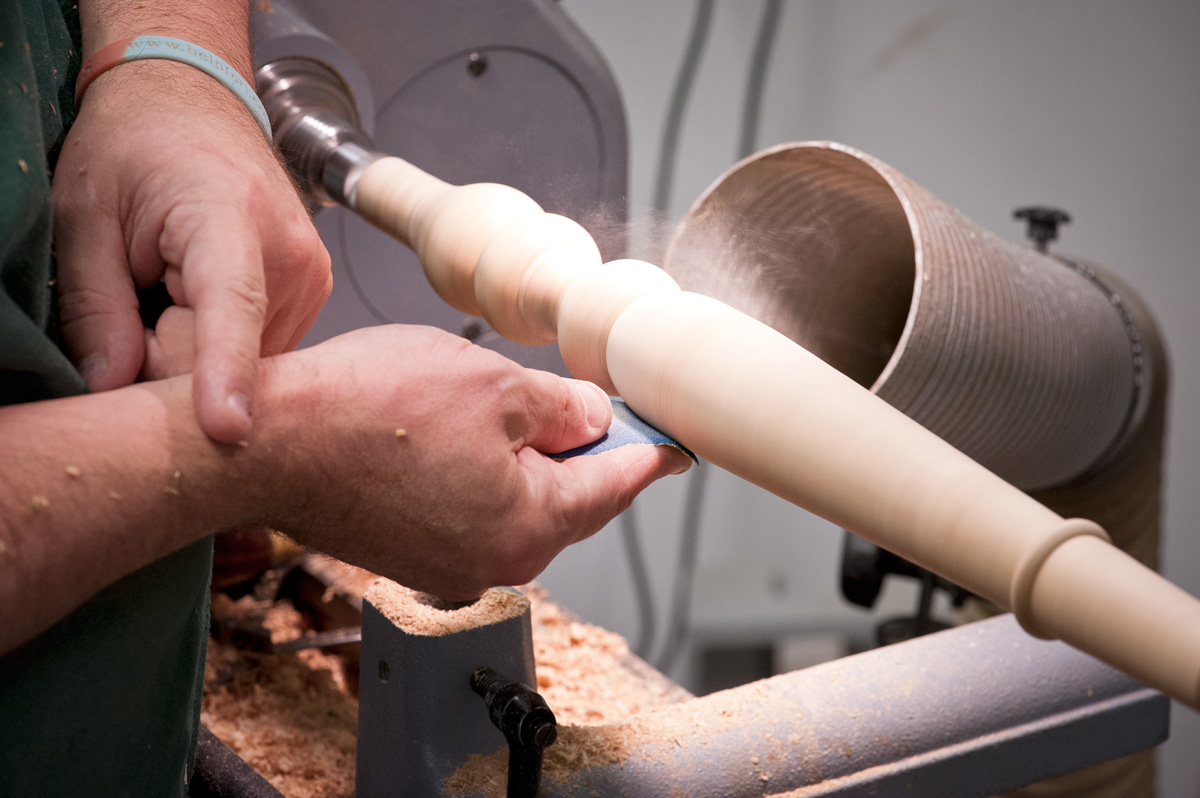
Using woodturning abrasive, sand your spindles to a fine finish working from 100g to 150g to 240g to 400g.
Step 6 - Repeat
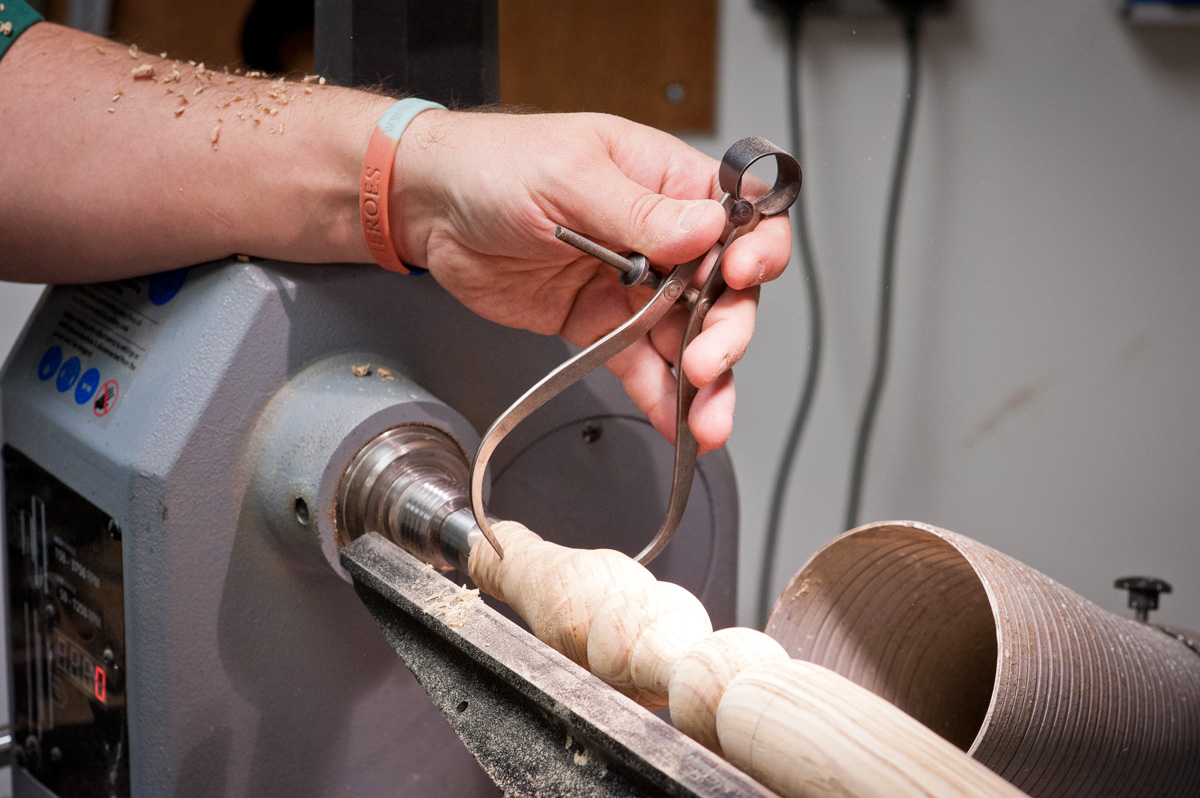
The above steps need to be repeated a further eight times. For copy turning, use calipers to ensure your turnings remain the same throughout.
If you're finished with these steps of the project, continue to Part 2.
On Pinterest? See our Board on Windsor Chairs.


Hello I am craftsman painter and sculptor and furniture maker Antiques and Decor, designer homes with wood
I've no idea if this message will go anywhere but I was wondering what the length of the arm supports and stretchers are?