Pocket Hole Joinery
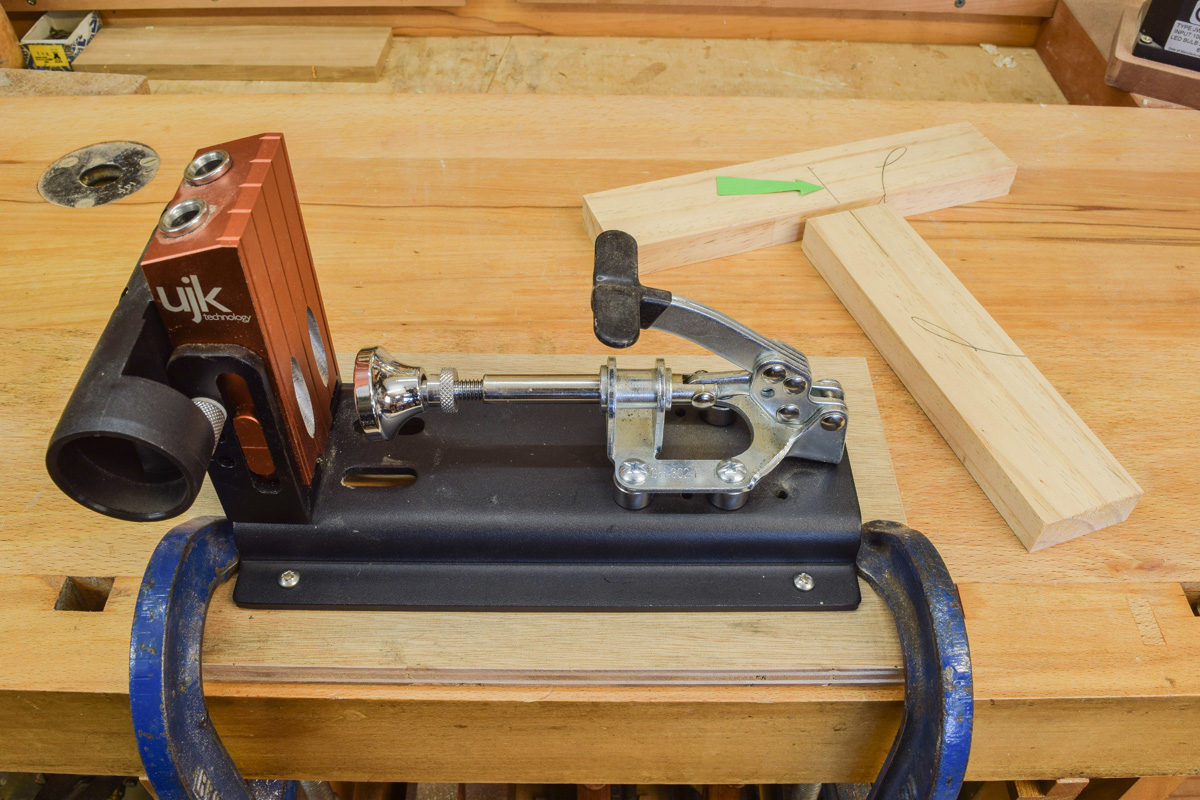
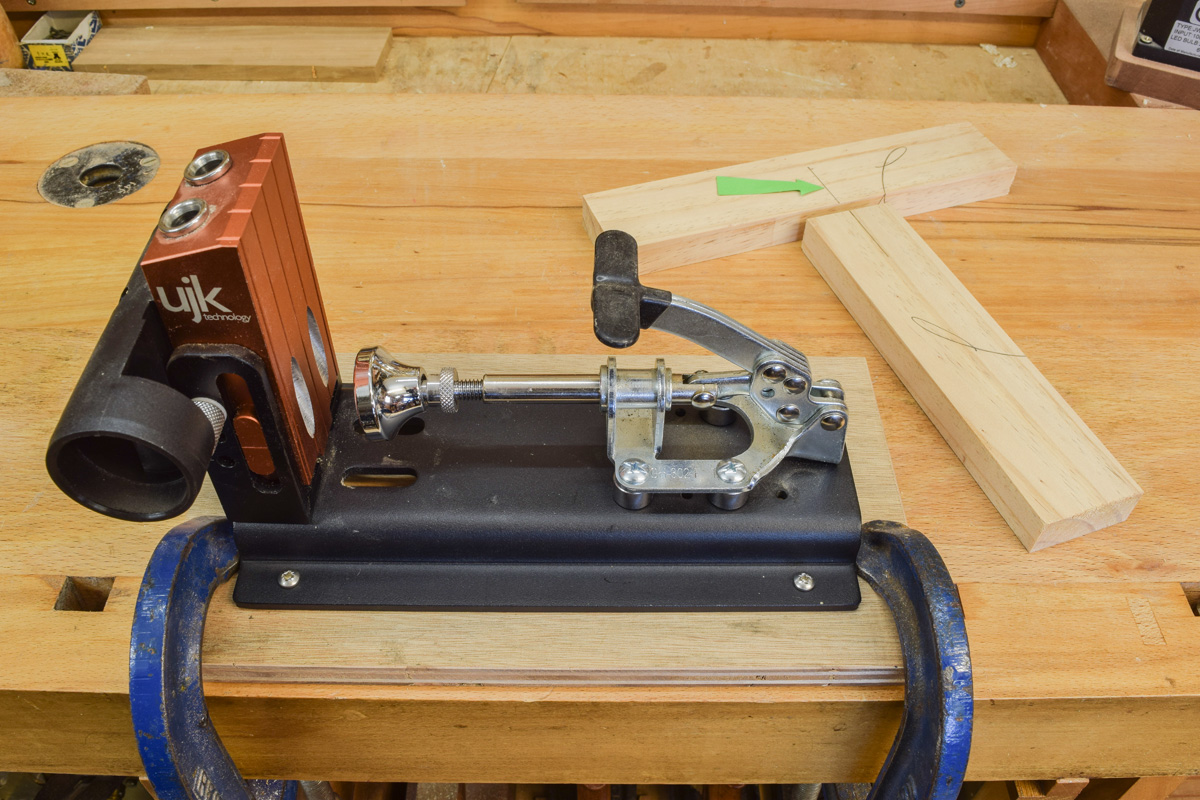
I’ve had a UJK Technology Pocket Hole Jig lurking in one of my drawers in the ‘shop for some time now and have always had the intention of using it for something interesting. But somehow the well-known proverb about the ‘road to Hell’ keeps cropping up. Consequently it’s never been used. That, however, is all about to change, as there’s a project looming in the not too distant future which lends itself to pocket hole joinery, the construction of which will be fully detailed.
Most woodworkers will be familiar with the term ‘pocket hole joinery’ even if they don’t own one of the jigs. However, it’s worthwhile spending a few minutes looking at our video to familiarise yourself with the system.
Ways to make a pocket hole
Pocket holes have been established for decades as a trusted method of joining table tops to a framework. But without a jig to make the pockets, it’s a tricky business. Drilling an accurate hole freehand at an angle of around 20° to the horizontal is fraught with difficulty. Probably the best way to make the pocket by hand, is with a small scribing gouge.
Essentially, it’s a very rapid method of constructing a framework or carcase using screws which are driven into the opposing part of the joint at a shallow angle. For accuracy when screwing together, it’s desirable that the components are held securely, either with a quick clamp, G clamp or one or other of the two specialist clamps. If necessary, once completed, the joint can be taken apart at a later stage.
Accuracy prevails
I did a swift trial of the system and produced a simple T-joint. An oddment from the scrap bin was planed to 50x20mm and each end was made true on the shooting board, but if one isn’t available, a disc sander or table saw could be used instead. This is one of the essentials of pocket hole joinery. Each mating surface must be dead square or the joint won’t go together accurately. I also drew a pencil line (arrowed) to show how the two sections of the joint can be aligned with pinpoint accuracy. As will be seen from the pictures, 50mm is around the most comfortable width of material to work with. Narrower than this and the pocket holes become a little too close to the edges.
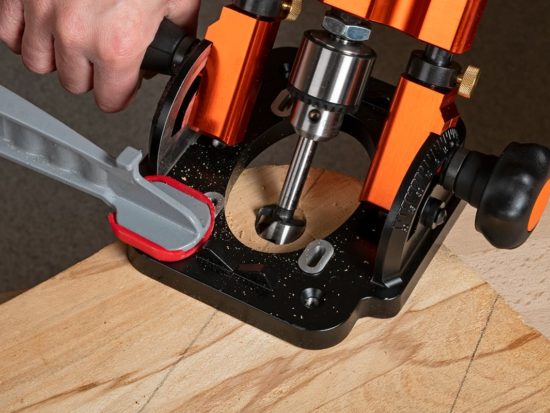
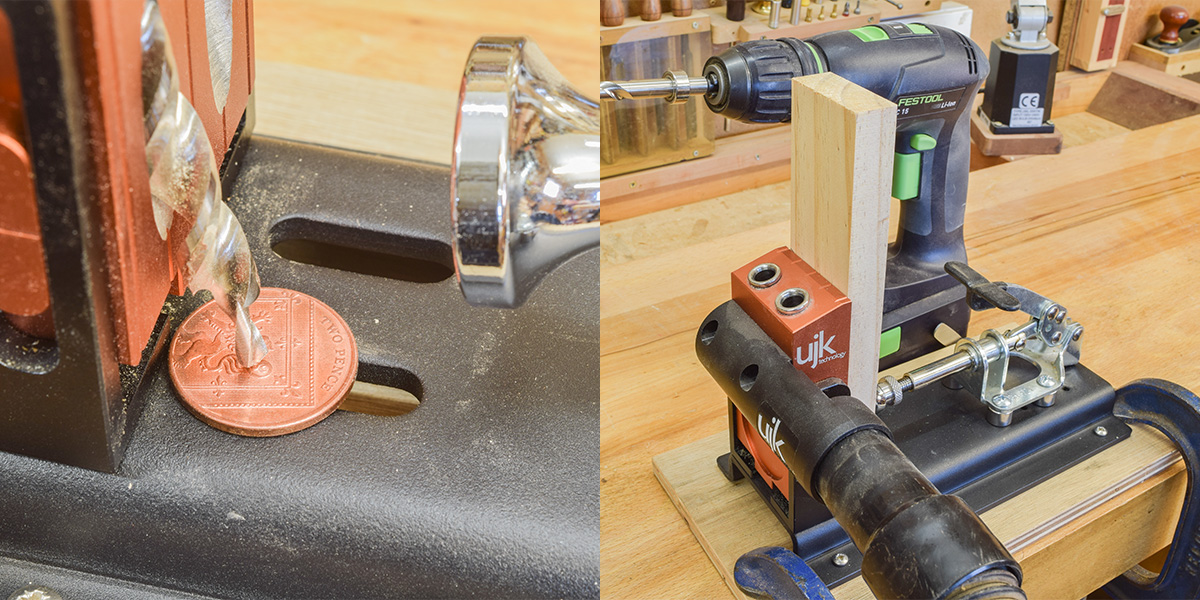
The drilling depth was then set up as shown in the video using a 2p piece and the holes drilled with the dust extraction port connected to an extractor. In order to clear the chippings efficiently, the drill must be used on the fastest setting. It’s worth noting that all the sawdust was extracted.
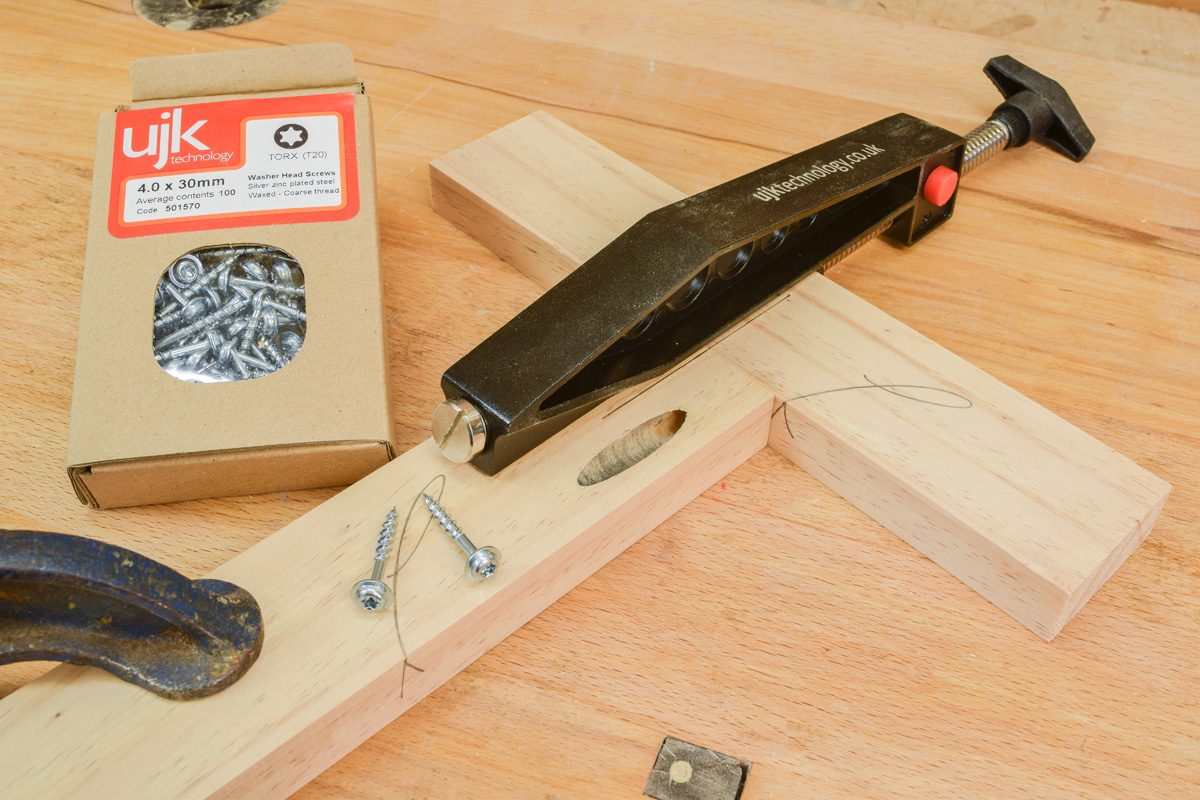
Once the drilling was complete, suitable UJK Technology screws were selected, and the joint pulled together using an alignment clamp, which allows both pieces to be precisely located before the first screw is driven home. This needs to be done at a much slower speed with the appropriate torque setting on the drill driver.
A strong finish
The final picture shows the completed joint, which is surprisingly strong, but only if it’s made in the way shown. Screws will have hardly any purchase if they’re driven into end grain!
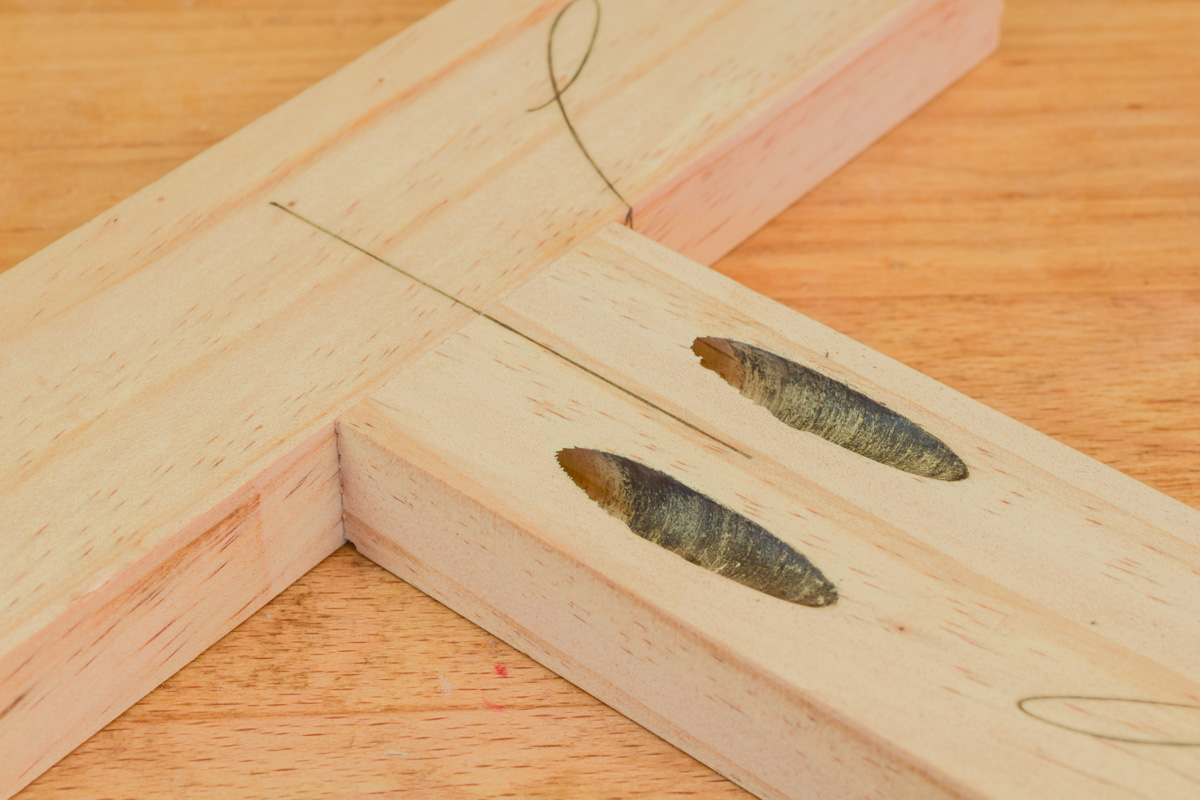
One disadvantage is that the pockets are glaringly visible if perchance they’re made on a ‘show’ surface (or the outside).
Pocket hole joinery deserves a little more recognition. It’s fast, accurate and strong. If you have any experiences with this system or perhaps tips and tricks, then please share them with us.


