Turning a London Pattern Octagonal Handle
To the best of my knowledge, only the Sheffield firm of Robert Sorby produces the traditional boxwood handled London pattern octagonal handles for one of their chisel ranges. In these heady days of bean counters, producing a complicated handle for a chisel must be a complex and time consuming job, but on the positive side, they do look attractive and have the added advantage that smaller sized chisels won’t move when they’re put down. If you’ve ever had a newly honed chisel or gouge roll off the bench onto an unforgiving concrete floor, you’ll realise why they’re so good.
Time consuming they may be to make, but they’re also quite easy, even for a ‘learner turner’ like me and better, and you don’t need a big lathe to make them. Boxwood is the traditional timber for these handles as it turns nicely and takes crisp detail exceptionally well, but any oddments of close grained timber will be suitable.
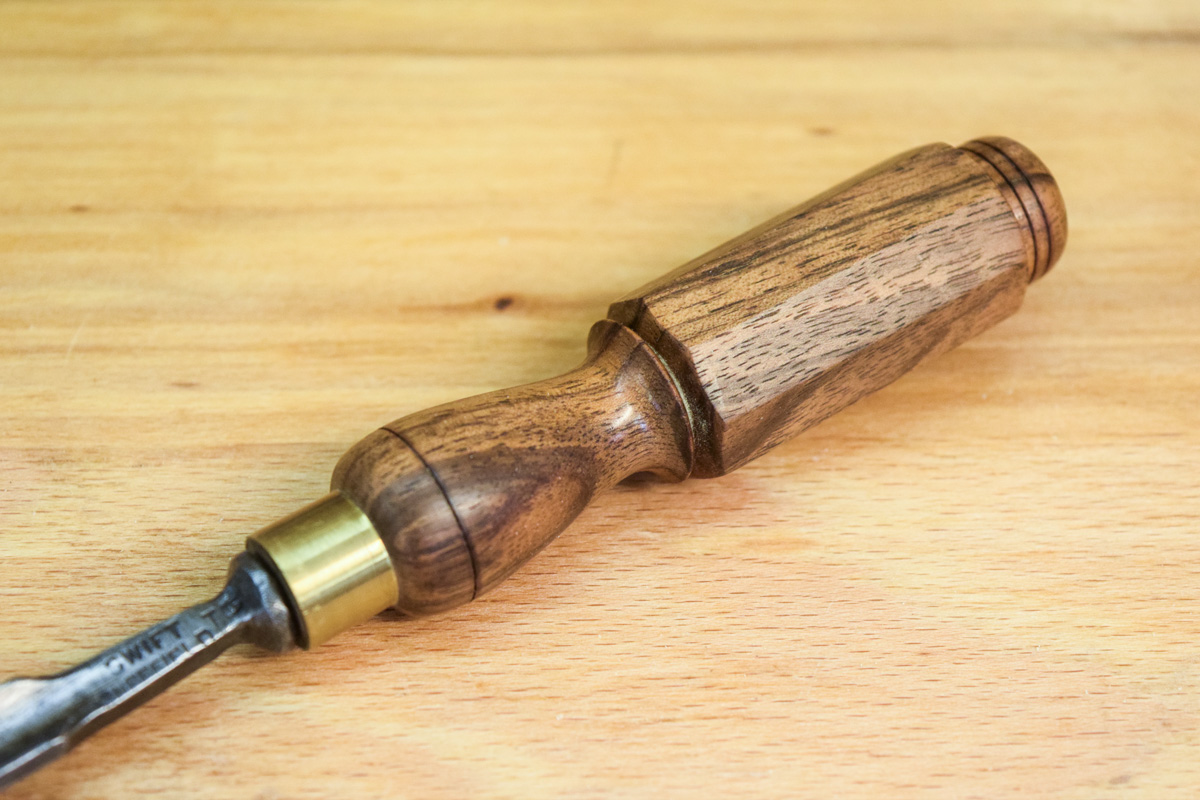
The handle shown in the pic is made from English walnut, but I’ve also made them from Indian ebony and they look best when a small ferrule is used as this allows a decent curved ‘flare’ on the handle. Ferrules of all sizes can be obtained from various suppliers on the internet.
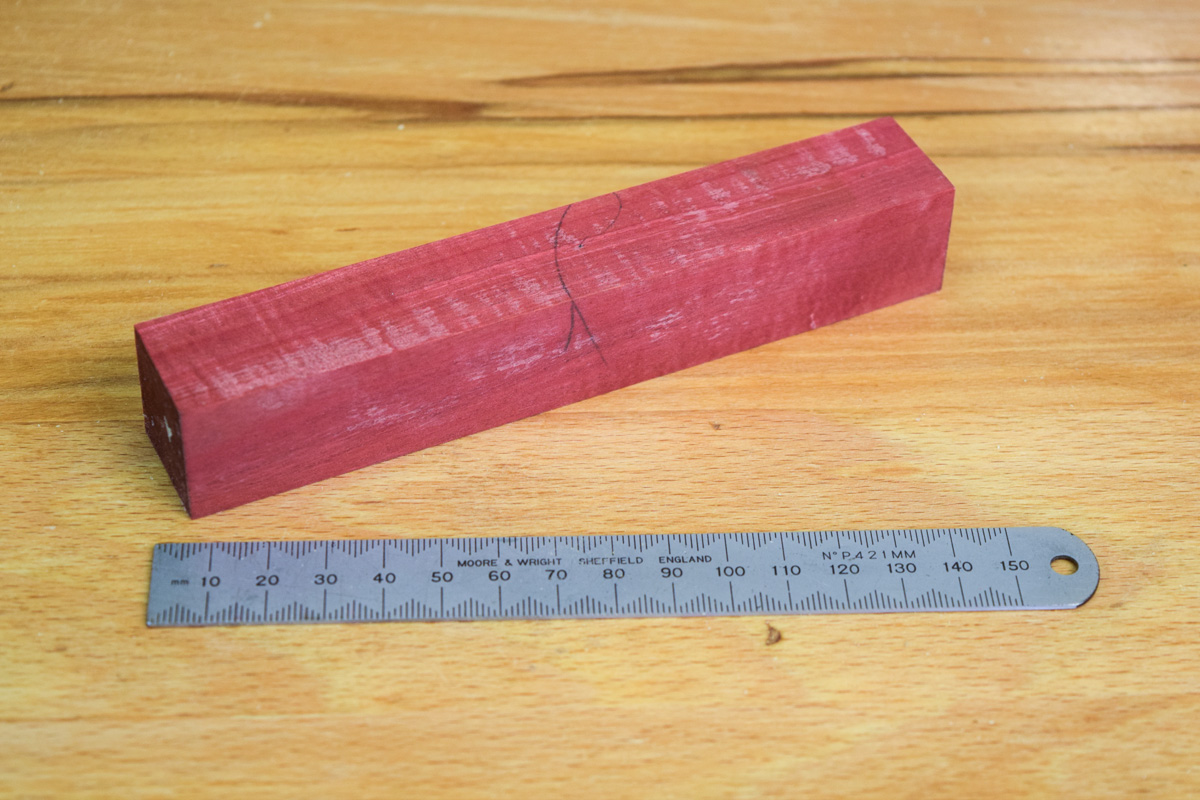
Using a small, over-long lump of Pink ivory, the first step is to machine it into a 25mm square rectangle and then mark the centres each end. This must be done accurately or the flats on the handle won’t be parallel when it’s finished.
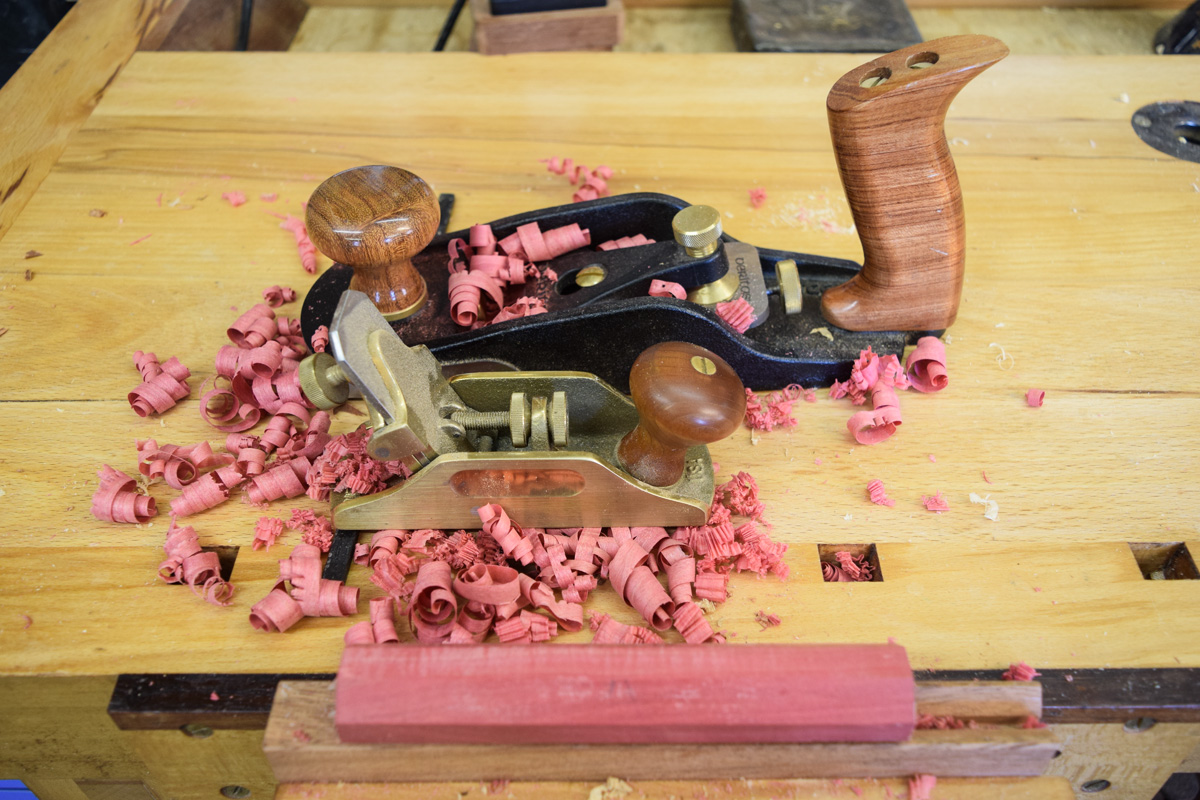
A small planing jig needs to be produced next, which is easily done on the router table with a 45° cutter. Using the jig in the vice, plane away the corners until you’re left with an octagonal blank where the measurement across each of the flats is the same.
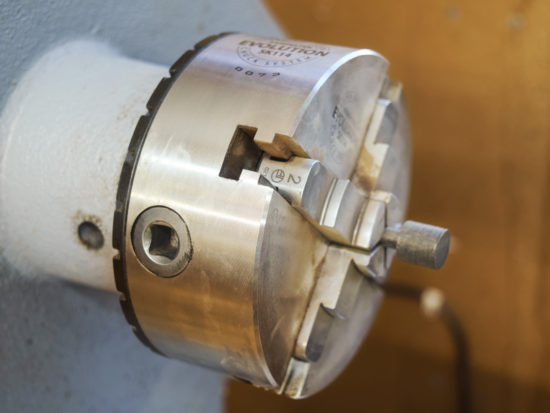
Mount the blank accurately in the lathe between centres and then remove the tailstock centre and replace it with a chuck with an HSS drill to suit the tang of the gouge.
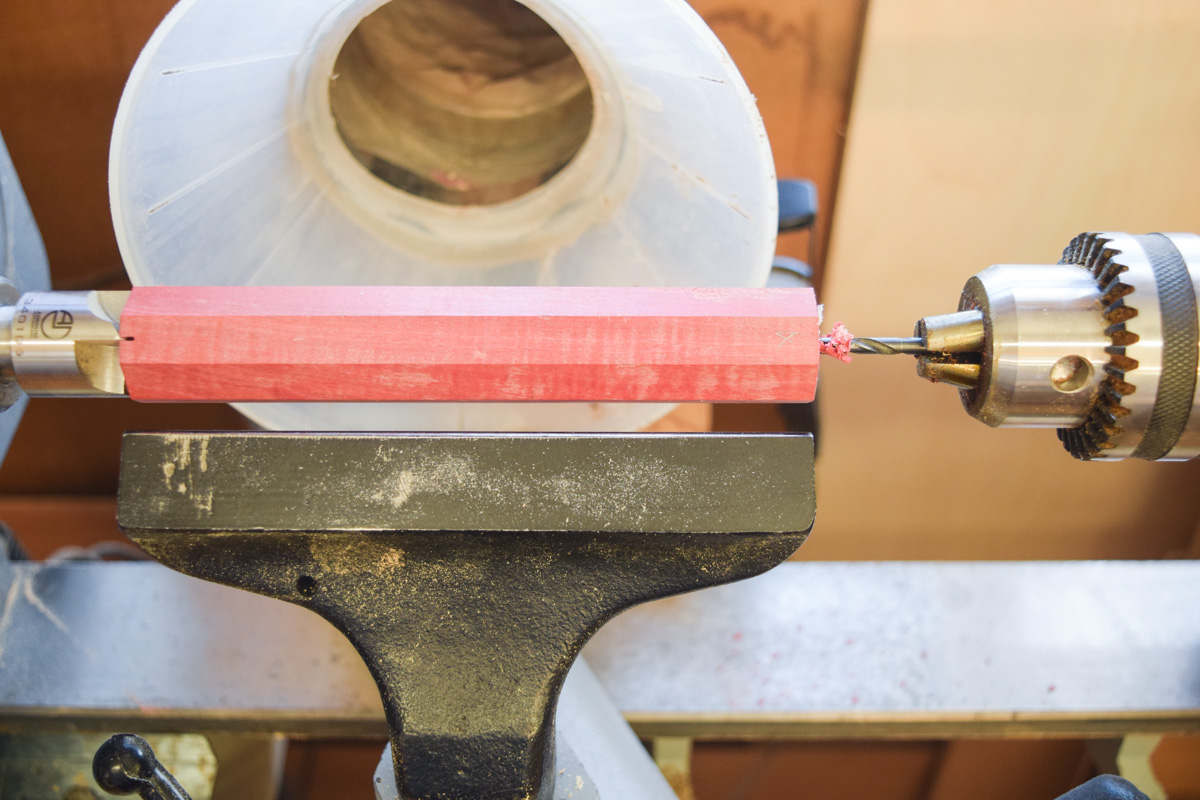
Drill the hole to the required depth and then replace the tailstock, after which a slightly overlong recess should be turned so that when the ferrule is fitted, it’s a tight fit. If it’s slightly loose, use a small dab of gap-filling, quick setting epoxy ensuring that the inside of the ferrule has been cleaned with some fine, worn glass paper.
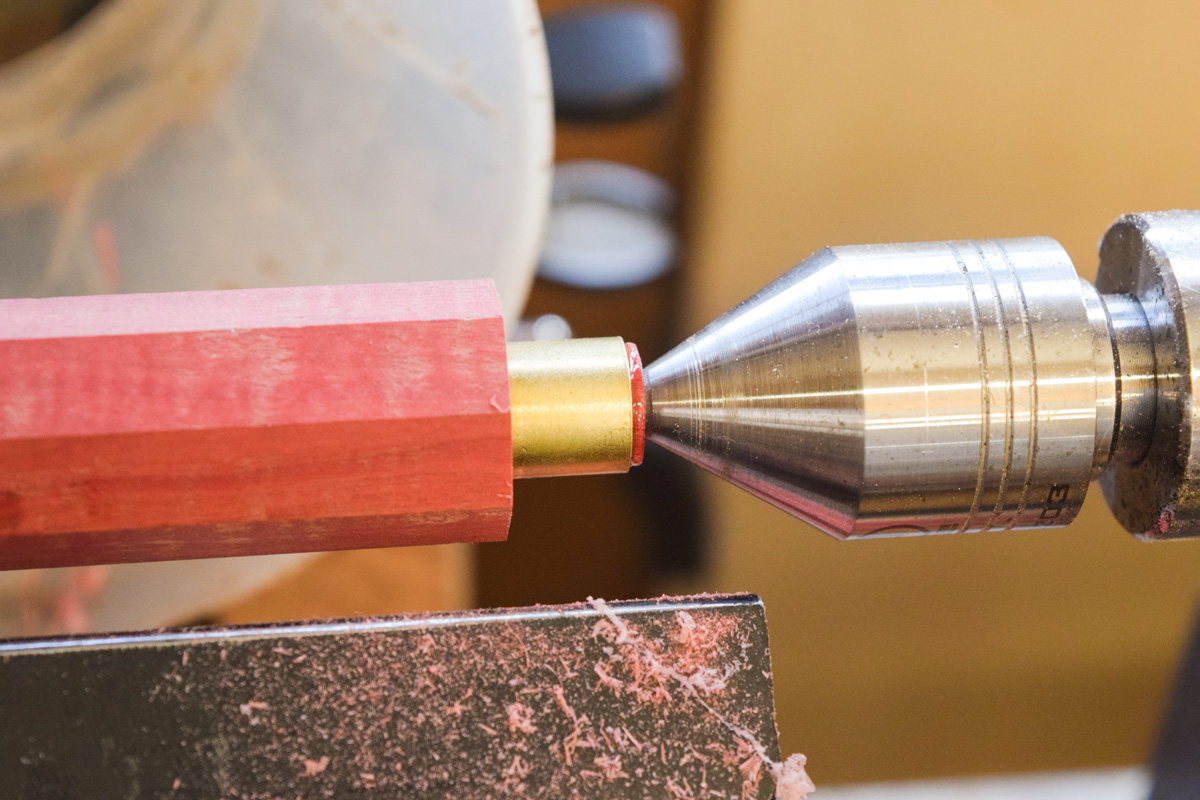
Using a soft pencil, mark out the limits of the curved section of the handle and then remove octagonal flats to leave a cylinder with the largest possible diameter.
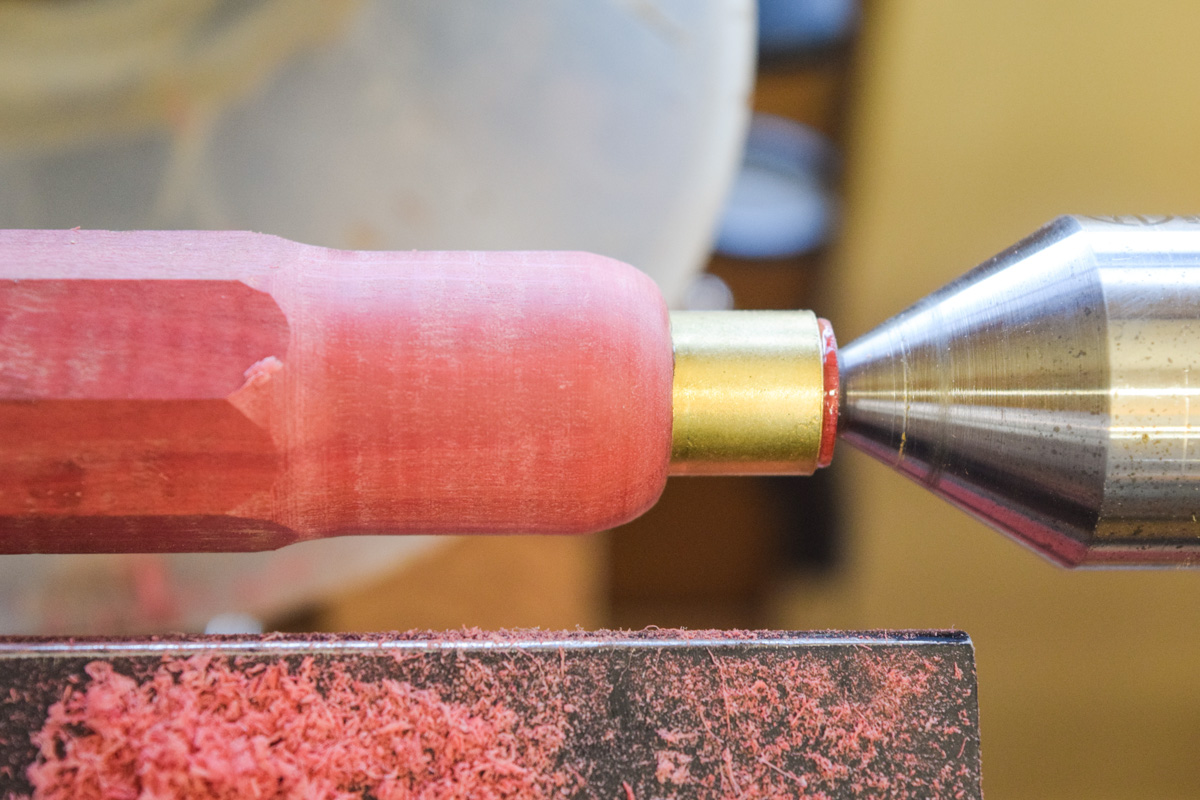
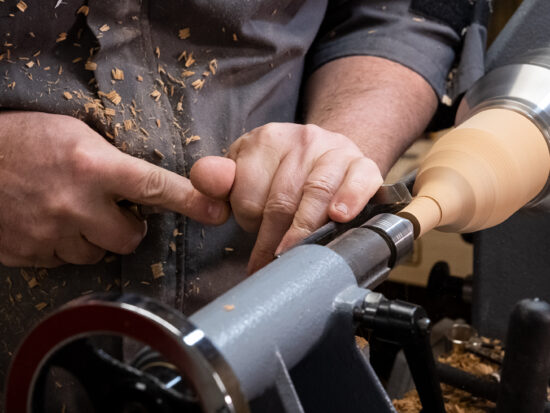
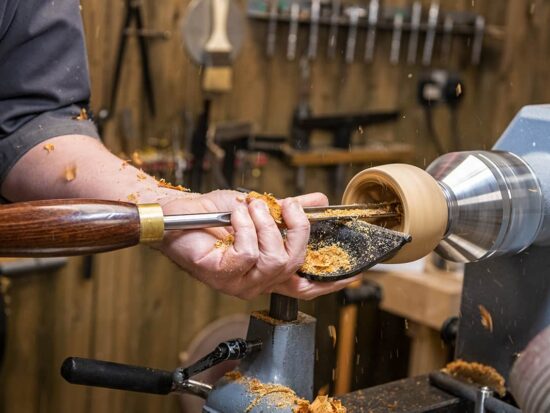
With a spindle gouge and round nosed scraper, turn the flared portion of the handle, ending crisply at approximately 90° to the ferrule.
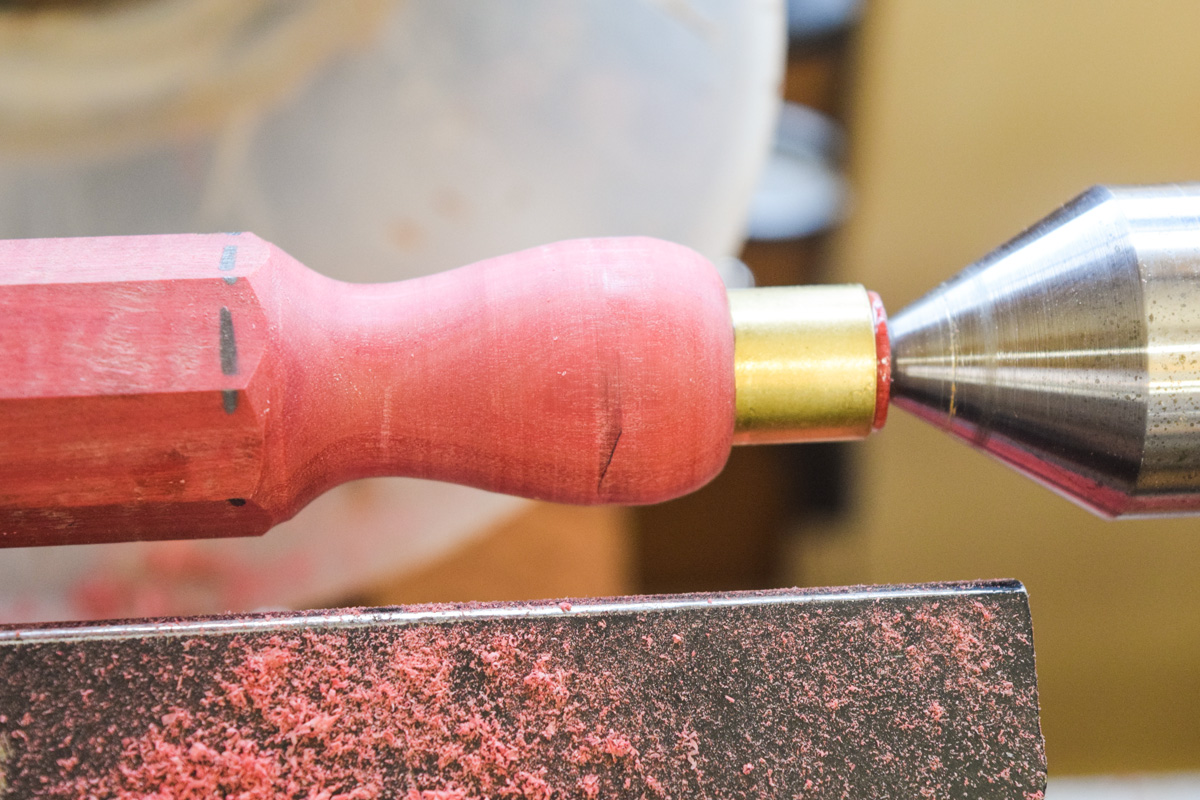
Again using the soft pencil, mark off the overall length of the handle and turn another larger recess with a curved shoulder. The end of the recess is partially rounded off with the spindle gouge and fully formed into a dome using hand tools when the handle is finally removed from the lathe.
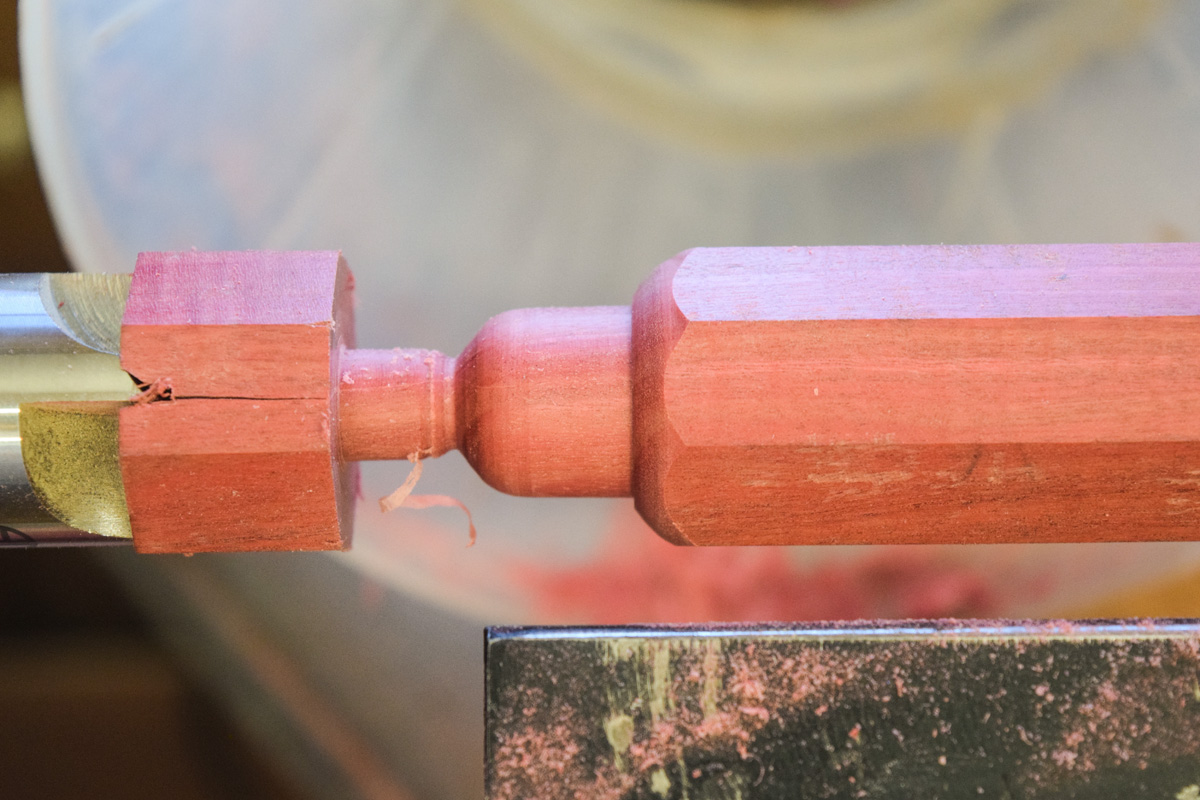
The distinctive, deep ‘V’ shaped notch between the curved section and the flats is produced using a Three Point Tool and once that’s done, the basic shaping of the handle has been completed.
All that remains is to sand the wood as well as the ferrule, finishing at around 400g and then part it off from the lathe in order to complete the dome.
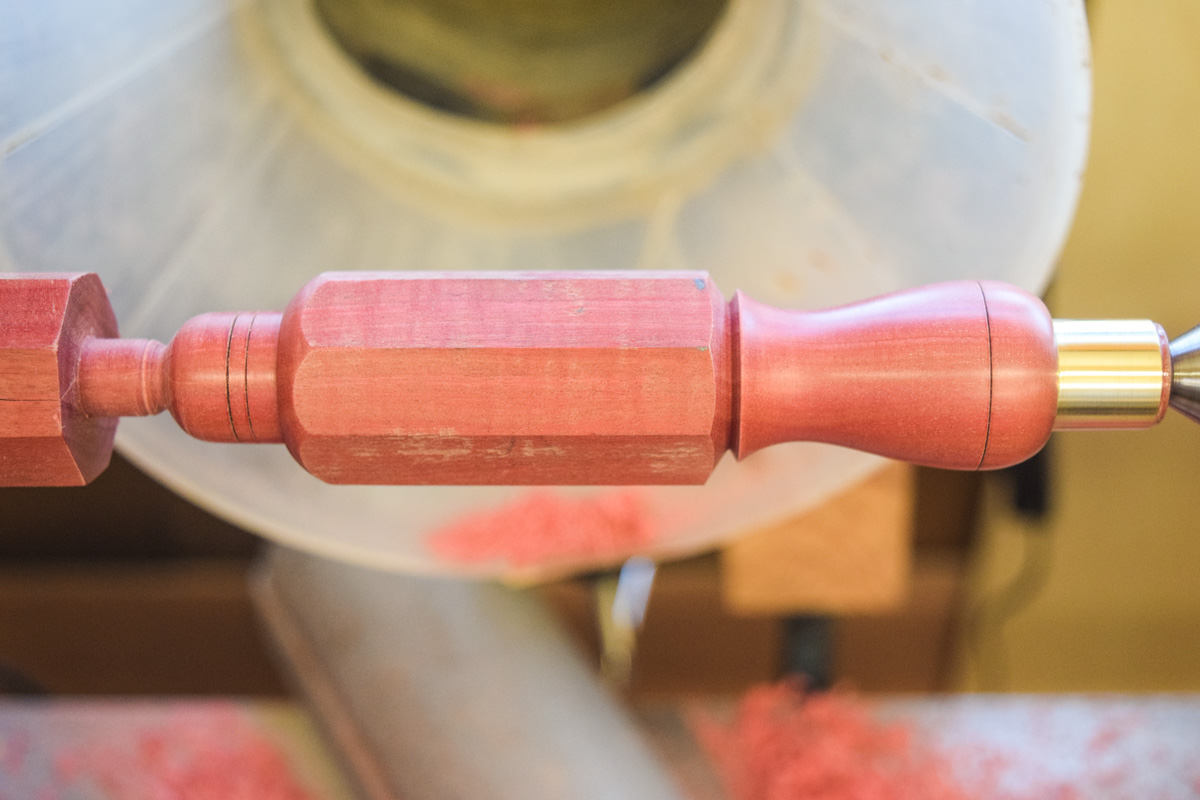
With the waste at the ferrule end removed on a disc sander, the next step is to carefully clean up the octagonal flats to retain their sharpness, after which a finish can be applied. I used a couple of coats of Liberon Sanding Sealer followed by an application of Chestnut Microcrystalline Wax which is then polished with a soft duster.
Provided that the initial hole is the correct size, fitting the handle ought not to cause too many problems. Mount the blade vertically in a metalworking vice, tang uppermost, and fit the handle, tapping with a mallet and twisting it slightly at the same time. The final 2mm should be a straight tap with a mallet to seat the handle securely on the blade, though with very hard woods, you’ll need to proceed with a lot more caution as the timber isn’t quite so forgiving. You may also need to drill a few wider holes to accommodate the broad section of the tang.
London pattern octagonal handles look very impressive on a blade and although they initially look quite difficult to make, in reality they’re quite easy and don’t take that long to turn.


