Pyrography Chopping Board and Utensil | How To
What you'll need
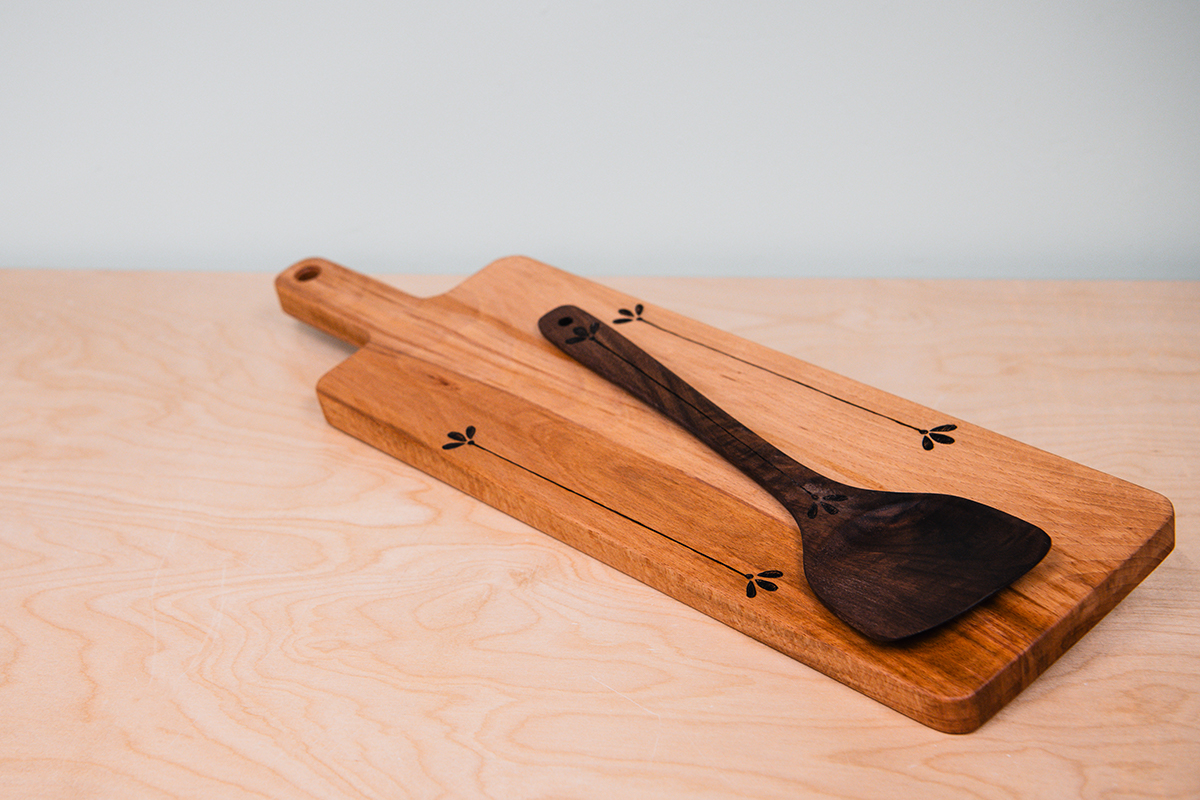
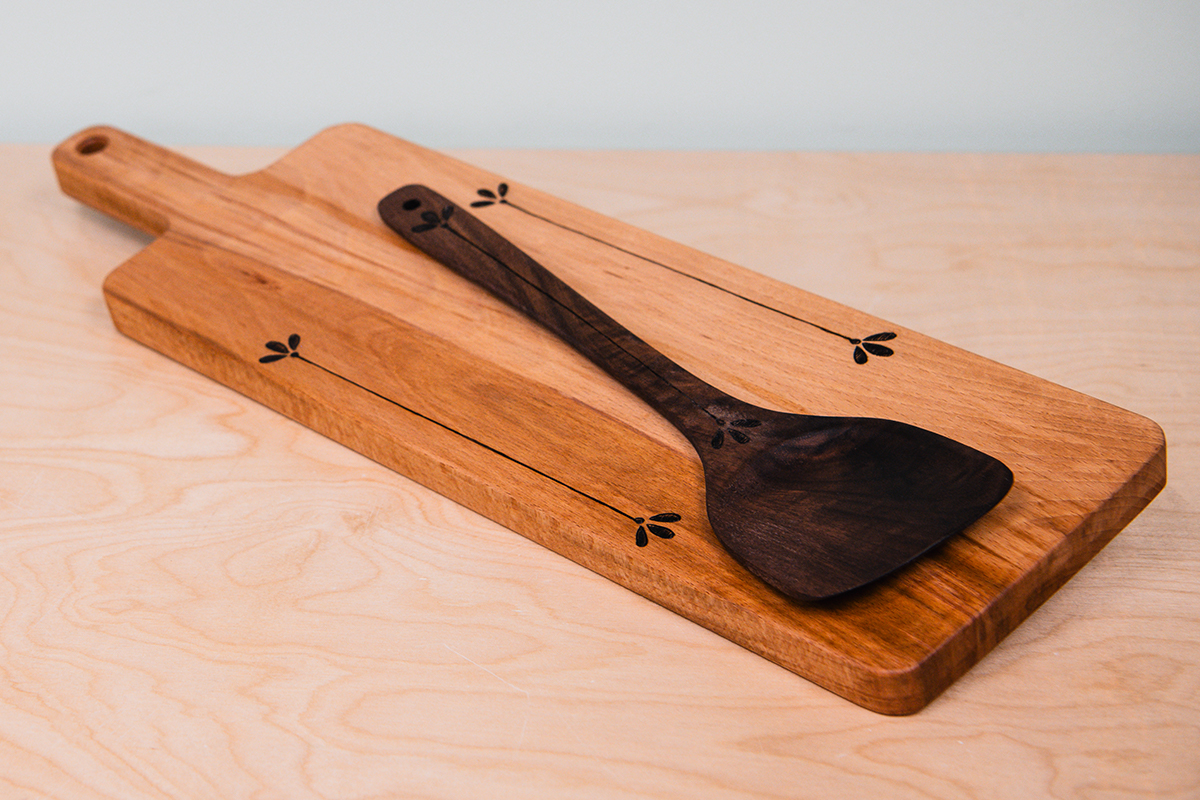
This pyrography chopping board and utensil project is perfect for practising and developing pyrography skills. A chopping board provides the perfect blank canvas to create beautiful pyrography designs - a simple way to rejuvenate your kitchen utensils.
You can make your own board first, or personalise and decorate a shop bought serving platter or utensil.
Watch Ben in our Woodworking Wisdom demo, or follow the step by step guide below.
Prepare your chopping board
Select your chopping board and spatula. These can be homemade, or shop brought. If using shop brought items, make sure to sand off any finish and wipe over with a damp cloth to remove the dust.
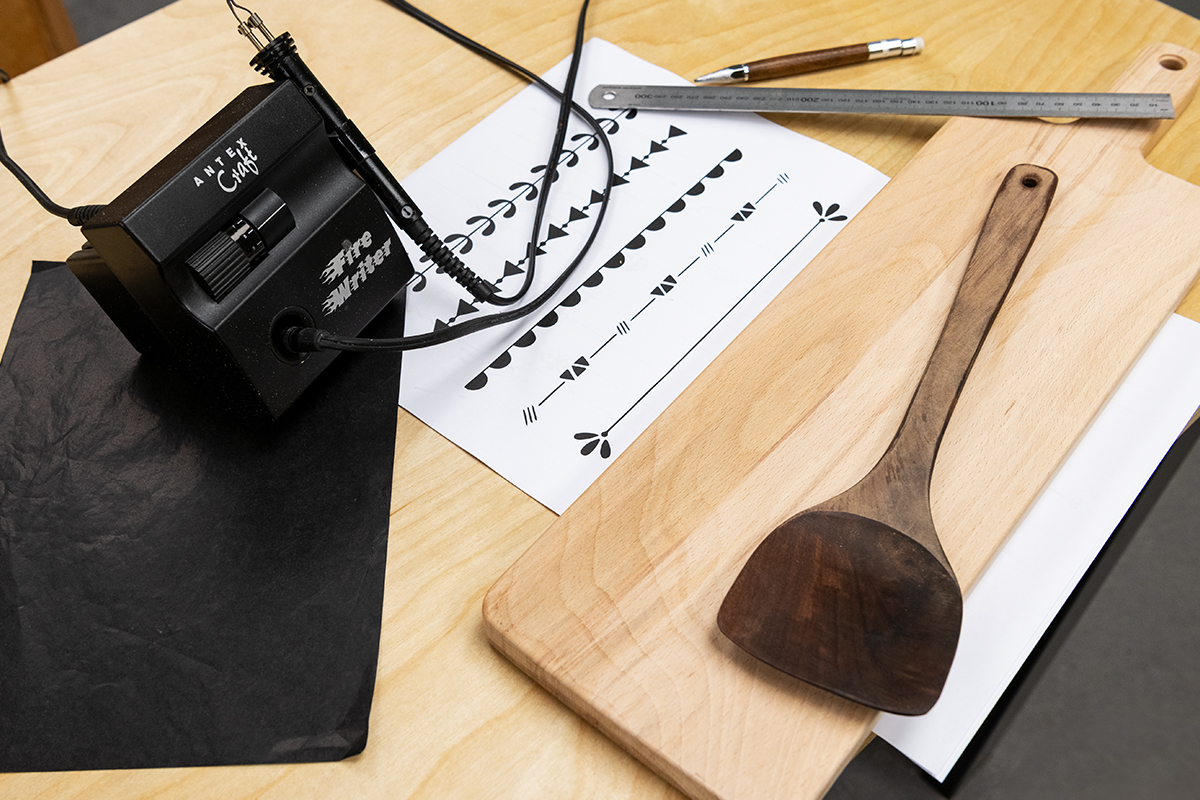
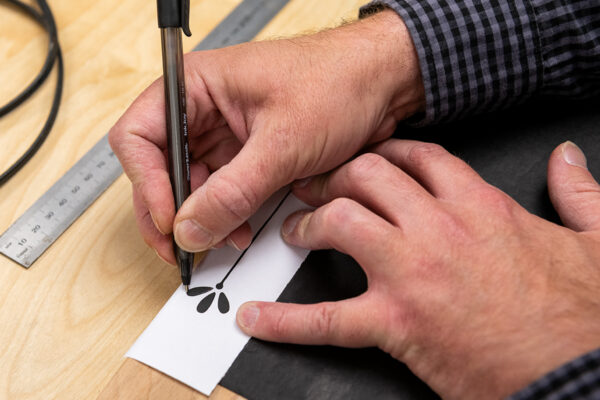
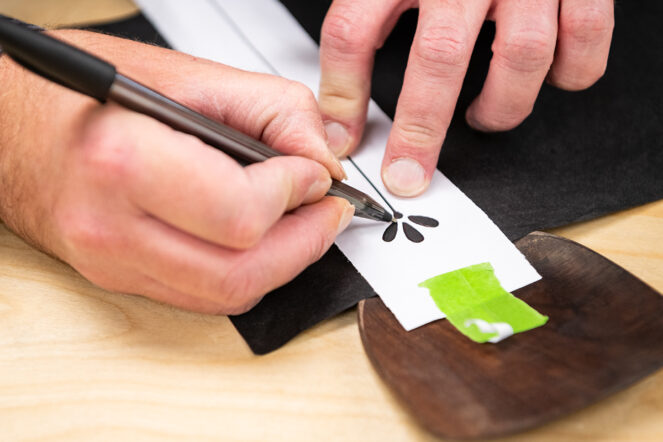
Choose a boarder pattern that you like. These can be found online, simply search boarder pattern or template. Or create your own design freehand. If using a template, use masking tape to layout and fix in your preferred area then transfer using carbon paper.
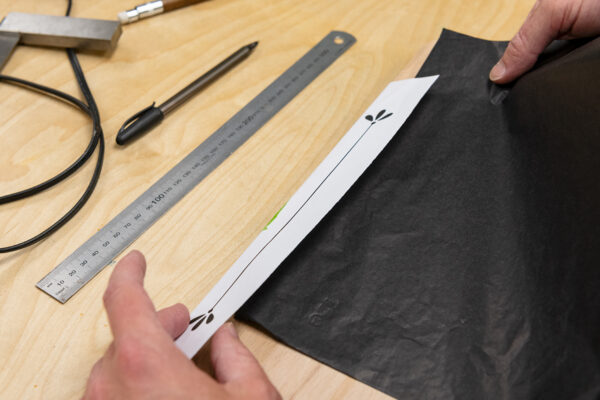
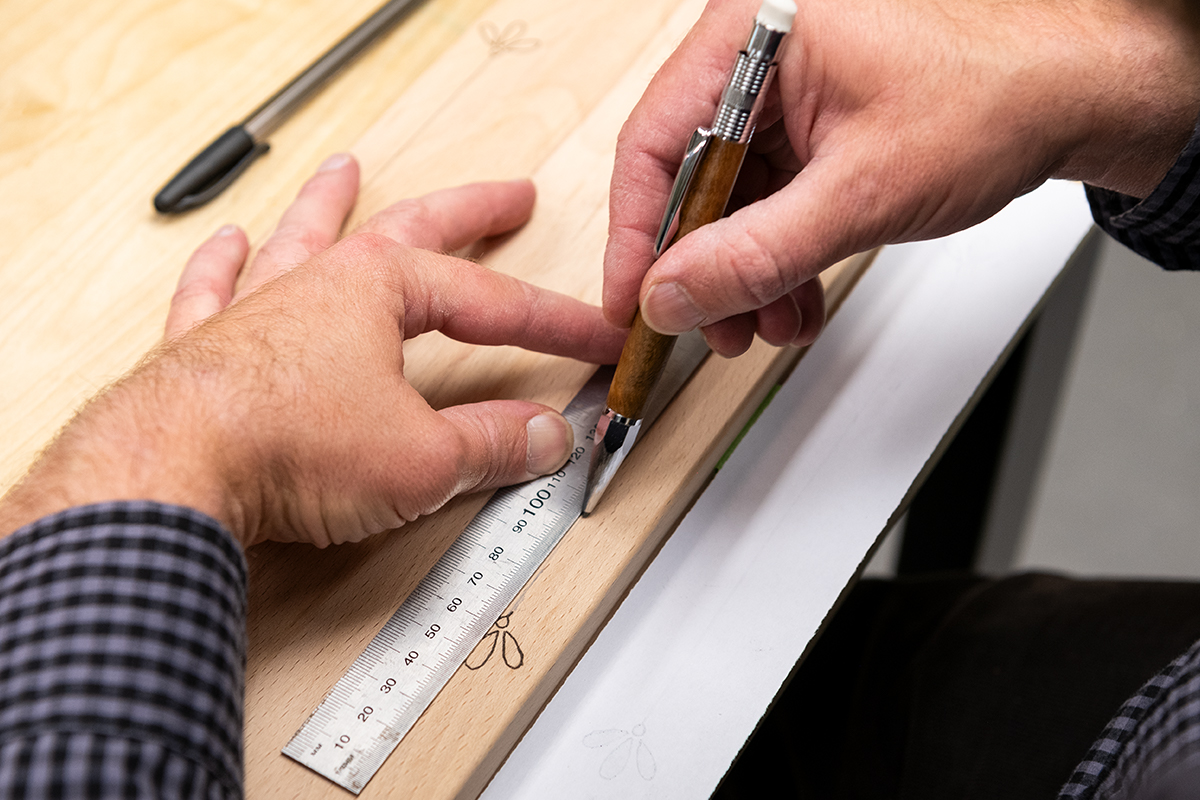
Top tip: You may need to elongate your chosen pattern; use a rule to connect the details.
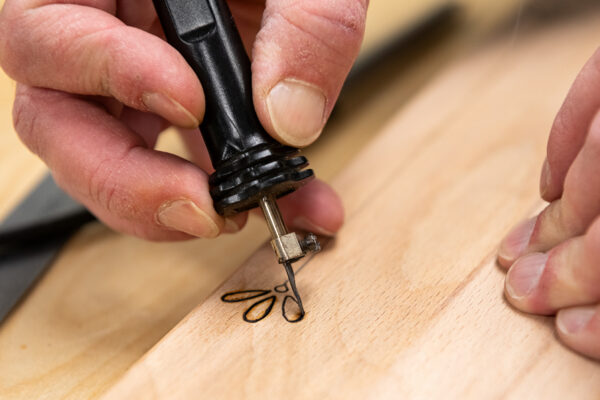
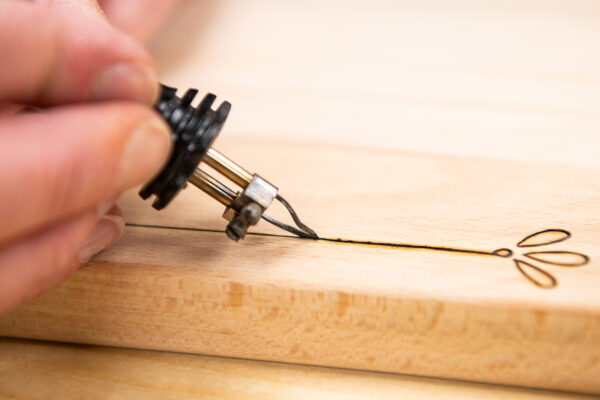
Begin burning your design
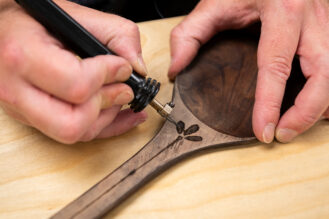
Burn in the marked-out areas using a pyrography unit. Start with the temperature low and increase it if you need to. This will prevent scorches when you touch on.
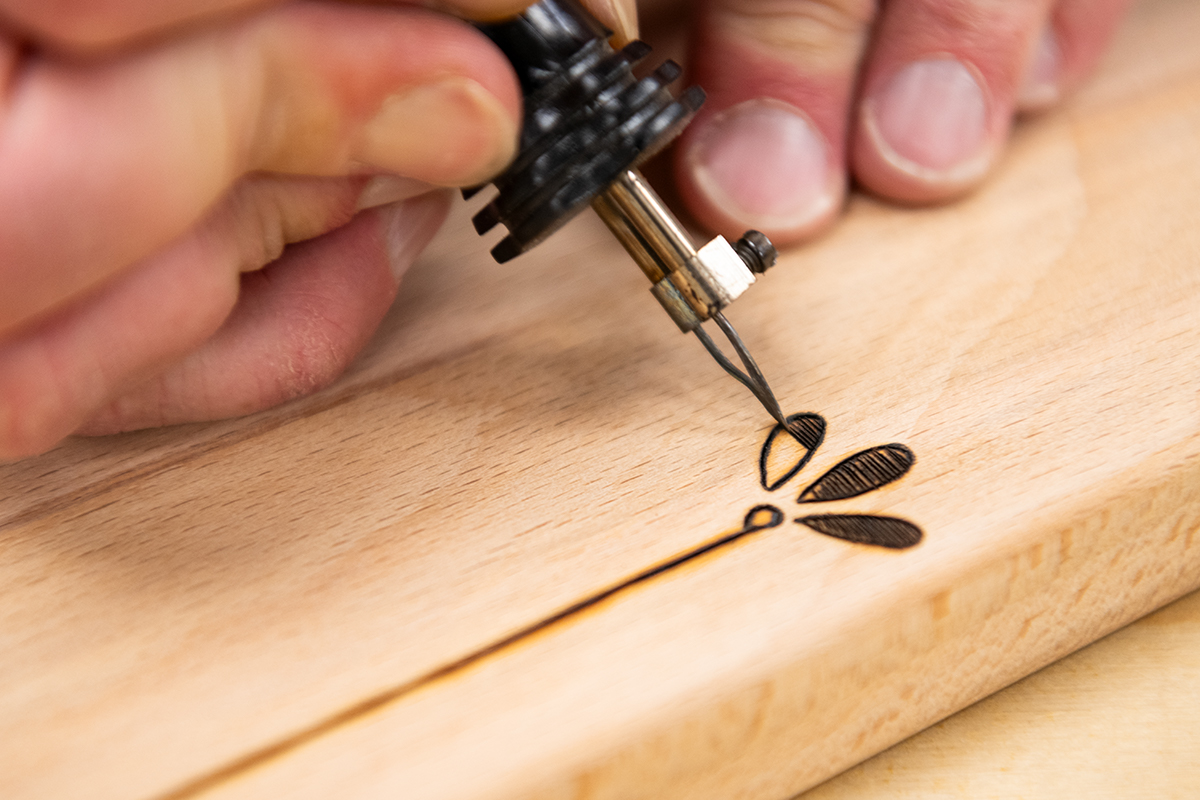
Fill any dark areas by using dots (stippling) or lines.
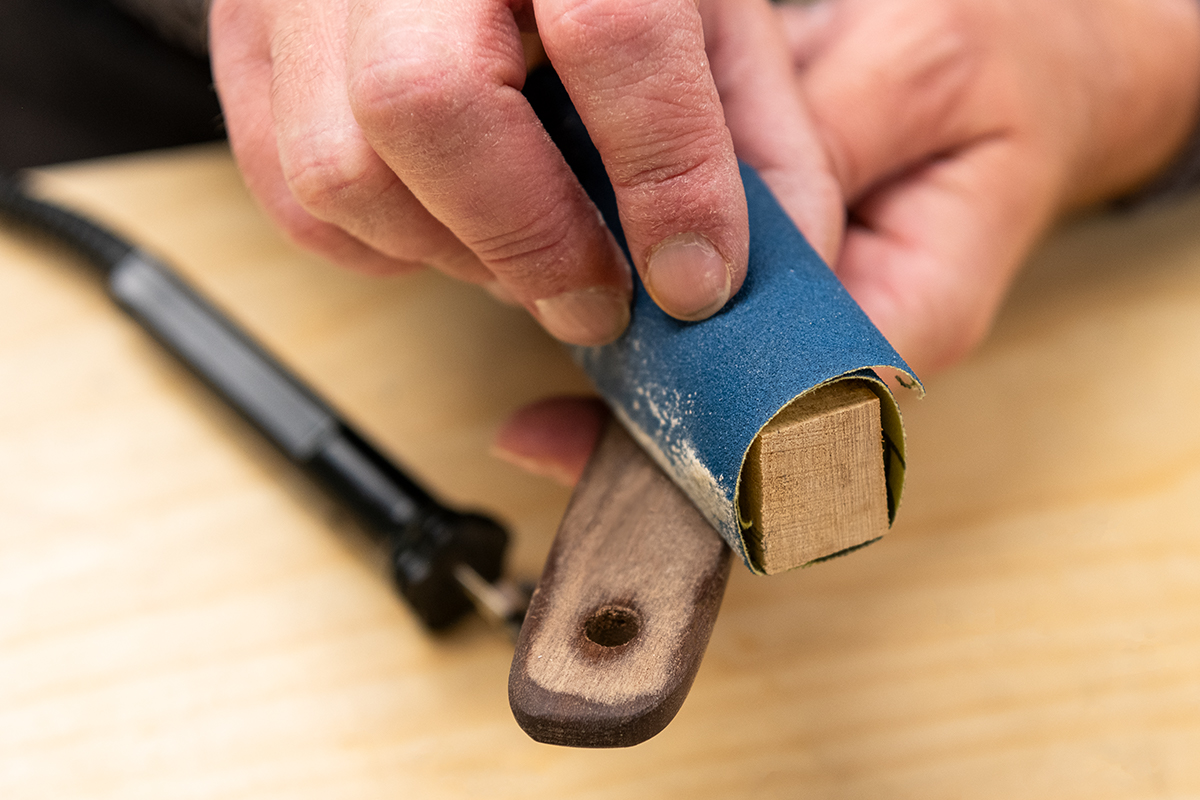
The spatula or server we used was shop brought so we have sanded off the oil finish as these can produce a toxic smoke when burning. Hand sand and wipe away any dust.
Repeat on the utensils
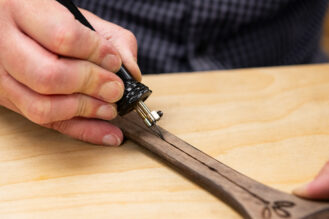
Use the same template to mark up the spatula. Fix the template so that it follows the handle of the spatula.
Burn in the details in the same way we did with the board, starting with the outline and then fill in the design.
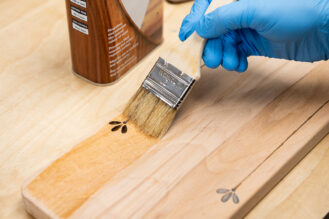
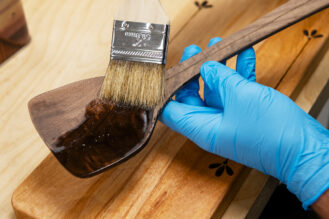
Apply a finish
Oil your work pieces. Brush on a generous amount of oil and allow around 5mins for the oil to penetrate.
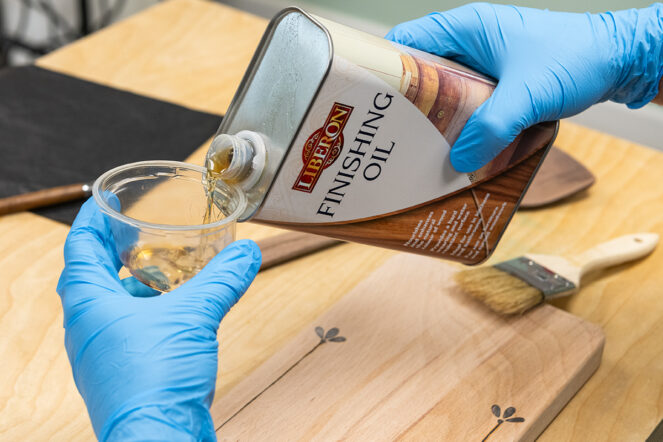
Wipe off the excess oil with a cloth or rag (be sure to store oily rags safely after use).
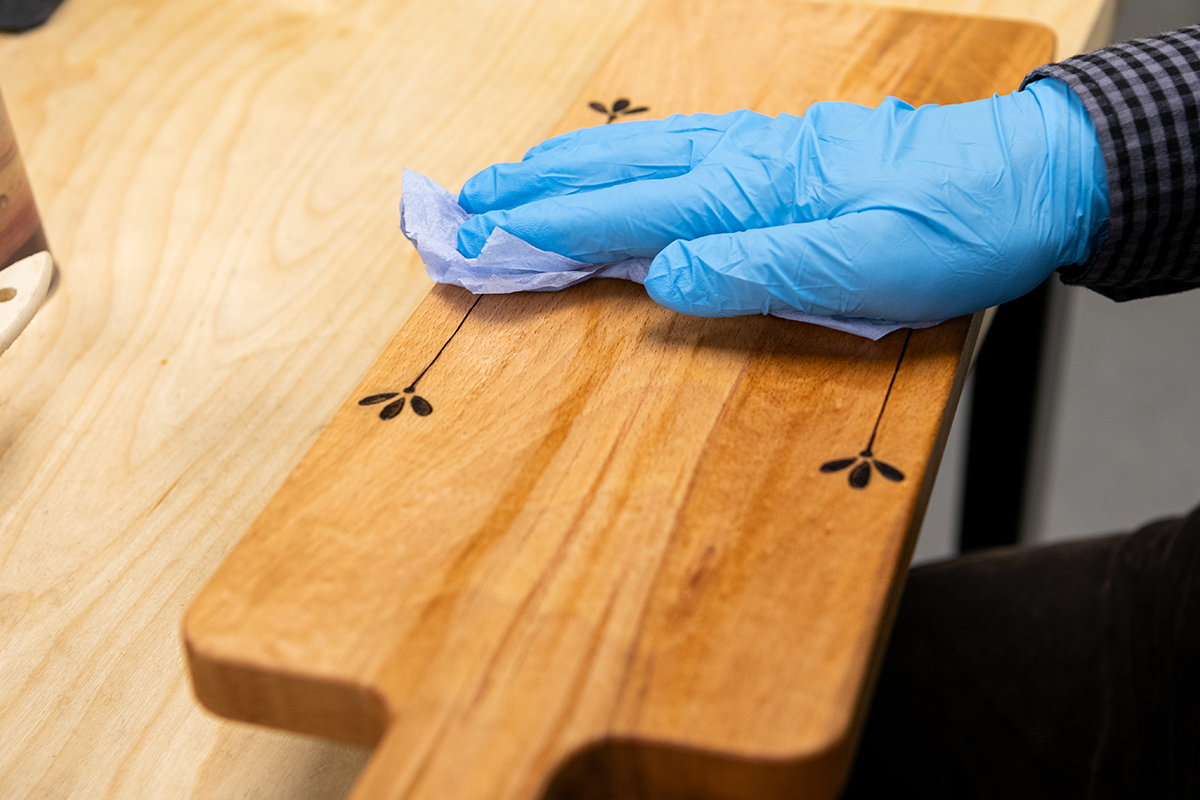
Your project is now complete. Allow 24/48hrs for all the dryers in the oil to evaporate and your board and utensil are now ready to use.
More pyrography tips and techniques
Watch our Woodworking Wisdom video to learn more pyrography techniques from Ben.