How To Make A Crosscut ‘T’ Square
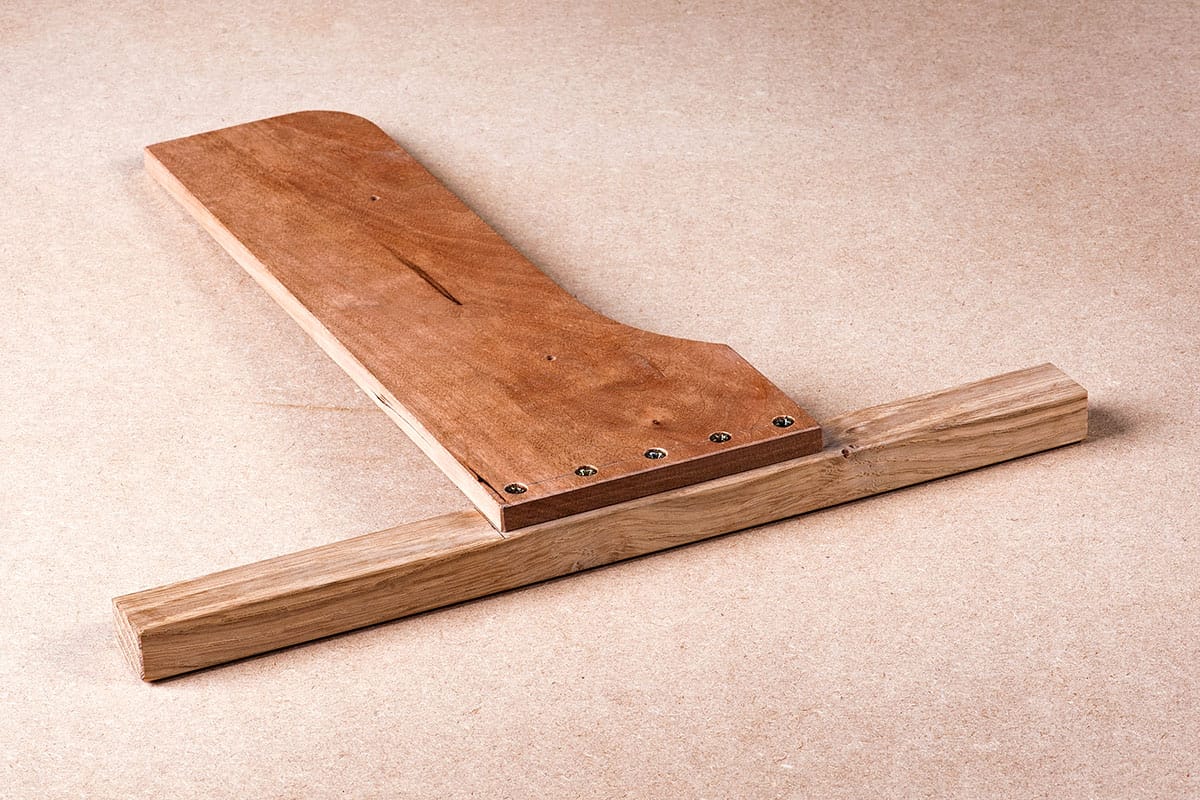
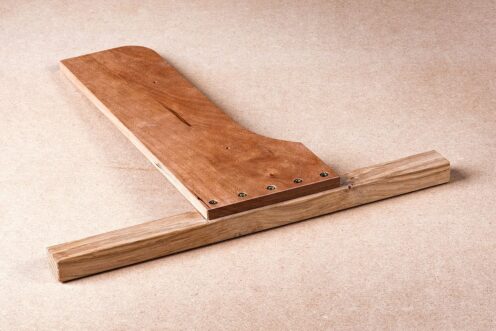
The hand held circular saw is a common power tool in most workshops but is notoriously inaccurate when used freehand. When combined with a simple crosscut ‘T’ square, cuts at exactly 90° are very easy to produce but the square must be made accurately.
This is a simple jig for your circular saw to construct and will transform the way that boards can be converted. The size can be easily altered if larger boards or even sheet material is cut.
What you'll need
Making A Crosscut 'T' Square
Step 1
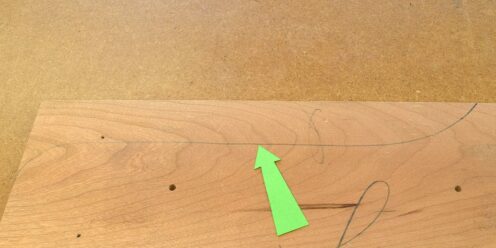
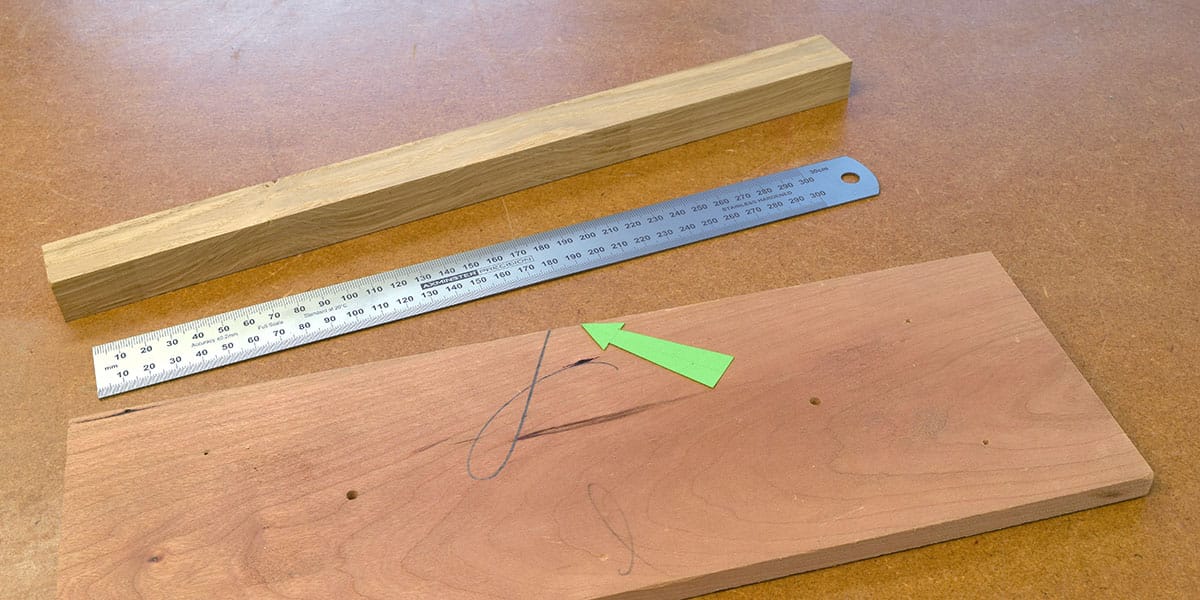
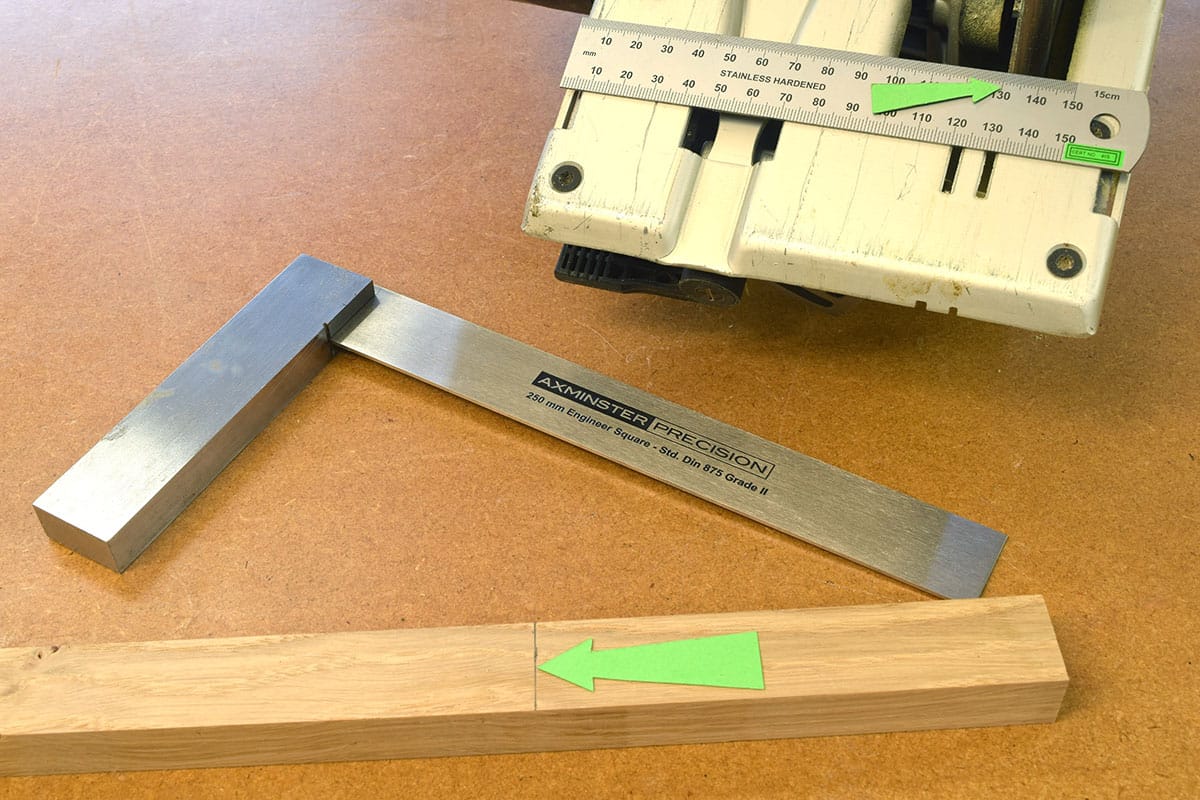
Select two oddments of wood, as shown. Sizes are not critical but the blade should be wide and around 10mm thick. The 'T' should be quite thick, around 20mm. Plane the face edge straight as shown.
Step 2
Measure the width of the circular saw base plate to the edge of the saw blade. Transfer this distance plus 5mm onto the 'T', make a pencil line across.
Step 3
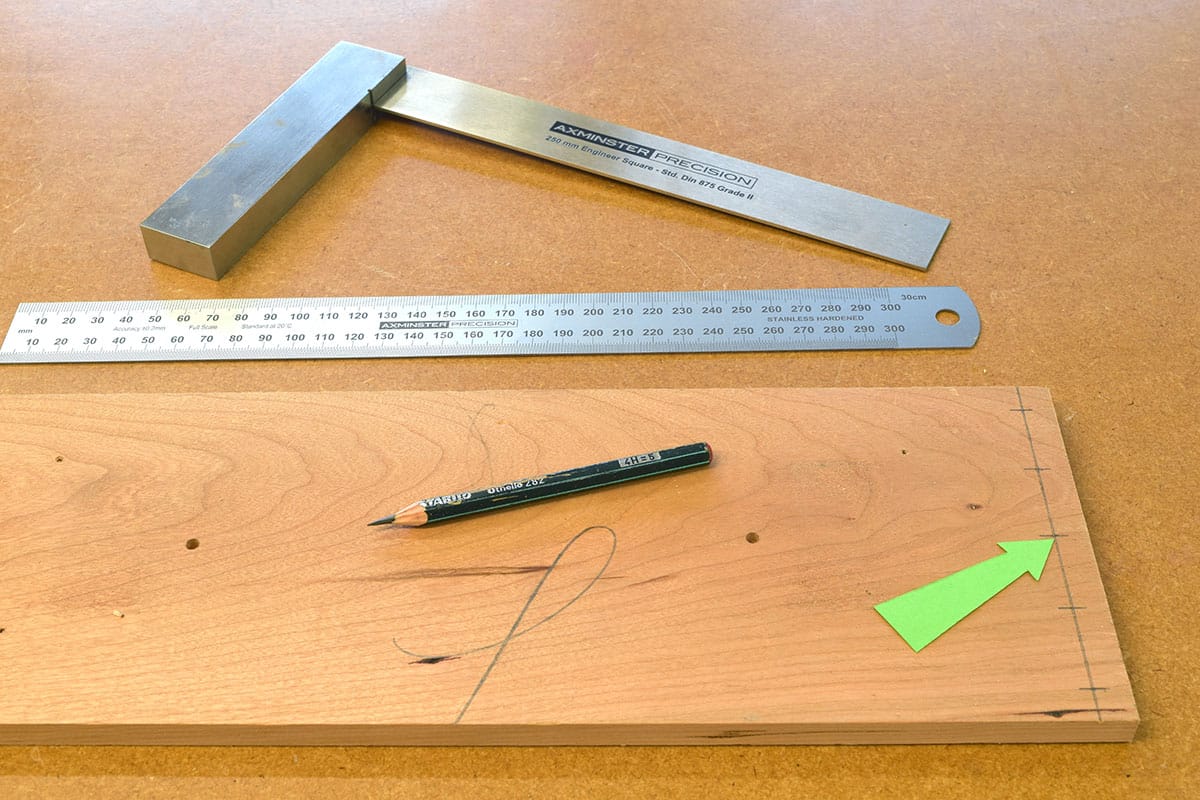
Mark out the position of the screw holes, five are used here, then drill 4mm holes and countersink.
Step 4
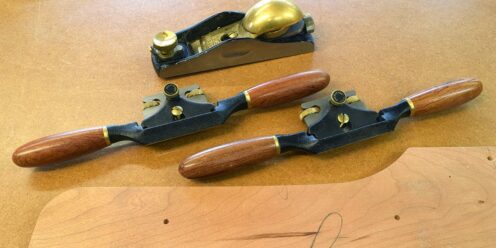
Optional. Mark out the shaping on the blade, cut with a bandsaw or coping saw and finish with spokeshaves Remove all sharp edges on both pieces with a block plane and spokeshaves.
Clamp the blade and the 'T' together. The straight edge of the blade must be level with the pencil mark on the 'T'.
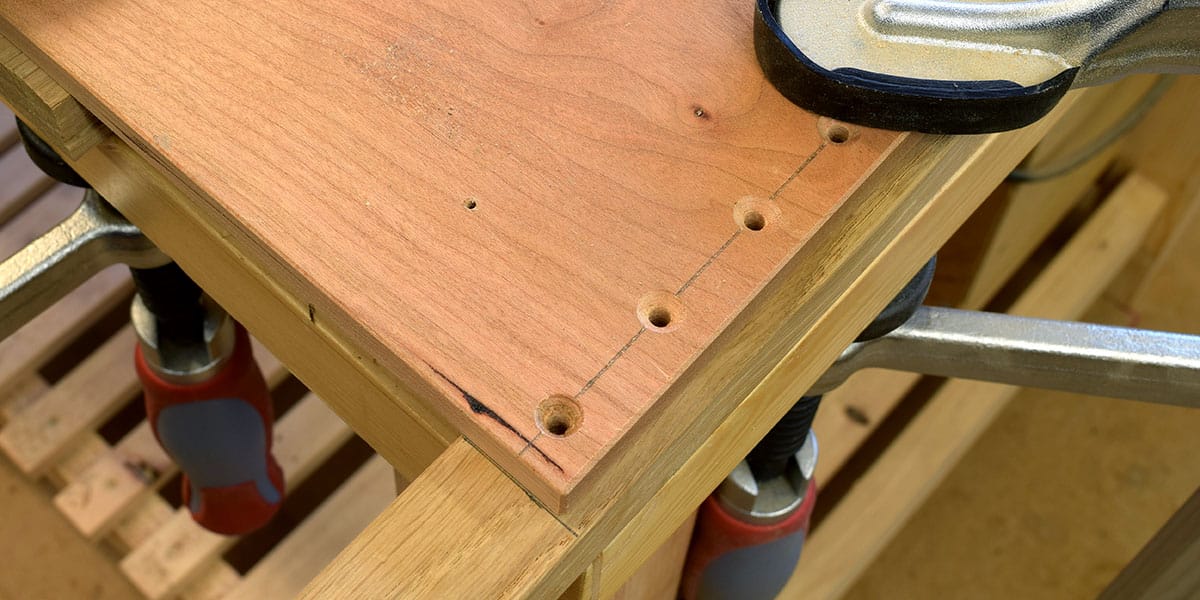
Step 5
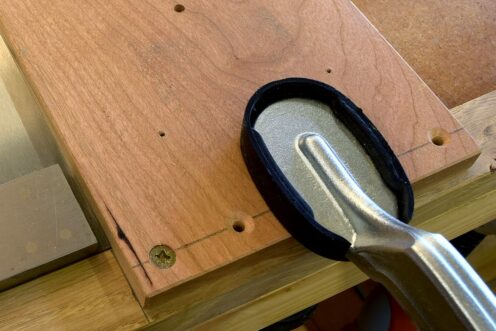
Drive in only one screw as shown.
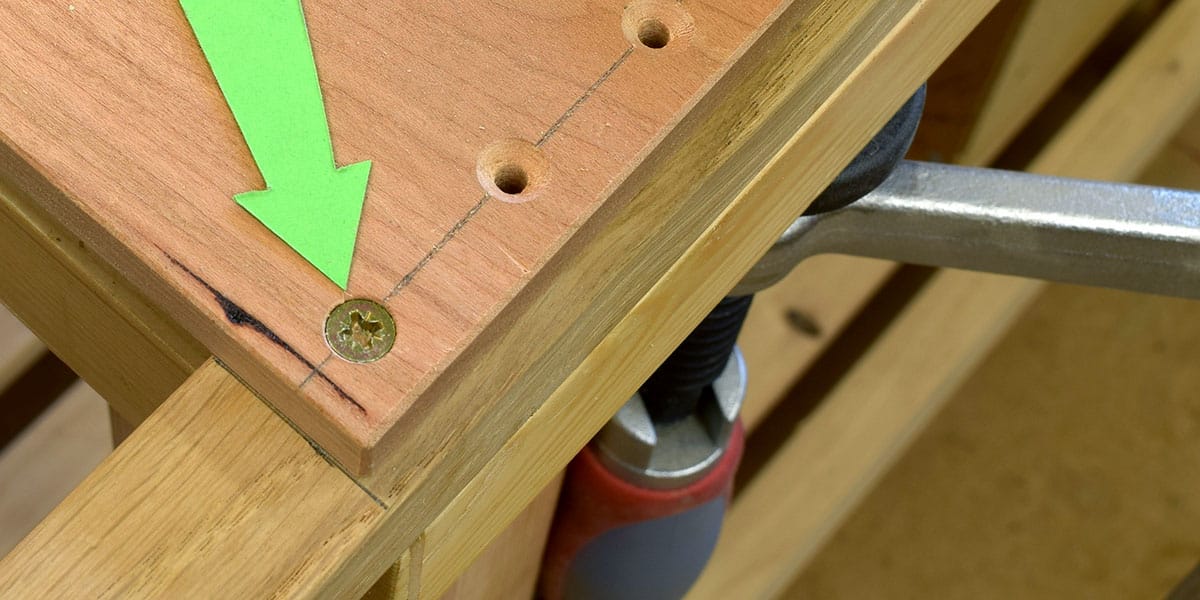
Step 6
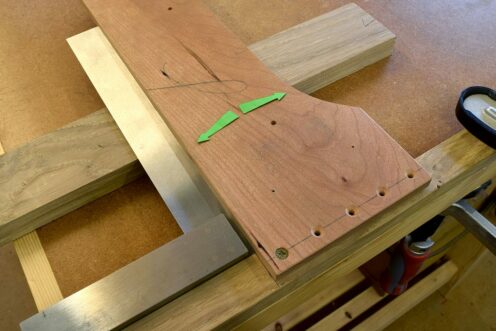
Use oddments of wood to chock the large square in the internal angle. Pivot the blade around the single screw until it is exactly at 90°, then clamp securely.
Step 7
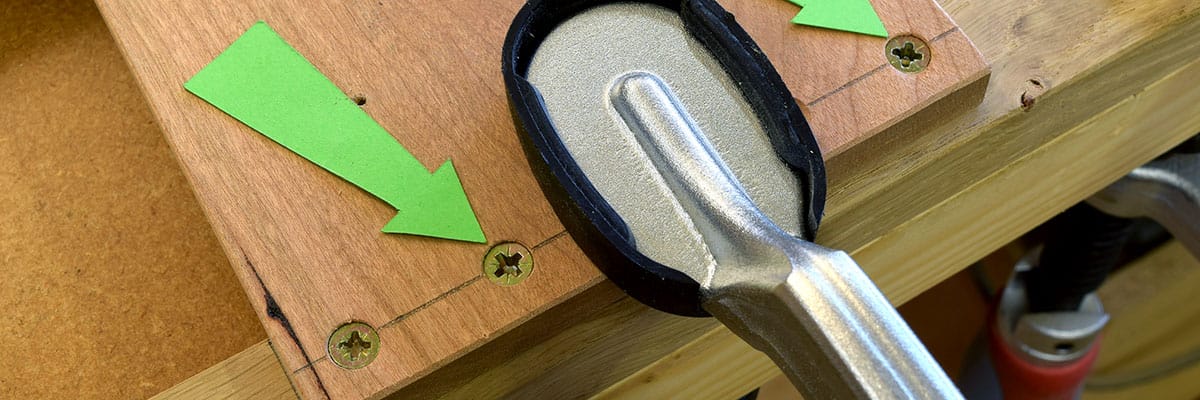
Whilst clamped, drive in two more screws. Remove the clamp and drive in the remainder of the screws.
Step 8
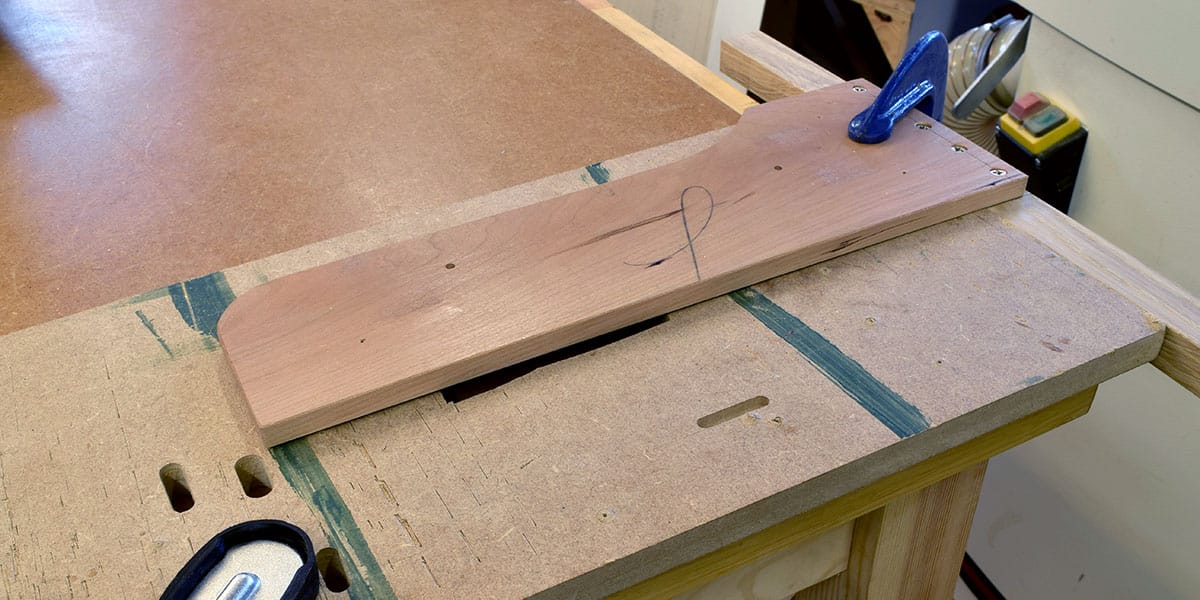
Clamp the crosscut 'T' square to a large piece of scrap material; ensure the end is square and that it overhangs the edge of the bench.
Step 9
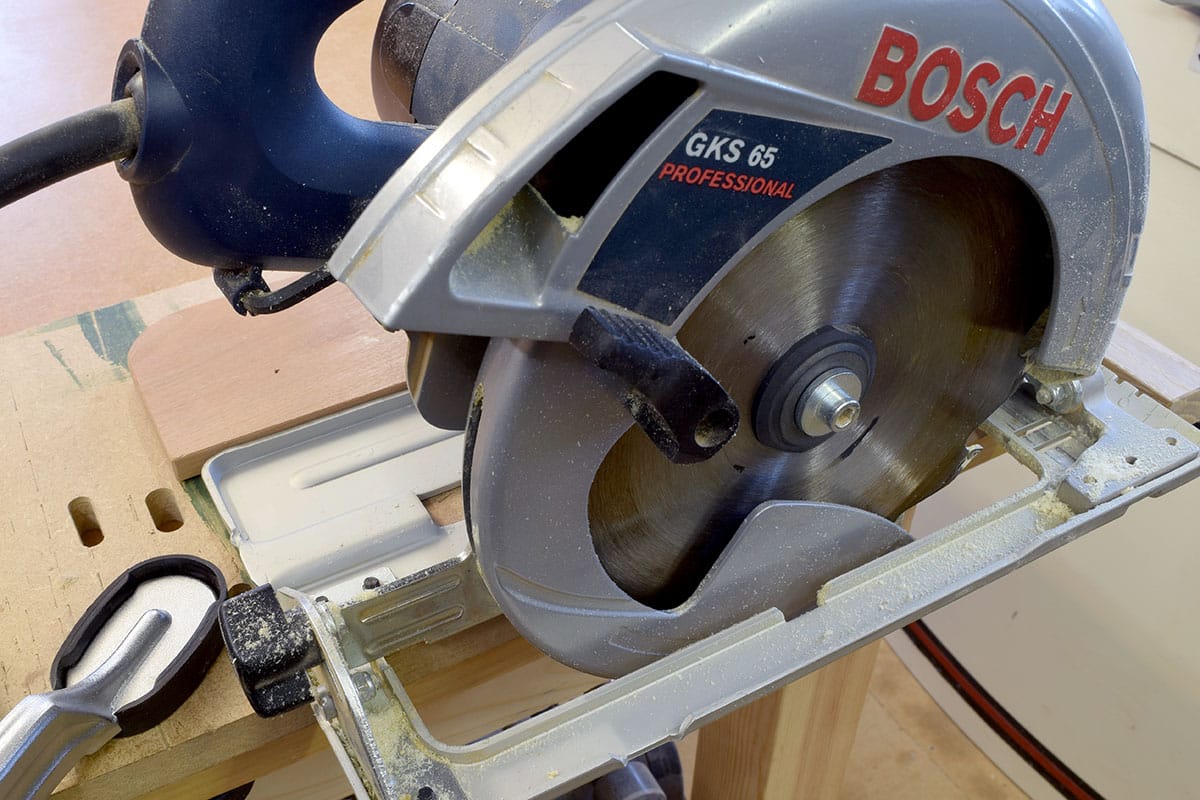
Set the depth of cut on the circular saw to slightly greater than the thickness of the 'T'.
Step 10
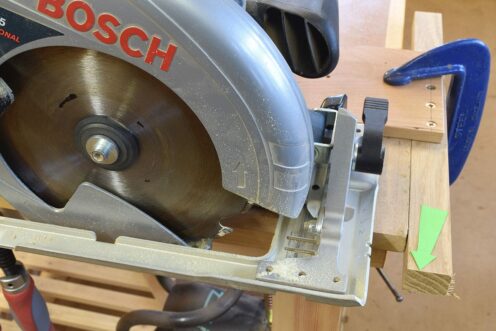
Make one cut across the 'T'. This will now be the exact width from the edge of the saw to the crosscut blade. Remove the sharp edges with the block plane.


