Robert Ingham's Dovetail Transfer Jig
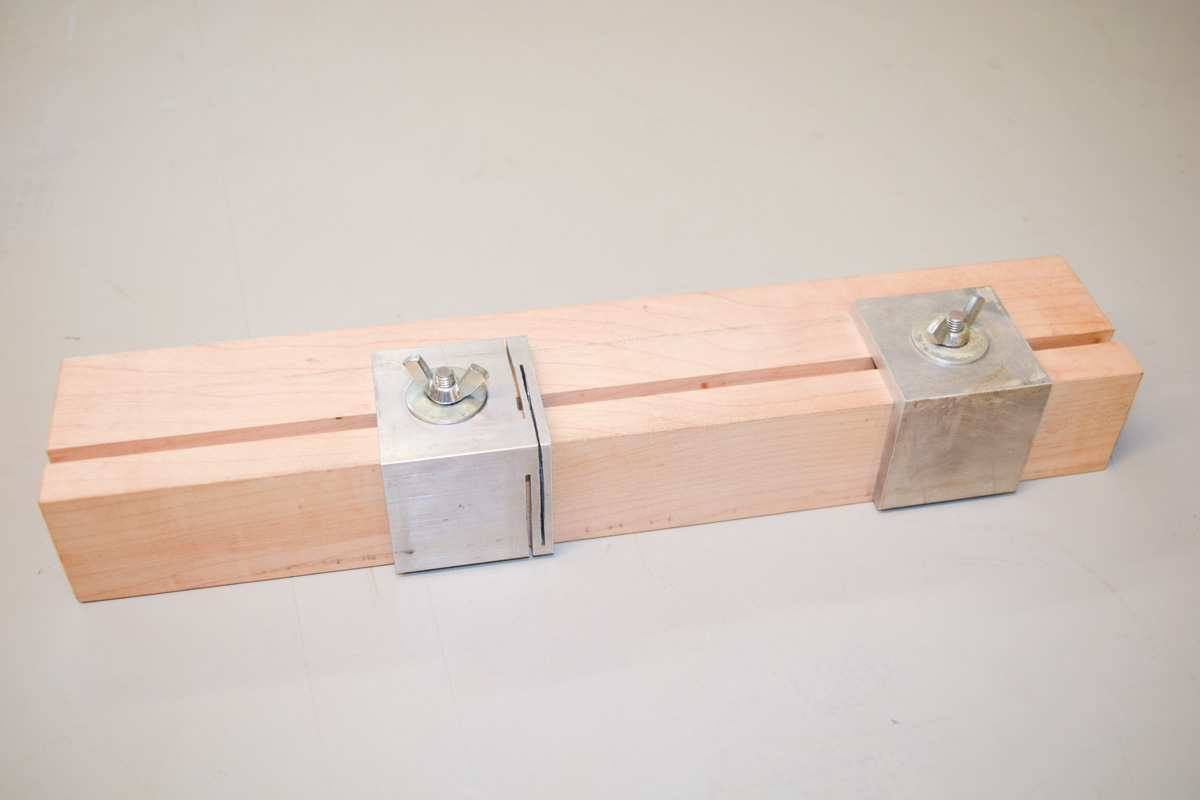
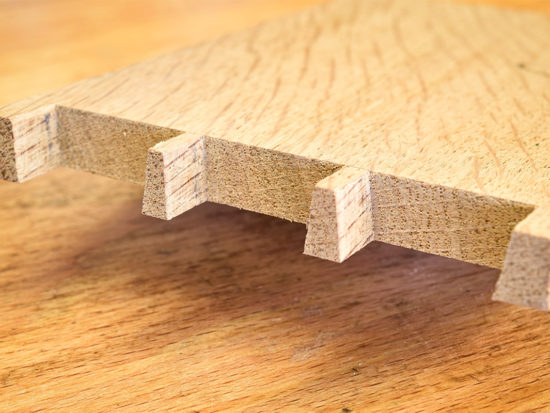
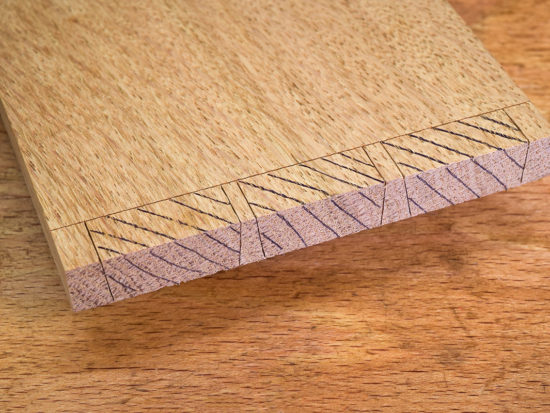
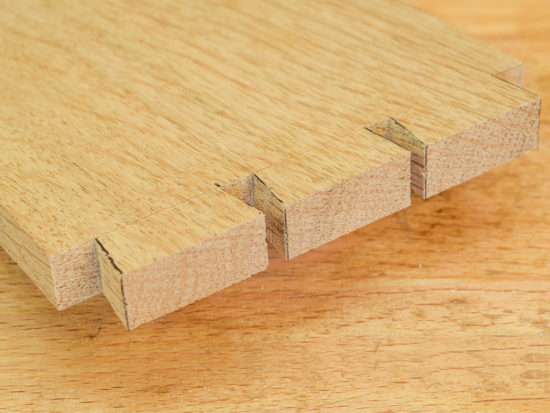
The dovetail joint is often considered by most woodworkers to be an indicator of high quality workmanship. Through dovetails with fine pins are usually on show and are the joints most likely to be closely examined, but they take time and precision to make well. The task is much easier when the pins can be accurately marked out by using a transfer jig. There are many different variations but all essentially hold both pieces firmly in the correct position for marking out the pins. This version is one produced by Robert Ingham and full constructional details can be found in his book ‘Cutting Edge Cabinetmaking’.
What you'll need
Step 1
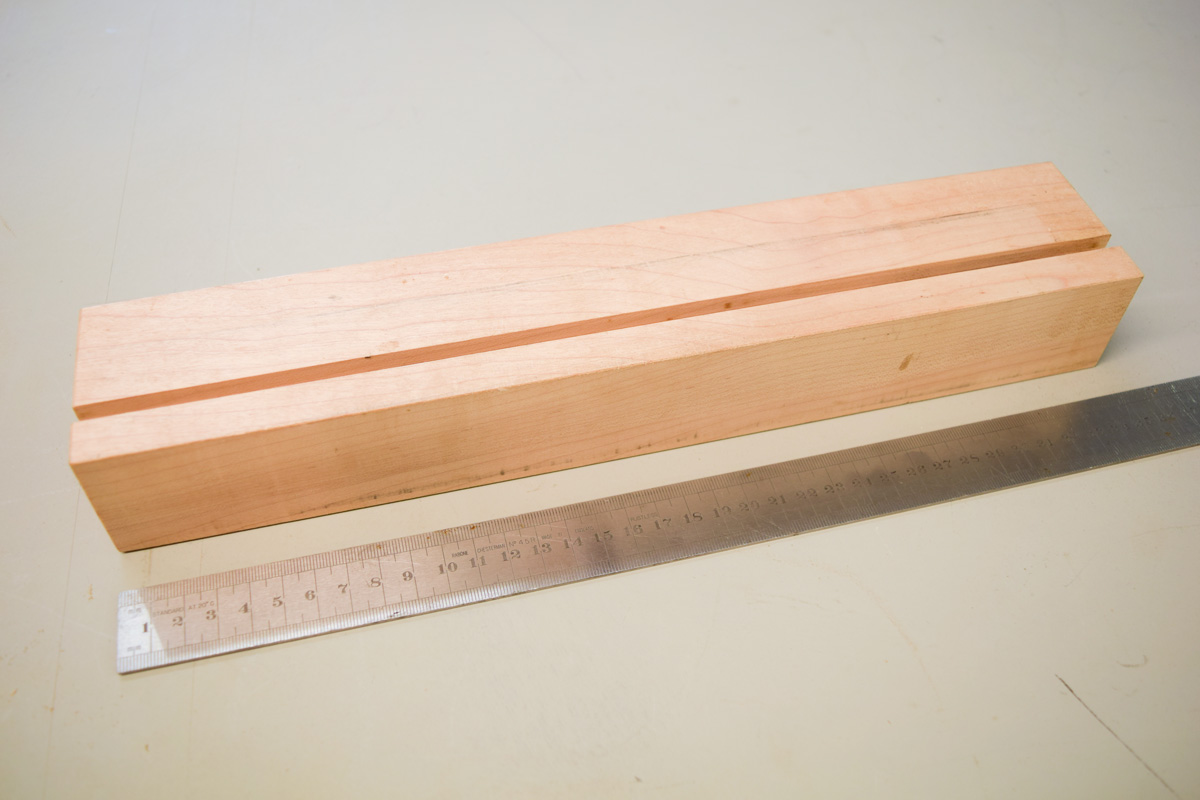
The dovetail transfer jig is easy to make and involves some basic metalwork. Firstly, ensure the block of timber is square and true. Take two cuts to the correct depth (10mm) using the 6.35mm straight router cutter.
Step 2
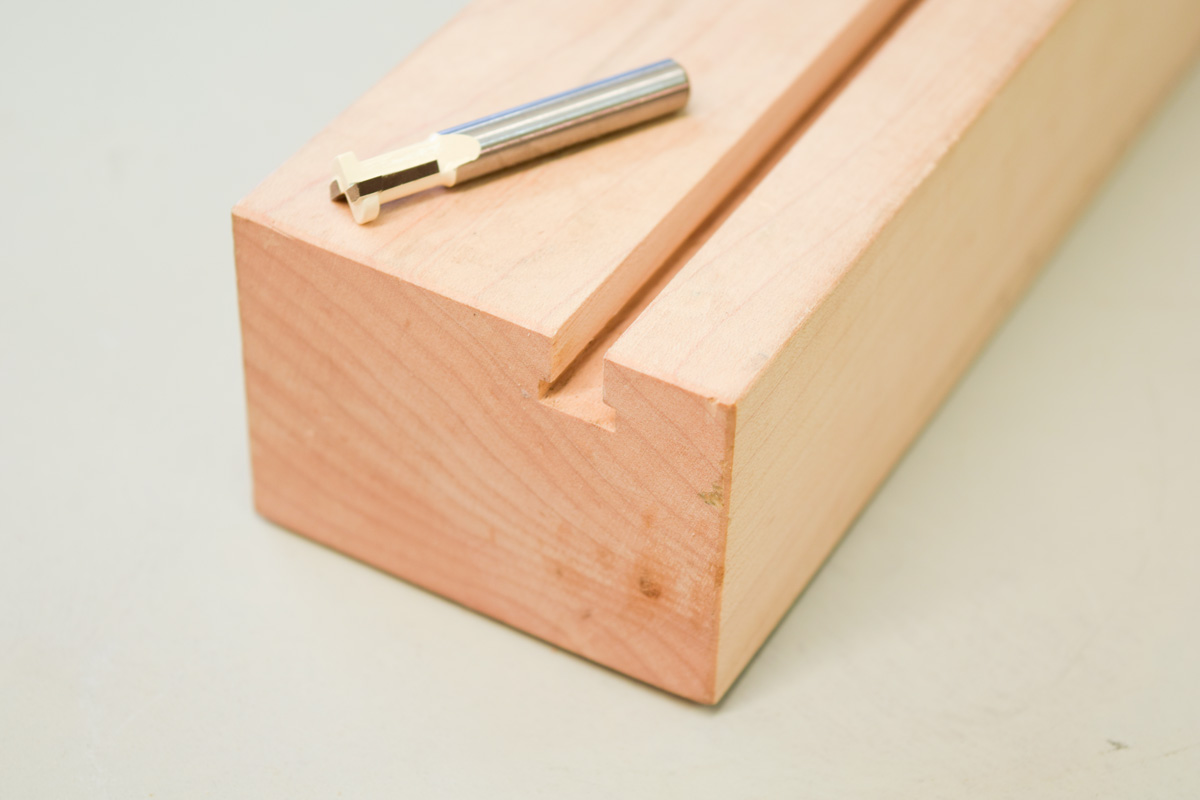
Without altering the router fence, enlarge the slot using the ‘Keyhole’ cutter.
Step 3
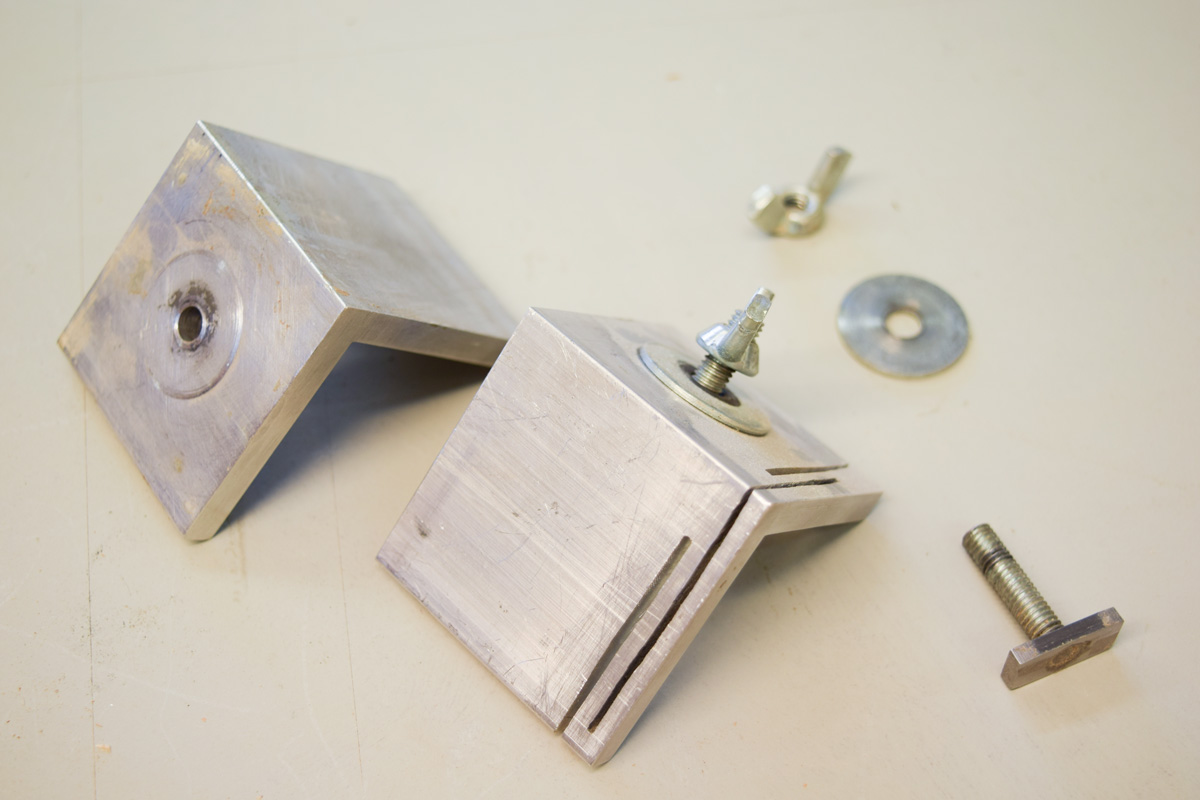
Cut off two pieces of aluminium angle so that each face is roughly square. Use files and emery cloth to make the edges square, especially where the pin board is gripped.
Alternative method
A small milling machine can be used to make the edges square.
Step 4
Drill a 6.5mm hole in each piece to coincide exactly with the centre of the keyhole slot.
Step 5
On one section of angle, cut a slot down each face using a hacksaw. The slots act as a ‘spring’ to grip the wood so that when it’s pushed against the workpiece it holds it firmly whilst the butterfly nut is tightened.
Step 6
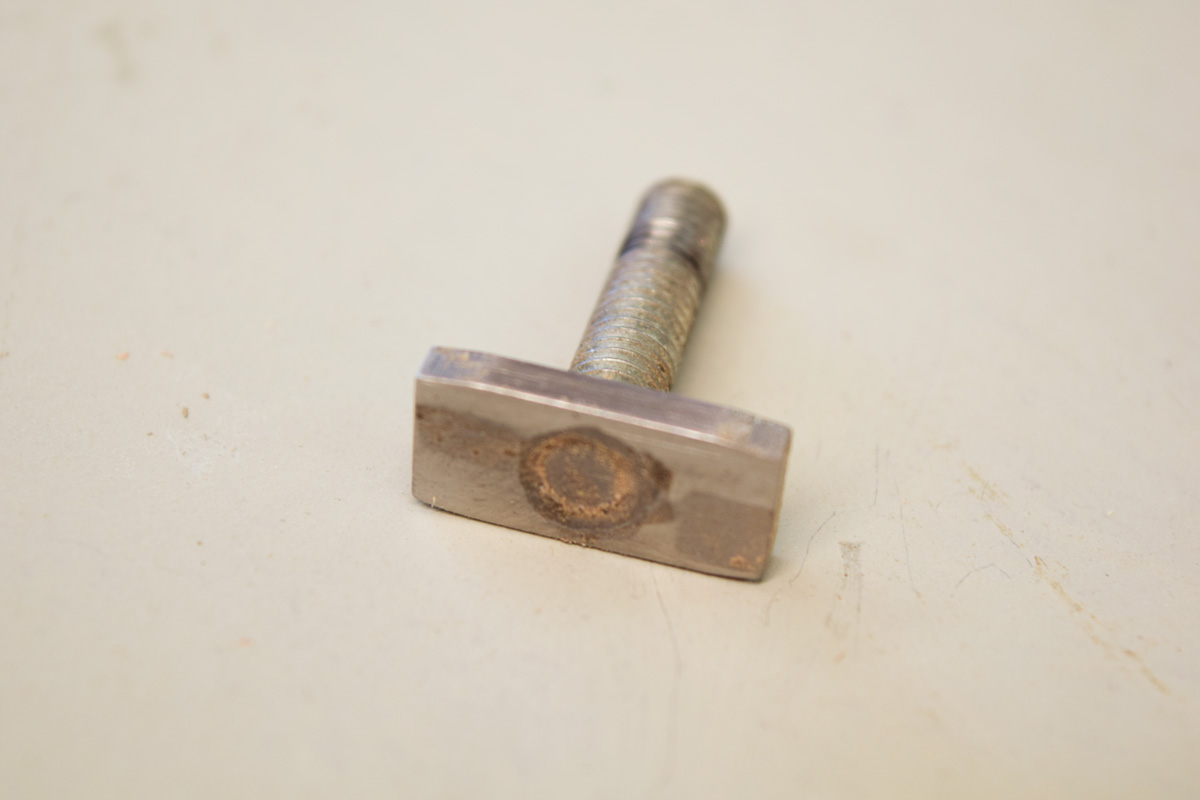
Unless very small commercial ‘T’ bolts can be sourced to fit the slot, they will have to be made. Relieve the corners on two small pieces of flat steel bar, mark out the middle, centre punch and use a 5mm drill to make an M6 tapping hole.
Step 7
Use an M6 tap to make a threaded hole in the centre of each piece of steel.
Step 8
Cut off two small pieces of 6mm studding (approx 30mm) and file the ends square.
Top Tip!
Remove any residual dirt or grease from each of the mating threads by scrubbing them with either acetone or methylated spirit.
Step 9
Finally, use a small dab of fast setting epoxy to glue both together. Wipe off the residual glue with methylated spirit and assemble the dovetail transfer jig. The flat steel bar may be a little stiff so a smear of candle wax helps it to run smoothly. In conclusion, to use the dovetail transfer jig, simply clamp it to the top of the bench so that the pin board is secured in the vertical position.


Hi Rob, interesting jig, but surely the router cutter is "T" cutter, not key hole cutter ? Correct me if I am wrong, but I have two key hole cutters and the cutting edges are angled, not vertical.
I suppose one could use a key hole cutter to obtain a similar end result, provided that the "T" of the nut was wide enough?
I don't do a lot of dovetail cutting these days and I must admit to never having seen or heard of the jig concerned. I have always cut my dovetails / pins freehand, purely because I didn't know a jig was available. However, I do think that this device would make life a bit easier and my joints a tad neater!
Best regards,
Bob
Hello Bob - sorry for the very late reply, but I've just picked this up. The link to the Ax router page shows that the cutter is referred to as a 'Keyhole Cuter' but as you say, the profiled that's machined is in the form of a 'T', though the recently introduced larger version (666224) would probably be preferable. It's a great jig, and provided it's made accurately, it will hold the work very effectively.
I am a total loss as to how this tool is used. Can you explain or better still add to these assembly instructions. Paul