Woodworking Projects - How To Make A Ceramic Tile Trivet
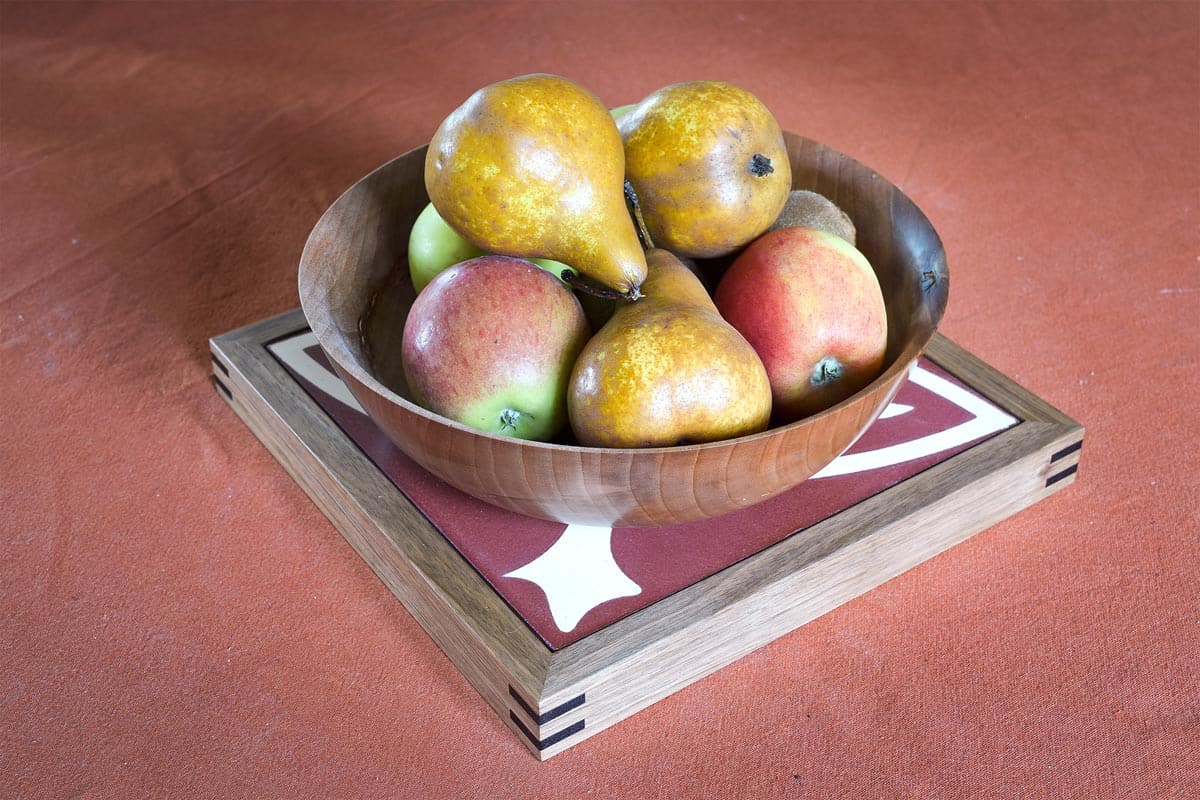
Learn how to make a trivet; an interesting and decorative centrepiece for the table as well as somewhere to place a hot dish straight from the oven.
A trivet is a protective piece that will keep condiments and dishes, hot or cold, from damaging your surfaces. This step-by-step guide will show you how to make a decorative, ceramic tile trivet. A style that is essentially a ceramic tile in an ‘upside down’ picture frame, where similar construction techniques apply. Although not difficult, absolute precision is required in order for the mitred corners to meet accurately without gaps.
What you'll need
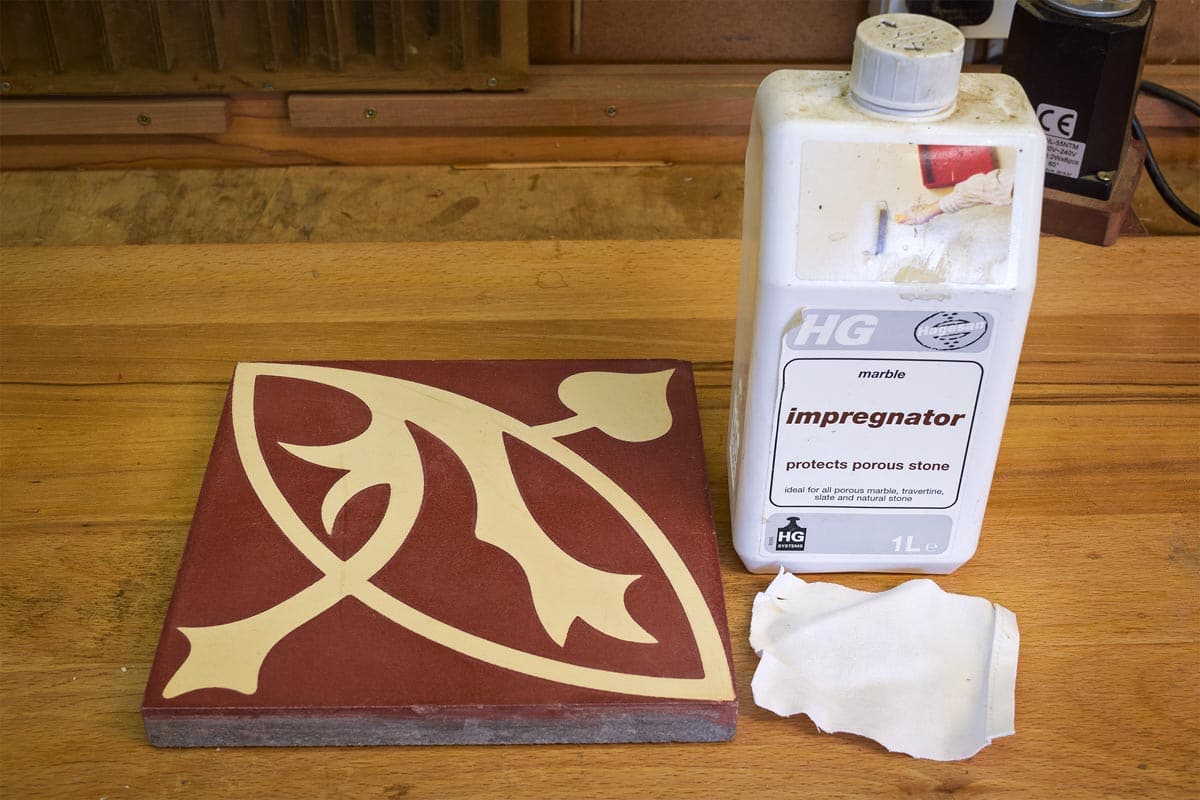
Step 1
Prepare the material to size, leave extra long to aid marking out.
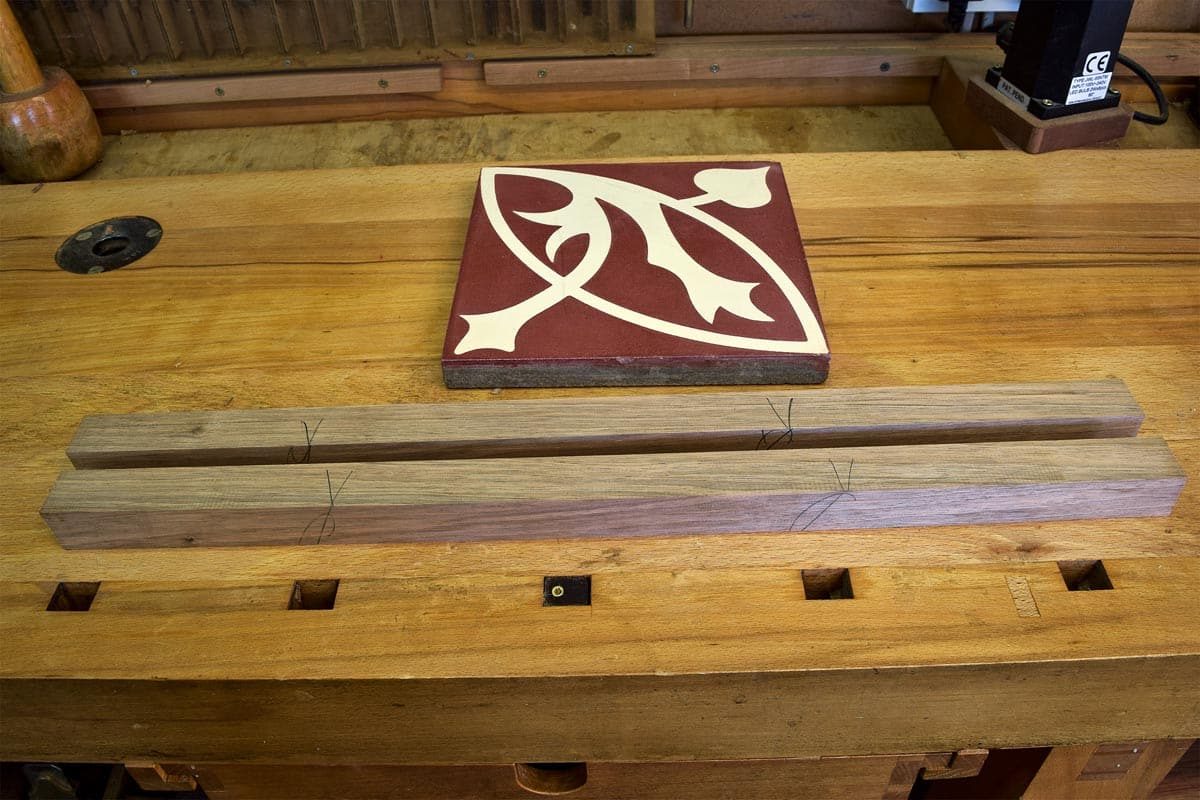
Step 2
Set up the router table to make the rebate. Use several small cuts to achieve the depth required.
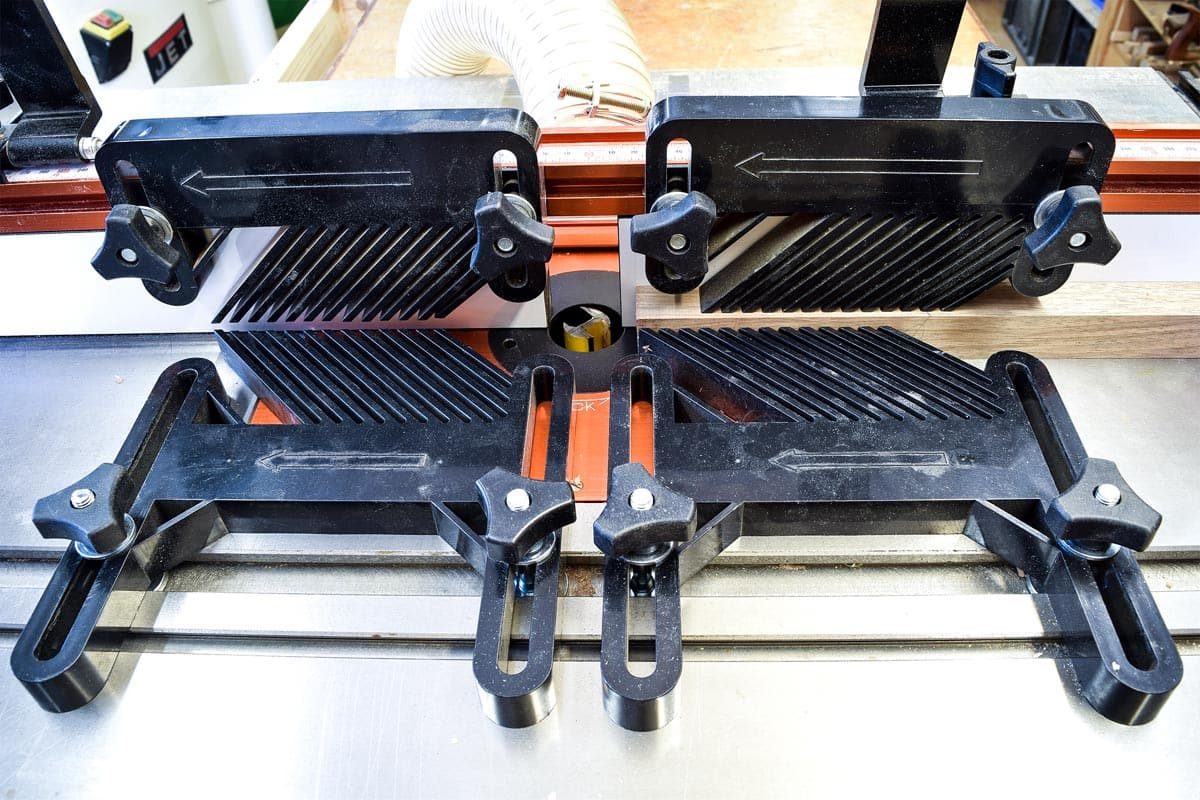
Step 3
Check the depth of the rebate. It should be slightly more than the thickness of the tile. (Prevents damage to its edge and stops chips from occurring.)
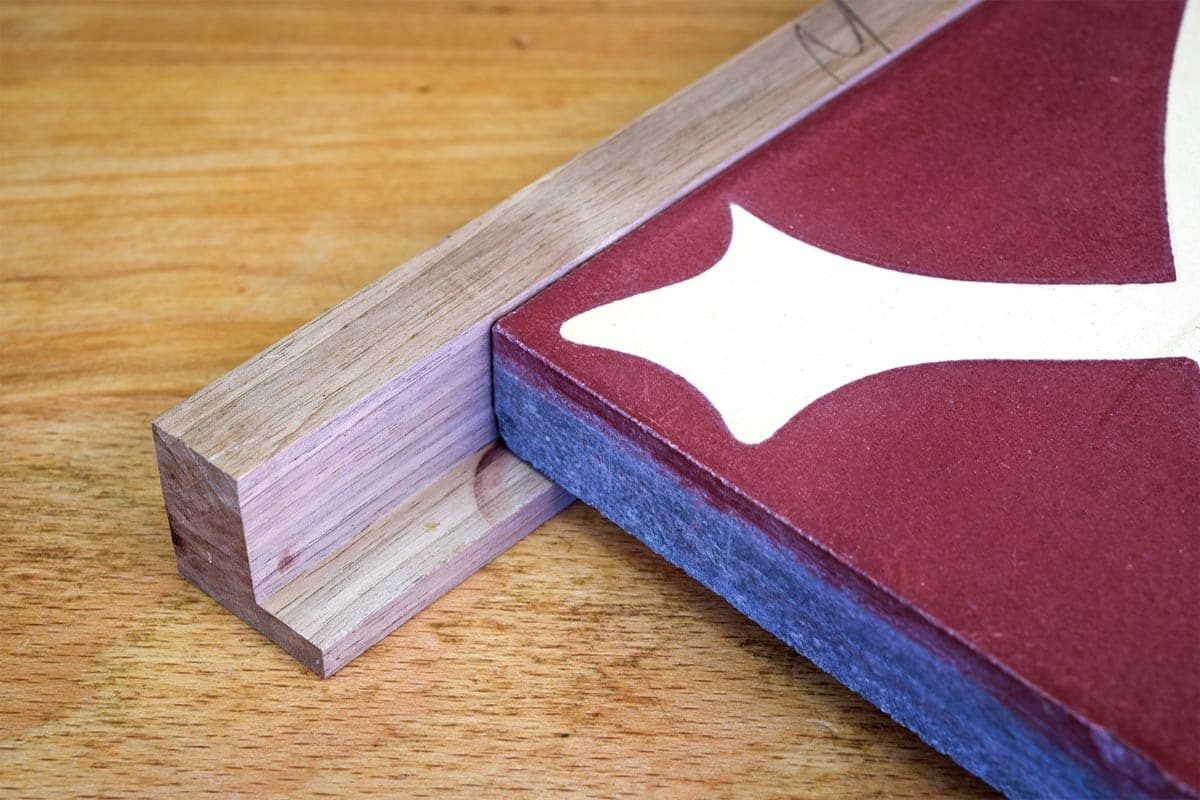
Step 4
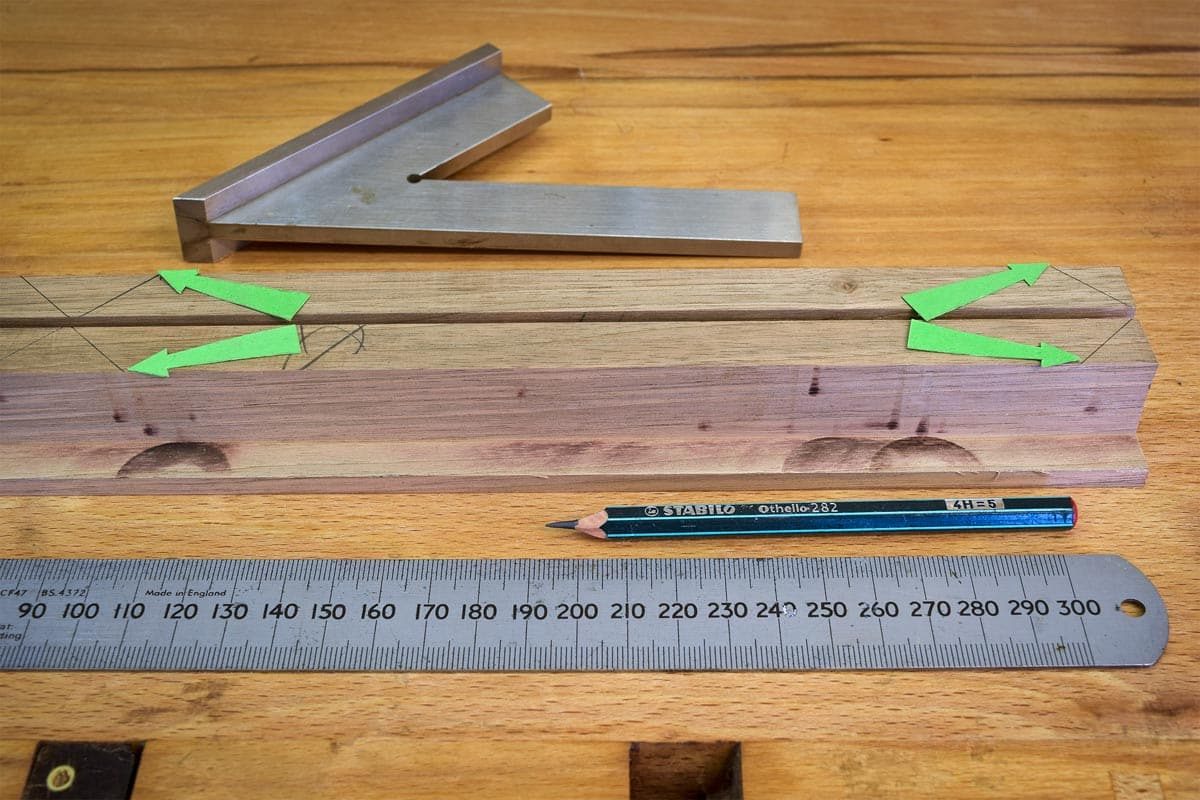
Mark out the mitres. The dimension (arrowed) should be 2mm greater than the tile (202mm) to allow for clearance.
Step 5
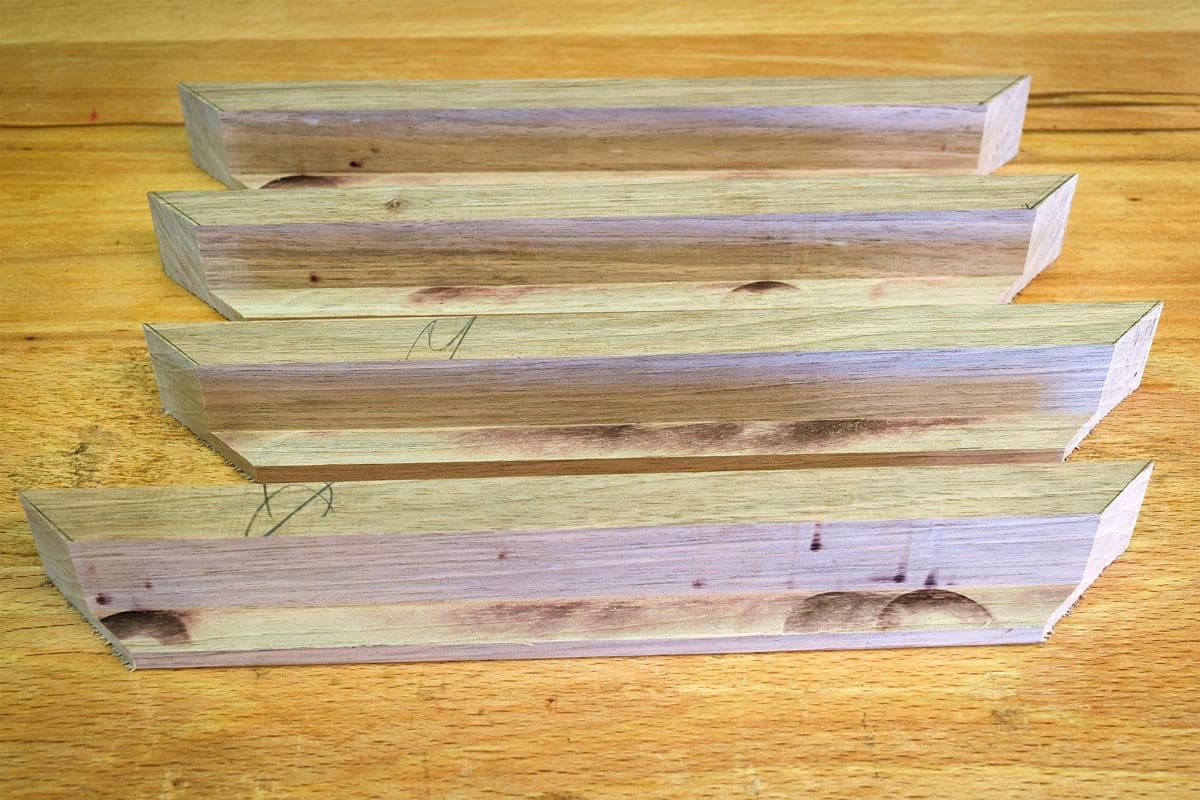
Cut the mitres on the waste side.
Step 6
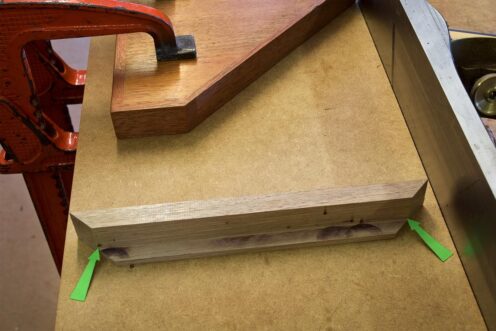
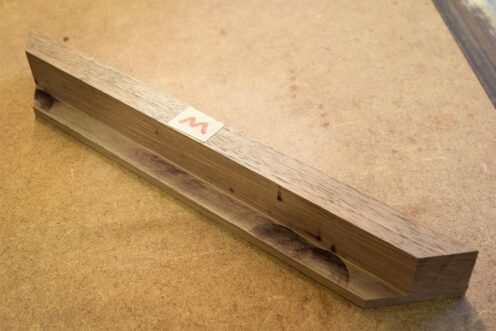
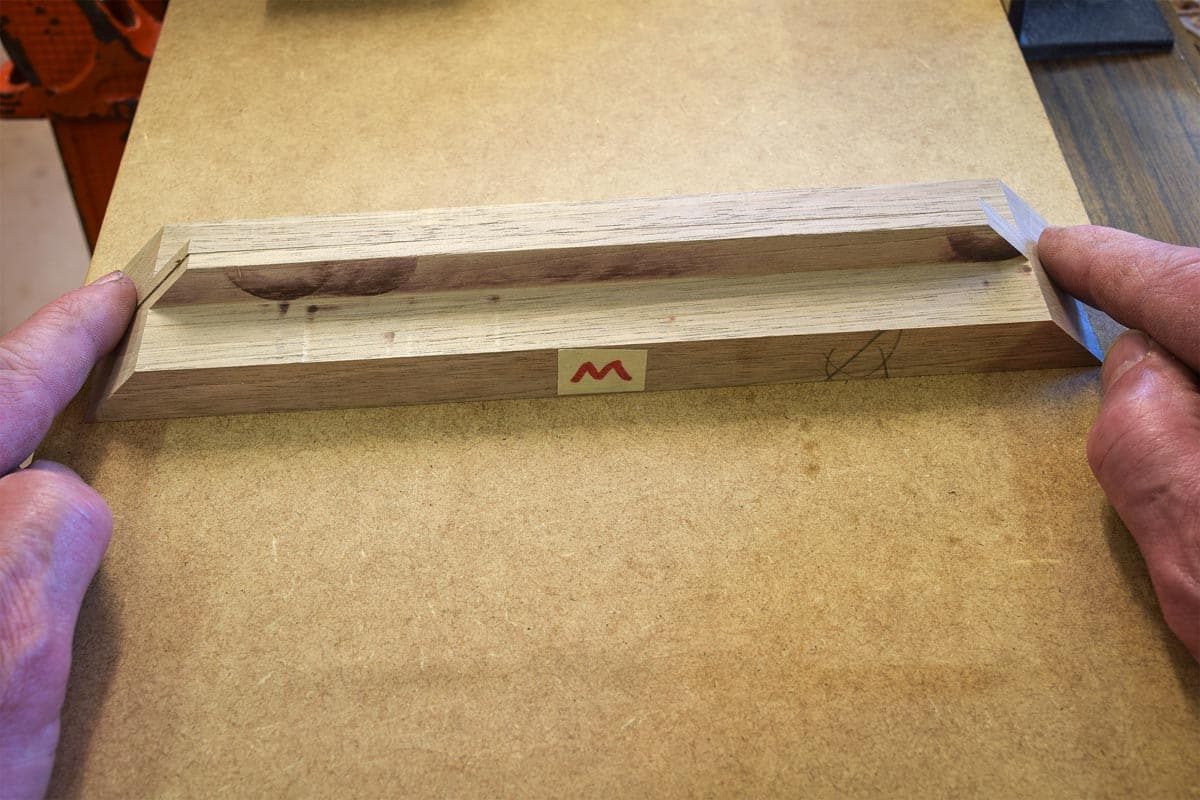
Plane the mitre on one piece to the exact size (arrowed) and mark with an 'M' for Master.
Step 7
Plane the other three pieces in turn and check each one against the Master with the ‘fingertip test’. All four pieces should be an identical length.
Step 8
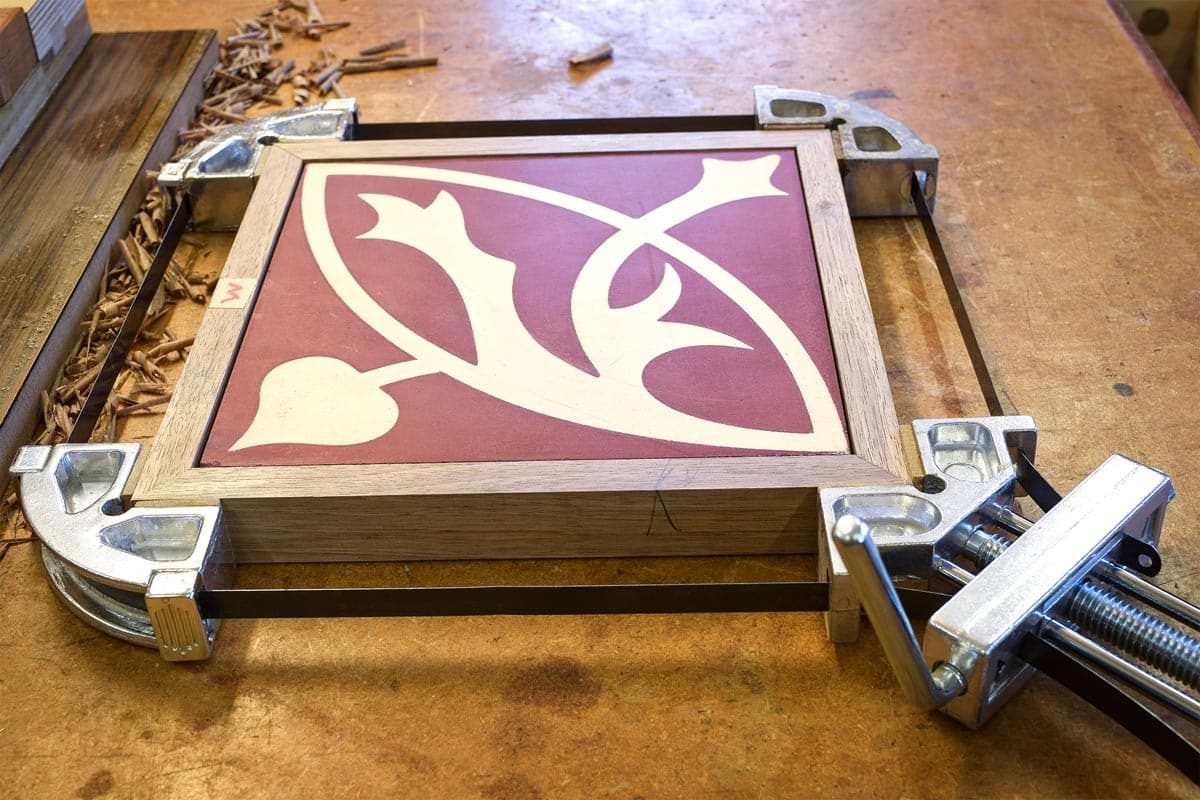
Dry assemble the frame and check the tile fits with sufficient clearance.
Step 9
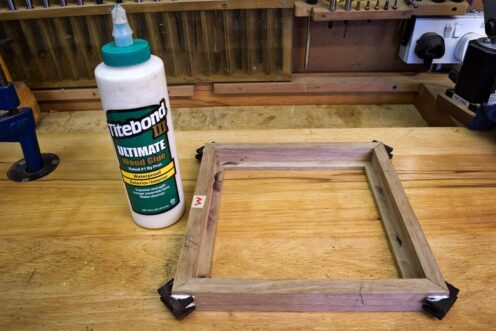
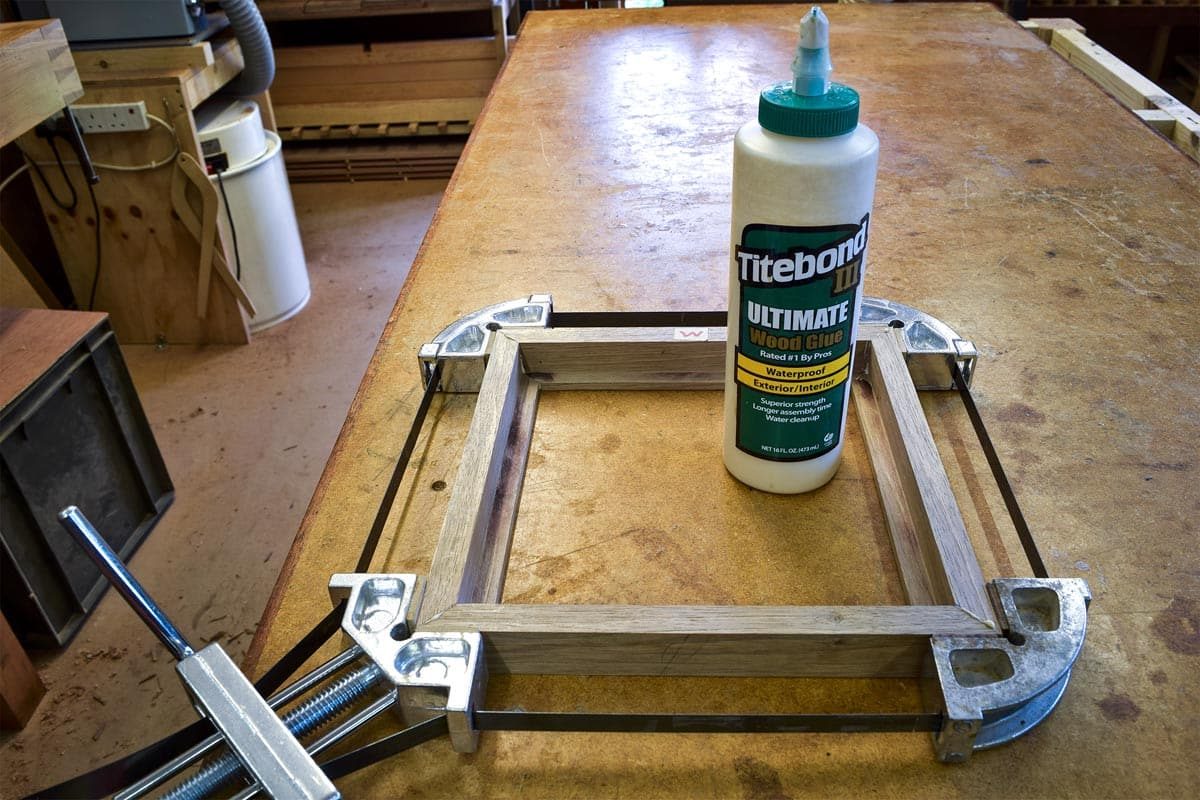
Glue the frame, remove all traces of glue from the inside rebate. Allow it to set completely.
Step 10
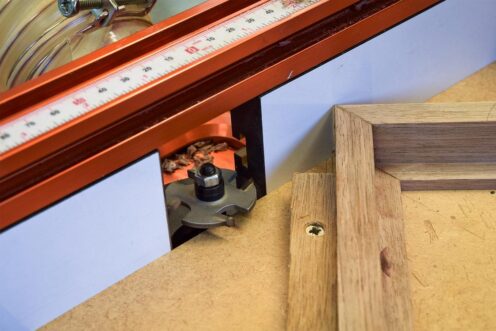
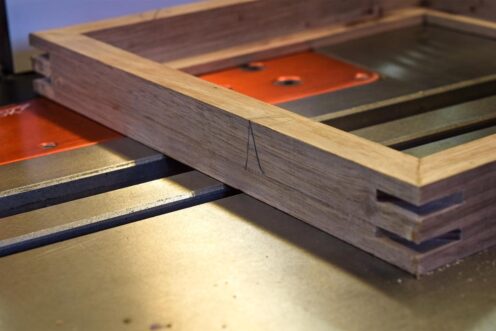
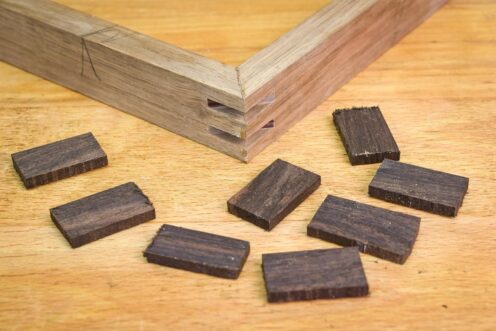
Set up the 4mm wing cutter in the router table. Make a simple jig and machine four slots. Turn the frame over, machine the remaining four slots. For each slot, pass the jig and work through the cutter once.
Top Tip!
Don't pass the cutter through the slot more than once or it may enlarge it.
Step 11
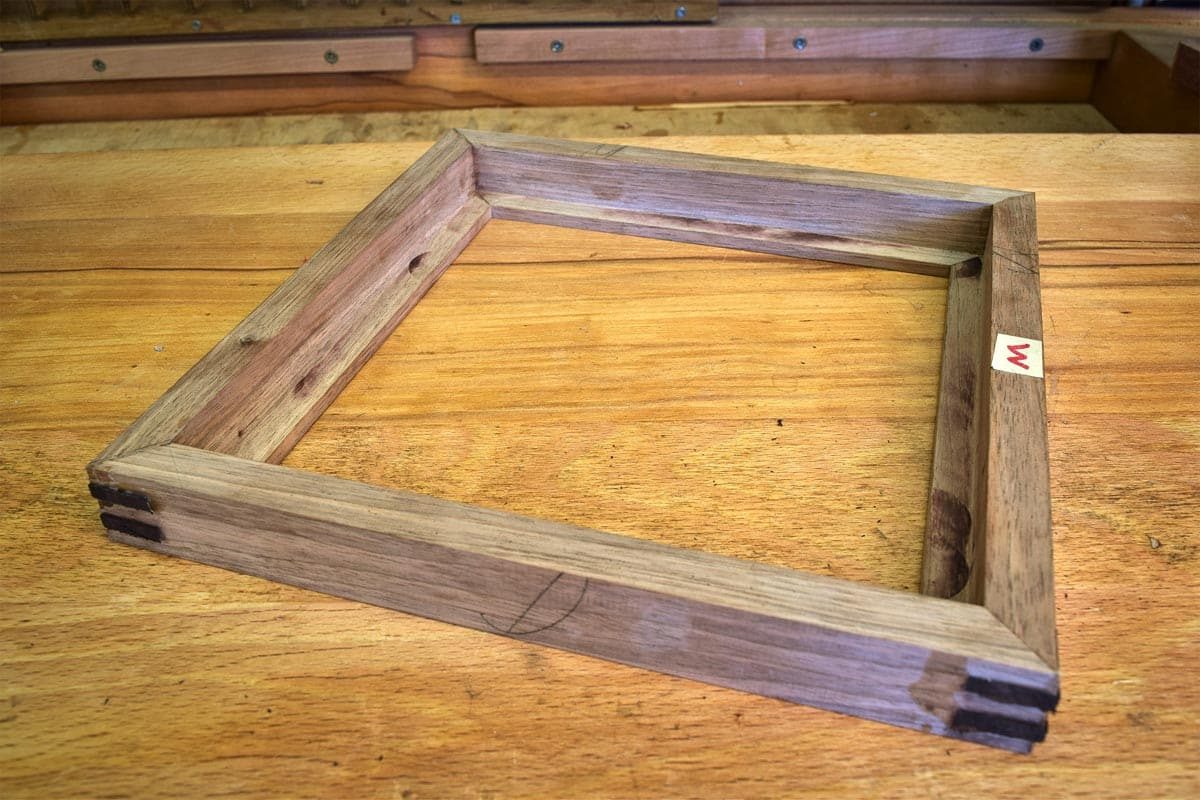
Prepare 4mm thick mitre inserts and glue in place.
Step 12
Saw off the excess from the splines when the glue is dry.
Step 13
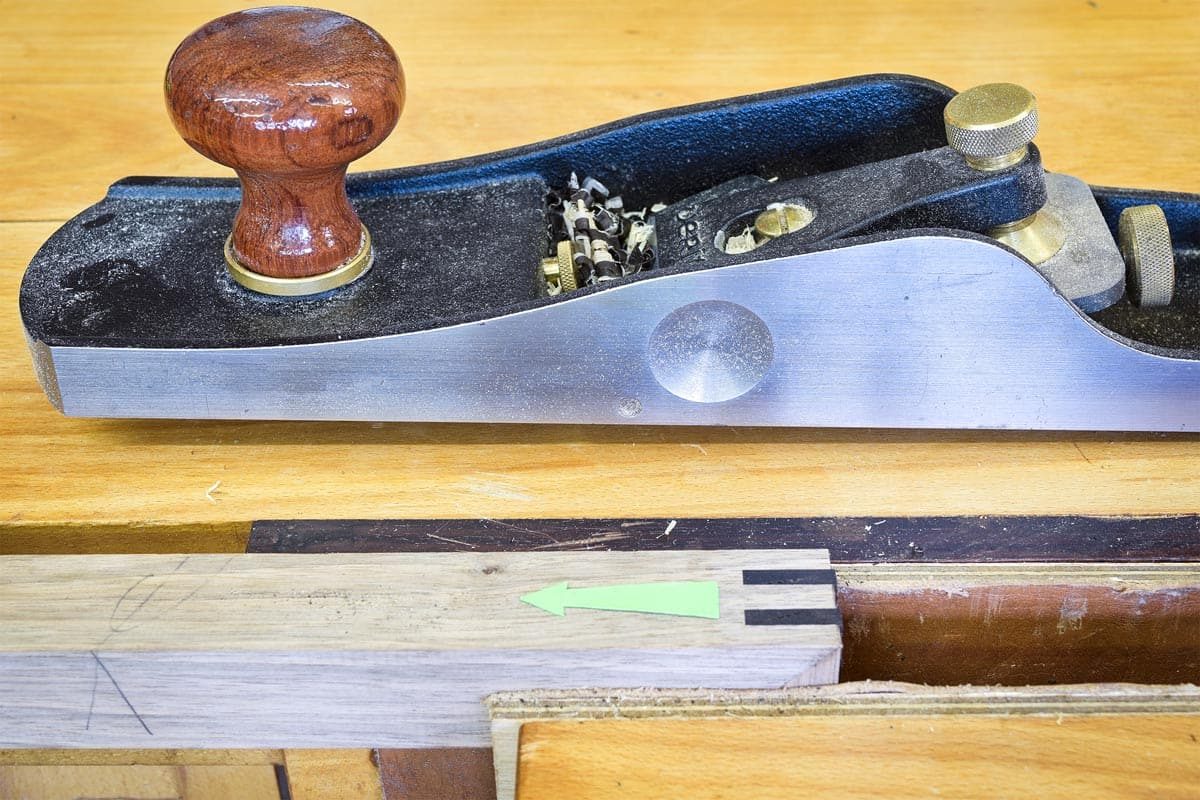
Plane mitre splines in the direction of green arrow.
Step 14
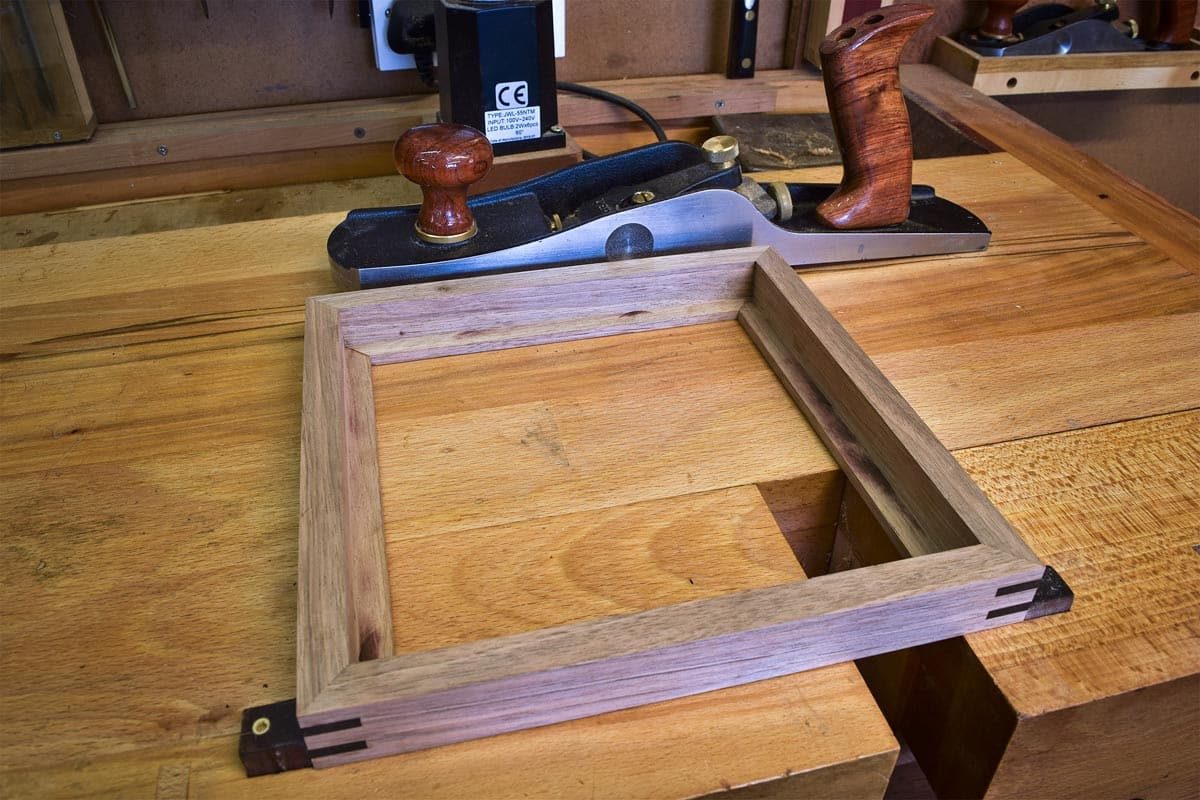
Clean up the top and underside of the frame.
Step 15
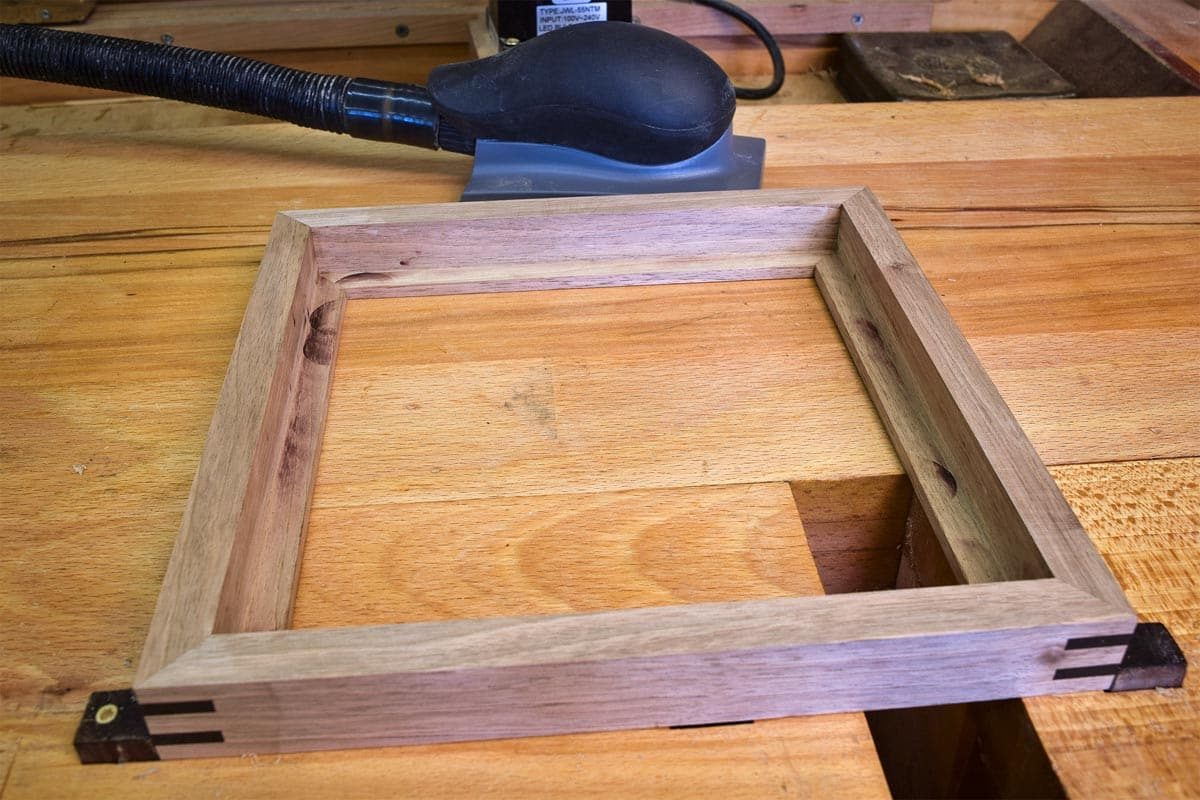
Sand the complete frame, remove the sharp edges.
Step 16
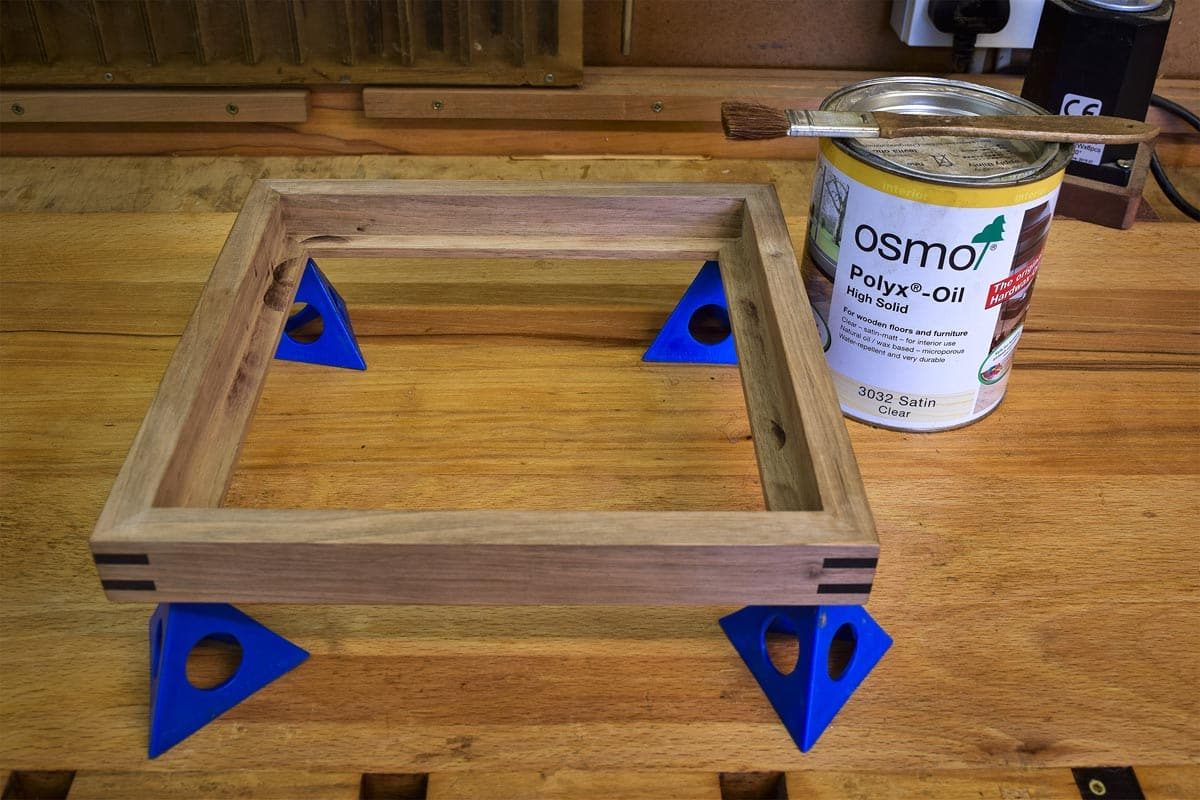
Apply your finish of choice. Two coats of Osmo-PolyX are used here.
Step 17
Use epoxy to glue the tile into the rebate.
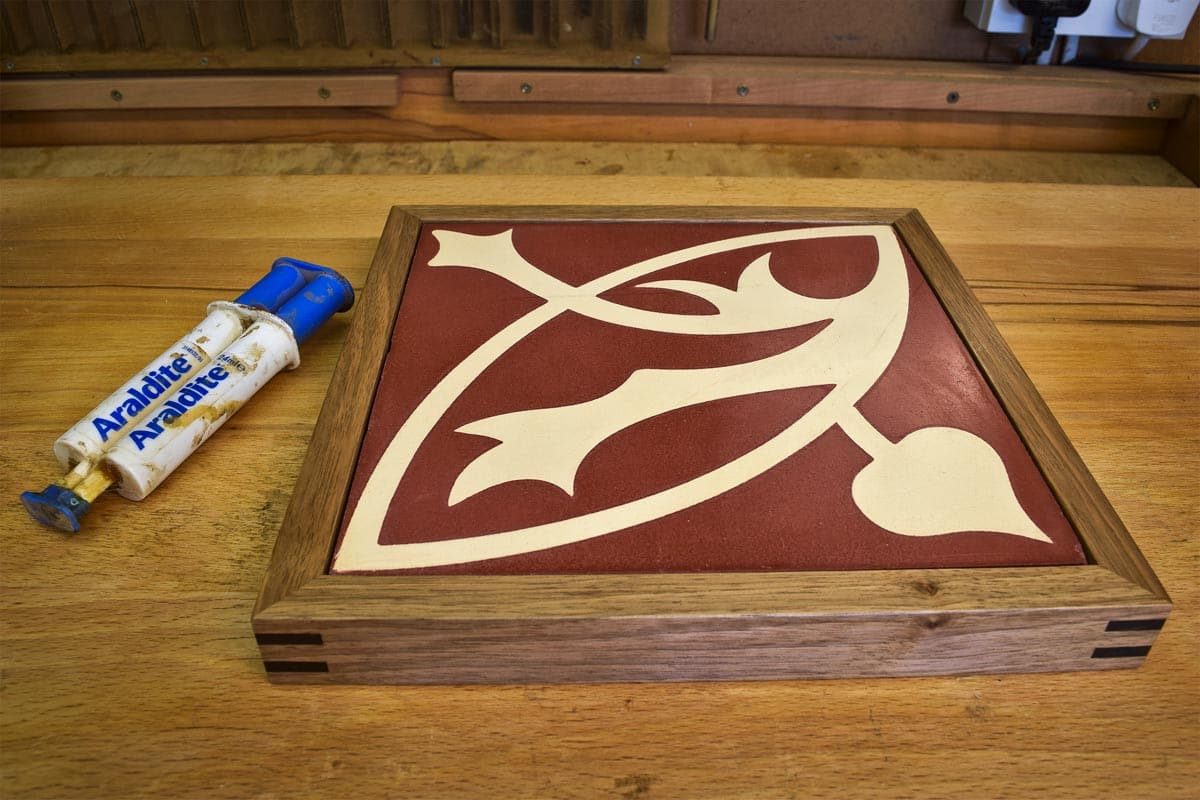
Completed ceramic tile trivet.


