Pine to make Cauls - 4 x 300mm x 45mm x 45mm machined flat, parcel tape applied
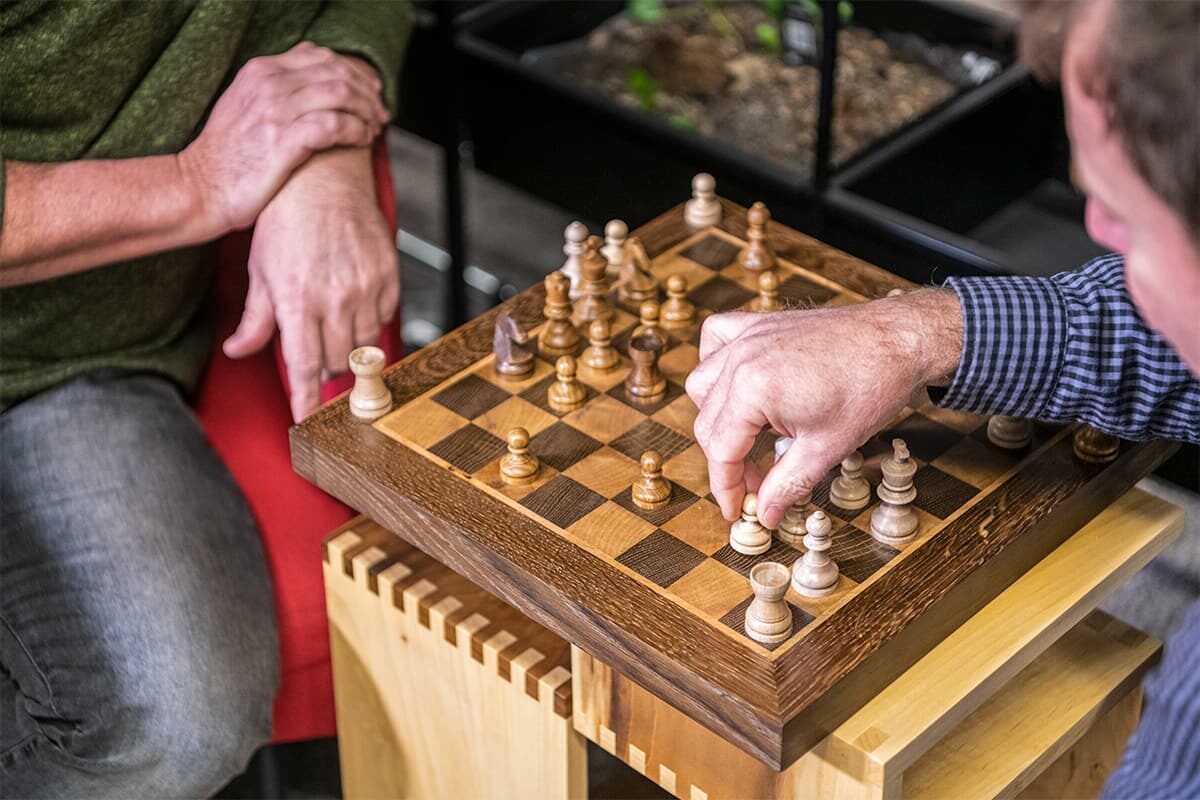
A beautiful centrepiece for any coffee table, the humble chess board may look like a daunting project for the hobby woodworker, but it's actually fairly simple once you've mastered the vital techniques required.
This project is great for practising your squaring up techniques or gluing up skills. Ensuring the timber is machined square is vital to the success of this project. The gluing is the tricky part. Applying masking tape to the sash clamp bars will limit colour bleed from the glue, oak and steel. And using cauls are a very important to keep everything flat and in position when tightening the sash clamps.
The techniques used within the making of this chess board can easily be adapted to make a nice chopping board. Two projects for the price of one!
Watch our Woodworking Wisdom demonstration, from our very own Jason Breach, or follow our step by step guide below, to make your own chess board.
Choosing your timber and tools
A good contrast of colours is important with your timber choice for the opposing chess squares for your board. For our chess board we have used English Oak and Sycamore, using the end grain sections for the playing surface.
This project can use basic tools, which makes it a great choice for those with a limited toolbox or workshop essentials.
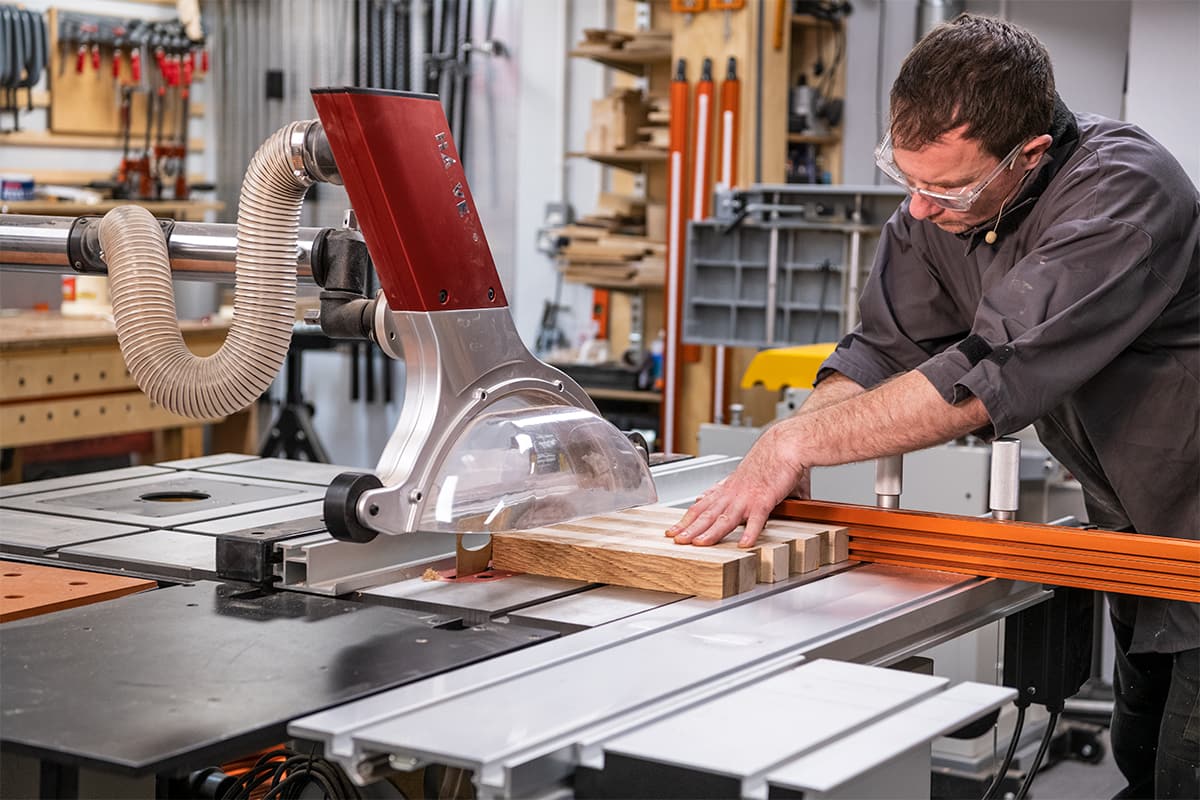
The main board has 32 light and 32 dark squares, cut to 36mm long using a table saw. Note, each cut will waste 4mm.
Timber prep
Your rough sawn material will need accurately machining. Before starting the surface planing, double check the fence is accurately square to the table. Surface plane one face and edge, then machine these to size through the thicknesser. We machined ours to 40mm square.
Next, cut the sections to length (450mm) ensuring that the ends are square. On the bench, lay these out in alternative colours, four light wood four darker wood, and check how they come together.
Top tip: Look at the grain orientation on the end grain and try to line them up to add some finesse to your finished board.
Gluing up
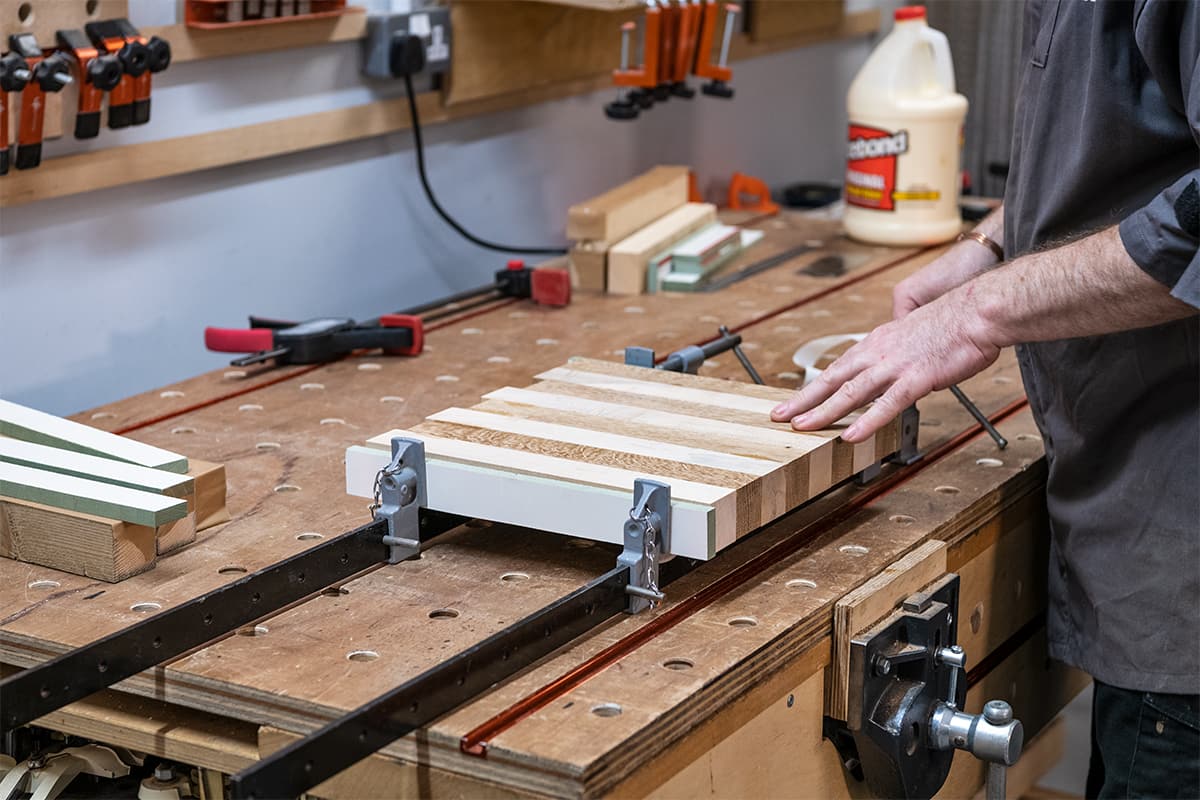
Before grabbing the glue, you will need some flat material to clamp on either side of the eight squares lengths. This ensures that all the squares line up to create a flat surface. We used four pine pieces, with a machined surface. To these we applied a layer of parcel tape to ensure the pine won't get stuck to the workpiece. The technical term for these is cauls.
To ensure that the sash clamp heads don’t mark the timber edges, two strips of MDF are used. Masking tape was also positioned along the sash clamp bar to stop any colour reaction with the glue, oak and steel.
Line the eight sections out in order of how they will appear when glued up. Then, rotate each of these through 90 degrees so the face to spread the glue on is facing upward. Put to aside one section as this will not need any glue. Clamp the remaining seven sections together and then spread a thin even layer of glue across the surface, using a silicon glue spreader.
Once glue has been applied, place the sections into the sash clamps one at a time, rotating back 90 degrees, sticking each section to the next. Ensure these are level on one end, position the two sections of MDF between the clamp heads and the workpieces, and gently tighten the sash clamps. Then, set up the pine cauls and clamp in place with G clamps. These ensure that the eight sections remain level. Add another sash clamp from above and tighten all three evenly. Clean up and leave to dry.
Construct the chessboard
With the glue set, clean up the surfaces using a sharp cabinet scraper. An orbital sander will help round off the edges, taking a light amount away as this needs to sit flat.
Use a table saw to cut the sections to length accurately. Check the cross cut fence is set up accurately then cut one end clean
Set the fence up to the length (36mm), working off the clean cut end. Cross cut the laminated board into strips using a push board for safety.
Back on the workbench, lay out the sections in order, remember these are end grain up. Look at the grain orientation, move these about to decide what looks best. Then, similarly to above, turn these through 90 degrees to expose the face that requires glue.
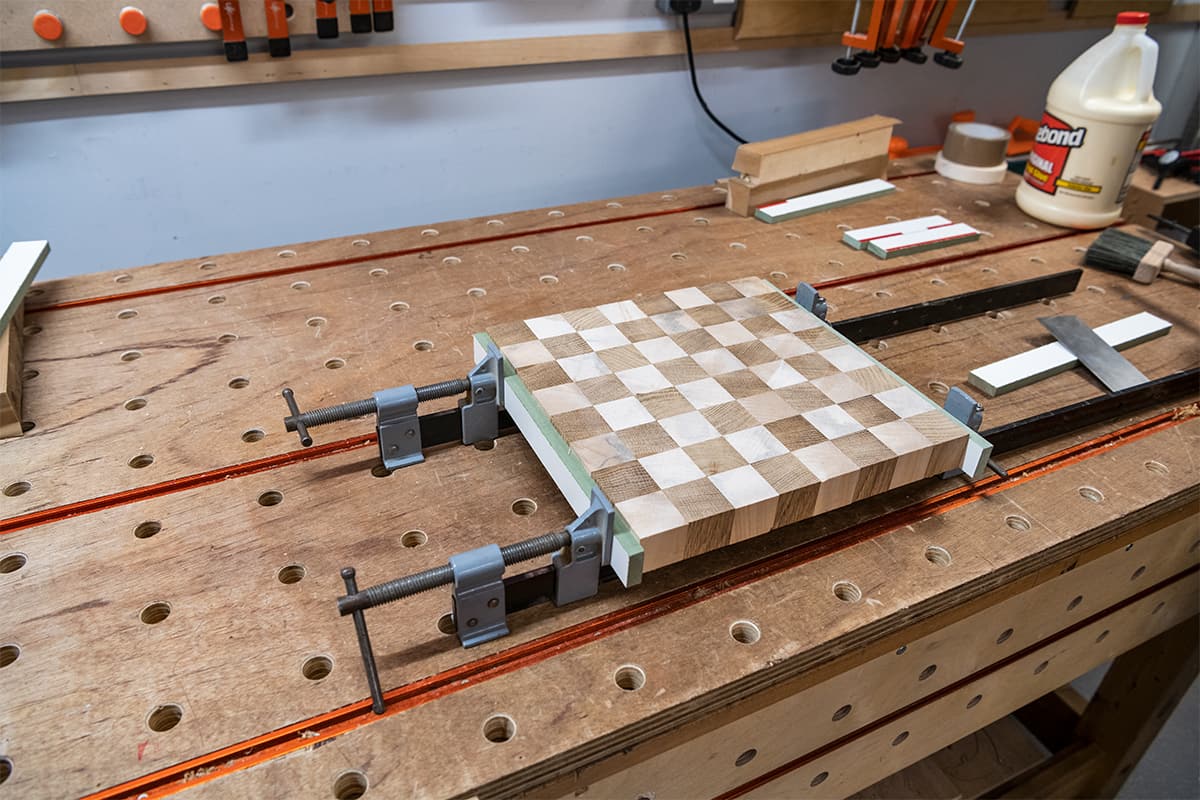
Glue up and clamp the board, following the same process as before. Leave to cure.
Fit the edging
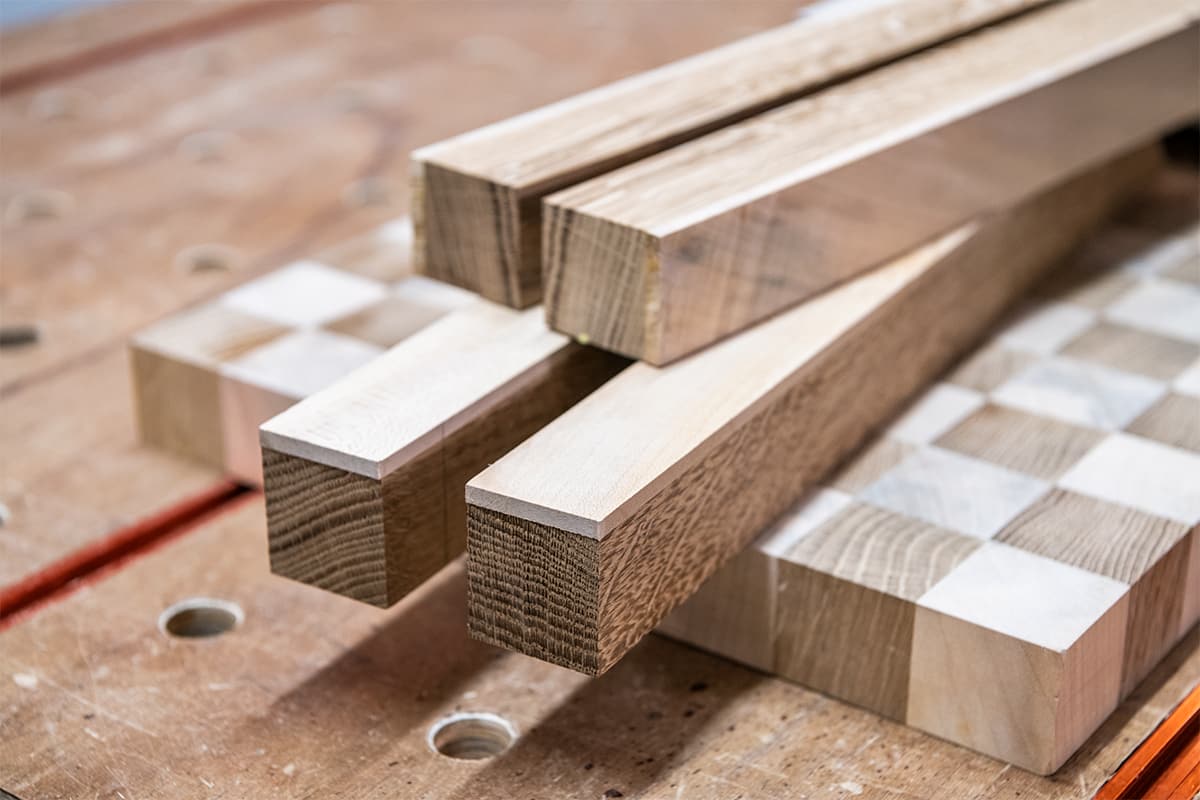
For the edging on our board, we used machined oak with 4mm thick sycamore sections glued to the inner face.
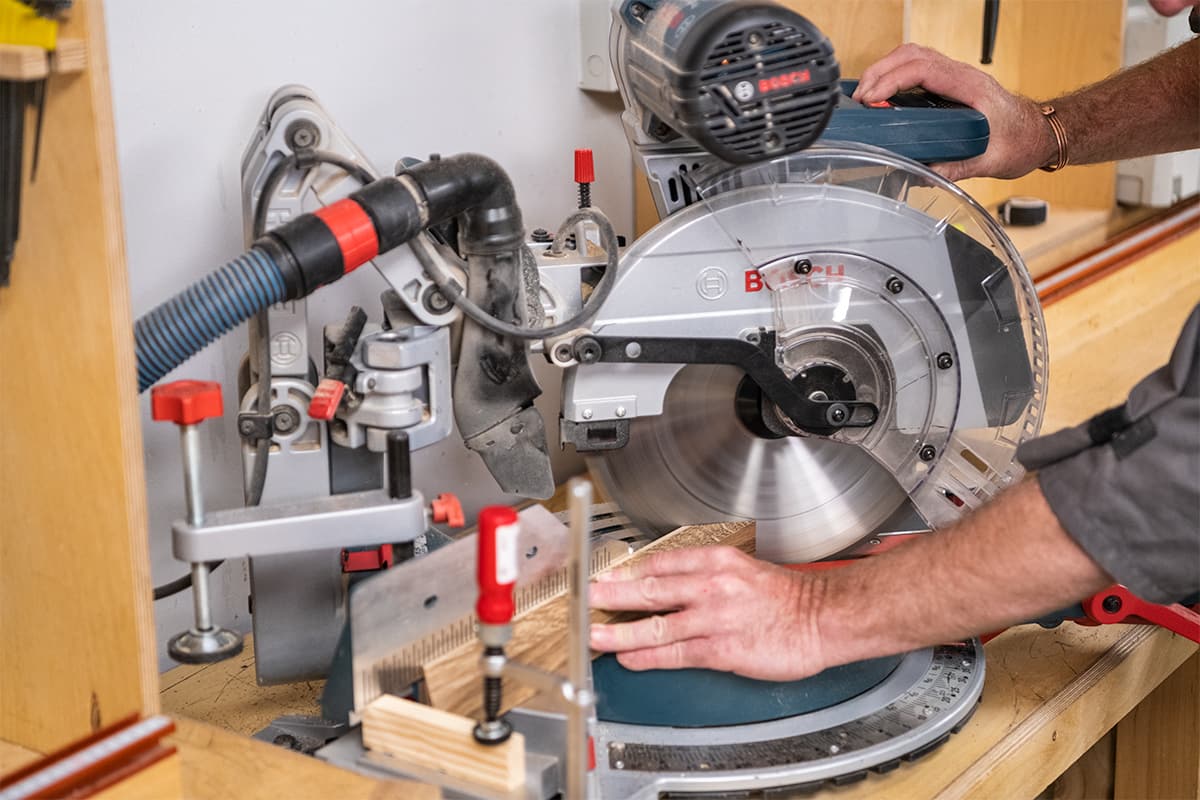
To cut the mitres, set up the mitre saw and use some scrap to check your cuts. Once ready, cut one end of the border material with the sycamore face against the fence.
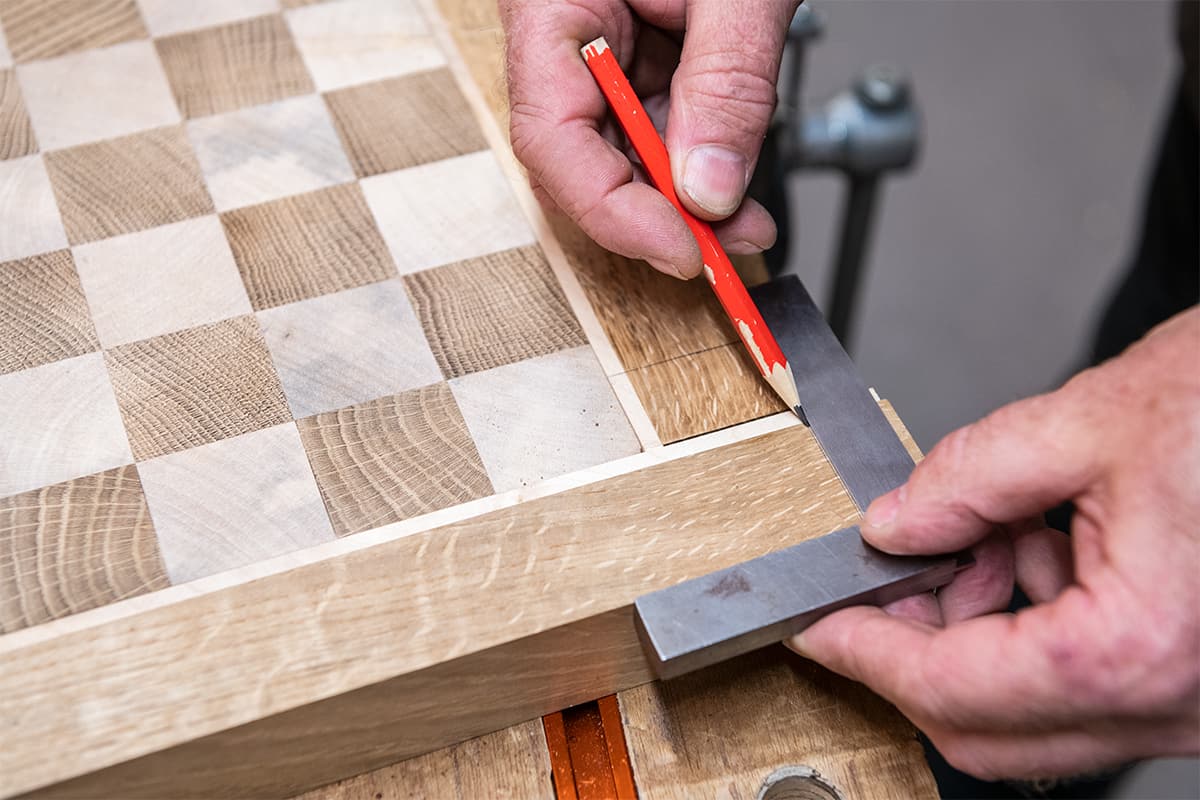
On the bench, place two of the mitred corners onto the laminated board to create one corner joint. Then, line up another length and set into position at the other end of the mitred piece. Line up a square with the outer edge of the long length, draw a line with a pencil and square across the end grain. Transfer the pencil line around the workpiece.
At the mitre saw, place the pencil marked section into the saw bed, check that the mitre cut in going the correct way (sycamore inside to the fence). Without the saw running, lower the blade to line up the position of the cut on the waste side of the line. Then, clamp on a stop block so that all four can be cut the same length.
Cut the mitres on the uncut ends. Slow feed speed of the saw will allow the blade to cut cleanly resulting in a more accurate cut.
Back on the bench position the four border sections around the laminated chess board, checking how the mitres come together. Trim if necessary with either a mitre trimmer or by using a shooting board with a mitre set up. Your plane needs to be really sharp for this type of work. Before adding the glue, do a dry run to see how things come together.
Chess board assembly
Clamp the four sections together to make applying the glue quicker and easier to do, following the same gluing process as before. Ensure the sycamore side is facing up.
Apply the glued up sides to the edge of the board. Secure in place using universal corner clamps with a strap clamp. Use G clamps to level the sides onto the board. Sash clamps can also be positioned across the board to apply more pressure onto the glued up pieces.
Clean up and finish
With the glue firmly set, the clean up can begin. Due to the material density on the end grain, oak and sycamore react very differently to coarse grit on an orbital sander. This will remove the sycamore easier and will create small hollows. Therefore, we advise using a hand plane with a sharp blade to clean up the board.
A sander can be used to do a final clean and the edges can be hand sanded to help keep the crisp accurate sides. A simple chamfer sanding block is the final clean up stage. This removes the hard sharp corner.
To add more colour to the oak and to make this darker, we fumed the board using ammonia. To do this, put the board in an extractor bag and support on some paint points to allow the air to get all the way around the board. The ammonia is placed into small pots around the board and the bag sealed and left overnight. Ensure you have good ventilation when removing from the bag.
Fuming will only affect timbers with a tannic acid content; oak and robinia are good examples.
Please note: Extra care needs to be taken when handling ammonia as it has a very strong odour.
The oak is now a deep, dark chocolate, brown colour, which contrasts really well with the sycamore.
A finishing oil is applied with several coats as the end grain section will absorb the oil. With the oil built up, a wax polish can be applied and buffed.
The last stage is adding leather feet onto the underside of the board.
And there you have your finished chess board.
Made the board? Make the pieces!
Now you have made your very own chess board, why not have a go at turning your very own chess playing pieces. Follow our step by step guide, or watch our Woodworking Wisdom video to learn how to make your own set of playing pieces to complete your chess set.
Made it, share it!
If you have mastered these techniques and have made our laminated chess board project, share your pictures with us! Tag us in your photos on social media with @axminstertools and show us what you’ve made. Find us on Facebook and Instagram.
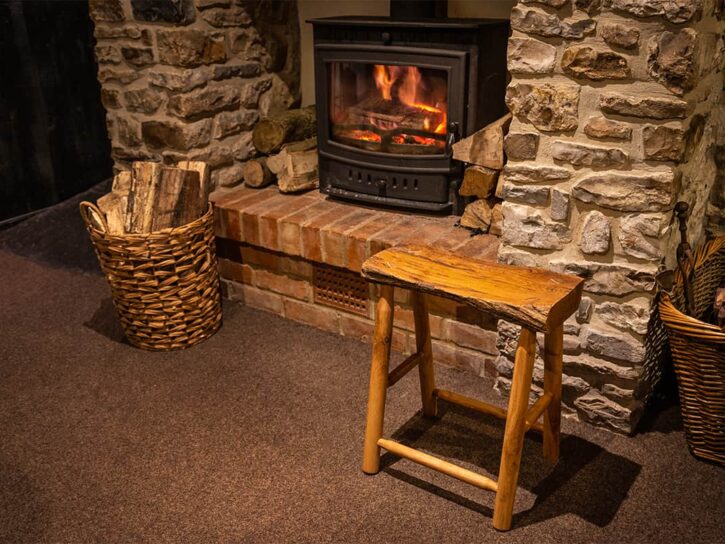
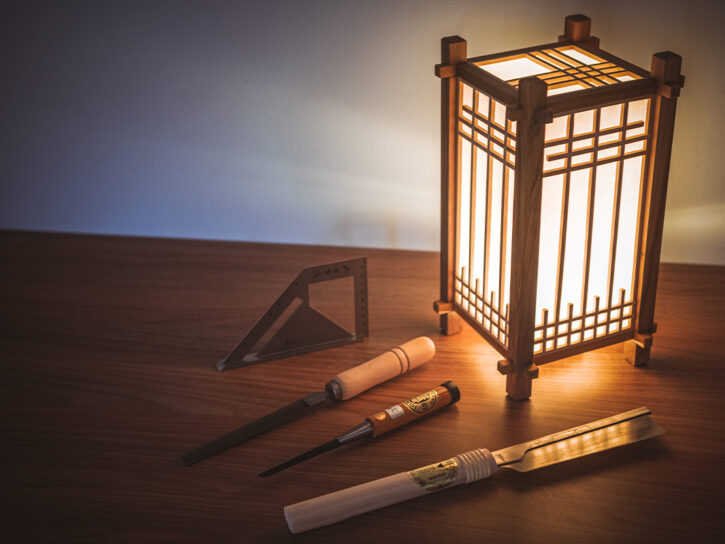
If you enjoyed this project try one of our other how to projects. Try our rustic stool project or have a go at making a Japanese lantern.
Use and develop a number of woodworking skills with this power carved rustic stool project. Incorporating woodturning and power carving, you can master a number of key techniques with this simple stool project. This four...
Master delicate joinery techniques and get to grips with a range of Japanese tools, with this beautiful Japanese Kumiko style lantern project. Featuring a series of intricate halving joints, bringing together numerous woodworking and joinery...


")