How to Make a Rustic Stool
What you'll need
Use and develop a number of woodworking skills with this power carved rustic stool project.
Incorporating woodturning and power carving, you can master a number of key techniques with this simple stool project.
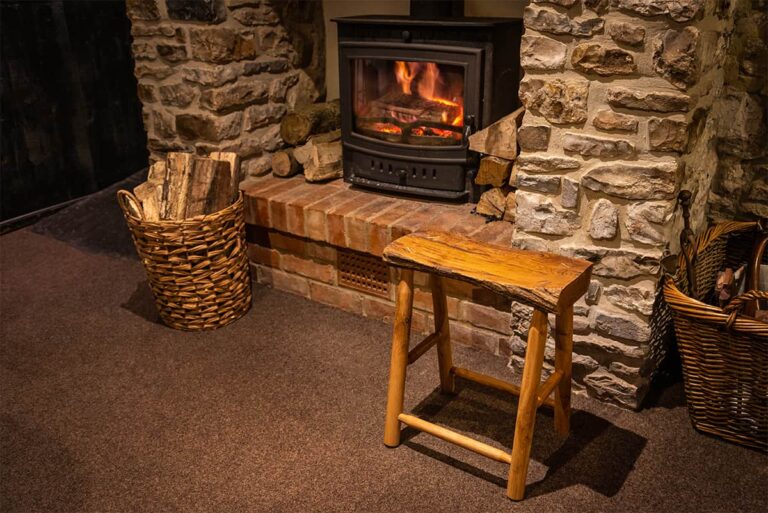
This four legged stool is perfect for the grandchildren. Don’t have a power carver? Then opt for a smooth finish and use it as a side table or footstool.
Simply watch our Woodworking Wisdom video, or follow the steps below, to make your own rustic stool with wood turned legs, stretchers and power carved seat.
Cutting and marking the seat
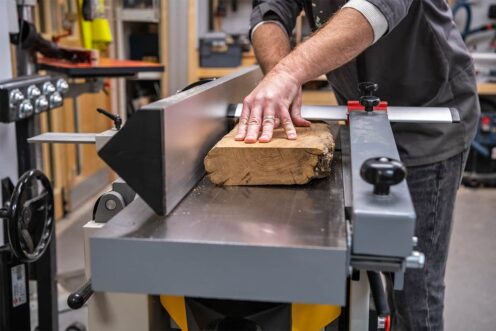
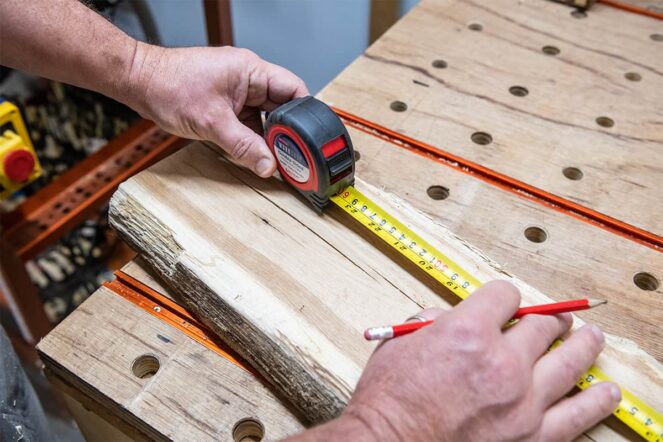
Cut the seat to length (approx 450mm) and plane the top and bottom until flat.
The prepared blank should end up 50mm or 2" thick.
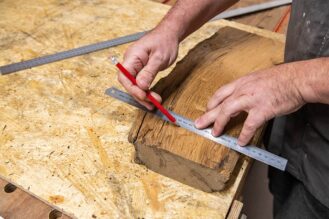
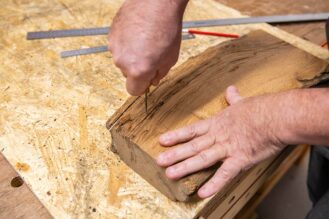
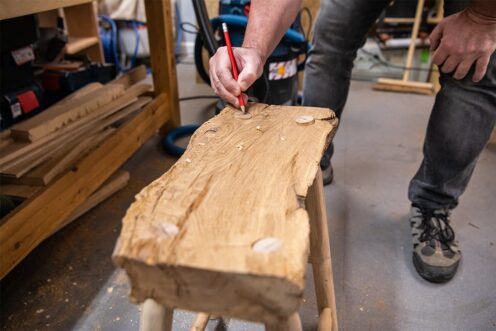
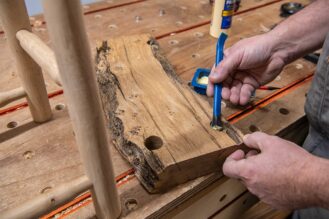
Measure 50mm/2" in from the edge of the seat blank and mark all round, creating a rectangle. Then, on the top face, mark out drilling locations on each corner 50mm or 2" in from the edge of the seat.
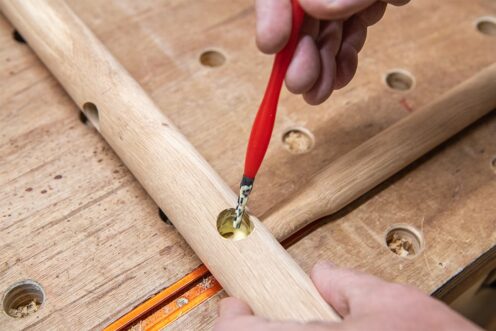
Mark with a bradawl. This will help locate the forstner bit when drilling.
Drill the holes
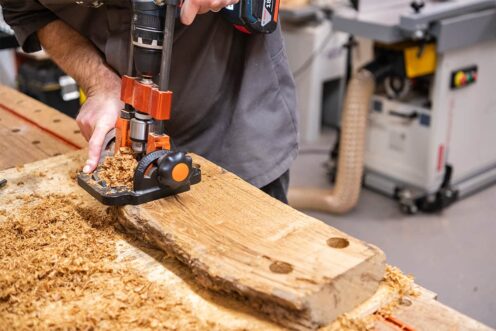
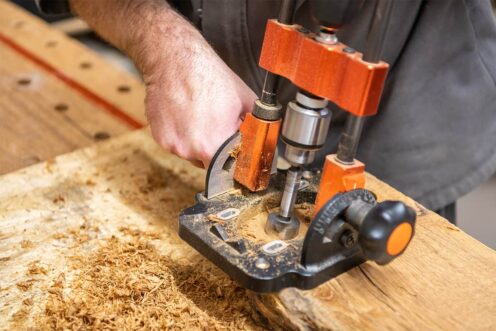
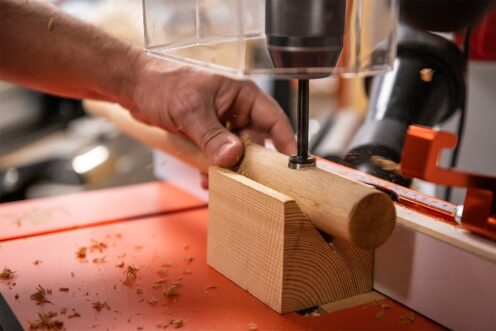
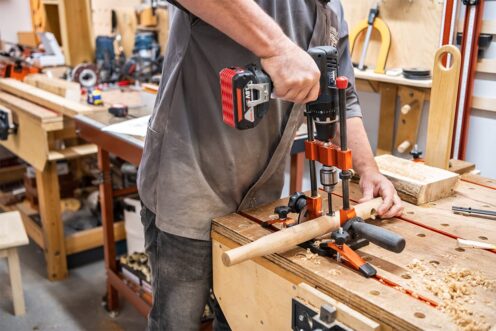
Set the drill guide to 10 degrees and drill the leg holes at 90 degrees to the length. This will create the splay of the legs.
Drill all four corner leg holes. The seat is now ready for carving.
Cutting the legs
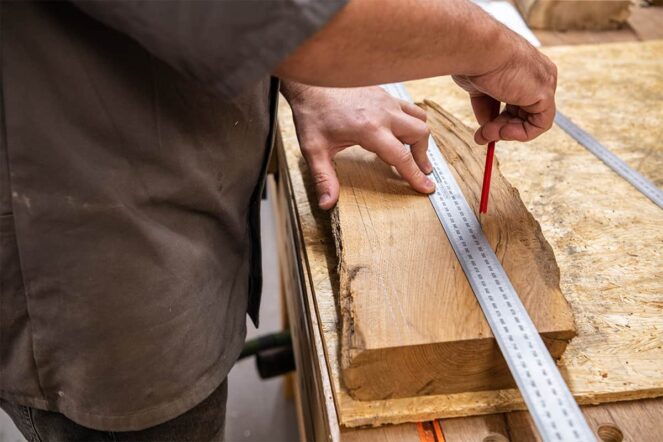
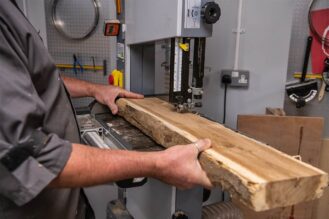
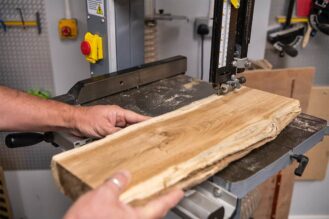
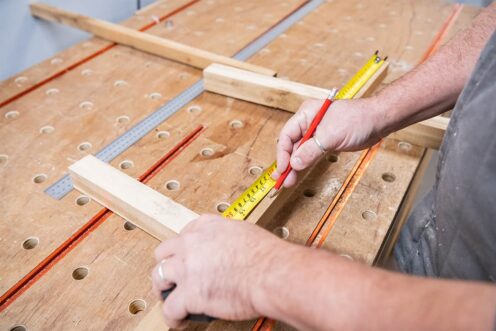
Measure and mark out the length of the boards for cutting to length.
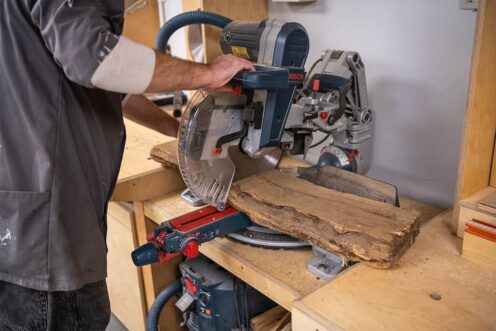
Mark out the cut line and cut the board to length.
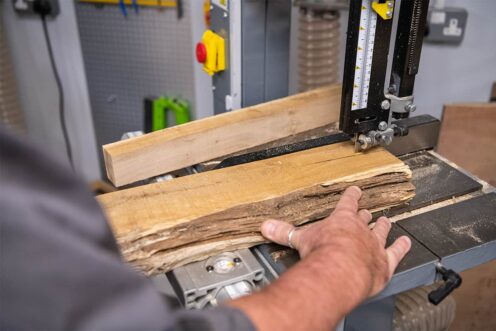
Mark a straight edge and cut before cutting the blanks for legs.
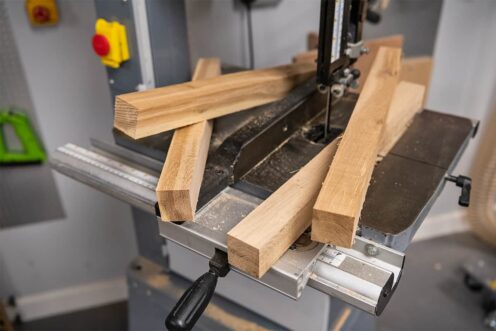
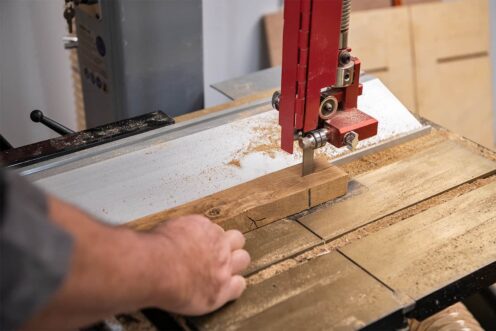
Set the bandsaw to 40mm, ready to cut the leg blanks, then cut the leg blanks to size ready for turning.
Cutting the stretchers
Next, reset the bandsaw to 30mm ready to cut the side stretchers. Cut the stretchers to size, and then cut to length at 330mm.
Cut the short stretcher long at 250mm. These will be re-cut to size when the legs are dry fitted together.
Turning the legs
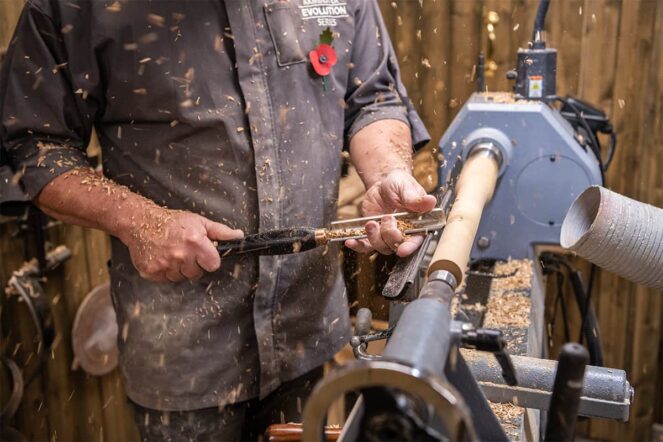
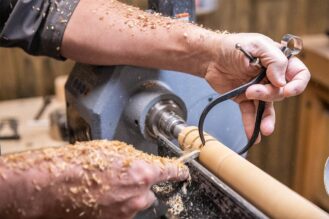
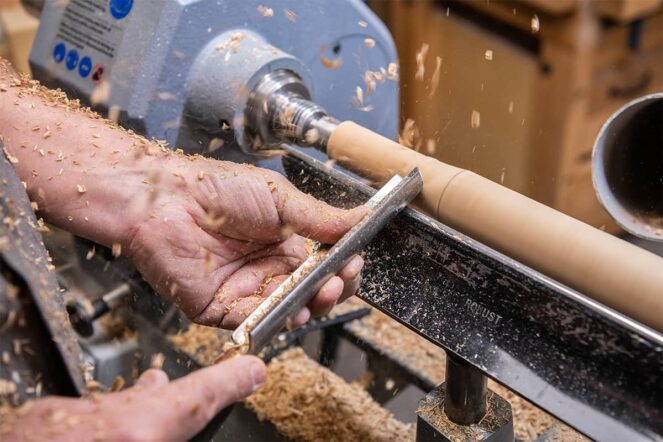
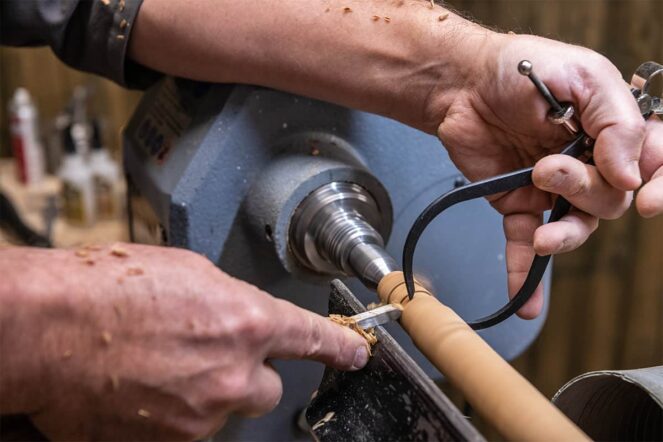
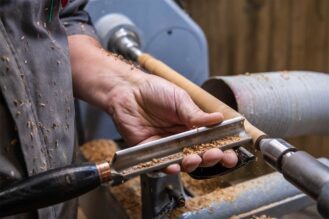
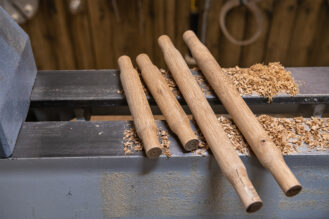
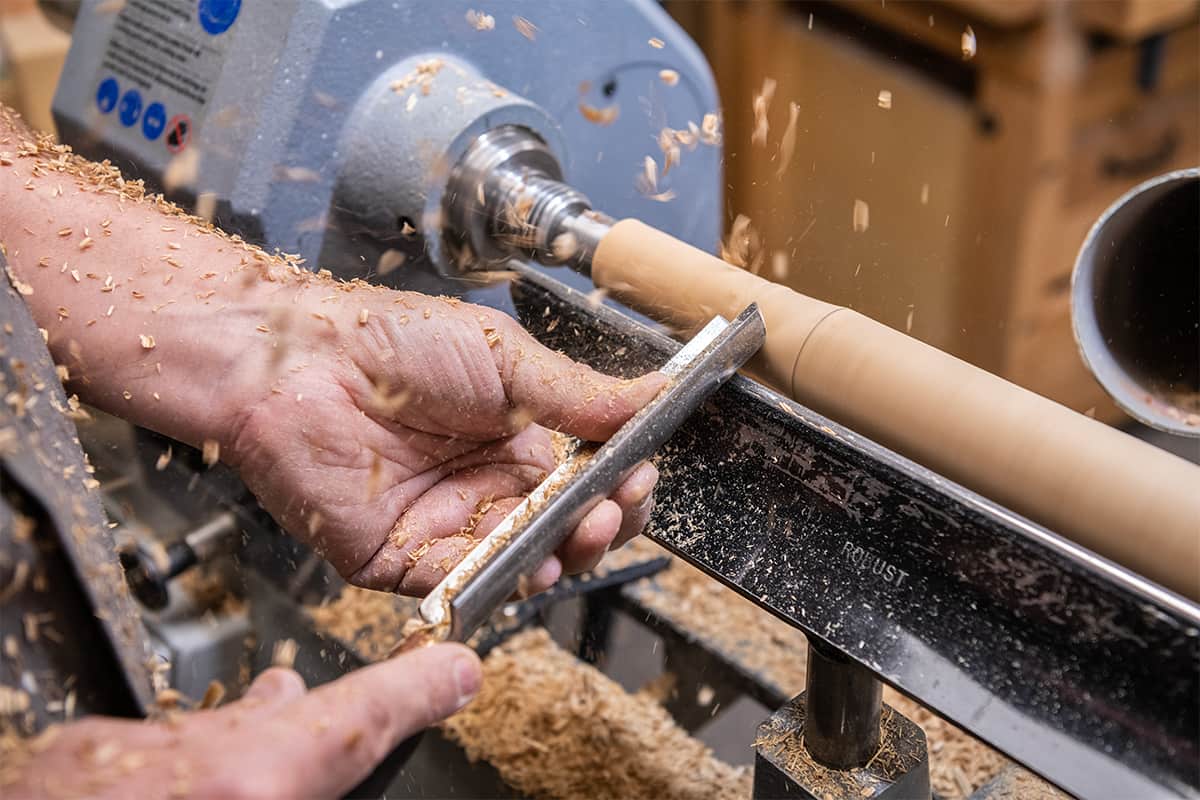
Mount the first leg blanks between centres and rough down to a cylinder.
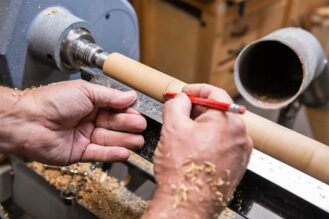
Mark where the taper will start for the seat tenon, measuring the tenon to size 30mm.
Blend the taper in and sand to a good finish.
Repeat for each leg.
Carving the seat
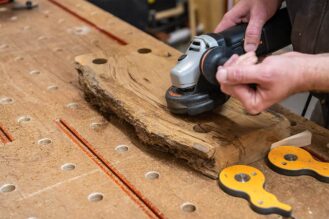
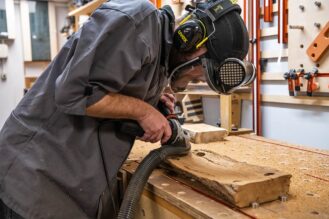
Secure the seat blank to the bench and using a power carver, we've used an Arbortech Power Carving Unit, begin carving. Start with light cuts working from the outside towards the middle.
Repeat the cuts until you are happy with the shape. Try to keep the surface even.
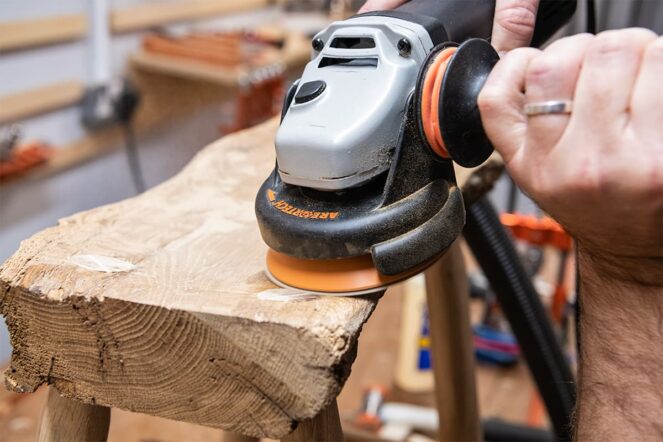
Switch the Turboplane Blade to the soft sanding pad or use a random orbit sander. Reduce the speed on the carving unit so that the abrasive doesn't burn.
Sand the seat blank until it is smooth with no tooling marks.
Marking and turning the stretchers
Test fit the legs (you may need to sand the tenons on the lathe to fit).
Mark the outside stretchers at 195mm from the bottom of the leg. Length should be from centre point on leg.
You can now cut the stretcher to length. Next, mount the stretcher blanks between centres and rough down to a cylinder.
Measure and cut in your tenons, this time to both ends of the piece at 20mm before blending them in.
Sand to a finish. Repeat for each stretcher.
Assembling the legs
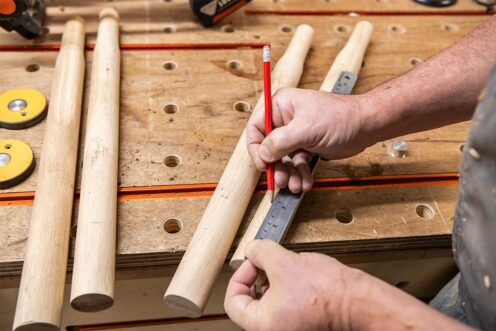
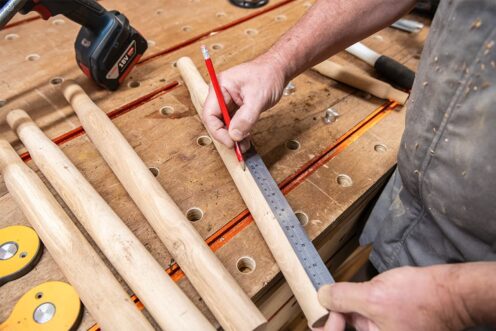
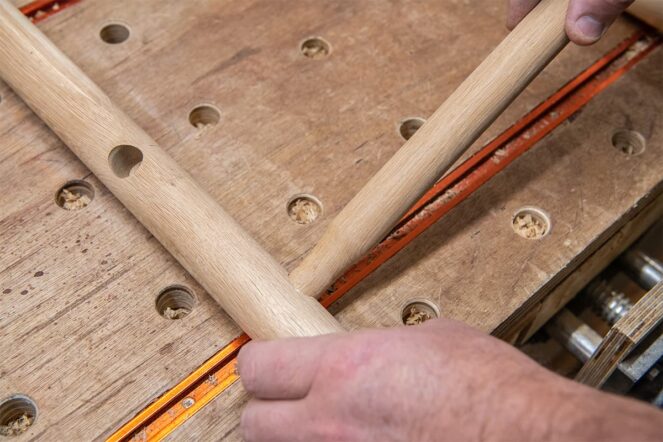
Measure 75mm up from the bottom of each leg, this will be the position for the long stretcher and will be drilled at 90 degrees.
Rotate the leg 90 degrees and mark a second hole 195mm up from the bottom of the legs this will be cut with a 20mm drill bit at 8 degrees.
Using a V block, cut in the 90 degrees x 20mm holes for the lower long stretchers to a depth of 15mm.
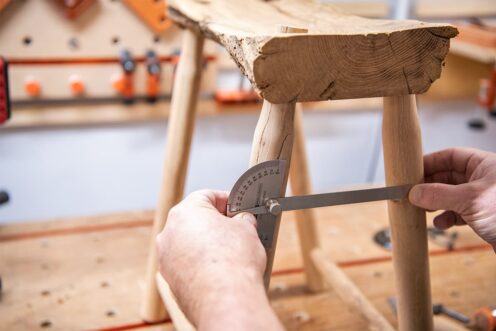
Measure the angle of the splay ready to set your drill guide, in this case the angle is 8 degrees.
Set your drill guide to 8 degrees and drill the 20mm holes to a depth of 15mm.
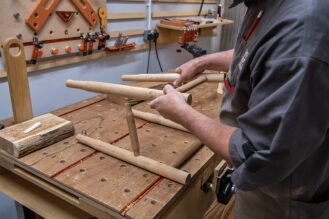
The legs can now be dry fitted to make sure all the tenons fit.
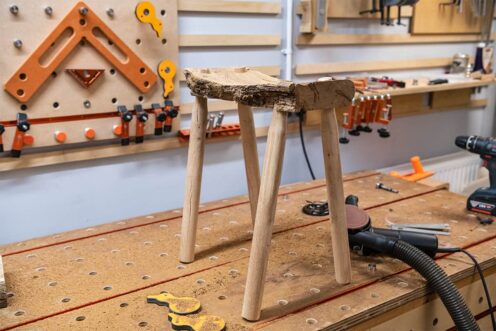
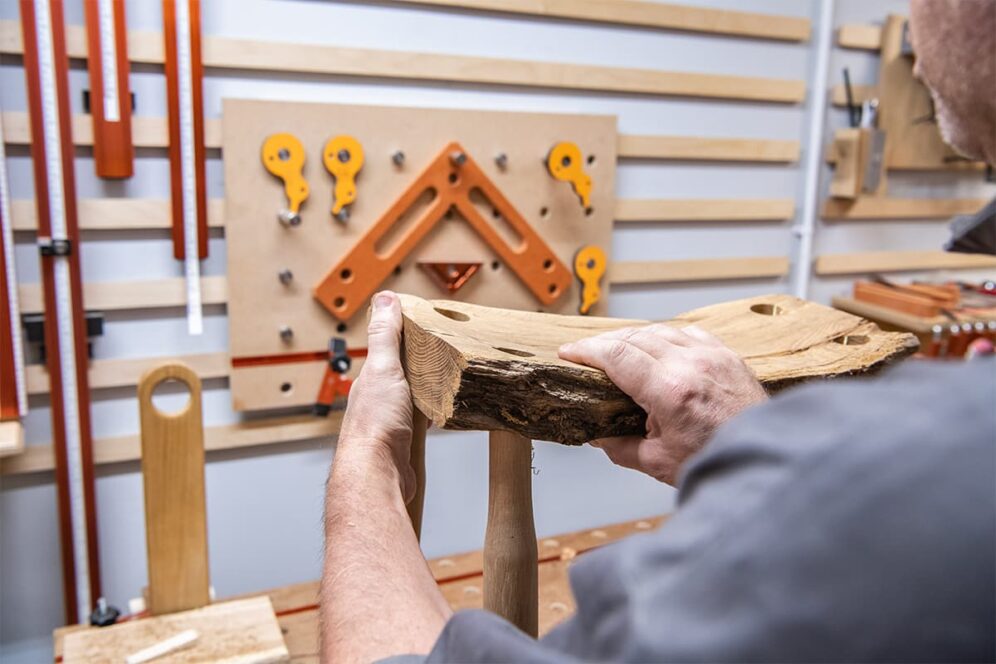
Next, dry fit the stool completely and check it is level.
Final stool assembly
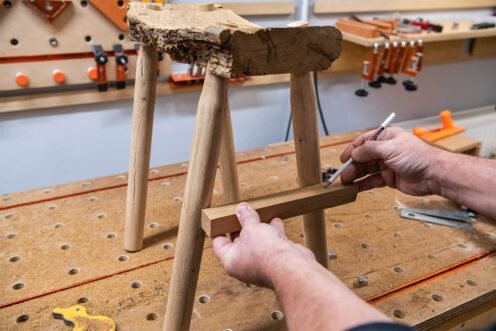
We're going to add wedges to sure the tenons. Mark the wedge position while in the dry fit. We've opted for a diagonal cut.
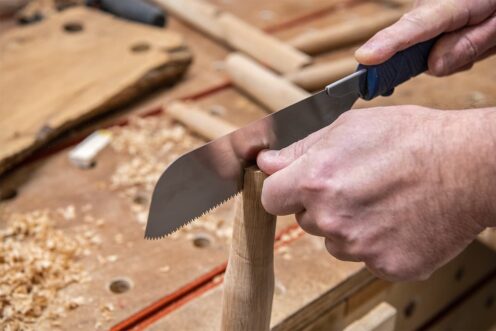
Next, disassemble and use a pull saw to cut in the positions of the wedges to a depth of 50mm.
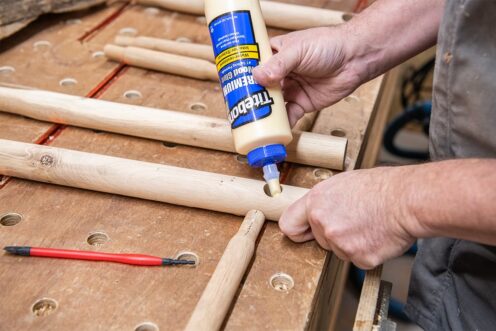
Now prepare everything for glueing and glue the joints ready for final assembly.
Loosely assemble the frame, glue the seat holes and attach to the legs.
Tap the seat down to your desired position.
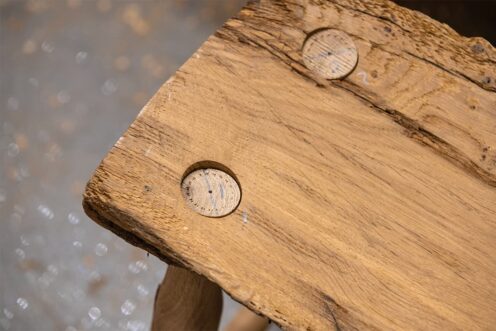
Cut wedges at 30mm width in a timber of your choice. Tap the wedges in until the tenon spread and fills the mortice and the wedges are solid. Once dry, remove any waste wedge with a pull saw before sanding.

Finishing your stool
Using the power carver with the sanding pad attachment, blend in tops of legs until flush with the seat.
Remove any last pencil marks with some abrasive and a sanding block.
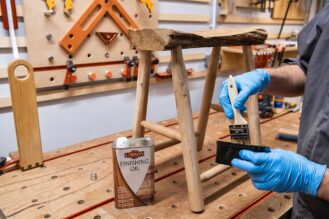
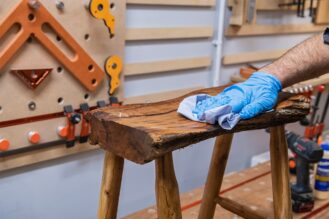
Finish with oil. Brush on liberally, and allow time to penetrate (5-10mins) before wiping off the excess.
You now have your finished rustic stool.
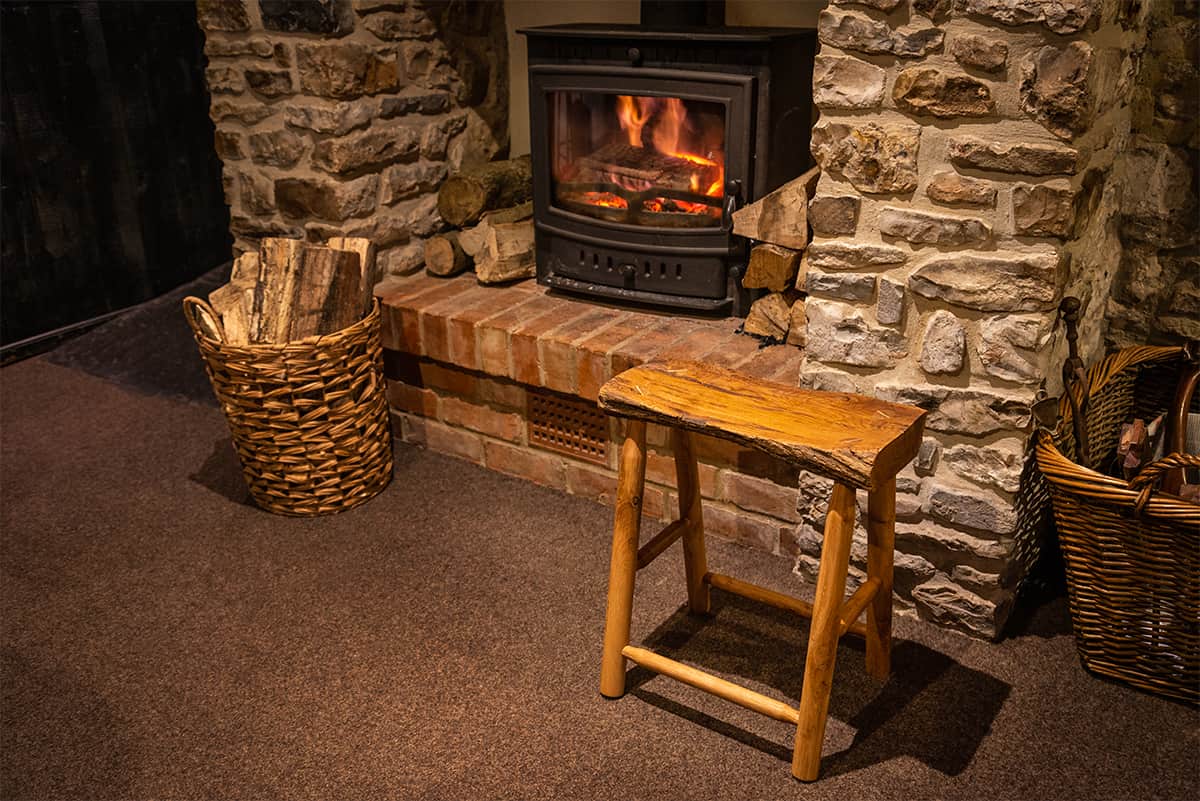
Show us your stool!
If you have had a go at this rustic stool project, then we would love to see it. Share with us your images on social media by tagging @axminstertools on Instagram or Facebook. Or email us at woodworkingwisdom@axminstertools.com
If you have enjoyed making this stool then why not have a go at making other beautiful items for your home? Use your woodturning skills to make a lamp. Or why not power carve a speaker for your phone?


