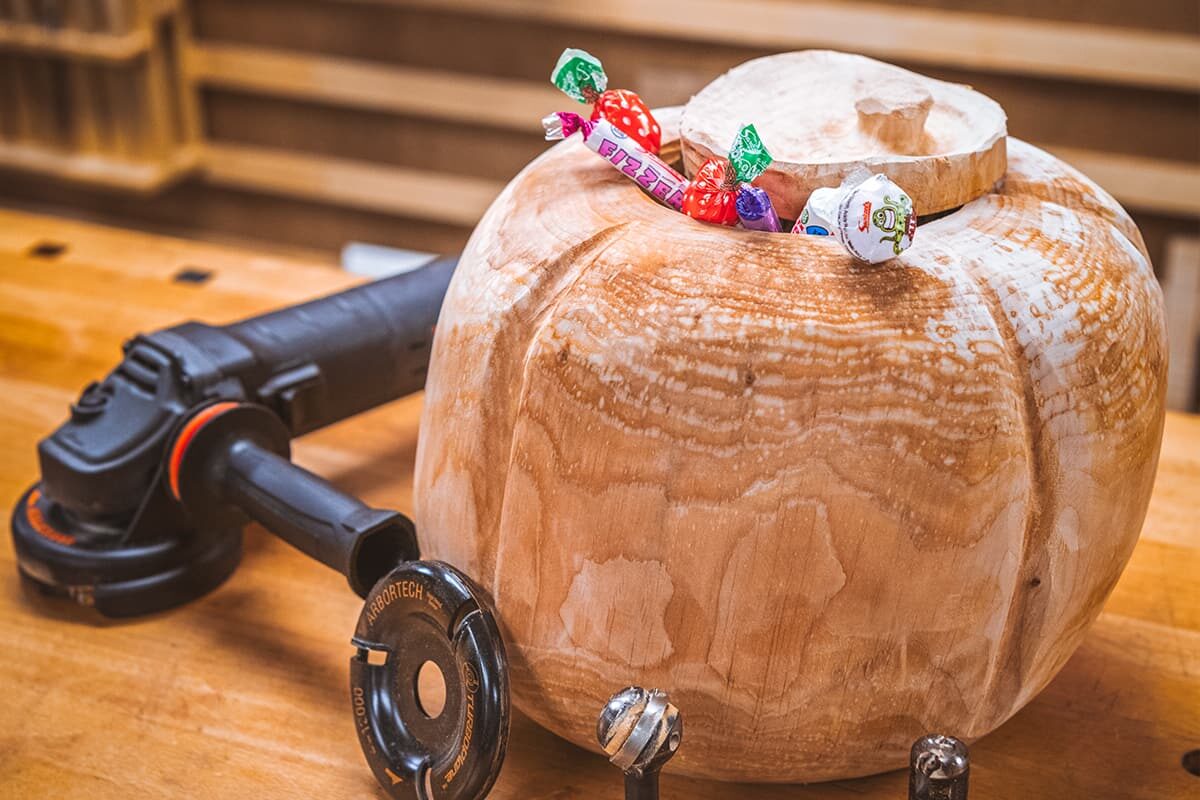
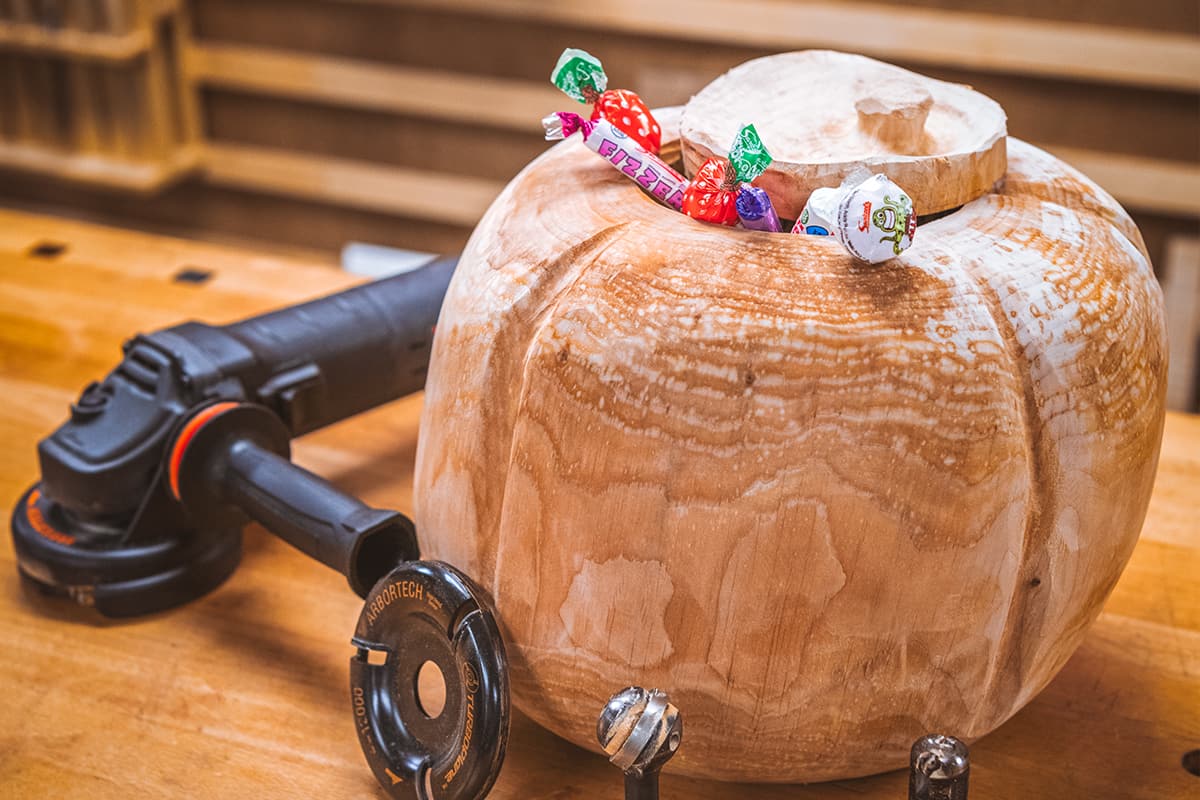
Log section - we used Mulberry wood for its orange colouring
Add an autumnal feel to your home with this power-carved wooden pumpkin.
Complete with a removable lid, this wooden pumpkin will look at home in your porchway, kitchen, or dining table as a decorative feature during the autumn season. Fill with potpourri for a home décor centrepiece, or leave it on your doorstep full of sweets at Halloween!
Carved using the Arbortech Power Carving system, this project provides a fun challenge for those looking to master and expand their power carving skills.
Watch Ben in our Woodworking Wisdom demo, or follow our tips below to have a go at carving your own wooden pumpkin.
Tips for carving your wooden pumpkin
This is a free hand-cut project, there are many ways to use these tools. The following is how we did it, along with some hints and safety tips.
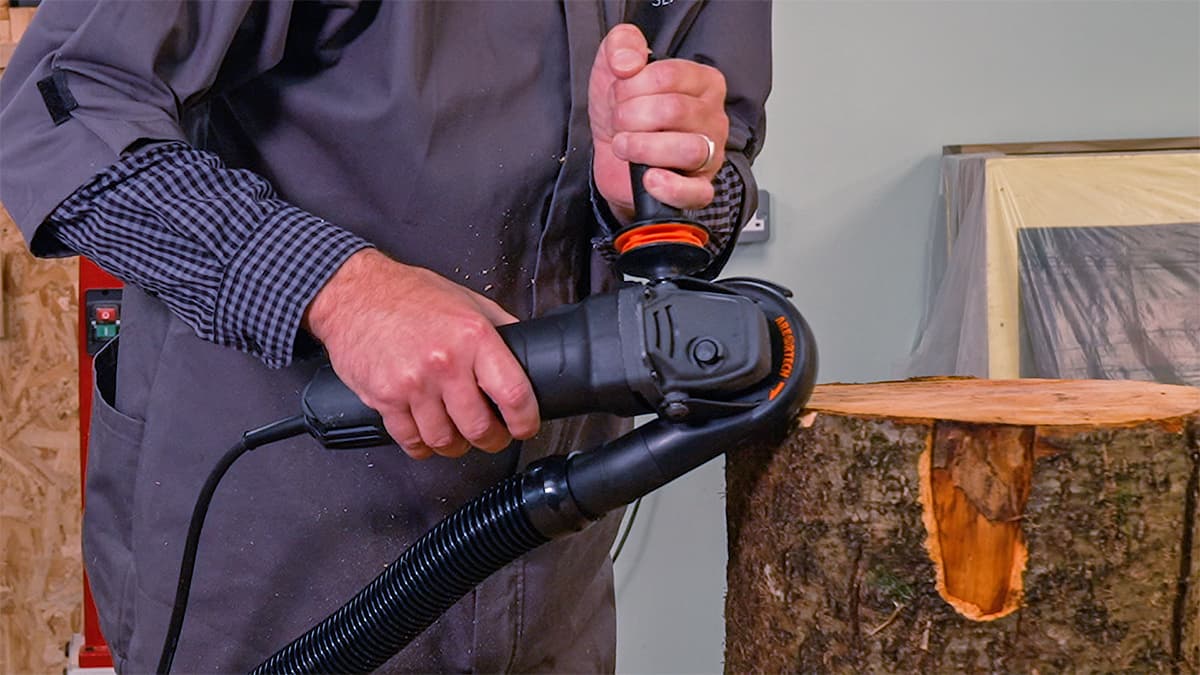
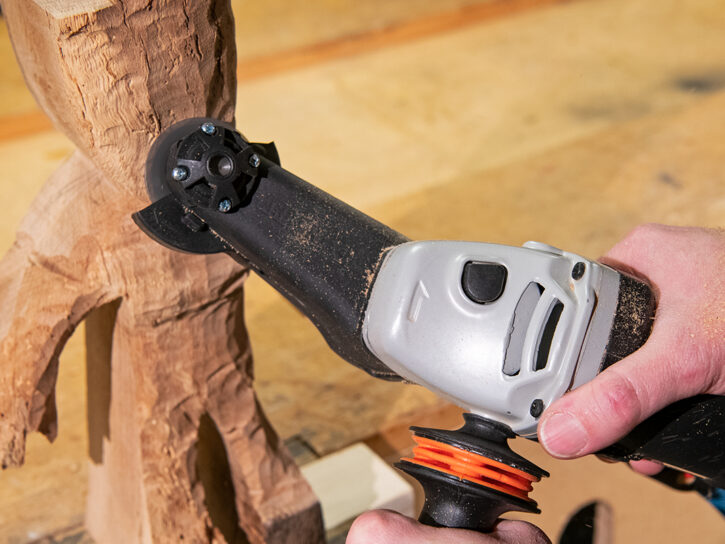
First, make sure that the workpiece is secure. Shape the bottom of the pumpkin using the Arbortech Industrial Woodcarver to remove the corner then smooth with the Arbortech Turbo Plane. If using it for the first time, try testing the turbo plane on a piece of scrap wood. It prefers to be worked on the top right of the disk.
Once you're happy with the shape of the bottom, screw a scrap piece of wood to the bottom using three screws. This will be your hold point in a bench vice for when you are shaping the top.
To cut the lid, try using a plywood disk as a template. The turbo plane and the Arbortech Turbo Shaft will both work well running the edge off of the template to create a large tenon.
Once you have enough material to shape a lid, saw the tenon off and flatten the project blank using the turbo plane. Either use the lid to mark out the opening of the hollow section, or use another template and run the turbo shaft against it. Hollow using the Arbortech Ball Gouge to create a bowl.
Now shape your pumpkin using the industrial woodcarver for quick stock removal and the turbo plane for smoothing. Use the industrial woodcarver to make some vertical lines to represent the segments on the pumpkin.
Switch to the sanding pad to finish.
Power carving tips to remember
The Turbo Plane and Ball Gouge have a sweet spot and work best on the top right quadrant. Experiment on a piece of scrap wood before working on a project.
Take your time and allow the tool to do the work. Don't push too hard into the project as that may cause the tool to grab and will put a strain on the grinder.
Keep your elbows close to your body, with two hands on the grinder at all times when in use. This will give you better control over the grinder.
Protect your lungs. These types of tools generate airborne dust so use a dust mask/respirator. If working indoors consider an air filtration system.
Power carving can be messy. If working indoors, consider covering the workshop with sheets for an easier clean up.
Made it? Share it!
If you have felt inspired by this project and have had a go, we would love to see your pics! Take a picture, and share it with us on social media. Search and tag @axminstertools on Facebook and Instagram or upload to our online gallery.
More power carving projects
If you have enjoyed this project, why not have a go at one of our other power carving projects.
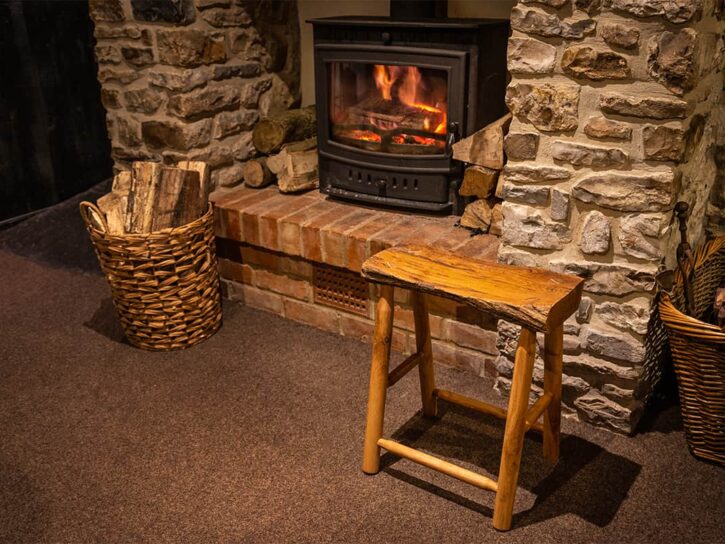
Use and develop a number of woodworking skills with this power carved rustic stool project. Incorporating woodturning and power carving, you can master a number of key techniques with this simple stool project. This four...
Make your own decorative power carved toadstool with the Arbortech Power Carving range, to give your garden in to a mystical and magical woodland feel. A great project to do outdoors, and to test your...